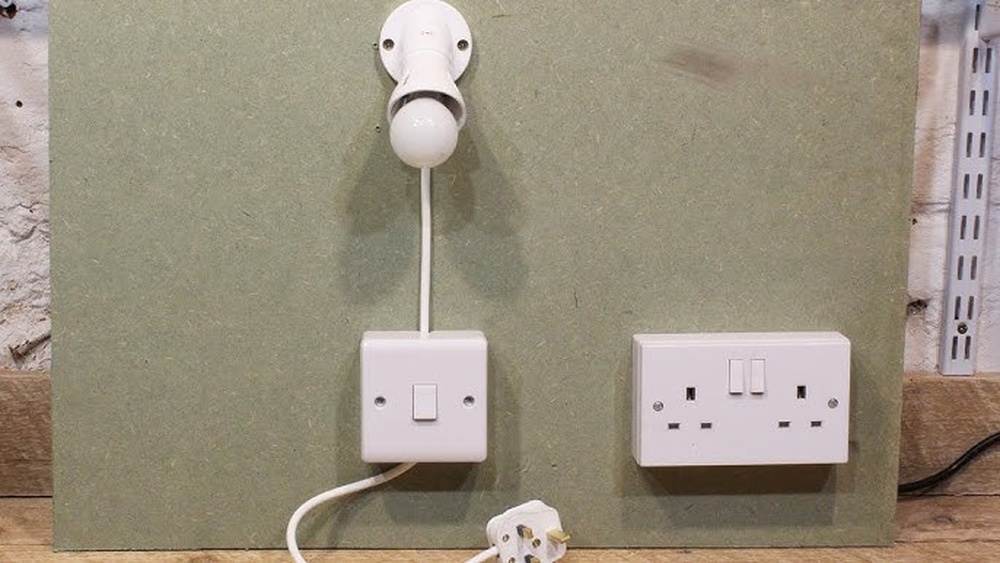
Are you looking to add a socket controlled by your light switch? It’s a handy way to power devices only when the light is on, saving energy and adding convenience to your home.
But if you’re unsure how to connect a socket to a light switch safely and correctly, you’re not alone. In this guide, you’ll discover simple, step-by-step instructions that anyone can follow. By the end, you’ll feel confident handling this task yourself—no electrician needed.
Ready to learn how to make your home smarter and more efficient? Let’s dive in.

Credit: www.youtube.com
Tools And Materials Needed
Connecting a socket to a light switch requires some basic tools and materials. Having the right items makes the task easier and safer. Prepare everything before starting the work.
This section lists all the tools and materials needed. Each item plays an important role in the process.
Tools Required
- Screwdriver set – for removing and fixing screws
- Wire stripper – to remove insulation from wires
- Voltage tester – to check if the circuit is live
- Needle-nose pliers – to bend and hold wires
- Drill (optional) – if you need to make new holes
Materials Needed
- Socket outlet – the device to connect
- Light switch – to control the socket
- Electrical wires – proper gauge for your circuit
- Wire connectors – for safe wire joining
- Electrical tape – to insulate wire connections
- Wall box – if installing a new socket or switch
Safety Gear
- Insulated gloves – protect hands from electric shock
- Safety glasses – shield eyes from debris
- Non-conductive footwear – avoid grounding yourself
Safety Precautions
Safety is the top priority when connecting a socket to a light switch. Electrical work can be dangerous without the right steps. Taking precautions helps avoid shocks, fires, and damage. Follow these safety tips carefully before starting any electrical task.
Turn Off The Power
Always switch off the main power supply before working. Use the circuit breaker or fuse box to cut electricity. Double-check by testing the switch or socket with a voltage tester. Never trust that the power is off without testing.
Use Proper Tools And Equipment
Use insulated tools designed for electrical work. Avoid using damaged or worn-out tools. Wear rubber-soled shoes to reduce shock risk. Keep tools dry and clean to maintain safety.
Work In A Dry Environment
Make sure your hands and the work area are dry. Water conducts electricity and increases shock danger. Avoid working in damp or wet places. If needed, wait for the area to dry completely.
Follow Wiring Standards
Use wires that meet local electrical codes. Connect wires with the correct color codes. Secure all connections tightly to prevent shorts or sparks. Improper wiring can cause serious hazards.
Wear Safety Gear
Wear safety glasses to protect your eyes from sparks. Use gloves made for electrical work to protect your hands. Avoid loose clothing that might catch on wires or tools. Protect yourself before starting the job.
Identify Wiring Components
Before connecting a socket to a light switch, know the wiring parts. This step helps avoid mistakes and keeps you safe. Understanding each component makes the work easier and faster.
Learn the types of wires and how terminals work. This knowledge helps you connect everything correctly. Let’s explore these parts clearly.
Types Of Wires
Wires carry electricity to your socket and switch. The main types are live, neutral, and earth wires. Live wire carries power from the source. Neutral wire returns power to complete the circuit. Earth wire protects from electric shocks by grounding the current. Each wire has a color to tell them apart. Usually, live is brown or red, neutral is blue or black, and earth is green or yellow-green. Use the right wire for each connection to avoid hazards.
Understanding Terminals
Terminals are points where wires connect to the switch or socket. Each terminal has a specific job. The live terminal connects the live wire. The neutral terminal links the neutral wire. The earth terminal connects the earth wire. Terminals may be screws or clamps. Tighten wires firmly but gently. Loose wires can cause sparks or failures. Check terminal labels for correct wiring. Proper terminal use ensures a safe and working setup.

Credit: diy.stackexchange.com
Turn Off Power Supply
Turning off the power supply is the first step before connecting a socket to a light switch. This step keeps you safe from electric shock. Electricity can cause serious injury or damage if not handled properly.
Always make sure the power is completely off. Never start any electrical work with live wires. Safety must come first.
Locate The Main Circuit Breaker
Find your home’s main circuit breaker panel. It is usually in the garage, basement, or utility room. This panel controls the electricity for the entire house.
Switch Off The Correct Breaker
Identify the breaker that powers the area where you will work. Turn this breaker to the “off” position. This stops electricity flow to the socket and switch.
Use A Voltage Tester
Check the wires with a voltage tester to confirm the power is off. Touch the tester to the wires at the socket and switch. The tester should show no electricity.
Inform Others In The House
Tell everyone in your home about the power shutdown. This prevents someone from turning it back on by mistake. Safety involves everyone.
Remove Existing Switch
Removing the existing switch is the first step in connecting a socket to a light switch. This step requires care and attention to avoid electrical hazards. Always ensure the power is off before you begin working on any electrical component.
Start by turning off the circuit breaker that controls the switch. Double-check with a tester to confirm there is no electricity flowing to the switch. Safety is the top priority in this process.
Turn Off The Power
Find the correct circuit breaker in your electrical panel. Flip the switch to the off position. Use a voltage tester to check the switch for power. Never skip this step.
Remove The Switch Cover Plate
Use a screwdriver to unscrew the cover plate over the switch. Remove the plate gently to avoid damaging the wall or switch. Set the screws and plate aside safely.
Unscrew The Switch
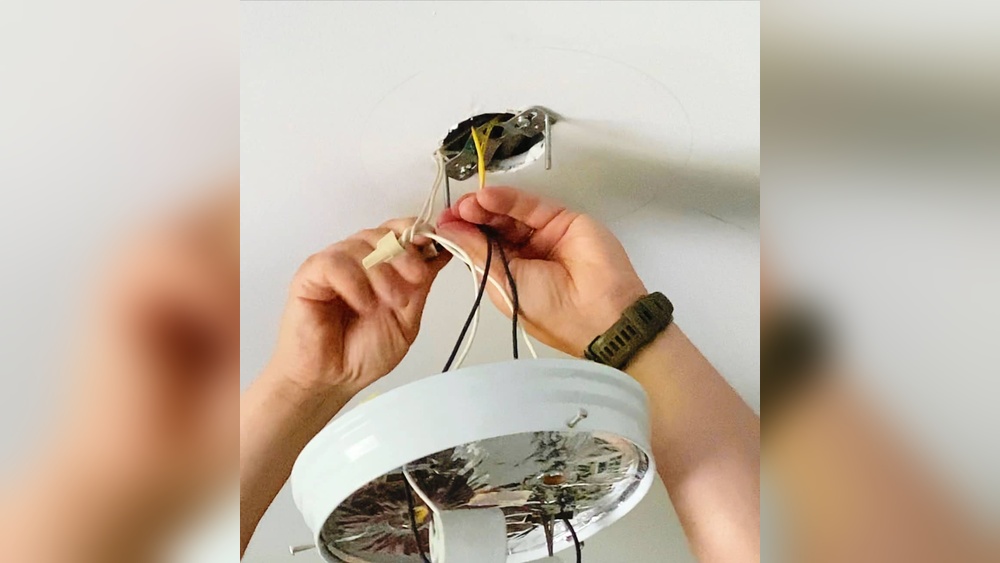
Unscrew the switch from the electrical box. Pull the switch out carefully to expose the wiring. Keep the wires intact for the next steps.
Note Wire Connections
Observe how the wires connect to the switch. Take a photo or make a note. This helps when connecting the socket later.
Disconnect The Wires
Loosen the screws holding the wires on the switch. Remove the wires carefully. Avoid touching the wire ends together.

Credit: diy.stackexchange.com
Connect Socket Wiring
Connecting the socket wiring to a light switch is a key step in your electrical project. It ensures the socket works safely with the switch control. Proper wiring prevents short circuits and electrical faults. Follow these steps carefully for a secure connection.
Attach Live Wire
First, identify the live wire. It usually has a brown or red color. Connect this wire to the live terminal on the socket. Tighten the screw firmly to hold the wire in place. This wire carries the current to the socket.
Attach Neutral Wire
The neutral wire is typically blue or black. Connect it to the neutral terminal on the socket. Secure the wire by tightening the terminal screw. The neutral wire completes the electrical circuit safely.
Attach Earth Wire
The earth wire is green, yellow, or green-yellow striped. Attach it to the earth terminal on the socket. This wire protects against electric shocks. Make sure it is tightly fixed for safety.
Secure Socket And Switch
Restoring power and testing your connection is a crucial step after wiring a socket to a light switch. This ensures everything works safely and correctly. Take your time and follow each step carefully. Safety is the top priority.
Turn The Power Back On
Start by switching the main power back on at the circuit breaker. Check that the breaker for your light switch and socket is in the ON position. This restores electricity to the circuit you worked on. Do not rush this step.
Check The Socket And Switch
Test the socket by plugging in a small device like a lamp or phone charger. Switch the light switch on and off. The device should turn on and off with the switch. This confirms the connection is correct.
Look For Any Issues
Observe the socket and switch for any sparks, noises, or smells. These signs mean something is wrong. If you see or smell anything unusual, turn off the power immediately. Do not use the socket until a professional checks it.
Use A Voltage Tester
For extra safety, use a voltage tester on the socket and switch. This tool shows if electricity flows properly. It helps confirm your wiring is safe and working. Follow the tester instructions carefully for accurate results.
Restore Power And Test
Troubleshooting is key when connecting a socket to a light switch. Problems may arise even after careful work. Knowing basic fixes saves time and frustration.
Check the wiring and connections first. Many issues come from loose or wrong wiring. Follow safety steps to avoid electric shock while inspecting.
Check The Power Supply
Make sure power is off before testing. Use a voltage tester to confirm. If no power reaches the switch or socket, check the circuit breaker. Reset if tripped.
Inspect Wiring Connections
Look for loose or disconnected wires. Tighten screws on terminals. Match wires by color: live, neutral, and ground. Wrong connections cause malfunction or hazards.
Test The Switch Function
Flip the switch several times. Listen for clicks or feel movement. A faulty switch may not complete the circuit. Replace it if it feels stuck or broken.
Examine The Socket
Check the socket for damage or burns. Faulty sockets prevent power flow. Replace damaged sockets with new ones of the same type.
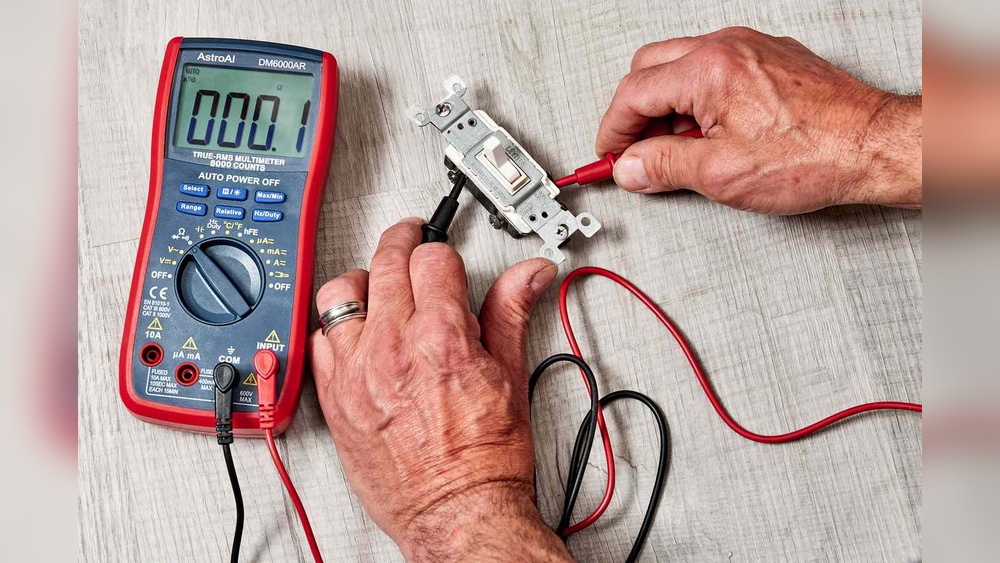
Use A Multimeter For Accuracy
Measure voltage and continuity with a multimeter. This tool shows if current flows correctly. Learn simple multimeter tests to identify issues fast.
Look For Overloaded Circuits
A circuit with too many devices can trip breakers. Remove some devices and test again. Spread electrical load to avoid repeated problems.
Frequently Asked Questions
How Do I Safely Connect A Socket To A Light Switch?
Turn off the main power before starting any wiring. Use proper insulated tools and follow electrical codes. Connect the live wire from the switch to the socket’s live terminal. Ensure all connections are secure and test with a voltage tester before restoring power.
Can I Control A Socket Using A Light Switch?
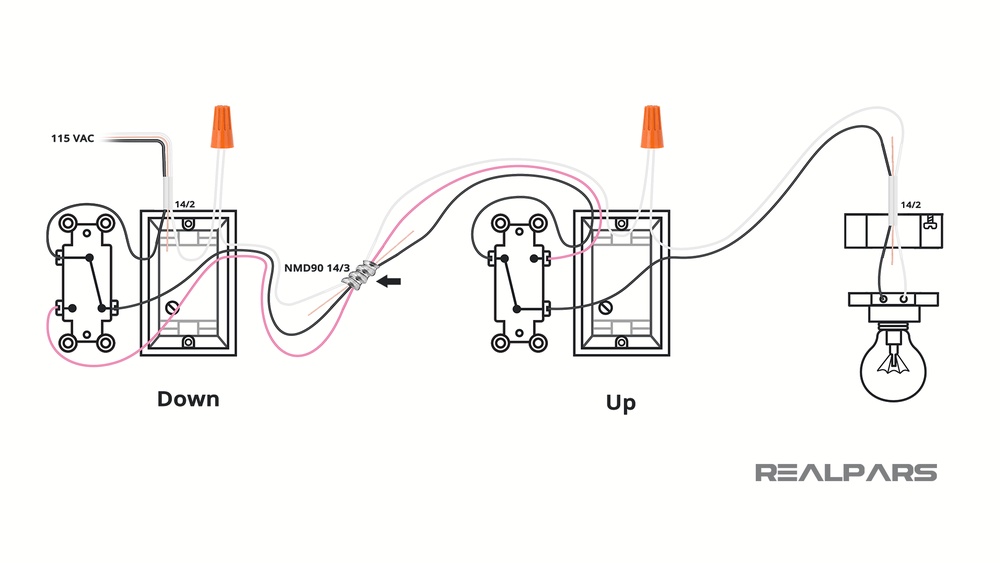
Yes, you can control a socket with a light switch by wiring the switch to interrupt the socket’s live wire. This setup allows you to turn power on or off to the socket using the switch, providing convenient control for lamps or appliances.
What Tools Are Needed To Connect A Socket To A Switch?
You will need a screwdriver, wire strippers, a voltage tester, insulated gloves, and electrical tape. These tools ensure safe and proper installation. Additionally, use a circuit tester to verify power is off before starting work to avoid electrical hazards.
Is It Legal To Connect A Socket To A Light Switch?
Yes, connecting a socket to a switch is legal if done according to local electrical codes. Always check regulations in your area and consider hiring a licensed electrician to ensure safety and compliance with standards.
Conclusion
Connecting a socket to a light switch is easier than it seems. Careful planning and safety checks are key. Always turn off the power before starting any work. Follow the steps slowly, and double-check your connections. Using the right tools helps avoid mistakes and accidents.
This skill can save money and add convenience at home. Take your time, and don’t rush the process. With patience, you can complete the job safely and confidently. Remember, safety first and enjoy your new setup.