Are you tired of messy mounting solutions that damage your walls or leave sticky residue behind? Imagine having a tape that holds your decorations, photos, or small items securely without ruining your surfaces.
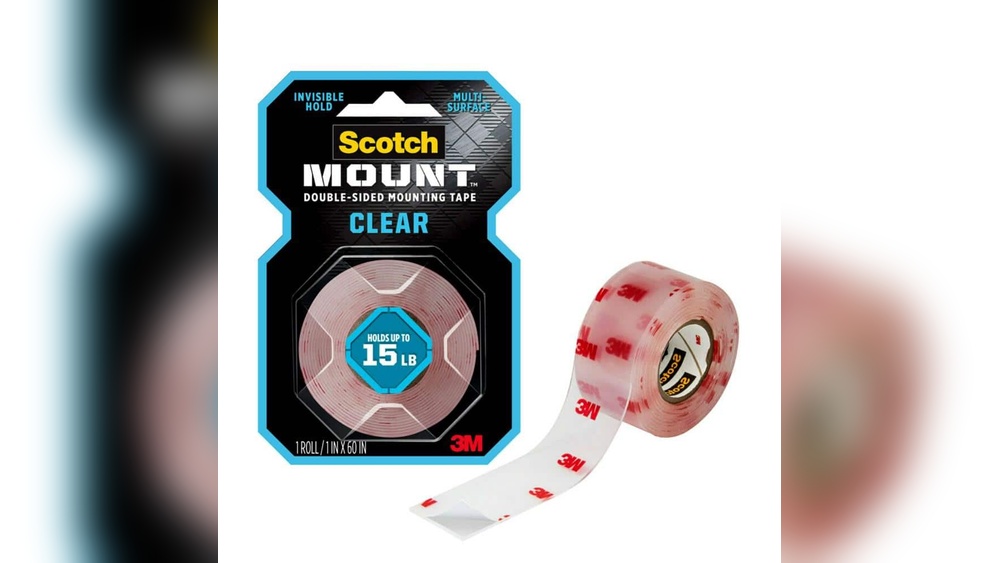
3M Clear Indoor Mounting Tape is designed to make your life easier, giving you a clean and strong way to display your favorite things. In this guide, you’ll discover simple steps to use this tape effectively, so your walls stay flawless and your items stay put.
Ready to transform your space with a neat and reliable mounting trick? Keep reading to learn exactly how to make the most of 3M Clear Indoor Mounting Tape.
Choosing The Right Tape
Choosing the right 3M Clear Indoor Mounting Tape is important for a strong hold and clean look. Different tapes suit different tasks and surfaces. Picking the right one saves time and avoids damage.
Understanding types and surface use helps you choose well. Let’s explore these factors to make your project easier and neater.
Types Of 3m Clear Indoor Mounting Tape
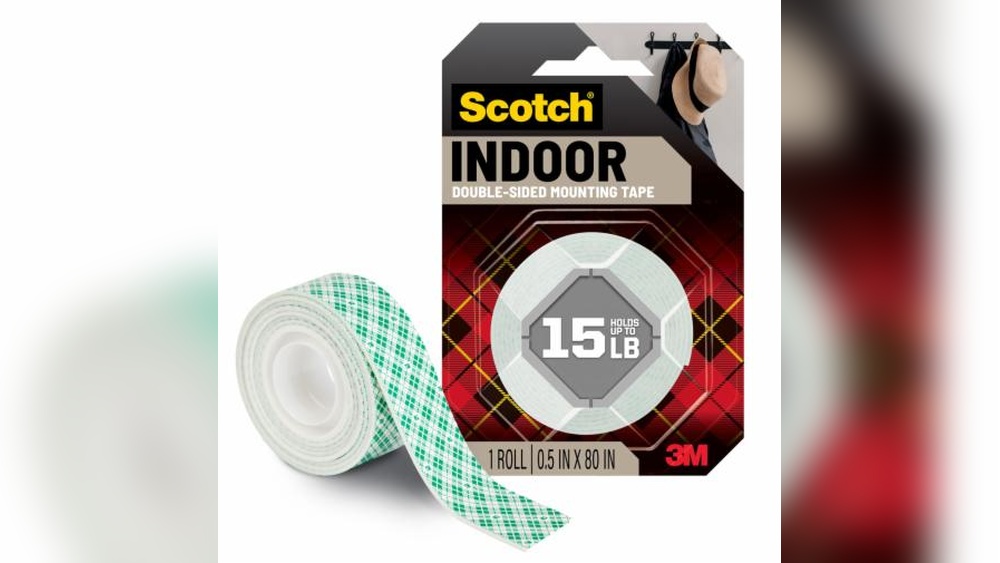
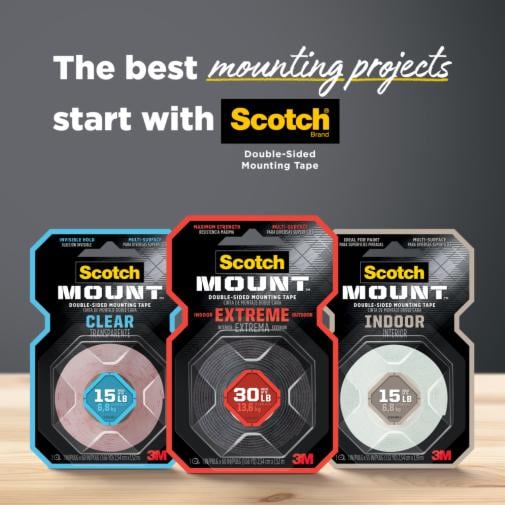
3M offers several clear mounting tapes for indoor use. Some are double-sided for invisible fixing. Others have extra strength for heavy items. Thin tapes work well for light decorations. Thicker tapes hold heavier frames or mirrors securely.
Choose based on weight and visibility needs. Clear tapes keep walls and surfaces looking clean. Each type has different adhesive strengths and thickness. Knowing these helps pick the best tape for your task.
Surface Compatibility
Not all tapes stick well on every surface. Smooth surfaces like glass, tile, or metal work best. Textured or porous surfaces like brick or rough wood may need special tapes. Clean surfaces before applying tape for better grip.
Test a small area first to check adhesion. Avoid using tape on wallpaper or delicate paint. The right tape sticks firmly without damage. This ensures your items stay up and your walls stay safe.

Credit: www.walmart.com
Preparing The Surface
Preparing the surface is the first step to using 3M Clear Indoor Mounting Tape effectively. A clean, dry surface helps the tape stick better. Dirt, dust, or moisture can make the tape lose grip. Take your time to get the surface ready. It will make your project last longer and look neat.
Cleaning Tips
Use a soft cloth to remove dust and dirt from the surface. Avoid rough materials that can scratch the area. A mild soap with water works well to clean stubborn spots. Do not use oily or greasy cleaners. They leave residue that stops the tape from sticking properly. Wipe the surface gently but thoroughly.
Drying The Area
After cleaning, let the surface dry completely. Use a dry cloth to remove water drops. Do not use the tape on wet or damp surfaces. Moisture weakens the adhesive and causes the tape to peel off. Wait a few minutes until the area feels dry to touch. A dry surface ensures the tape holds firmly.
Cutting And Measuring Tape
Cutting and measuring 3M Clear Indoor Mounting Tape correctly helps achieve a neat and strong hold. Accurate measurement avoids waste and ensures the tape fits perfectly. Cutting tape with care prevents frayed edges and maintains its sticky power. This section covers how to select the right tape length and cut it safely.
Proper Length Selection
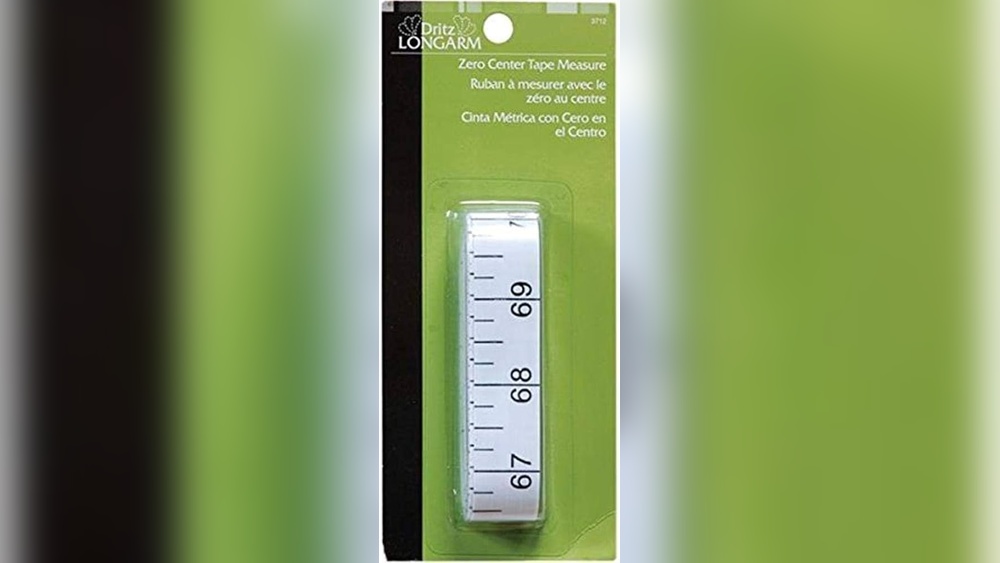
Measure the surface or object where the tape will attach. Add a little extra length for a secure grip. Avoid cutting tape too short, which can cause weak adhesion. Too much tape creates bulk and looks messy. Choose a length that fits just right for a clean finish.
Using Scissors Safely
Use sharp scissors for a clean cut through the tape. Dull scissors can tear or stretch the tape, reducing stickiness. Hold the tape firmly on a flat surface before cutting. Cut slowly and steadily for a straight edge. Keep fingers away from the blades to avoid injury.
Applying The Tape
Applying 3M Clear Indoor Mounting Tape is simple and quick. The key is to follow the right steps for a strong hold. This tape works best on smooth, clean surfaces. Prepare your surface first to get the best result.
Peeling The Backing
Start by carefully peeling off the tape backing. Do this slowly to avoid stretching the tape. Hold the tape at one end and pull the backing away. Keep the sticky side clean and avoid touching it.
Positioning The Tape
Place the tape on the surface where you want to mount. Align it carefully before pressing down. Check the tape edges to make sure they touch the surface fully. This helps prevent air bubbles and weak spots.
Pressing For Adhesion
Press the tape firmly with your fingers or a flat tool. Apply even pressure along the entire length of the tape. Pressing well ensures the tape sticks tightly and lasts longer. Wait a few seconds before attaching objects to the tape.
Mounting Your Item
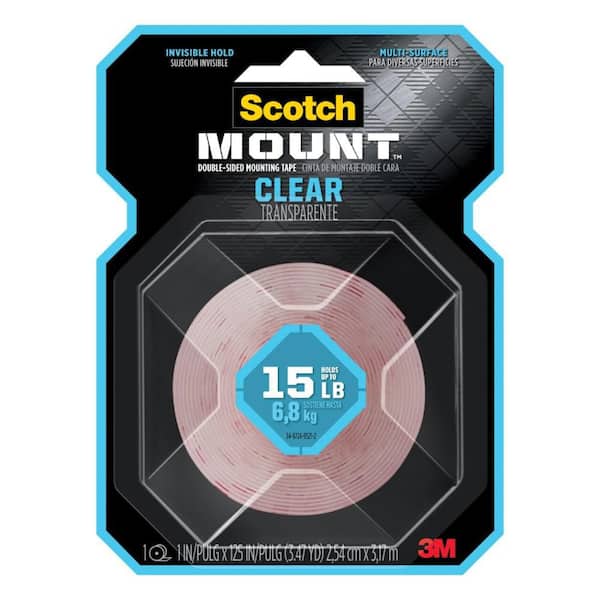
Mounting your item with 3M Clear Indoor Mounting Tape is simple and effective. The tape holds items firmly without damaging walls. Proper steps help the tape stick well and keep your items in place. Follow these tips to mount perfectly.
Aligning Correctly
Place your item near the spot you want to mount. Check the alignment carefully before sticking the tape. Mark light guides if needed. Proper alignment avoids mistakes and keeps your item straight.
Applying Pressure
After placing the tape, press firmly on the item. Use your hand to apply even pressure. Pressing well helps the tape stick to both surfaces. Hold for at least 30 seconds for best results.
Avoiding Air Bubbles
Air bubbles weaken the tape’s hold. Smooth the tape gently from the center outward. Use a soft cloth or your fingers to push out bubbles. A smooth surface means stronger adhesion and cleaner look.
Credit: www.homedepot.com
Tips For Stronger Holds
Using 3M Clear Indoor Mounting Tape correctly helps ensure your items stay put. Some simple tips can make your tape hold stronger and last longer. These tips focus on the environment, weight, and extra support.
Temperature Considerations
3M Clear Indoor Mounting Tape works best at room temperature. Cold surfaces make the tape less sticky. Warm surfaces help the tape stick better. Avoid using the tape on very hot or very cold walls. Let the tape and surface adjust to normal room temperature before applying.
Weight Limits
Each tape strip holds a limited weight. Do not exceed the tape’s weight limit. Use more tape strips for heavier items. Spread the weight evenly across the tape. Keep heavy objects light or find a stronger mounting option.
Additional Support Options
For extra strength, use other supports. Small nails or hooks can help with heavy objects. Use mounting putty along with the tape for extra grip. Clean the surface well before applying tape. A clean surface helps tape stick better and longer.
Removing The Tape
Removing 3M Clear Indoor Mounting Tape can be simple and safe. It is important to take care to avoid damage to walls or surfaces. Using the right method helps keep your space clean and neat.
Follow these tips to remove the tape smoothly without leaving marks or sticky spots behind.
Safe Removal Techniques
Start by gently pulling one corner of the tape. Pull slowly at a 45-degree angle to prevent damage. Avoid ripping or yanking the tape quickly. Use a hairdryer on low heat to soften the adhesive. Heat makes the tape easier to peel off. If the tape tears, use a plastic scraper to lift edges. Work carefully to protect paint and wallpaper.
Cleaning Residue
Some sticky residue may stay on the surface. Use warm, soapy water and a soft cloth to clean it. For tougher residue, try rubbing alcohol or a small amount of vinegar. Test any cleaner on a hidden spot first. Gently rub the area until the residue disappears. Dry the surface with a clean cloth. This leaves your walls fresh and residue-free.
Credit: www.scotchbrand.com
Frequently Asked Questions
What Surfaces Work Best With 3m Clear Indoor Mounting Tape?
3M Clear Indoor Mounting Tape adheres well to smooth, clean surfaces like glass, metal, and finished wood. Avoid rough or porous surfaces for the best hold and clean removal.
How Long Does 3m Clear Indoor Mounting Tape Hold?
This tape provides a strong, lasting bond for several months indoors. Its strength depends on surface preparation and weight of the mounted item.
Can 3m Clear Indoor Mounting Tape Be Removed Easily?
Yes, it removes cleanly from most surfaces without residue or damage if peeled off slowly and gently.
Is 3m Clear Indoor Mounting Tape Safe For Walls?
Yes, it is safe for most indoor walls, including painted drywall. Test a small area first to ensure no paint lifts.
Conclusion
Using 3M Clear Indoor Mounting Tape makes hanging items easy and clean. The tape sticks well on smooth surfaces and holds strong. It leaves no mess when removed carefully. Just measure, cut, and press firmly for best results. This tape works great for photos, posters, and light decorations.
Keep surfaces dry and dust-free for better grip. With simple steps, you can create neat displays at home or office. Try this tape for quick and tidy mounting tasks. Simple, clear, and reliable—perfect for everyday use.