Are you tired of nails and screws damaging your walls every time you want to hang something? Scotch Indoor Mounting Tape could be the simple solution you’ve been looking for.
It’s strong, easy to use, and leaves no mess behind. Imagine quickly hanging your pictures, decorations, or small shelves without any hassle. In this guide, you’ll discover exactly how to use Scotch Indoor Mounting Tape to get perfect, lasting results every time.
Keep reading to make your home projects faster and cleaner than ever before.
Choosing The Right Tape
Choosing the right Scotch Indoor Mounting Tape is important for a strong hold. Each type of tape fits different needs and surfaces. Picking the correct tape helps your items stay secure and prevents damage.
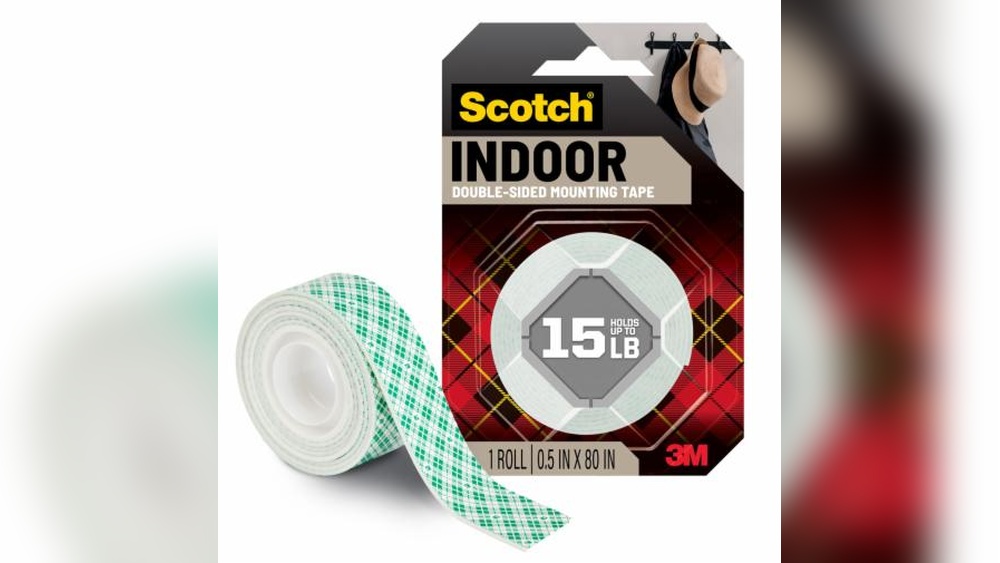
Types Of Scotch Indoor Mounting Tape
Scotch offers several tape types for indoor use. Double-sided foam tape is thick and great for uneven surfaces. Clear mounting tape is thin and less visible on walls. Each type has a different stickiness and thickness. Choose based on what you want to hang.
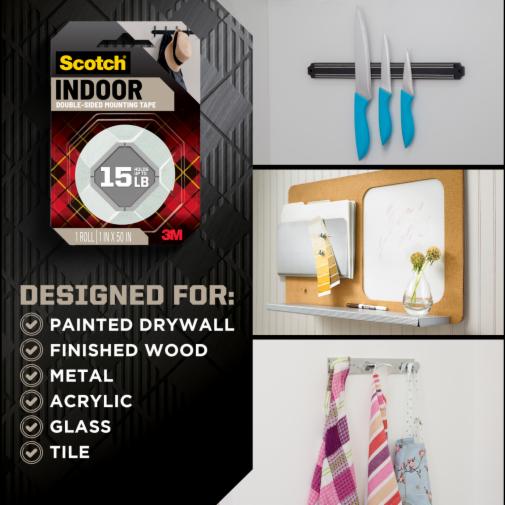
Surface Compatibility
Check the surface before applying tape. Some tapes work better on painted walls, wood, or glass. Rough or textured surfaces may need foam tape for better grip. Smooth surfaces allow clear tapes to stick well. Clean surfaces improve tape hold and remove dirt.
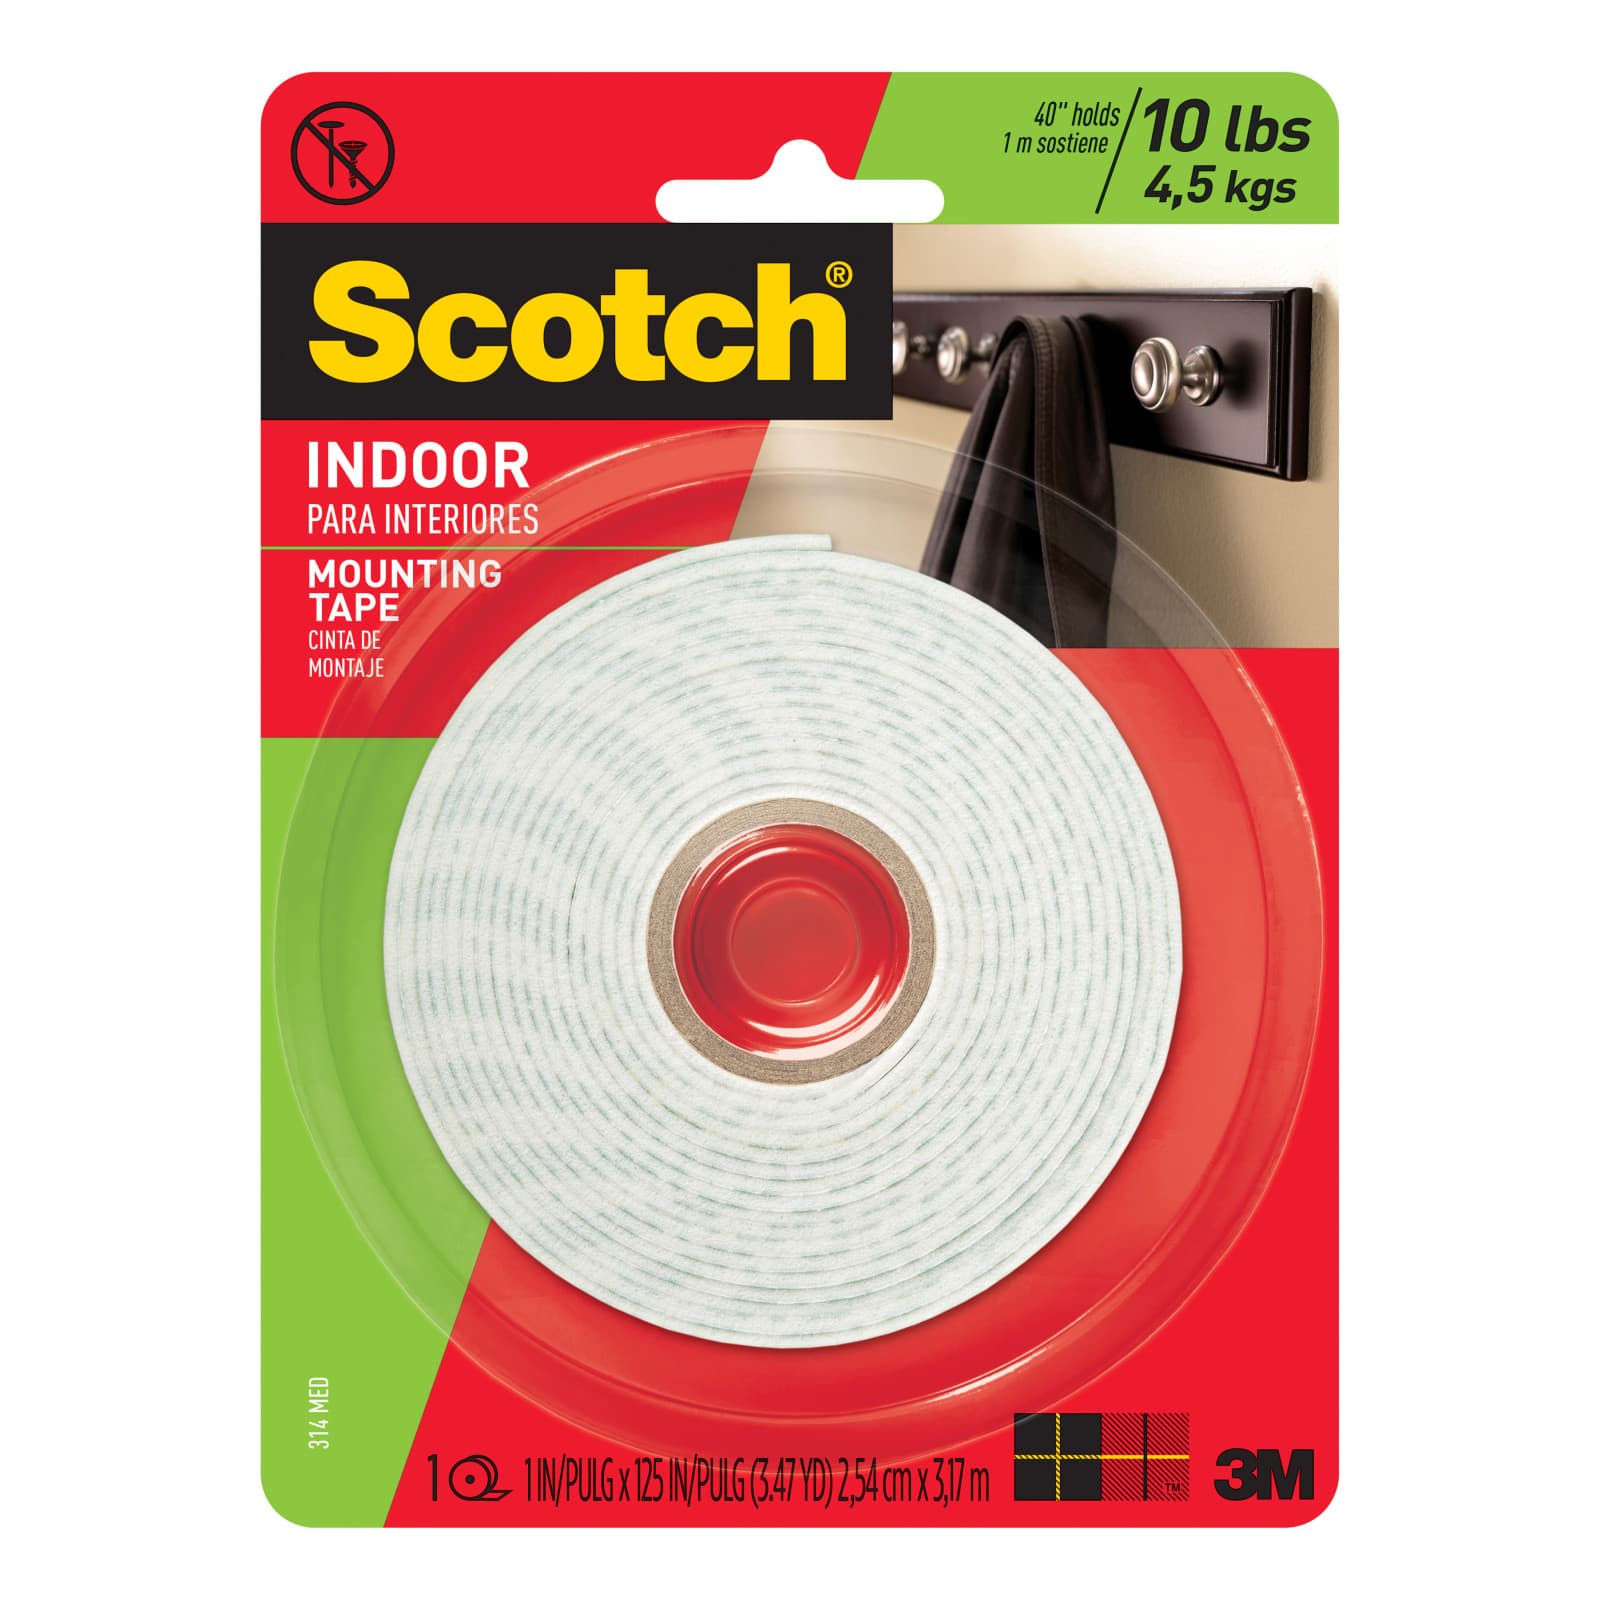
Weight And Size Limits
Each tape type supports a certain weight. Foam tape can hold heavier objects than thin clear tape. Consider the size and weight of the item you want to mount. For heavy items, use multiple strips or stronger tape. Always follow the weight limit instructions on the tape package.
Preparing The Surface
Preparing the surface is a key step before applying Scotch Indoor Mounting Tape. It helps the tape stick better and last longer. Skipping this step can make the tape lose grip or fall off quickly. Take time to prepare the area well for the best results.
Cleaning Tips
Start by removing dust, dirt, and grease from the surface. Use a cloth with rubbing alcohol or mild soap and water. Avoid oily or waxy cleaners that leave residue behind. Wipe the area gently but thoroughly. Clean surfaces help the tape adhere strongly.
Drying The Area
Make sure the surface is completely dry before applying the tape. Use a dry cloth or let it air dry for a few minutes. Moisture can weaken the tape’s stickiness. A dry surface keeps the tape secure and prevents peeling.
Avoiding Common Mistakes
Do not apply tape on rough or uneven surfaces. Avoid touching the sticky side of the tape with your fingers. Oils from your skin can reduce its stickiness. Do not rush the process; take time to clean and dry well. These simple steps help the tape hold strong and last longer.
Cutting And Applying Tape
Cutting and applying Scotch Indoor Mounting Tape is simple with the right steps. This tape holds items securely on walls without nails or screws. Proper cutting and placement ensure a strong bond and neat look. Follow these tips to get the best results.
Measuring The Tape Length
Start by measuring the space where you want to apply the tape. Use a ruler or tape measure for accuracy. Cut the tape a little longer than the item’s edge. This helps avoid gaps and ensures full support. Measure each piece separately for an even hold.
Cutting Techniques
Use sharp scissors to cut the tape cleanly. Straight cuts prevent peeling and make the tape stick better. Avoid tearing the tape by hand; it can cause uneven edges. Cut in a well-lit area for precision. Keep your cuts straight and neat for a professional look.
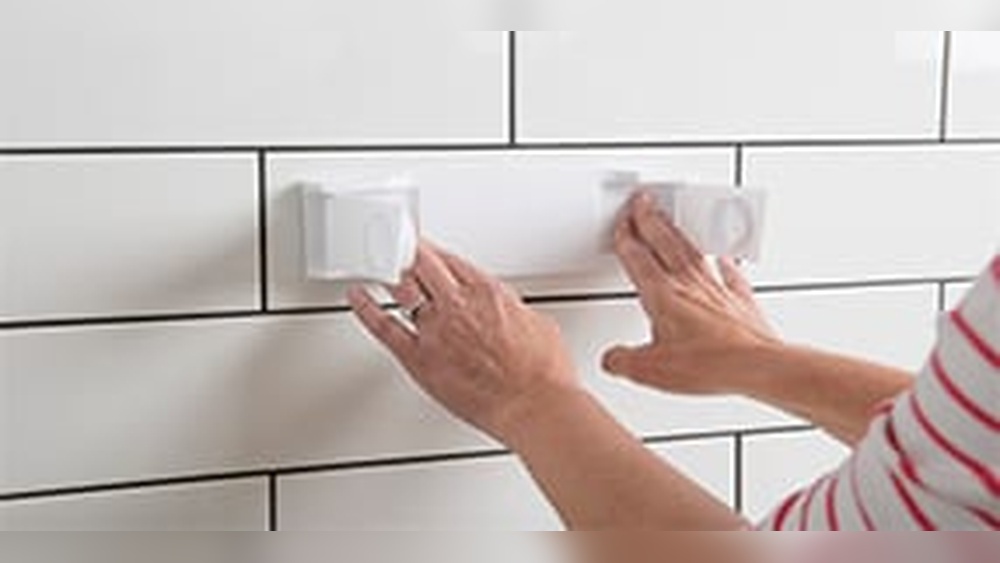
Proper Placement
Clean the wall surface before applying the tape. Dry and smooth surfaces hold tape best. Press the tape firmly on the wall for a few seconds. Attach the item by pressing it against the tape. Check the alignment before pressing fully. This keeps the item straight and secure.
Credit: www.michaels.com
Mounting Items Securely
Mounting items securely with Scotch Indoor Mounting Tape ensures your objects stay in place. The tape offers strong hold on most surfaces. Proper steps help achieve the best results. Follow simple tips to avoid slips and falls.
Using the tape correctly gives a neat and lasting finish. It works well for pictures, decorations, and small shelves. The key is to prepare the surface and apply the tape with care.
Pressing For Strong Adhesion
Press the tape firmly against the surface. Apply steady pressure for about 30 seconds. This action helps the tape stick better. Avoid quick or light pressing. The stronger the press, the better the bond.
Make sure the surface is dry and clean before pressing. Dirt or moisture can weaken the tape’s grip. Take your time to press evenly across the tape length.
Adjusting Mounted Items
Place the item gently on the tape first. Move it slightly to find the right spot. After adjusting, press firmly to lock it in place. Avoid pulling or sliding once the tape sticks well.
Small shifts are possible before full adhesion. Work quickly but carefully. The tape sets stronger over time, so early placement is key.
Handling Delicate Objects
For fragile items, use smaller tape pieces. This reduces stress on the object’s surface. Press gently to avoid damage. Test the tape on a hidden area first.
Delicate items need extra care during mounting. Support the object while pressing. This prevents cracks or breaks. Scotch Indoor Mounting Tape holds well without harsh effects.
Removing Tape Safely
Removing Scotch Indoor Mounting Tape carefully keeps your walls and surfaces safe. The tape sticks well but can pull paint or leave marks if taken off roughly. Use gentle methods to peel it away without harm. Take time and follow easy steps to avoid damage and mess.
Peeling Techniques
Start peeling the tape slowly at one corner. Pull it back on itself, not straight out. Keep the angle low to avoid lifting paint. Use steady, gentle pressure. If the tape resists, warm it slightly with a hair dryer. Heat softens the adhesive, making removal easier.
Minimizing Surface Damage
Test a small area first to check for damage. Avoid sharp tools or scraping, which can harm surfaces. Use your fingers or a plastic scraper if needed. Work slowly to prevent paint from peeling. If the tape has been on for a long time, warm it more before removal.
Cleaning Residue
After tape removal, some sticky residue might remain. Use a soft cloth with mild soap and water to clean it. For tougher spots, try rubbing alcohol or a small amount of vinegar. Wipe gently to avoid surface damage. Dry the area well to finish the cleaning.
Credit: www.scotchbrand.com
Troubleshooting Common Issues
Troubles with Scotch Indoor Mounting Tape can slow down your project. Knowing how to fix common problems helps you finish faster. This section covers the main issues users face. Follow these tips for better results and less frustration.
Tape Not Sticking
Surface dirt or dust stops tape from sticking well. Clean the area with rubbing alcohol and dry it. Avoid oily or wet surfaces. Press the tape firmly for at least 30 seconds. Use room temperature surfaces. Cold or hot walls reduce the tape’s grip.
Peeling Corners
Peeling corners mean weak adhesion or too much weight on the tape. Press corners down hard during application. Cut tape strips slightly longer than needed. Trim extra tape after mounting. Avoid stretching the tape while applying. Heavy items need extra strips or stronger mounting options.
Uneven Mounting
Uneven mounting happens when surfaces are rough or irregular. Use a flat surface for best results. Sand rough spots gently and clean dust away. Apply tape in straight, smooth lines. Press firmly along the entire tape length. This ensures even contact and better hold.
Creative Uses For Mounting Tape
Scotch Indoor Mounting Tape is more than just a strong adhesive. It can help you in many creative ways around your home. This tape holds items firmly without damaging walls or surfaces. It is easy to use and removes cleanly. Discover how this tape can simplify your daily tasks and add style to your space.
Home Decor Ideas
Use mounting tape to hang lightweight picture frames. No nails, no holes. Create a gallery wall quickly and neatly. Mount small mirrors to brighten rooms. Attach decorative hooks to hold wreaths or ornaments. Change your decor often without damage. This tape is perfect for renters and decorators alike.
Organizing Spaces
Keep cords tidy by sticking them along walls or desks. Attach small baskets or containers to walls for office supplies. Secure remote controls or small gadgets to side tables. Use tape to hold labels on storage bins firmly. It helps keep your home neat and clutter-free with little effort.
Temporary Fixes
Fix loose tiles or trim pieces fast. Hold up a broken phone charger wire until you get a new one. Secure a loose cabinet handle without screws. Patch small tears in wallpaper or fabric temporarily. This tape offers quick fixes that last until you find a permanent solution.

Credit: www.amazon.eg
Frequently Asked Questions
What Surfaces Work Best With Scotch Indoor Mounting Tape?
Scotch indoor mounting tape works best on clean, dry, smooth surfaces like painted walls, wood, glass, and tile. Avoid rough or porous surfaces to ensure strong adhesion and secure mounting. Proper surface preparation improves tape performance and longevity.
How Much Weight Can Scotch Indoor Mounting Tape Hold?
Scotch indoor mounting tape can hold lightweight objects up to about 1-2 pounds. It’s ideal for photos, posters, and small decorations. For heavier items, consider using stronger mounting solutions or multiple tape strips to distribute the weight evenly.
Can Scotch Indoor Mounting Tape Damage Walls?
Scotch indoor mounting tape is designed to minimize wall damage. It can usually be removed cleanly from painted surfaces without peeling paint. However, test on a small area first to avoid potential damage, especially on delicate or freshly painted walls.
How Do I Apply Scotch Indoor Mounting Tape Properly?
Clean the surface and ensure it’s dry before application. Cut the tape to the desired length, press firmly on the item, then press the item firmly to the wall for 30 seconds. Allow 1 hour for full adhesion before hanging weight.
Conclusion
Scotch Indoor Mounting Tape works well for many home projects. It sticks firmly and holds items without damage. Just clean the surface first for best results. Press the tape firmly and wait a moment. This tape helps hang pictures, decorations, and light objects easily.
Keep the area dry and smooth for stronger hold. Using this tape saves time and avoids nails or hooks. Try it for simple, neat mounting around your home.