Are you looking to add window visors to your car without the hassle of complicated tools or drilling holes? You’re in the right place.
Mounting window visors with tape is a simple, quick way to improve your vehicle’s style and functionality. Imagine enjoying fresh air even when it’s raining or reducing wind noise during your drive—all while protecting your car’s interior from sun damage.
In this guide, you’ll learn easy steps to get your visors securely in place, so you can upgrade your ride without stress. Keep reading to discover how you can do it yourself, save time, and avoid costly mistakes.
Tools And Materials Needed
Mounting window visors with tape needs the right tools and materials. Good preparation helps the installation go smoothly. Using proper items ensures the visors stick well and last long. Below are the key things to gather before starting.
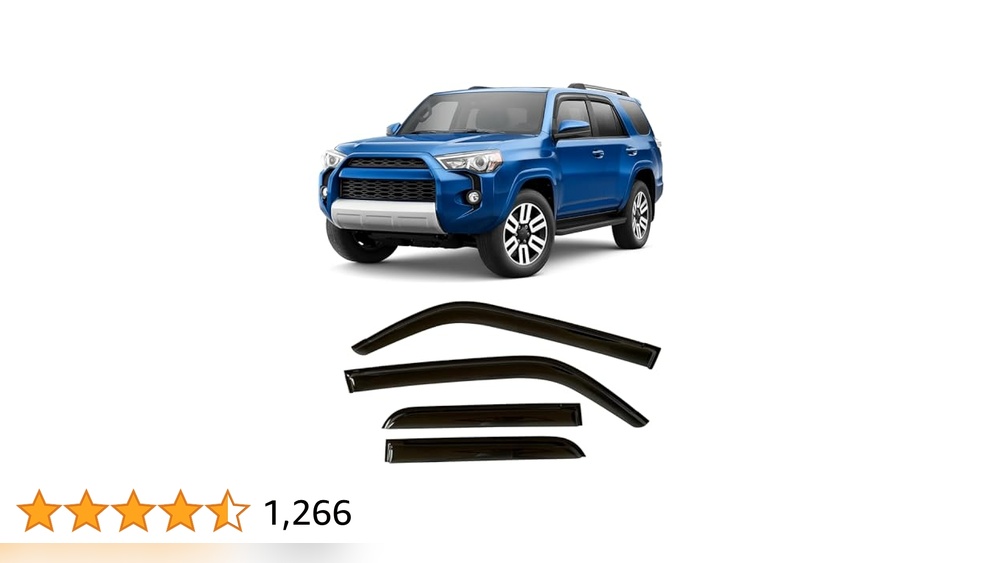
Choosing The Right Visors
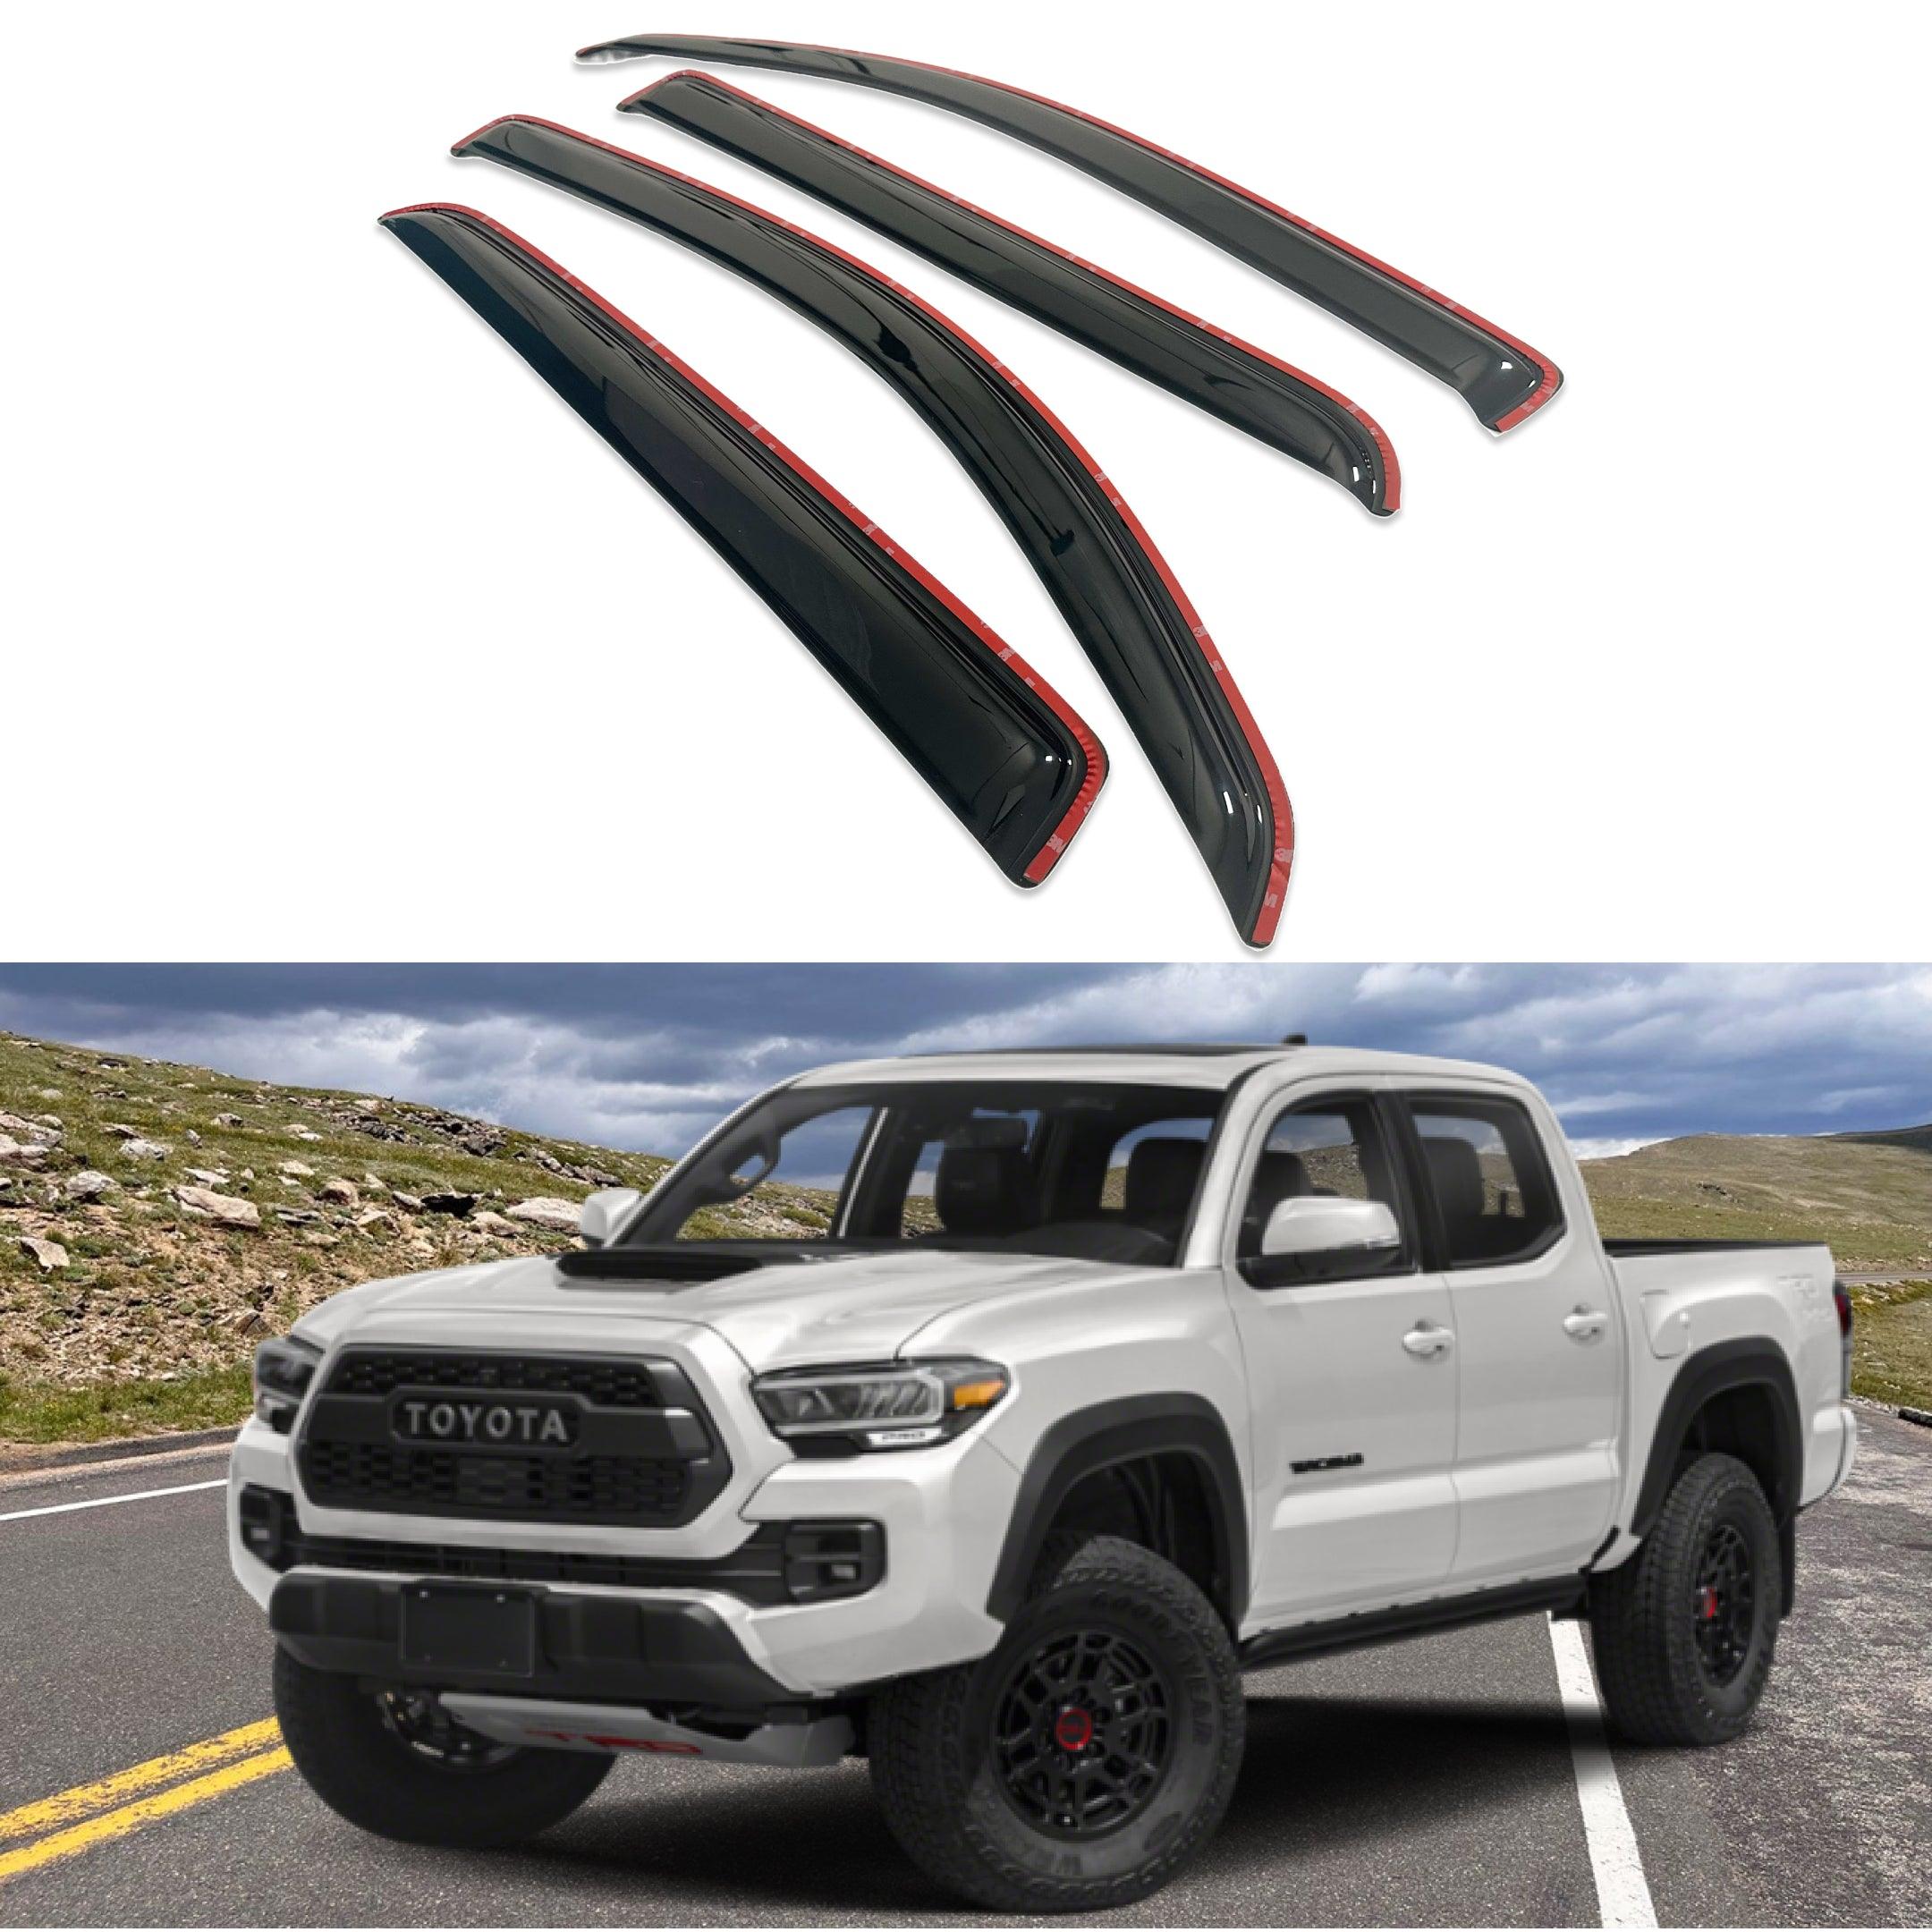
Select visors that fit your vehicle model perfectly. Check the shape and size carefully. Plastic visors work best for tape mounting. They are flexible and easy to handle. Avoid metal visors, as they may not stick well.
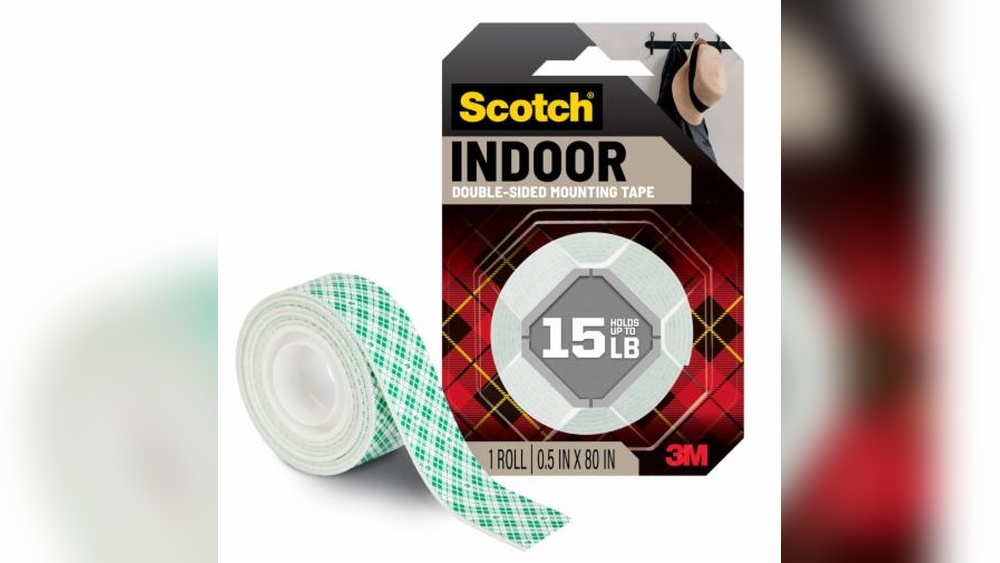
Selecting Quality Tape
Pick tape designed for outdoor use. Double-sided automotive tape is the best choice. It holds strong against weather and wind. The tape should be at least 3M brand or similar quality. Avoid cheap tapes that lose stickiness fast.
Additional Supplies
Gather rubbing alcohol for cleaning the surface. Use a clean cloth to wipe dust and grease. A plastic scraper helps press the tape firmly. Have scissors or a knife ready to cut tape strips. These small tools make the job easier and neater.
Preparing The Surface
Preparing the surface is a key step before mounting window visors with tape. It helps the tape stick better and keeps the visors in place. Clean and dry surfaces ensure a strong bond. Follow simple steps to get the best results.
Cleaning The Window Frame
Start by wiping the window frame with a clean cloth. Remove dirt, dust, and grease. Use a mild soap solution or rubbing alcohol for better cleaning. Avoid oily or wet residues that stop the tape from sticking. Take your time to clean all areas where the tape will attach.
Drying And Inspecting
Let the window frame dry completely after cleaning. Check for any leftover dirt or moisture. Use a dry cloth to remove any spots missed before. Make sure the surface is smooth and dry. This step helps the tape hold firm for a long time.
Applying The Tape
Applying the tape is a key step to mount window visors securely. It ensures the visors stay in place and resist wind and rain. Take your time and apply the tape carefully. A wrong move can weaken the hold.
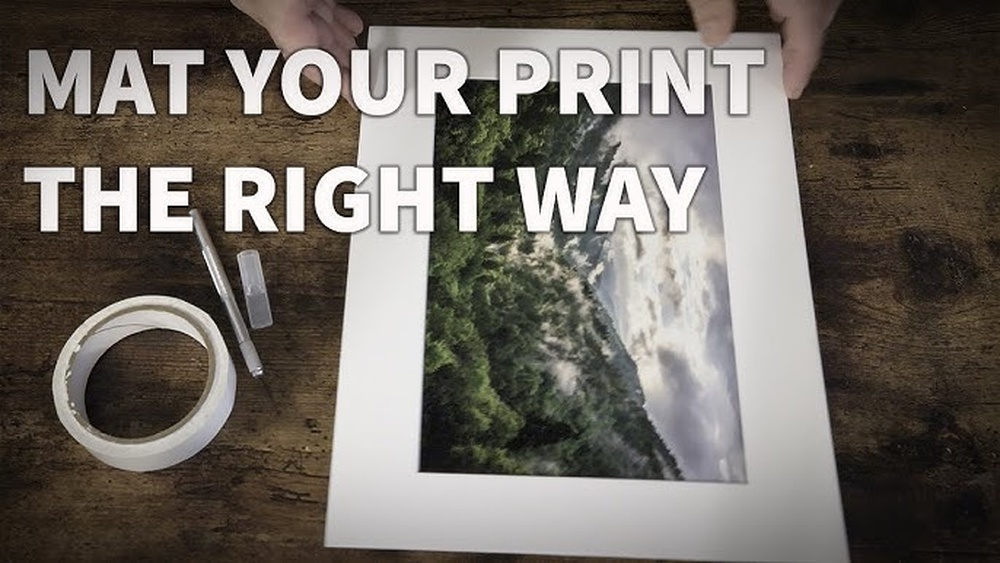
Cutting The Tape To Size
Start by measuring the length of the visor edge. Use a ruler or tape measure for accuracy. Cut the tape slightly shorter than the edge. This prevents tape from sticking out. Use sharp scissors for clean cuts. Avoid jagged edges that reduce tape strength.
Positioning The Tape Correctly
Peel off a small part of the tape backing. Align the tape along the visor edge. Press the tape firmly as you slowly remove the backing. Ensure the tape sticks evenly without bubbles or gaps. Smooth the tape with your fingers. A good seal helps the visor hold better.

Credit: centrerest.com
Mounting The Window Visors
Mounting window visors with tape is a simple way to improve your car’s look and function. The process needs care and patience to ensure the visors stick well and last long. This section explains how to place and secure the visors properly.
Follow these steps to achieve a clean and strong fit. Proper alignment and firm pressing are key to a successful installation.
Aligning The Visors
Hold the visor close to the window frame. Check the shape and edges carefully. Make sure the visor matches the window’s curve exactly. Adjust the position slightly until it fits perfectly. Avoid rushing this step to prevent mistakes. Good alignment ensures the visor looks natural and fits securely.
Pressing Firmly For Adhesion
After alignment, press the visor against the window frame. Use even pressure along the entire length. This helps the tape stick strongly to the surface. Press harder on edges and corners where the tape is. Hold for at least 30 seconds to activate the adhesive. Strong pressure helps the visor stay in place during driving.
Securing And Testing
After mounting your window visors with tape, securing and testing are key steps. This ensures the visors stay in place and work well. Proper securing avoids issues like water leaks or the visor falling off.
Testing the visor helps you confirm the installation is solid. It also lets you spot any problems early. Take time to do this right for a long-lasting fit.
Checking For Gaps
Look closely along the edges of the visor. Make sure the tape sticks firmly without gaps. Gaps let water and wind enter, reducing the visor’s effectiveness.
Run your finger gently along the seal. Feel for any loose areas or spaces. Press down firmly on weak spots to improve adhesion.
If you find gaps, clean the area and reapply tape. This keeps the visor tight against the window frame.
Ensuring Durability
Test the visor by gently pulling on it. It should not move or lift easily. A strong hold means the tape is doing its job.
Check the visor after driving a few days. Heat and wind can weaken the tape. Recheck and press down edges if needed.
Use quality automotive tape for best results. This helps the visor last through weather changes and car washes.
Credit: www.pirouette-editions.fr
Maintenance Tips
Proper maintenance keeps your window visors looking good and working well. Simple care can extend their life and prevent damage. Focus on gentle cleaning and protecting them from harsh weather. This section shares easy tips for both.
Cleaning Without Damage
Use a soft cloth to clean the visors. Avoid rough sponges or brushes that can scratch the surface. Mild soap mixed with water works best. Rinse with clean water to remove soap. Dry gently with a microfiber towel. Avoid harsh chemicals or solvents that weaken the tape. Clean regularly to stop dirt buildup.
Handling Extreme Weather
Window visors face sun, rain, snow, and wind. Check the tape often for signs of peeling or loosening. Warm weather can soften the adhesive; cold can make it brittle. Park in shaded areas to reduce sun damage. Remove snow carefully without using sharp tools. Replace the tape if it loses stickiness. Good care keeps visors secure through all seasons.

Credit: stonedesignbysantos.com
Frequently Asked Questions
How Do I Prepare The Window Surface For Visor Tape?
Clean the window surface thoroughly with alcohol. Remove dirt, oil, and moisture. A clean surface ensures strong tape adhesion and long-lasting installation.
Can I Use Any Tape To Mount Window Visors?
No, use automotive double-sided tape designed for outdoor use. It provides strong bonding and resists weather elements, ensuring secure visor attachment.
How Long Should I Press The Tape When Mounting?
Press firmly for at least 30 seconds. This helps the tape stick properly to the window and visor surfaces for durable mounting.
Is It Necessary To Wait Before Driving After Installation?
Yes, wait at least 24 hours before driving. This allows the tape adhesive to cure fully for maximum strength and prevents visor detachment.
Conclusion
Mounting window visors with tape is simple and quick. Clean the surface well before applying tape for strong hold. Press the visor firmly to avoid gaps or loose edges. Take your time to align the visor properly. This method saves time and does not need extra tools.
You can enjoy fresh air without rain or sun glare. A small effort brings big comfort and style to your car. Try it yourself and see how easy it can be.