Have you ever struggled to hang pictures, secure decorations, or fix small items without making a mess? Double sided mounting tape could be your new best friend.
It’s simple, strong, and perfect for countless projects around your home or office. But do you know how to use it the right way to get the best hold every time? You’ll discover easy steps and expert tips that make using double sided mounting tape quick and effective.
Keep reading, and you’ll never worry about nails, drills, or sticky messes again.
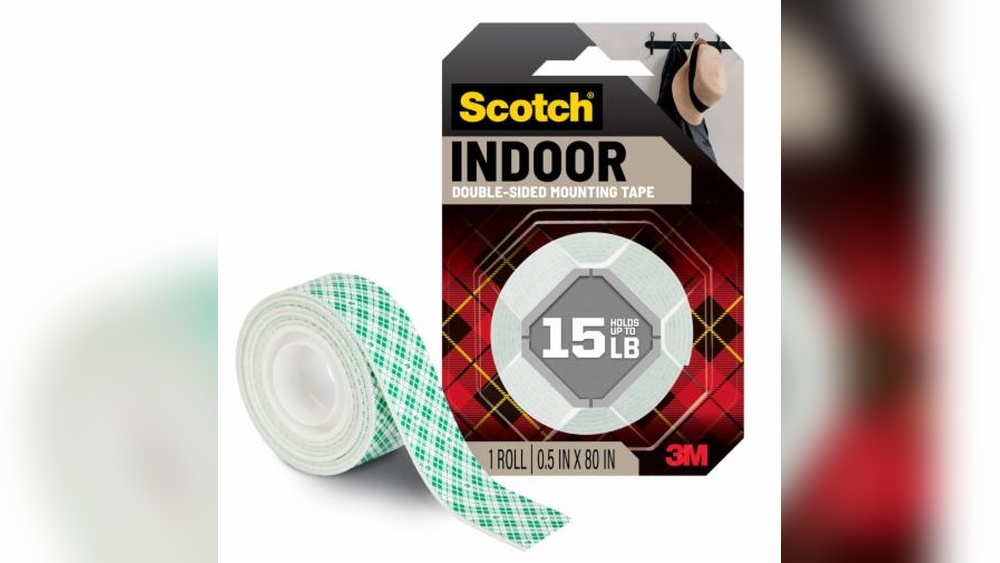
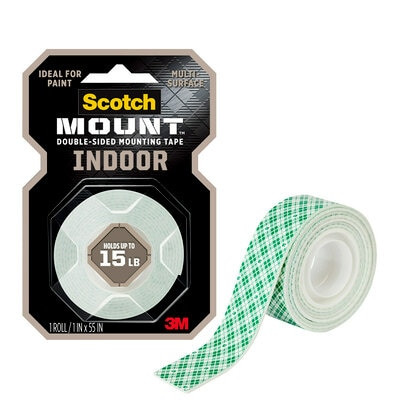
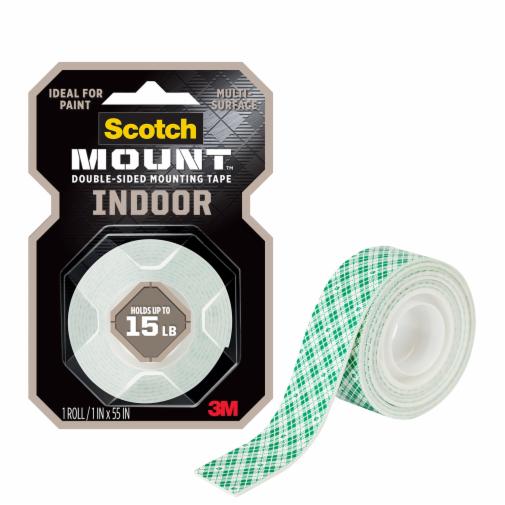
Choosing The Right Tape
Choosing the right double sided mounting tape is key to a strong hold. Not all tapes work the same for every job. Picking the correct tape helps your project last longer and stay secure.
Types Of Double Sided Tape
There are many types of double sided tape. Some tapes use foam for extra cushioning. Others are thin and clear for invisible bonds. Heavy-duty tapes hold more weight and resist water. Choose tape based on the job needs.
Surface Compatibility
Check the surfaces before choosing tape. Some tapes work best on smooth surfaces like glass or metal. Others stick well to rough or uneven surfaces like wood or brick. Make sure the tape matches your surface type for best results.
Weight And Load Considerations
Think about the weight of the item to mount. Light objects need less strong tape. Heavy items require strong, thick tape for safety. Always check the tape’s weight limit before use. This keeps your items from falling down.
Preparing Surfaces
Preparing surfaces is the first step for using double sided mounting tape correctly. Clean and smooth surfaces help the tape stick better. Poor surface preparation can cause the tape to peel off or lose strength quickly.
Follow simple steps to get your surface ready. These steps ensure strong and lasting adhesion. Focus on cleaning, drying, and understanding the surface texture.
Cleaning Techniques
Remove dust, dirt, and grease from the surface. Use a soft cloth with rubbing alcohol or mild soap. Avoid oily or waxy cleaners. They leave a residue that weakens the tape’s grip. Wipe the surface well and repeat if needed.
Drying And Temperature Tips
Make sure the surface is completely dry before applying tape. Moisture reduces the tape’s stickiness. Apply tape at room temperature, between 60°F and 80°F. Cold or hot conditions can stop the tape from bonding properly.
Surface Texture Impact
Smooth surfaces offer the best hold for double sided tape. Rough or porous surfaces reduce contact area and weaken the bond. Use fine sandpaper to smooth rough spots. Avoid applying tape on dusty or flaky textures for best results.
Application Techniques
Application techniques are key to using double sided mounting tape well. Proper use helps the tape stick firmly and last longer. Follow simple steps to get the best hold and neat look.
Cutting And Measuring Tape
Measure the area where the tape will go. Cut the tape slightly longer than needed. Use scissors or a sharp knife for clean cuts. Avoid stretching the tape while cutting.
Aligning Materials
Place one side of the tape on the first surface. Remove the backing carefully without touching the sticky side. Align the second material slowly and gently. Make sure edges match perfectly before pressing down.
Applying Pressure Effectively
Press the materials firmly together after alignment. Use your fingers or a flat tool to apply even pressure. Hold for at least 30 seconds to improve adhesion. Strong pressure helps the tape bond better and last longer.
Credit: www.strobelssupply.com
Troubleshooting Common Issues
Double sided mounting tape is useful for many projects. Sometimes, issues like air bubbles or poor stickiness occur. These problems can affect your results. This section helps you solve common problems fast. Follow simple tips for best tape performance.
Preventing Air Bubbles
Air bubbles make tape look messy and reduce hold. To avoid bubbles, clean the surface well. Dry the area completely before applying tape. Press the tape down slowly. Use a flat tool, like a credit card, to smooth it out. Move from the center to edges. This pushes air out and creates a strong bond.
Dealing With Poor Adhesion
Poor adhesion means the tape does not stick well. Check if the surface is dirty or oily. Clean with rubbing alcohol and let it dry. Avoid using tape on wet or rough surfaces. Press firmly for at least 30 seconds after applying. Warm the tape slightly with a hairdryer to improve stickiness. Use high-quality tape for better results.
Removing Tape Without Damage
Removing tape can damage paint or surface. Pull the tape slowly at a 45-degree angle. Use heat from a hairdryer to soften the adhesive. This makes removal easier and safer. For leftover residue, apply rubbing alcohol or adhesive remover. Wipe gently with a soft cloth. Take time to avoid scratches or peeling paint.
Special Uses And Tips
Double sided mounting tape offers many special uses beyond basic sticking. Understanding how to use it on different materials helps you get better results. Knowing the difference between temporary and permanent bonds guides your project choices. Following safety tips keeps your work safe and clean.
Mounting On Different Materials
Double sided tape works well on wood, metal, glass, and plastic. Clean surfaces with alcohol before applying tape for strong hold. Rough surfaces may need extra pressure to stick properly. Avoid using tape on wet or dusty areas. Test a small spot to check if the tape sticks well.
Temporary Vs Permanent Bonds
Choose tape based on how long you want the bond to last. Some tapes are made for temporary use and peel off easily. Permanent tapes stick strongly and hold for a long time. Use temporary tape for decorations or light objects. Use permanent tape for heavier items or long-term mounting.
Safety Precautions
Keep tape away from children and pets to avoid accidental swallowing. Avoid touching the sticky side to keep it clean and effective. Cut the tape carefully with scissors to prevent injury. Work in a well-ventilated area if the tape has a strong smell. Dispose of used tape properly to protect the environment.

Credit: www.youtube.com
Credit: www.3m.com.jm
Frequently Asked Questions
What Surfaces Work Best With Double Sided Mounting Tape?
Double sided mounting tape adheres well to smooth, clean surfaces like glass, metal, plastic, and painted wood. Avoid rough or porous surfaces as they reduce adhesion strength. Always clean and dry the area before application for the best results.
How Long Does Double Sided Mounting Tape Hold Items?
The tape can hold items for several months to years, depending on weight and surface type. It is designed for long-lasting bonds but avoid heavy or valuable objects without extra support.
Can Double Sided Mounting Tape Be Removed Easily?
Yes, double sided mounting tape can be removed by peeling slowly and using heat or adhesive remover. Some residue might remain but can be cleaned with rubbing alcohol or a mild solvent.
Is Double Sided Mounting Tape Waterproof?
Most double sided mounting tapes are water-resistant but not fully waterproof. They work well indoors and in dry areas but prolonged exposure to moisture can weaken the adhesive.
Conclusion
Double sided mounting tape offers a quick and easy way to stick items. It works best on clean, dry surfaces. Press firmly to ensure a strong hold. Avoid heavy objects to keep things safe. You can use it for pictures, decorations, and light tools.
Small steps make your project neat and tidy. Try different tapes for different surfaces. Use it wisely and enjoy a clutter-free space. Simple, strong, and fast – that’s the power of double sided tape.