Are you struggling to keep your measurements accurate and consistent while working on your longarm quilting projects? Mounting a centering tape measure on your longarm can be a game-changer, making your work faster and more precise.
But how do you do it right? In this post, you’ll discover simple, step-by-step instructions that anyone can follow. By the end, you’ll have a handy setup that saves you time and frustration on every quilt. Keep reading to learn how to mount your centering tape measure perfectly and take your quilting to the next level!

Credit: www.amazon.com
Choosing The Right Tape Measure
Choosing the right tape measure is key for mounting it on a longarm machine. It affects accuracy and ease of use. A good tape measure helps keep your quilting precise. This section guides you on picking the best one for your needs.
Tape Measure Types
Tape measures come in different types. Cloth tapes are soft and flexible. They wrap easily around fabric but may stretch over time. Steel tapes are stiff and hold shape well. They offer better accuracy on flat surfaces. Fiberglass tapes resist stretching and wear. They balance flexibility and durability.
Size And Length Considerations
Length matters for quilting projects. A tape measure of 60 to 100 inches suits most longarm tasks. Too short limits measurement range. Too long becomes bulky and hard to handle. Choose a size that fits your workspace and quilting style.
Material And Durability
Material impacts how long your tape measure lasts. Look for tapes with clear, fade-resistant markings. Plastic coatings protect against wear and tear. Sturdy materials resist curling and cracking. Durable tapes save money and effort over time.

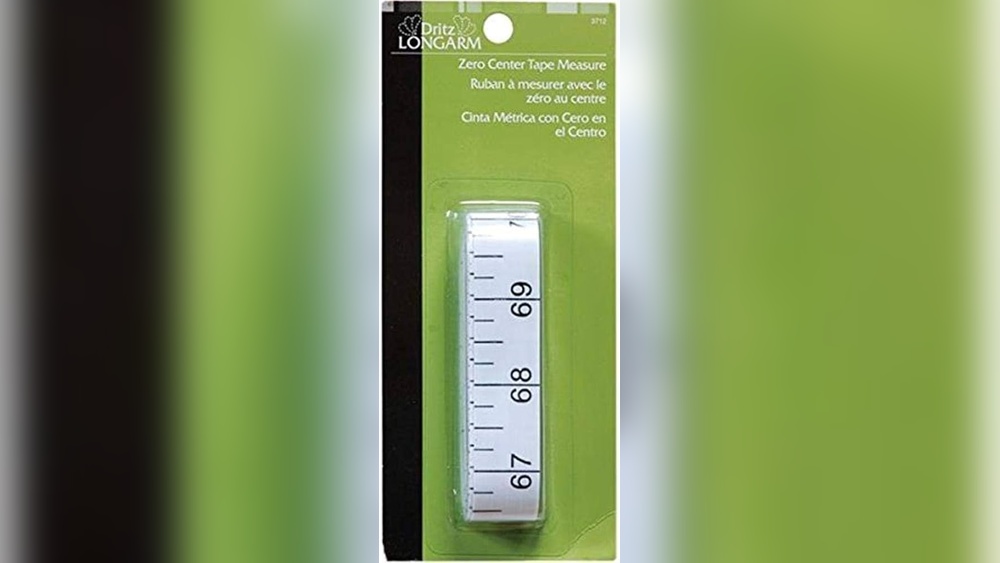
Credit: 123stitch.com
Preparing Your Longarm Machine
Preparing your longarm machine is the first step to mount a centering tape measure properly. It ensures the tape measure fits well and works accurately. Taking time to prepare helps avoid errors and saves time during installation.
Cleaning The Frame
Start by cleaning the frame carefully. Use a soft cloth to remove dust and dirt. Avoid harsh chemicals that can damage the frame. A clean surface helps the tape measure stick firmly and last longer. Check for any rust or residue and wipe it off completely.
Selecting The Mounting Spot
Pick a spot on the frame that is flat and easy to see. The tape measure should be within your sight while working. Avoid places with curves or bumps. Choose a spot that won’t get in the way of your quilting. Mark the spot lightly with a pencil or masking tape.
Tools Needed For Installation
Gather all the tools before starting the installation. You will need a screwdriver, measuring tape, and adhesive or mounting clips. Keep a level handy to ensure the tape measure is straight. Having tools ready makes the process smooth and fast.
Attaching The Centering Tape Measure
Attaching the centering tape measure on your longarm is a key step. It helps keep your measurements accurate and your quilting neat. This process needs care to make sure the tape stays in place and works well.
Aligning The Tape Measure
Start by placing the tape measure along the machine’s center. Make sure it is straight and follows the longarm’s length exactly. Check both ends to see if they match the machine’s edges. Proper alignment prevents measurement errors during quilting.
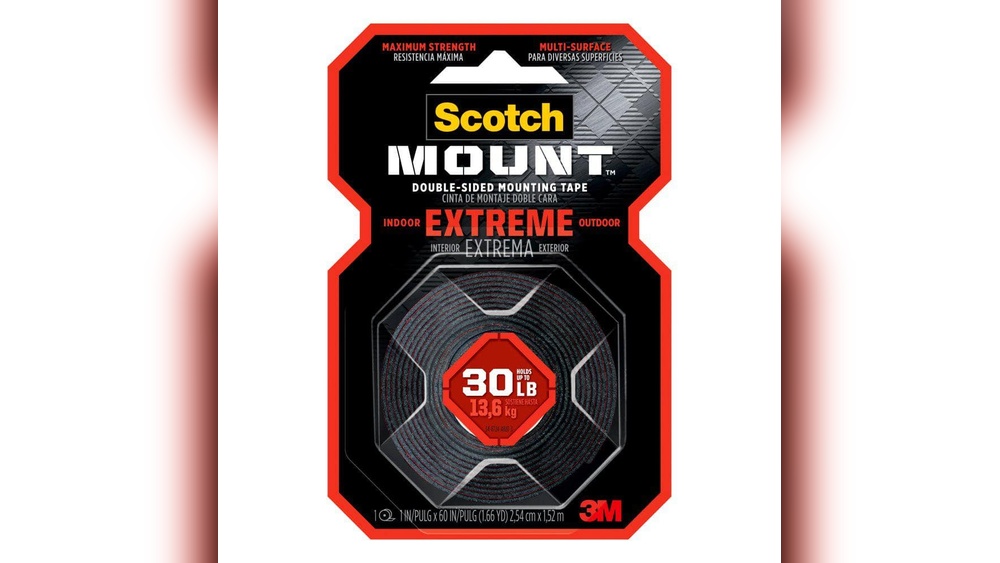
Securing With Clips Or Adhesives
Use small clips or double-sided tape to fix the tape measure. Clips are easy to move if needed. Adhesives hold the tape firmly but may leave residue. Choose the option that fits your machine and preference best.
Ensuring Proper Tension
Keep the tape measure tight but not stretched. Loose tape can shift and cause mistakes. Too tight tape might warp or damage the measure. Adjust the tension carefully to keep it smooth and secure.
Calibrating The Tape Measure
Calibrating the tape measure is a key step before mounting it on your longarm machine. This process ensures the tape gives correct readings. Accurate measurements help keep your quilting designs balanced and precise.
Without proper calibration, you might get wrong distances. This can affect your quilting results and waste fabric. Taking time to calibrate the tape measure improves your sewing experience and final work quality.
Marking The Zero Point
Start by finding the exact zero mark on the tape measure. Align this mark with the starting edge of your longarm. Use a fine marker to highlight this point clearly. This mark acts as your reference for all measurements.
Make sure the tape lies flat and straight. Avoid any twists or bends near the zero point. This step sets the base for accurate measuring during quilting.
Checking Accuracy
Measure a known length on the tape to test its accuracy. Use a ruler or a metal straight edge for comparison. Check if the tape matches the ruler’s marks exactly.
Repeat this check at different points along the tape. Small errors can add up and cause big problems. Confirm the tape measure stays consistent across its length.
Adjusting For Precision
If you spot any mismatch, adjust the tape measure carefully. Shift the tape slightly to align the zero point better. Tighten any screws or clamps holding the tape in place.
Recheck the measurements after each adjustment. Fine tuning ensures your tape measure works precisely. Keep adjusting until the tape matches your reference tool perfectly.
Tips For Effective Use
Using a centering tape measure on a longarm machine helps achieve precise quilting measurements. Proper use improves accuracy and speeds up your work. Follow these tips to get the best results.
Maintaining The Tape Measure
Keep the tape clean and dry to avoid damage. Wipe it gently with a soft cloth after each use. Check for any kinks or bends that can affect readings. Store the tape flat or rolled loosely to maintain shape. Replace worn or faded tapes to ensure clear markings.
Common Mistakes To Avoid
Do not pull the tape too hard; it can stretch or break. Avoid twisting the tape while measuring, as it causes errors. Skip skipping numbers or lines when reading the tape. Make sure the tape is straight and tight for precise measurement. Never ignore small differences, as they add up over long distances.
Maximizing Measurement Efficiency
Mount the tape measure at eye level for easy reading. Use a fixed point on the machine as a starting reference. Mark frequent measurement points with small stickers or tape. Practice reading measurements quickly to speed up your process. Regularly check your setup to keep it aligned and accurate.
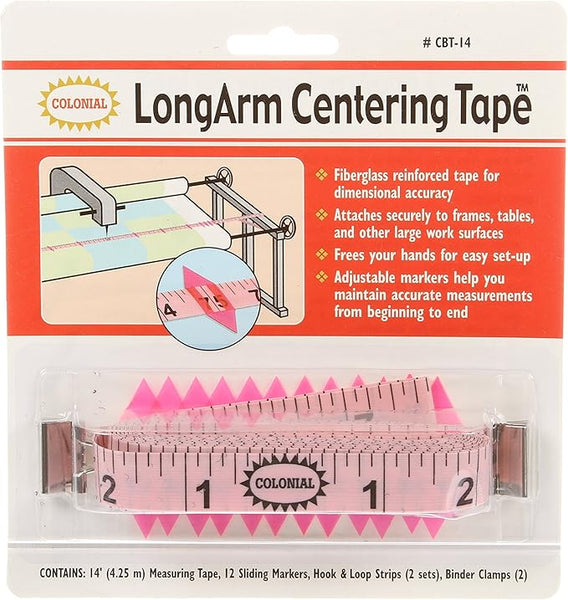
Credit: www.qualitysewing.com
Frequently Asked Questions
How Do I Mount A Centering Tape Measure On A Longarm?
To mount a centering tape measure, align it with the machine’s center rail. Use clips or adhesive tape to secure it firmly. Ensure the tape is straight and taut for accurate measurements during quilting.
What Tools Are Needed To Install A Centering Tape Measure?
You only need basic tools like clips, adhesive tape, and scissors. Clips help hold the tape in place, while scissors cut it to the right length. No complex tools are necessary for mounting.
Can I Use Any Tape Measure For Longarm Quilting?
Not all tape measures suit longarm machines. Choose a flexible, durable centering tape designed for quilting. It should have clear markings and fit the machine’s width precisely for accurate centering.
How Does A Centering Tape Improve Longarm Quilting Accuracy?
A centering tape helps align fabric and designs precisely on the machine. It guides stitch placement, reducing errors and improving quilt symmetry. This tool enhances efficiency and professional results in quilting.
Conclusion
Mounting a centering tape measure on a longarm helps improve your quilting accuracy. It saves time by giving clear, quick measurements. Follow the steps carefully for best results. Keep the tape straight and secure for precise marks. Practice a few times to gain confidence.
This simple addition makes your quilting smoother and more enjoyable. Try it on your next project and see the difference. Small changes like this make quilting easier and more fun.