Are you struggling to get adhesive tape to stick properly to wood? You’re not alone.
Whether you’re fixing something, crafting, or organizing, mounting tape on wood can be tricky. But don’t worry—once you know the right steps, you’ll get a strong hold every time. You’ll discover simple tips and easy tricks to make your tape stick perfectly to wood surfaces.
Keep reading to learn how to achieve a secure, lasting bond that saves you time and frustration.
Choosing The Right Tape
Choosing the right adhesive tape is key for a strong bond on wood surfaces. Different tapes work better for certain wood types and tasks. Picking the best tape helps the tape stick well and last longer.
Types Of Adhesive Tape For Wood
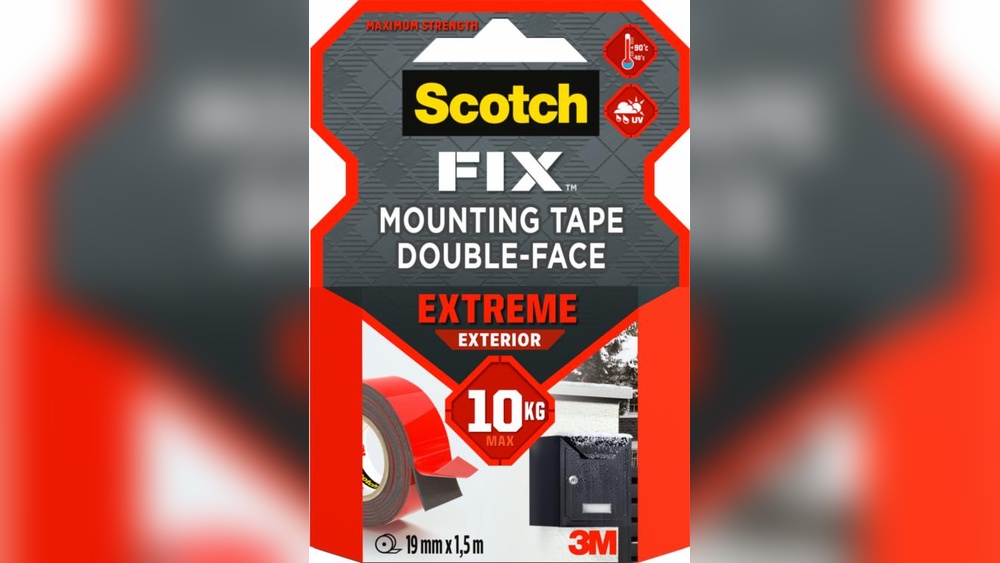
Double-sided tape sticks on both sides. It works well for light wood pieces or crafts. Masking tape is easy to tear and remove. It suits temporary holds or painting jobs. Duct tape is strong and water-resistant. It fits heavy-duty projects but may leave residue. Foam tape adds cushioning and fills gaps. It is good for uneven wood surfaces. Packing tape is clear and thin. Use it for light sealing or wrapping wood.
Factors Affecting Tape Selection
Consider the wood type. Smooth wood holds tape better than rough wood. Think about the weight of the object. Heavy items need stronger tape. Check if the tape will face water or heat. Some tapes lose stickiness in moisture or heat. Surface cleanliness matters. Dust or oil can stop the tape from sticking well. Choose tape with the right thickness for your project. Thicker tape often means stronger hold.
Credit: www.baycrawlspace.com
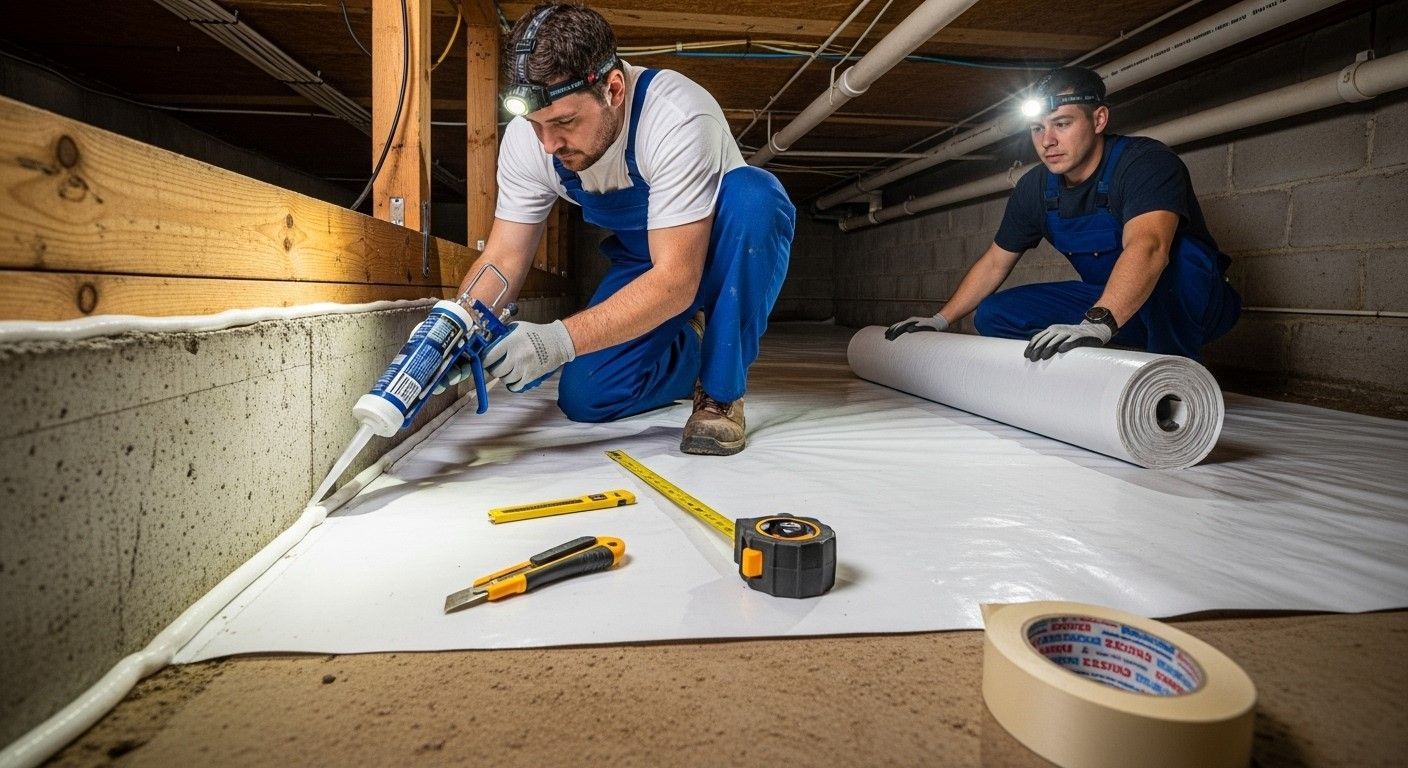
Preparing The Wood Surface
Preparing the wood surface is a key step before mounting adhesive tape. A clean, smooth surface helps the tape stick better and last longer. Skipping this step can cause the tape to peel off quickly. Follow simple steps to prepare the wood properly.
Cleaning And Drying The Surface
Start by removing dust and dirt from the wood. Use a soft cloth or brush to clean the area. Avoid using water if the wood is untreated. Wipe the surface with a dry cloth to remove any moisture. The wood must be completely dry before applying tape. Moisture weakens the tape’s stickiness.
Sanding For Better Adhesion
Lightly sand the wood surface to make it smooth and even. Use fine-grit sandpaper to avoid scratches. Sanding removes rough spots and old finishes. This creates a better surface for the tape to grip. After sanding, clean off dust with a dry cloth. Ensure no particles remain on the wood.
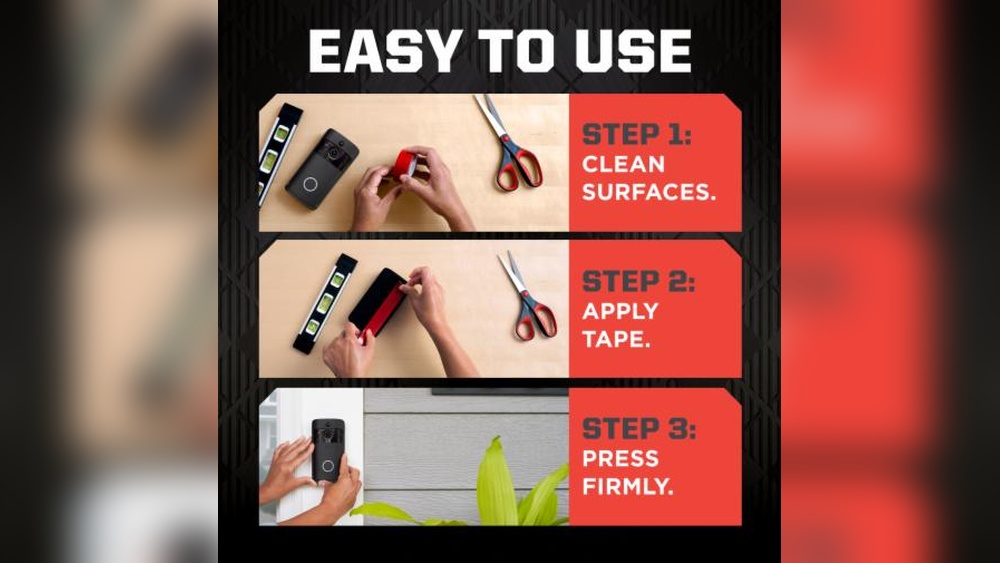
Applying The Tape Correctly
Applying adhesive tape to wood needs care for strong hold and clean results. Proper steps help avoid bubbles and peeling. This section guides you through correct application to ensure the tape sticks well and looks neat.
Measuring And Cutting Tape
Start by measuring the wood surface where the tape goes. Use a ruler or tape measure for exact length. Cut the tape slightly longer than needed. This extra length allows adjustment during placement. Use sharp scissors or a craft knife for a clean cut. Avoid jagged edges that affect adhesion.
Positioning And Pressing Techniques
Place the tape gently on the wood surface. Align it carefully before pressing down. Press the tape with your fingers to avoid wrinkles. Use a flat tool, like a credit card, to smooth the tape. Move from the center outwards to push air bubbles away. Press firmly to ensure full contact with the wood.
Maximizing Bond Strength
Maximizing bond strength is key to a lasting hold when mounting adhesive tape to wood. Strong bonds prevent tape from peeling or falling off over time. This section explains simple ways to improve the tape’s stickiness and durability.
Using Heat Or Pressure
Applying heat makes the adhesive softer and stickier. Use a hairdryer or warm cloth to warm the tape after placing it. Heat helps the tape grip the wood better.
Pressure pushes the tape into the wood surface. Press firmly with your hand or a roller. This removes air bubbles and increases contact between the tape and wood.
Allowing Proper Curing Time
Adhesive tape needs time to set and form a strong bond. Avoid moving or stressing the tape right after applying it. Wait at least 24 hours for the adhesive to cure fully.
Patience improves bond strength. A well-cured adhesive holds longer and resists peeling or damage.
Common Mistakes To Avoid
Mounting adhesive tape to wood may seem simple. Still, many people make mistakes that cause poor results. Avoid these common errors to ensure your tape sticks well and lasts long.
Ignoring Surface Preparation
Clean the wood surface before applying tape. Dust, dirt, and oil stop tape from sticking properly. Use a dry cloth or mild cleaner to wipe the area. Let the surface dry completely. Rough or uneven surfaces can also reduce adhesion. Sand smooth areas lightly for better contact.
Using Incompatible Tape Types
Choose tape designed for wood surfaces. Some tapes work well on wood, others do not. Using the wrong tape causes peeling or weak hold. Check the tape label for suitable materials. Double-sided, painter’s, and mounting tapes vary in strength. Pick one made for your specific project needs.

Credit: www.amazon.com
Removing Tape Without Damage
Removing adhesive tape from wood can be tricky. The goal is to avoid damaging the wood’s surface. Pulling tape off too fast may peel paint or leave sticky residue. Taking your time helps keep wood safe and clean.
Techniques For Safe Removal
Start by loosening the tape edges gently. Use your fingernail or a plastic scraper. Avoid metal tools that can scratch the wood. Pull the tape slowly at a low angle. If the tape resists, warm it slightly with a hairdryer. Heat softens the adhesive, making removal easier. Work in small sections for better control. Stop if the tape tears and lift remaining parts carefully. Patience prevents damage and keeps wood intact.
Cleaning Residue Effectively
Sticky residue often remains after tape removal. Use a soft cloth with a mild soap solution. Rub gently to avoid harming the wood finish. For tougher residue, try a small amount of mineral spirits. Test in a hidden spot first to check for damage. Wipe with a clean, damp cloth afterward. Dry the area completely to prevent water spots. Proper cleaning restores the wood’s natural look.

Credit: www.nordisco.com
Frequently Asked Questions
How Do You Prepare Wood For Adhesive Tape?
Clean the wood surface thoroughly. Remove dust, grease, or moisture. Use a dry cloth or mild cleaner. Smooth rough areas with sandpaper. Proper preparation ensures strong tape adhesion and durability.
What Type Of Adhesive Tape Works Best On Wood?
Double-sided or painter’s tape works well on wood. Choose tapes with strong bonding and flexibility. Look for weather-resistant options for outdoor use. Always check manufacturer recommendations for wood surfaces.
Can Adhesive Tape Damage Wood Surfaces?
Adhesive tape can damage wood if removed improperly. Peel slowly and gently at a low angle. Use heat or adhesive remover to avoid residue. Test on a small area before full application.
How Long Does Adhesive Tape Last On Wood?
Tape longevity depends on wood type, surface prep, and environment. Generally, adhesive tape lasts weeks to months on wood. Avoid moisture and direct sunlight to extend tape life. Replace tape if it loses stickiness or peels.
Conclusion
Mounting adhesive tape to wood is simple with the right steps. Clean the wood surface well to help the tape stick better. Press the tape firmly and avoid air bubbles. Choose the right tape for your project to get strong hold.
With care, the tape will stay in place for a long time. Try these tips to make your work neat and lasting. Keep practicing, and you will get better each time.