Are you tired of messy glues and complicated mounting methods? Mosaic mounting tape is here to make your projects simple and clean.
Whether you’re working on a craft, a home decoration, or a DIY repair, this tape offers a strong hold without the hassle. You’ll discover easy steps to use mosaic mounting tape like a pro. By the end, you’ll know exactly how to get your mosaics stuck perfectly every time—no frustration, just great results.
Keep reading to unlock the secret to a smooth, lasting finish for all your creative ideas.
Choosing The Right Tape
Choosing the right mosaic mounting tape is important for your project’s success. The tape holds the mosaic pieces firmly in place. Using the wrong tape can cause tiles to slip or fall. Knowing the types of tape and what to consider helps pick the best one for your needs.
Types Of Mosaic Mounting Tape
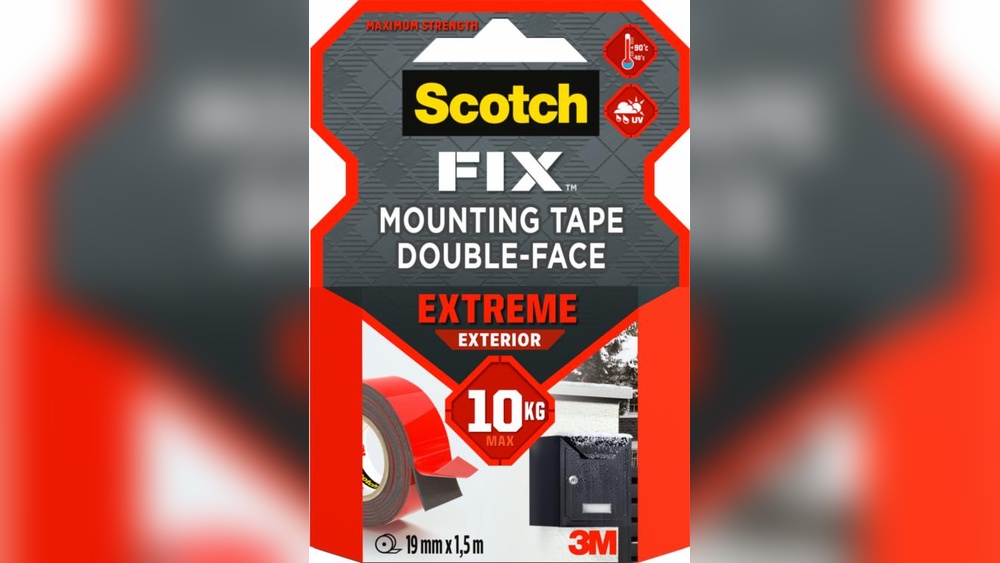
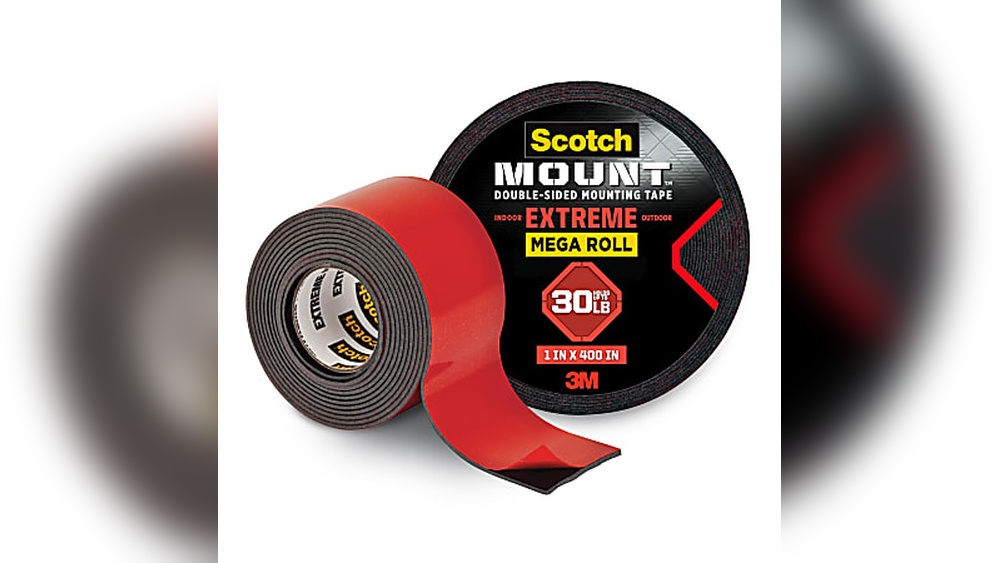
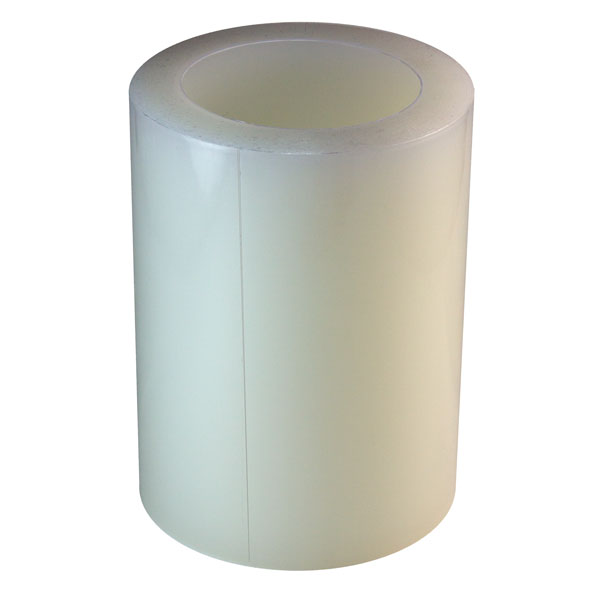
There are several types of mosaic mounting tape available. Double-sided tape is common and easy to use. It sticks well to both the backing and the tiles. Foam tape offers extra cushioning for uneven surfaces. Clear tapes are less visible behind transparent or glass tiles. Some tapes are waterproof, perfect for bathroom or outdoor mosaics. Choosing the tape type depends on your mosaic materials and where you will install it.
Factors To Consider
Surface type matters a lot. Smooth surfaces need different tape than rough ones. Check the weight of the mosaic tiles. Heavy tiles need stronger adhesive tapes. Temperature and moisture levels also affect tape choice. Select tapes that handle heat or water well. The tape’s thickness impacts how flush your tiles sit. Lastly, think about the duration. Temporary projects use easy-to-remove tape. Permanent mosaics require long-lasting adhesives.
Preparing The Surface
Preparing the surface is the first step in using mosaic mounting tape effectively. A clean, dry, and smooth surface helps the tape stick better. This step ensures your mosaic stays in place for a long time. Taking time to prepare the surface reduces the risk of tiles falling off.
Cleaning Techniques
Start by removing dust and dirt from the surface. Use a soft brush or cloth to clear loose particles. For sticky or oily spots, apply a mild soap and water solution. Gently scrub the area and rinse with clean water. Avoid harsh chemicals that can damage the surface. Let the surface dry completely before moving to the next step.
Ensuring Dryness And Smoothness
Check the surface for moisture after cleaning. Use a dry cloth to wipe any water left behind. Moisture weakens the tape’s adhesive power. Feel the surface with your hand to detect bumps or rough patches. Smooth these areas with fine sandpaper if needed. A flat, dry surface allows the tape to stick firmly and evenly.
Cutting And Measuring Tape
Cutting and measuring mosaic mounting tape correctly is essential for a neat finish. Precise cuts ensure the tape fits perfectly on your mosaic pieces. This step helps avoid waste and keeps your project clean.
Tools Needed
Gather a sharp utility knife or scissors for cutting tape. Use a ruler or measuring tape for accuracy. A cutting mat protects your work surface. Having these tools ready makes the job easier.
Tips For Accurate Cutting
Measure twice to avoid mistakes. Mark the tape lightly with a pencil before cutting. Cut slowly and follow the marked line. Use a straight edge to guide your knife. Keep your tools sharp for clean cuts.
Applying The Tape
Applying mosaic mounting tape correctly is key to a strong hold. This tape helps keep your mosaic pieces in place during installation. Taking your time during application ensures the best results.
Step-by-step Application
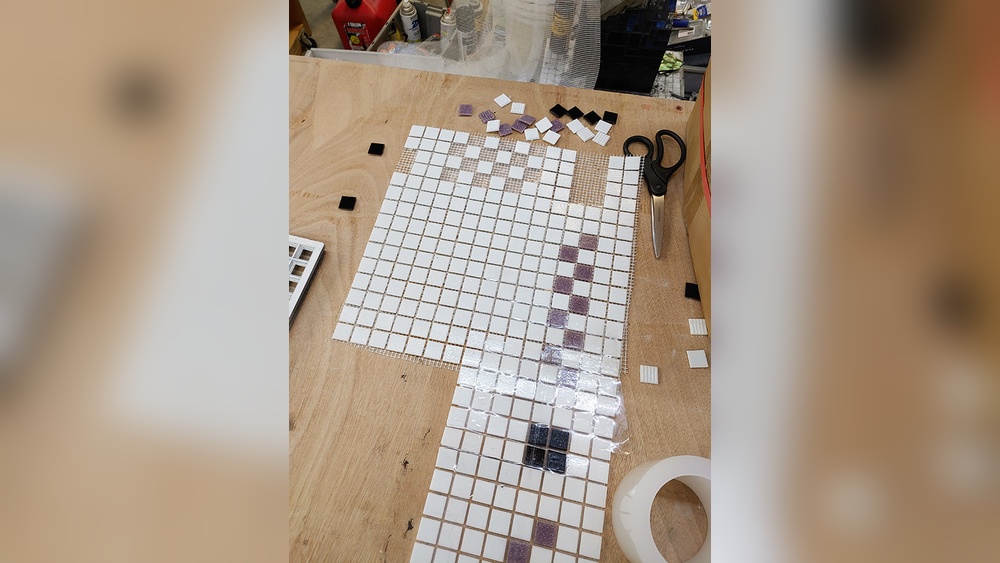
Start with a clean, dry surface. Cut the tape to the size you need. Peel off the backing slowly. Press the tape firmly onto the back of your mosaic sheet. Smooth it out to cover every part. Avoid stretching the tape to keep it sticky. Once applied, trim any excess tape around the edges.
Avoiding Air Bubbles
Air bubbles can weaken the bond. Press the tape down from one side to the other. Use a flat tool like a squeegee or credit card. Move slowly to push out trapped air. If bubbles appear, lift and reapply that section. Repeat smoothing until the tape lies flat. A smooth surface means better adhesion and cleaner results.
Mounting The Mosaic
Mounting the mosaic is a key step in your project. It makes sure your mosaic stays flat and looks great. Using mosaic mounting tape helps fix the pieces securely. This section explains how to position and secure the mosaic with ease.
Positioning Techniques
Start by cleaning the surface where you will mount the mosaic. The area should be dry and free of dust or grease. Place the mosaic on a flat table first. Arrange the tiles to see the final design. Use a ruler or straight edge to align the edges. Mark the wall or board lightly with a pencil. This helps guide the placement of the mosaic. Position the mosaic carefully before sticking it down. Check for even spacing between tiles. Take your time to get the layout right.
Securing The Mosaic
Cut strips of mosaic mounting tape to the needed length. Apply the tape on the back of the mosaic evenly. Press the tape firmly to avoid air bubbles. Peel off the protective layer from the tape. Slowly place the mosaic on the marked surface. Press the mosaic firmly to stick it well. Use a soft cloth or roller to smooth it out. Make sure all parts of the mosaic are attached. Let it set without moving for a few hours. This ensures strong adhesion and a lasting hold.
Credit: www.youtube.com
Finishing Touches
Finishing touches make your mosaic project look neat and complete. These final steps ensure your work stays strong and beautiful. Proper finishing helps the tape blend well with the tiles and keeps the mosaic secure over time.
Take time with these small details. They improve the overall appearance and durability of your mosaic.
Trimming Excess Tape
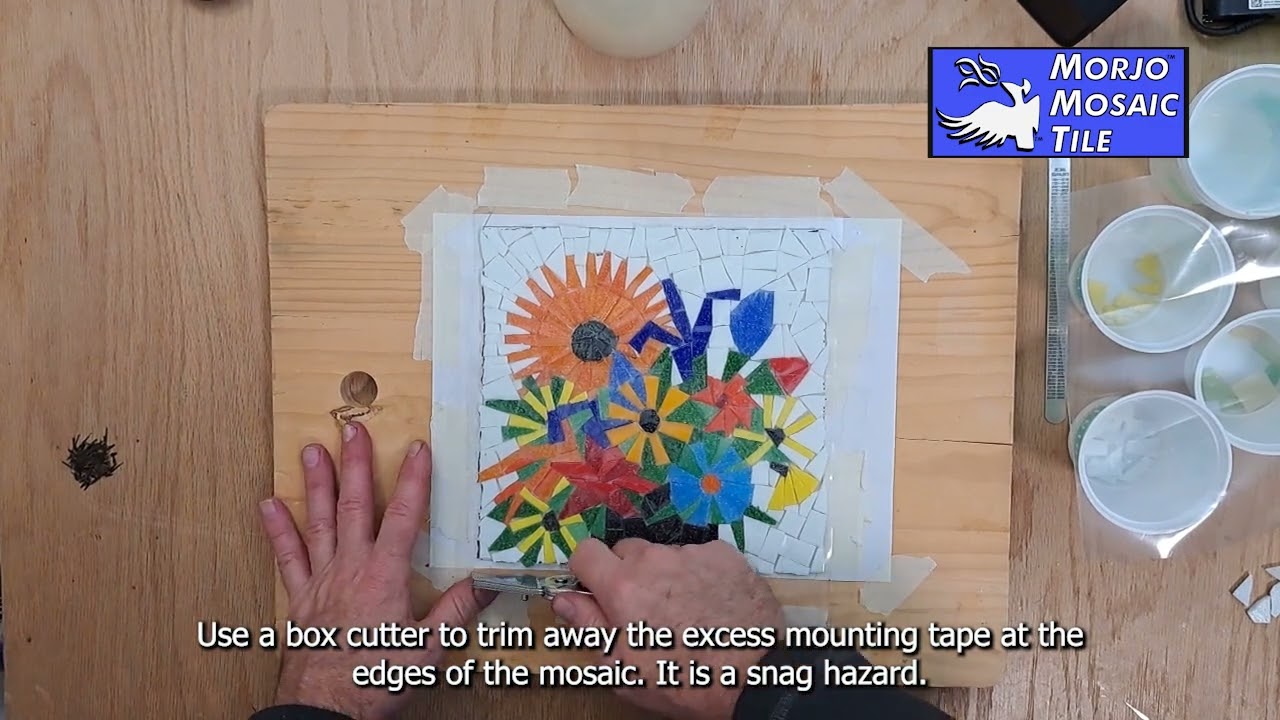
Use sharp scissors or a craft knife to cut away extra tape. Cut close to the edges of the tiles for a clean look. Be careful not to cut the tape under the tiles.
Trim slowly and steadily. This prevents lifting or damage to your mosaic surface. Removing excess tape stops dirt from sticking to sticky edges.
Cleaning Residue
After trimming, some sticky residue may remain. Wipe the surface gently with a soft cloth dampened with warm water. Avoid harsh chemicals that can damage the tape or tiles.
Use light pressure to remove residue without peeling the tape. Clean surfaces keep your mosaic fresh and help the tape last longer.
Common Mistakes To Avoid
Using mosaic mounting tape can be easy and effective. Avoid common mistakes to get the best results. These errors can weaken the bond and ruin your project. Learn what to watch out for and how to prevent problems.
Improper Surface Prep
Clean the surface well before applying the tape. Dirt, dust, or grease stops the tape from sticking properly. Use rubbing alcohol or a mild cleaner to wipe the area. Make sure the surface is dry before placing the tape. Press the tape firmly to ensure good contact.
Using Wrong Tape Type
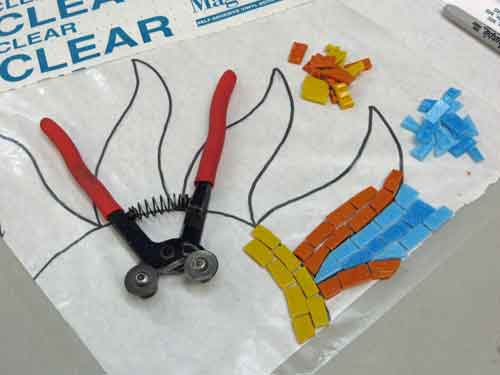
Choose the right type of mosaic mounting tape for your project. Some tapes work better on rough surfaces, others on smooth ones. Using the wrong tape can cause the mosaic to fall off. Check the tape’s label for recommended materials and conditions. Match the tape to your surface and mosaic weight for secure mounting.
Credit: blog.mosaicartsupply.com
Maintenance Tips
Proper maintenance keeps your mosaic mounting tape strong and lasting. It helps your mosaics look fresh and hold well for years. Follow simple steps to clean and repair mosaics easily. These tips save time and prevent bigger problems.
Cleaning Mounted Mosaics
Use a soft cloth to clean mounted mosaics gently. Avoid harsh chemicals that might damage the tape or tiles. Mild soap mixed with water works best for cleaning. Wipe the surface carefully and dry it with a clean towel. Regular cleaning stops dirt from weakening the tape’s hold.
Handling Repairs
Check mosaics regularly for loose tiles or edges. Fix small issues quickly to avoid bigger damage. Use the same mosaic mounting tape to reattach loose pieces. Press firmly and hold for a few seconds to ensure a strong bond. Replace tape if it loses stickiness or looks worn out.
Credit: mosaicartsupply.com
Frequently Asked Questions
What Is Mosaic Mounting Tape Used For?
Mosaic mounting tape is used to securely attach mosaic tiles to surfaces. It provides strong adhesion and makes tile placement easy. This tape helps prevent tile movement during installation. It’s ideal for both indoor and outdoor mosaic projects. Using it ensures a neat and durable finish.
How Do You Apply Mosaic Mounting Tape Correctly?
Clean and dry the surface before applying the tape. Cut the tape to the desired length. Press the tape firmly onto the surface to avoid air bubbles. Place mosaic tiles onto the tape carefully, ensuring even spacing. This method ensures strong adhesion and a smooth finish.
Can Mosaic Mounting Tape Be Used On Uneven Surfaces?
Yes, mosaic mounting tape can adhere to slightly uneven surfaces. However, very rough or highly textured surfaces may reduce tape effectiveness. For best results, ensure the surface is as smooth as possible. Proper surface preparation improves tape adhesion and tile stability.
Is Mosaic Mounting Tape Waterproof And Weather-resistant?
Most mosaic mounting tapes are water-resistant and suitable for indoor and outdoor use. However, always check product specifications for waterproof ratings. Using waterproof tape helps protect mosaics from moisture damage. It ensures durability and long-lasting adhesion in various conditions.
Conclusion
Mosaic mounting tape helps hold tiles firmly in place. It sticks quickly and stays strong over time. Use it on clean, dry surfaces for best results. Cut the tape to fit your project size. Press tiles down gently but firmly.
This tape saves time and effort during tile work. Try it for neat and lasting mosaic designs. Simple steps lead to great results every time.