Have you ever flipped a light switch, only to find the lights don’t turn on? It can be frustrating and confusing.
You might wonder if the switch itself is the problem or if something else is wrong. Knowing how to check if your light switch is bad can save you time, money, and hassle. You’ll discover simple steps to diagnose your switch quickly and safely.
Keep reading to find out how to bring your lights back to life without calling a professional right away.

Credit: www.youtube.com
Signs Of A Bad Light Switch
Light switches play a key role in controlling the lights in your home. A bad switch can cause many problems. Knowing the signs of a bad light switch helps you spot issues early. It also keeps your home safe and well-lit.
Bad switches often show clear signs before they stop working completely. Watch for changes in how the switch feels or sounds. Check if the lights behave oddly when you use the switch. These clues can warn you about switch problems.
Flickering Lights
Flickering lights often mean a bad switch. The light may blink on and off quickly. This happens because the switch does not connect properly. Flickering can also damage bulbs over time. Notice flickering lights and check the switch soon.
Switch Feels Warm
A warm switch is a warning sign. Switches should feel cool to the touch. Warmth means too much electricity passes through the switch. This can cause overheating and damage. Turn off the power and check the switch if it feels warm.
Sparking Or Buzzing
Sparking or buzzing noises are serious signs. Sparks can cause fires or electric shocks. Buzzing means the switch parts are loose or worn out. Do not ignore these sounds. Stop using the switch and get it inspected quickly.
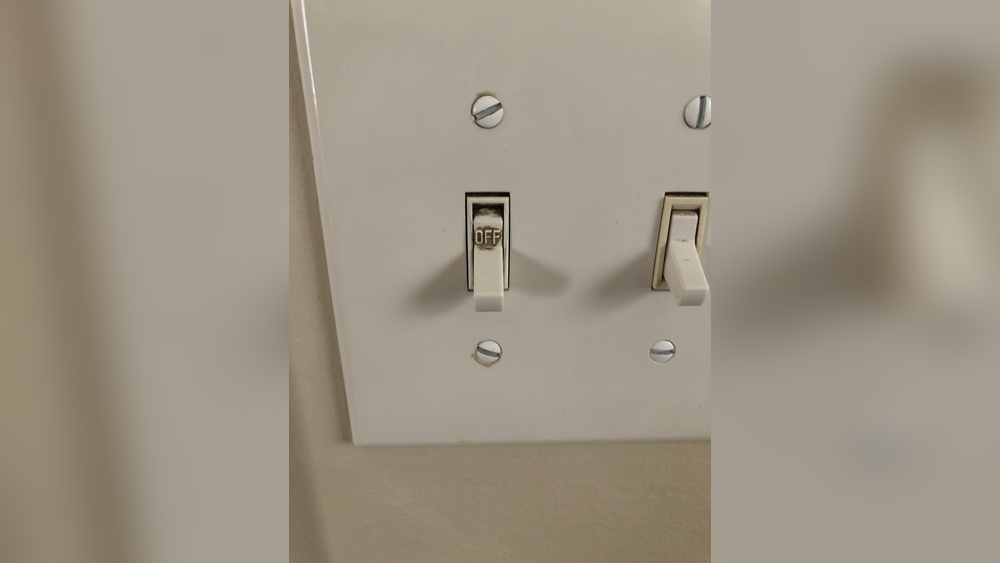
Lights Won’t Turn On
Lights that do not turn on may mean a bad switch. Pressing the switch does nothing. The internal parts may be broken or worn. Check the switch if lights stay off. Replacing a faulty switch can fix the issue fast.
Tools Needed For Testing
Testing a light switch needs some basic tools. These tools help check if the switch works right or if it is bad. Having the right tools makes the task safe and easy. Below are the main tools you need for testing a light switch.
Multimeter
A multimeter measures electrical current and voltage. It shows if electricity flows through the switch. Use it to check continuity and voltage. This tool helps find faults inside the switch. Digital multimeters are easy to read and use.
Voltage Tester
A voltage tester tells if power is in the switch wires. It is simple and quick. This tool helps avoid electric shocks. Place it near the wires to see if voltage is present. It is a must-have for safety checks.
Screwdriver
A screwdriver removes the switch cover and screws. Choose the right size and type for your switch. It makes access to wires and switch parts easy. Use it to open and close the switch box safely.
Flashlight
A flashlight gives light in dark spaces. It helps see wires and switch parts clearly. Use it if your work area is dim or has no light. Good lighting improves safety and accuracy during testing.
Safety Precautions
Checking a light switch can be risky without proper safety steps. Electricity can cause shocks or injuries. Taking safety precautions protects you and your home. Always prepare carefully before starting any electrical work.
Turn Off Power
First, switch off the power at the circuit breaker. This stops electricity from flowing to the switch. Double-check by flipping the switch to see if the light turns off. Never work on a switch while it is live.
Use Insulated Tools
Use tools with insulated handles to avoid electric shocks. Regular metal tools can conduct electricity. Insulated tools keep your hands safe. Always choose the right tool for electrical jobs.
Avoid Wet Conditions
Do not check switches in wet or damp places. Water is a good conductor of electricity. Wet hands or surfaces increase the risk of shock. Make sure the area is dry before working on the switch.
Credit: www.youtube.com
Step-by-step Switch Testing
Testing a light switch helps find out if it works well or needs replacement. This process is simple and safe with the right steps. Follow these steps carefully to check your switch’s condition.
Remove Switch Cover
Start by turning off the power at the circuit breaker. Use a screwdriver to take off the switch cover plate. Keep the screws safe. This step shows the switch and wiring inside the wall.
Test For Power
Use a non-contact voltage tester near the wires. It tells if electricity flows to the switch. If the tester lights up, power is present. If not, the problem may be in the wiring or breaker.
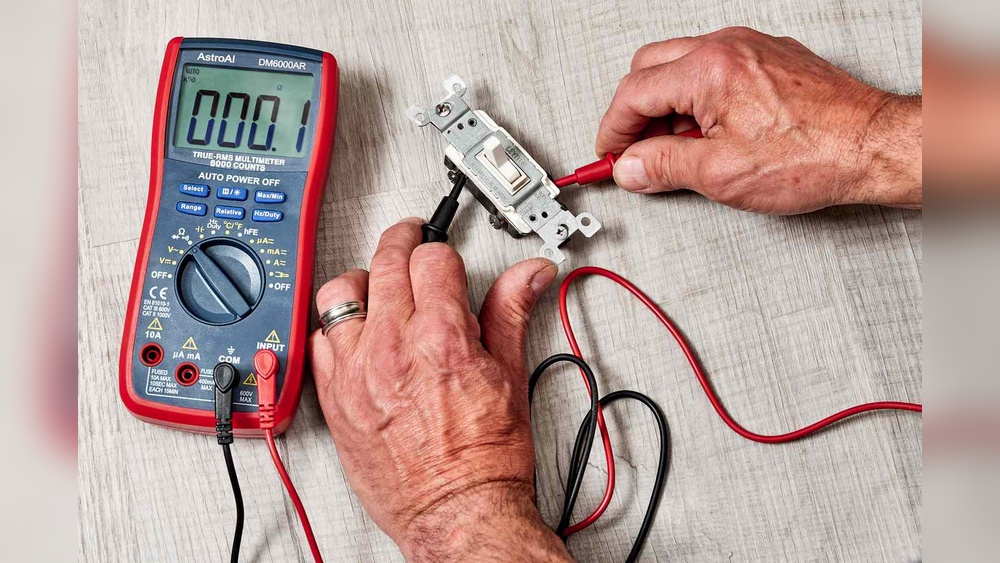
Check Continuity
Set a multimeter to the continuity setting. Touch its probes to the switch terminals. Flip the switch on and off. The meter should beep or show zero resistance when on. No beep means the switch is faulty.
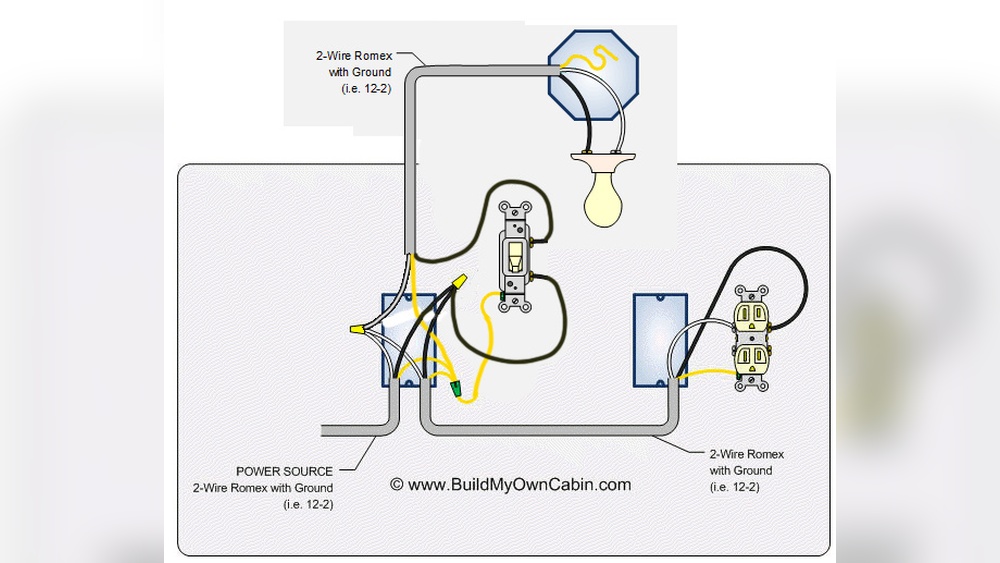
Inspect Wiring
Look closely at the wires connected to the switch. Check for loose or damaged wires. Tighten loose screws and fix any wire damage. Proper wiring is crucial for switch function and safety.
When To Replace The Switch
Knowing when to replace a light switch is important for safety and convenience. A bad switch can cause flickering lights or no light at all. Replacing it on time prevents bigger electrical problems. Here are clear signs that show you need a new switch.
Persistent Issues
Switches that keep failing or cause lights to flicker need replacement. Constant problems mean the switch is wearing out. Repairing it often will not fix the root cause.
Physical Damage
Look for cracks, burn marks, or loose parts on the switch. Physical damage is a clear sign of failure. Such switches can be dangerous and should be replaced immediately.
Failed Continuity Test
A continuity test checks if electricity flows through the switch. If the switch fails this test, it cannot work properly. A failed test means the switch is broken and must be replaced.

Credit: arcangelelectric.com
Replacing A Light Switch
Replacing a light switch is a simple way to fix problems with your home lighting. It helps keep your lights working safely and smoothly. This guide shows clear steps to replace a bad switch. You can do it yourself with a few tools and some care.
Turn Off Circuit Breaker
First, find your home’s circuit breaker box. Turn off the switch that controls the light you want to fix. This stops electricity from flowing. Always check twice to be sure power is off before you touch wires.
Remove Old Switch
Use a screwdriver to take off the switch cover plate. Unscrew the old switch from the electrical box. Pull it out gently to see the wires attached. Remember how the wires connect to the switch. Take a photo for help.
Connect New Switch
Attach the wires to the new switch the same way as the old one. Tighten the screws to hold wires in place. Make sure no wire is loose or touching others. Push the switch back into the box carefully.
Test The New Switch
Turn the circuit breaker back on. Flip the new switch to check if the light works. If it lights up, the replacement is successful. If not, turn off power and check your wiring again.
Tips For Preventing Switch Problems
Preventing problems with light switches saves time and money. Simple care steps keep switches working well. Avoiding damage helps maintain safety in your home.
Avoid Overloading Circuits
Do not connect too many devices to one circuit. Overloading causes switches to wear out fast. Spread electrical devices across different circuits. This reduces stress on switches and wiring.
Use Quality Switches
Choose switches made from good materials. Cheap switches break easily and cause problems. Reliable brands ensure longer life and better safety. Investing in quality switches protects your home wiring.
Regular Inspection
Check switches often for signs of damage or wear. Look for cracks, loose parts, or burning smells. Early detection stops bigger electrical issues. Replace faulty switches promptly to avoid hazards.
Frequently Asked Questions
How To Identify A Faulty Light Switch?
A faulty light switch often causes flickering or no light. Check for physical damage or a loose switch. Use a voltage tester for accuracy. If lights don’t respond, the switch is likely bad and needs replacement.
What Are Common Signs Of A Bad Light Switch?
Common signs include flickering lights, switch warmth, buzzing sounds, and lights not turning on or off. These indicate electrical issues. Immediate inspection prevents hazards. Replacing the switch often resolves these problems quickly and safely.
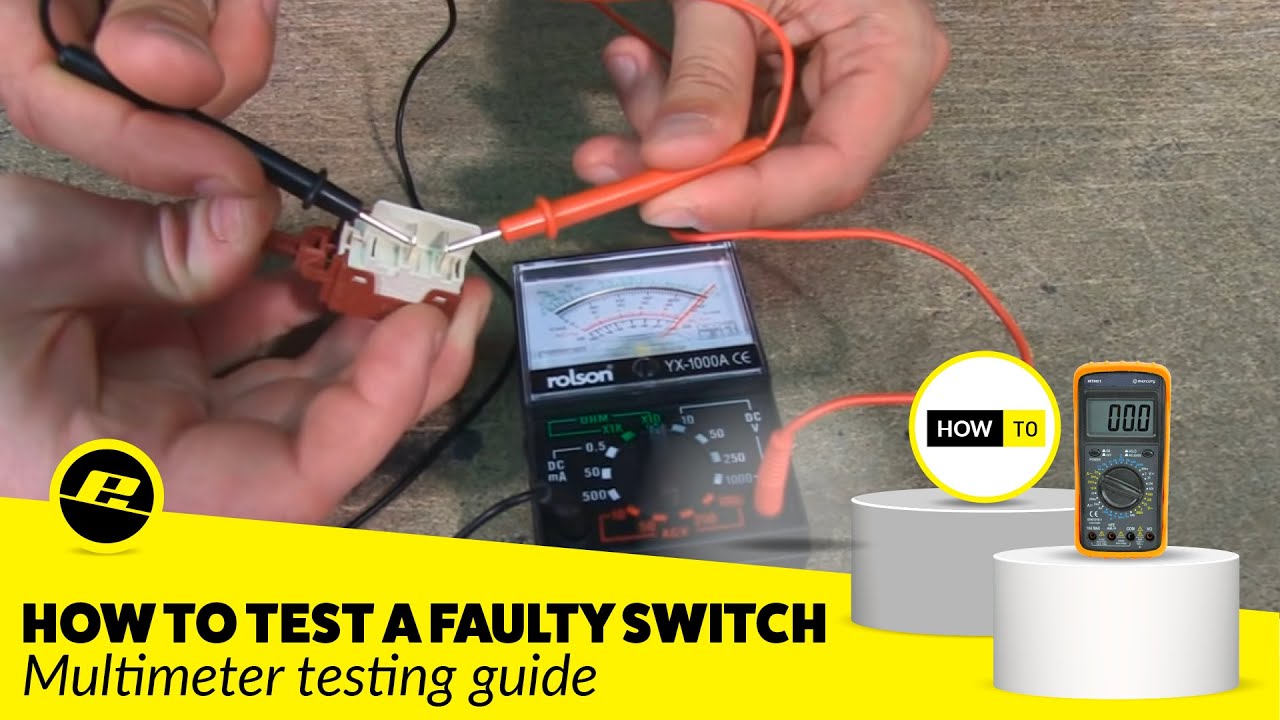
Can A Multimeter Test A Bad Light Switch?
Yes, a multimeter can test continuity and voltage. Turn off power first. Remove the switch cover, then check if the switch completes the circuit. A lack of continuity indicates a bad switch that requires replacement.
How To Safely Check A Light Switch At Home?
Turn off power at the breaker before inspecting. Remove the switch cover carefully. Use a voltage tester or multimeter to check connections. Never touch wires directly. Safety first prevents shocks or accidents during testing.
Conclusion
Checking a light switch for problems does not need to be hard. Start by turning off the power for safety. Test the switch with a simple tool or by swapping it out. Watch for signs like flickering lights or no response.
Fixing or replacing a bad switch keeps your home safe and bright. Taking a few steps helps you avoid bigger issues later. Stay calm, follow the steps, and restore your light quickly. Simple checks can save time and money.