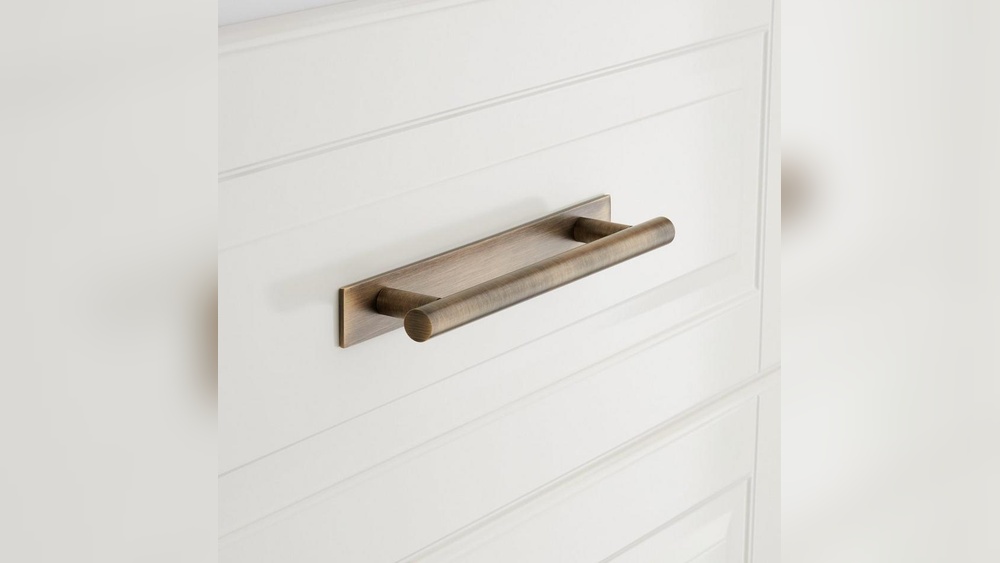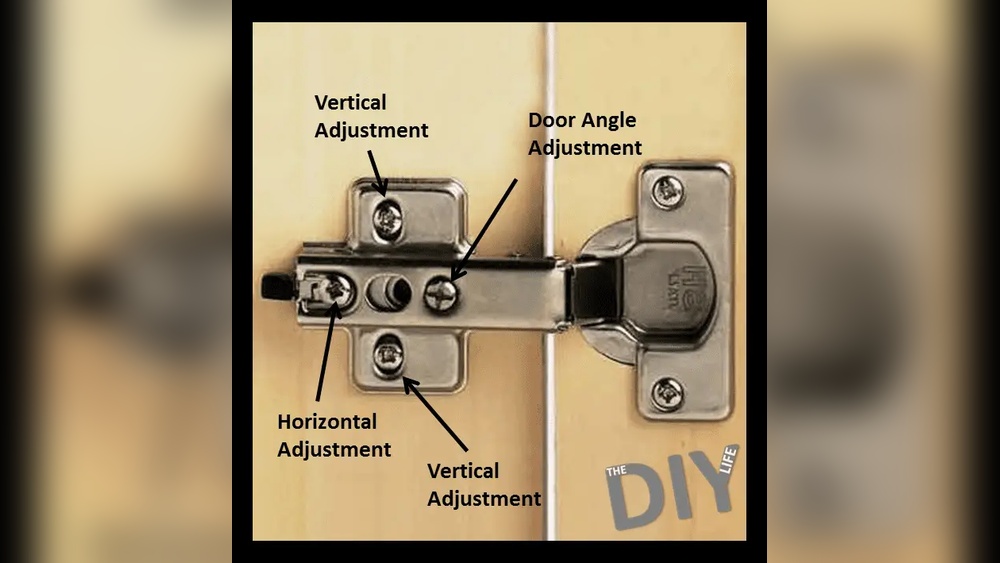
Are your kitchen cabinet doors not closing right or looking a little off? Small adjustments to your cabinet hardware can make a big difference in how your kitchen feels and functions.
You don’t need to be an expert or spend a lot of money to fix these common issues. You’ll discover simple, step-by-step tips to adjust your kitchen cabinet hardware quickly and easily. By the end, your cabinets will look better, work smoother, and bring more harmony to your kitchen space.
Ready to get started? Let’s dive in!
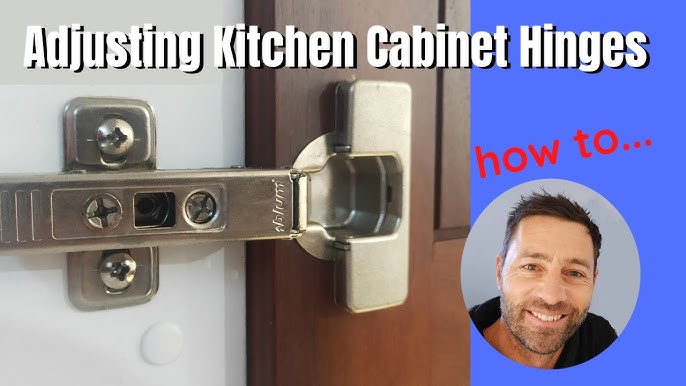
Credit: www.youtube.com
Tools Needed
Adjusting kitchen cabinet hardware needs the right tools. Using proper tools makes the task easier and faster. It also helps prevent damage to your cabinets and hardware. Here is a list of essential tools for the job.
Screwdrivers
Screwdrivers are the most important tools for adjusting hardware. A Phillips head screwdriver fits most cabinet screws. A flathead screwdriver may be needed for some older or specialty hardware. Choose screwdrivers with comfortable handles for better grip.
Measuring Tape
Measuring tape helps check the exact position of hardware. It ensures handles and knobs are aligned properly. Use a tape that is easy to read and flexible for corners.
Level
A small level makes sure your cabinet hardware is straight. It prevents crooked handles or knobs. A bubble level is simple and effective for this task.
Drill With Bits
A drill speeds up removing and installing screws. Use drill bits that match the screw size to avoid stripping. Cordless drills offer better control and mobility.
Pencil
A pencil marks new screw holes or alignment points. Use light marks for easy removal after installation. This helps keep your cabinets neat and precise.
Removing Old Hardware
Removing old kitchen cabinet hardware is the first step in updating your cabinets. This process clears the way for new handles and knobs. It also helps avoid damage to the cabinet surface. Careful removal makes the next steps easier and cleaner.
Start by gathering simple tools like a screwdriver and a cloth. Patience is key. Rushing can cause scratches or dents. Take your time to protect your cabinets.
Gather The Right Tools
Use a screwdriver that fits the screws well. A wrong size can strip the screw heads. Keep a cloth nearby to clean dirt or dust. A small container helps keep screws safe.
Remove Screws Carefully
Turn screws counterclockwise slowly. If a screw is tight, wiggle the screwdriver gently. Avoid forcing it. If screws strip, try a rubber band for grip. Keep the cabinet steady during removal.
Protect The Cabinet Surface
Place a cloth under the hardware to avoid scratches. Work slowly to prevent dents. Use painter’s tape around hardware edges for extra protection. Clean the area after removal with a soft cloth.
Measuring For New Placement
Measuring for new placement of kitchen cabinet hardware is a key step. It ensures handles or knobs fit perfectly and look balanced. Accurate measurements prevent mistakes and save time. Take your time to measure carefully before drilling new holes.
Marking Drill Holes
Start by deciding where the hardware will go. Use a pencil to mark the drill holes on the cabinet. Measure twice to confirm the spots are even and straight. Use a ruler or tape measure for accuracy. Marking clear points helps avoid crooked or misplaced holes.
Checking Alignment
Check the marks from different angles. Make sure all holes line up horizontally or vertically. Use a level tool to confirm straightness. Adjust marks if needed before drilling. Proper alignment improves the cabinet’s look and function.
Drilling New Holes
Drilling new holes in kitchen cabinets is a common task when adjusting or replacing hardware. It allows you to place handles or knobs exactly where you want them. Careful drilling ensures the cabinet looks neat and the hardware fits well. Mistakes can cause damage or misaligned hardware, so preparation is key.
Choosing The Right Drill Bit
Pick a drill bit that matches the size of the screw for your hardware. A bit too large can make holes loose, while a bit too small can crack the wood. Use a drill bit designed for wood, as it cuts cleanly. Check the packaging of your hardware for recommended hole sizes. Sharp bits make smoother holes and reduce splintering.
Avoiding Damage
Mark the spot carefully before drilling to avoid mistakes. Use painter’s tape over the area to prevent the wood from splintering. Drill slowly and apply steady pressure. Stop drilling as soon as the bit passes through the wood. Support the cabinet door or drawer to keep it steady during drilling. Clean up any dust before installing hardware.
Attaching New Hardware
Attaching new hardware to your kitchen cabinets is a simple way to refresh your space. It requires careful steps to ensure the handles and knobs are secure and aligned. Proper attachment prevents damage and keeps doors functioning well.
Securing Handles
Start by placing the handle on the cabinet door. Align it with the pre-drilled holes. Insert the screws from the inside of the door. Hold the handle firmly to avoid movement. This ensures the handle sits straight and tight.
Tightening Screws
Use a screwdriver to turn the screws clockwise. Tighten until the handle does not wiggle. Avoid overtightening to prevent stripping the screws or damaging the door. Check each handle for stability after tightening all screws.
:max_bytes(150000):strip_icc()/SPR-how-to-adjust-cabinet-hinges-1822181-02-b373954368bf4d9493befba68400151c.jpg)
Credit: www.thespruce.com
Adjusting Misaligned Hardware
Misaligned kitchen cabinet hardware can make your cabinets look messy and feel hard to use. Fixing this problem improves both appearance and function. A small adjustment can make a big difference. It is easier than many think.
Start by finding the screws that hold the hardware. These screws control the position of handles or knobs. Slight changes can align the hardware perfectly. Take your time to check the fit before tightening the screws fully.
Loosening And Repositioning
Use a screwdriver to loosen the screws on the hardware. Do not remove them completely. Gently move the handle or knob to the correct position. Check the alignment with other hardware pieces. Tighten the screws once the hardware sits straight and even.
This method works well for small misalignments. It keeps the original screw holes intact. Repositioning hardware avoids damage to your cabinet doors or drawers.
Using Shims For Fit
Shims help when hardware does not sit flush with the surface. Thin pieces of cardboard or plastic can serve as shims. Place a shim behind the hardware before tightening the screws. This lifts or shifts the hardware to the right angle.
Shims prevent wobbling and improve stability. Cut the shim to a small size that fits behind the hardware. Adjust the thickness by adding or trimming shims. This method works well for uneven cabinet surfaces.
Maintaining Cabinet Hardware
Maintaining cabinet hardware keeps your kitchen looking neat and working well. Small care steps help your handles and knobs last longer. This saves money and avoids frequent replacements.
Regular upkeep prevents rust, looseness, and damage. It also makes your kitchen safer to use. Clean and tight hardware looks better and feels sturdy. Simple habits keep your cabinets in top shape.
Cleaning Tips
Use a soft cloth to wipe cabinet hardware. Avoid harsh chemicals that can damage finishes. Mild soap mixed with warm water works best. Gently scrub to remove dirt and grease. Dry hardware fully to stop rust or spots. Clean weekly to keep hardware shining and fresh.
Regular Tightening
Check screws and bolts often. Loose hardware can fall or cause accidents. Use a screwdriver to tighten handles and knobs. Tighten carefully to avoid stripping the screws. Inspect hardware every few months for safety. This simple step maintains cabinet function and appearance.
:max_bytes(150000):strip_icc()/SPR-how-to-adjust-cabinet-hinges-1822181-03-55fc34fddc2c45c2a99d467673356f5b.jpg)
Credit: www.thespruce.com
Frequently Asked Questions
How Do I Adjust Loose Cabinet Hardware?
Tighten screws with a screwdriver or drill to fix loose hardware. Use thread locker for extra grip if needed. Check alignment after tightening to ensure proper function.
What Tools Are Needed To Adjust Cabinet Hardware?
You need a screwdriver, drill, measuring tape, and possibly a wrench. These tools help tighten screws and realign hardware accurately.
How To Align Misaligned Kitchen Cabinet Handles?
Loosen screws slightly, reposition handles evenly, then retighten screws securely. Use a measuring tape or level to ensure precise alignment.
Can I Replace Cabinet Hardware Without Drilling?
Yes, if the new hardware matches existing holes exactly. Otherwise, new holes might be required. Use adhesive or clip-on options for no-drill solutions.
Conclusion
Adjusting kitchen cabinet hardware can improve your kitchen’s look and function. Small changes make a big difference in daily use. Take your time to align handles and knobs properly. Tighten screws to avoid loose or wobbly pieces. With simple steps, your cabinets will look fresh and new.
Enjoy a smoother, more organized kitchen space every day. Keep practicing, and these small tasks will feel easy soon. Your kitchen deserves this simple update.