Are you ready to give your cabinets a fresh, stylish look but don’t know where to start? Installing cabinet hardware might seem tricky, but with the right tool and simple steps, you can do it yourself quickly and easily.
Imagine transforming your space without spending a fortune or waiting for a pro. In this guide, you’ll learn exactly how to use the tool to install cabinet hardware like a pro, saving time and avoiding costly mistakes. Keep reading, and you’ll feel confident tackling this project on your own.

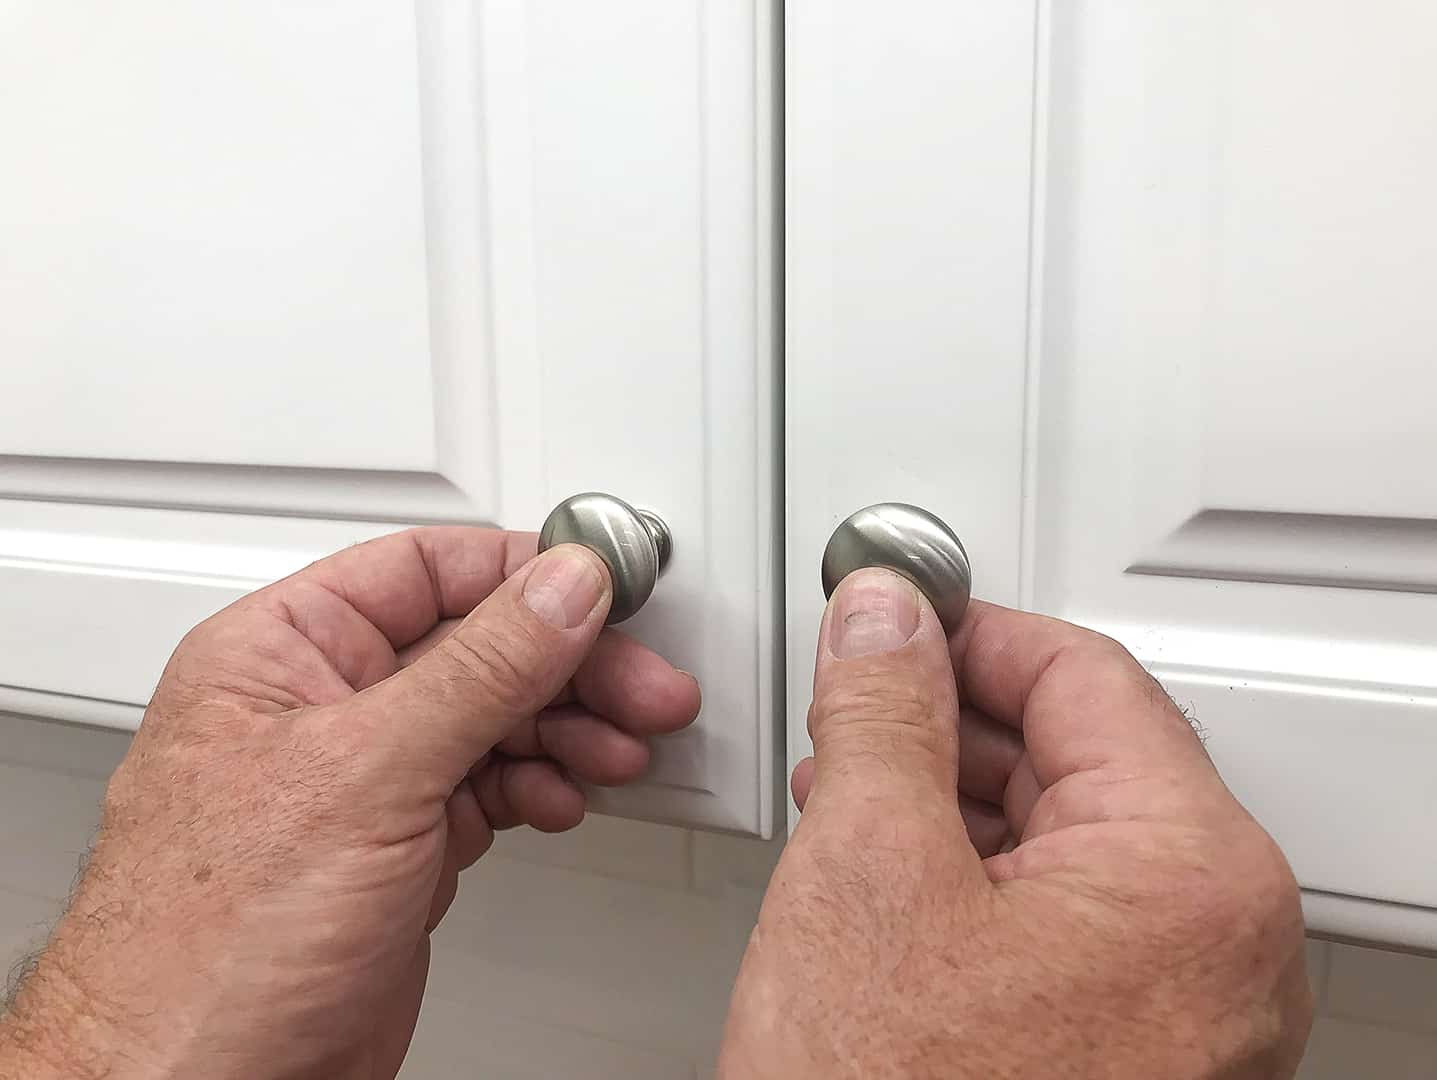
Credit: www.youtube.com
Choosing The Right Tool
Choosing the right tool is the first step to install cabinet hardware correctly. The right tool makes the job easier and faster. It also helps avoid mistakes and damage. Understanding different tools and their features helps you pick the best one. Budget matters too. It ensures you get good value without overspending.
Types Of Cabinet Hardware Tools
There are many tools for installing cabinet hardware. A screwdriver is the most common tool. It works for screws on knobs and handles. A drill with the right bit speeds up the process. A cabinet hardware jig helps place holes exactly. Measuring tools like tape measures and rulers keep things even. Each tool has a unique purpose for better results.
Features To Look For
Look for tools that are easy to use. Comfort grips help reduce hand strain. Adjustable settings allow work on different hardware sizes. A cordless drill offers more mobility. Check if the tool includes guides or templates. These features improve accuracy. Strong and durable materials last longer and perform better.
Budget Considerations
Set a budget before buying tools. Basic tools cost less but may lack extra features. Higher-priced tools offer better quality and more functions. Choose tools that fit your needs and budget. Avoid buying the cheapest tools that break quickly. Investing a bit more pays off in the long run.
Credit: www.homedepot.com
Preparing Your Workspace
Preparing your workspace is the first step in installing cabinet hardware. It helps you stay organized and work safely. A clean, well-arranged area makes the job easier and faster.
Gathering Materials
Collect all tools and hardware before starting. You will need a drill, screws, a screwdriver, and measuring tape. Also, keep the cabinet hardware handy. Having everything ready saves time and avoids interruptions.
Clearing The Area
Remove any items around the cabinets. Clear the floor space to move freely. A tidy area prevents accidents and damage to your belongings. It also gives you enough room to work comfortably.
Safety Precautions
Wear safety glasses to protect your eyes from dust and debris. Use gloves to avoid cuts and scrapes. Keep children and pets away from the workspace. Follow safety rules to prevent injuries during the installation.
Measuring And Marking
Measuring and marking are key steps to install cabinet hardware correctly. Precise marks ensure handles and knobs fit well and look good. Taking time here saves effort later. Follow simple steps to measure and mark accurately.
Finding The Correct Placement
Start by deciding where hardware should go on the cabinet door or drawer. Common spots include the center or the corner. Use a ruler or tape measure to find the exact spot. Measure from the edges for consistency. Mark lightly with a pencil to adjust if needed.
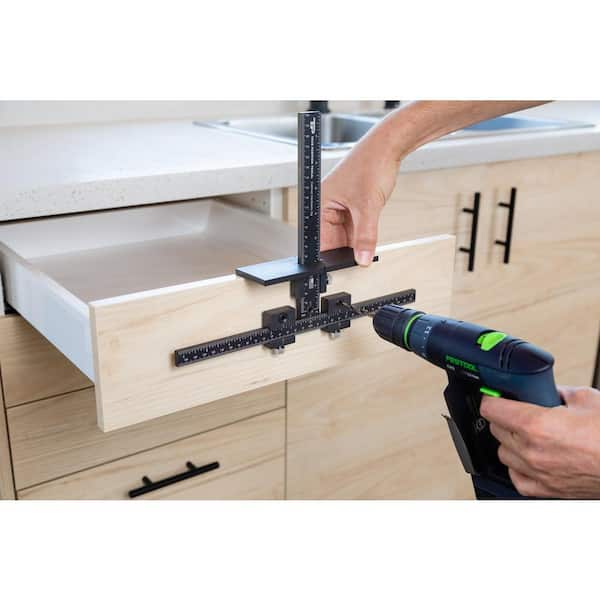
Using A Template
A template helps keep holes in the same place on all cabinets. You can buy one or make your own from cardboard. Align the template with your pencil marks or cabinet edges. Hold it steady to avoid mistakes. This tool speeds up your work and keeps hardware even.
Marking Drill Points
Use a sharp pencil or an awl to mark where to drill. Make small dots at the center of your measured spots or template holes. Check marks twice for accuracy. Clear, precise marks guide the drill bit and prevent slipping. This step is important for clean, strong holes.
Credit: truepositiontools.com
Setting Up The Tool
Setting up the tool correctly is the first step to installing cabinet hardware smoothly. This process ensures the tool works accurately and safely. Taking time to prepare the tool saves effort later and avoids mistakes. Follow these clear steps to get ready.
Adjusting Settings
Start by turning on the tool. Check the speed settings. Use a slower speed for delicate hardware. Increase speed for tougher materials. Adjust depth control if your tool has one. Set the depth to avoid drilling too deep. Make sure all adjustments are tight and secure.
Inserting Drill Bits
Choose the right drill bit size for the hardware screws. Hold the tool firmly. Open the chuck by turning it counterclockwise. Insert the drill bit straight into the chuck. Tighten the chuck by turning it clockwise. Make sure the bit is secure and does not wobble.
Testing On Scrap Material
Use a piece of scrap wood similar to your cabinet. Drill a test hole to check the bit depth and position. Check if the hole matches the hardware size. Adjust settings if the hole is too big or small. Testing prevents damage to your cabinets and hardware.
Drilling Holes
Drilling holes is a key step when installing cabinet hardware. It helps secure handles and knobs firmly. Drilling with care ensures neat, accurate holes. This prevents damage and keeps cabinets looking great.
Proper Drilling Technique
Mark the exact spot before drilling. Use a pencil or tape to guide your drill. Hold the drill steady and straight. Start with a small drill bit to make a pilot hole. This helps avoid splitting the wood. Drill slowly and apply steady pressure. Stop as soon as the hole is through.
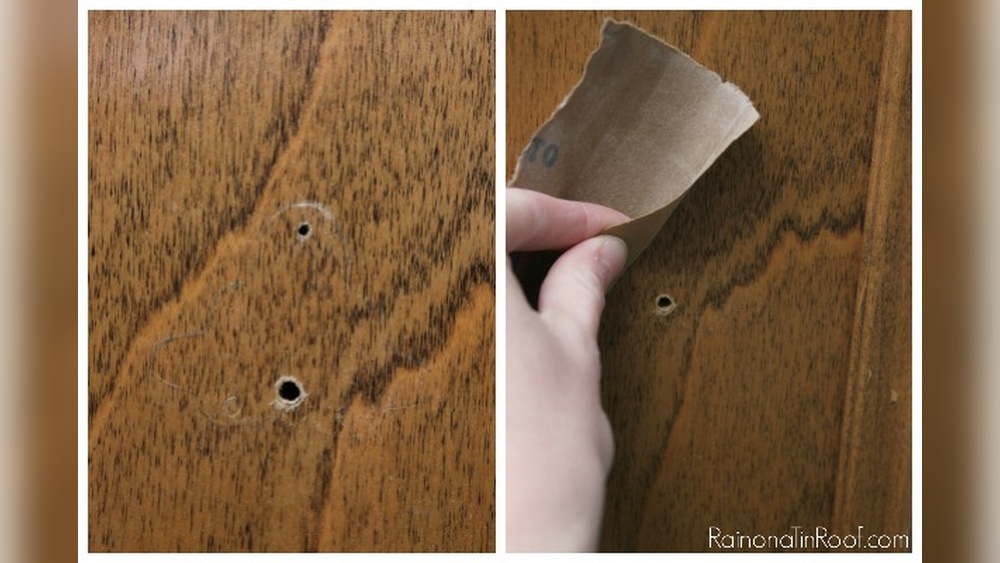
Avoiding Common Mistakes
Do not rush or force the drill. Wrong angles cause crooked holes. Avoid drilling too deep or too shallow. Check measurements twice to avoid wrong placements. Keep drill bits sharp to prevent tearing wood. Use a piece of scrap wood to test drill settings.
Handling Different Cabinet Materials
Wood cabinets require sharp bits and gentle pressure. For metal cabinets, use a metal drill bit. Plastic cabinets need low speed to avoid melting. Always wear safety glasses to protect your eyes. Adjust drill speed to match material hardness.
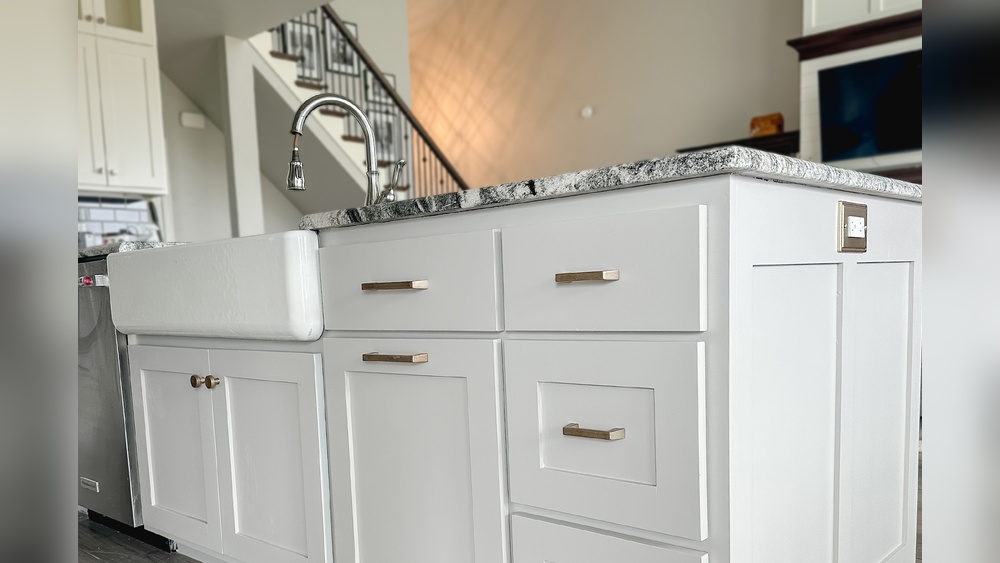
Installing The Hardware
Installing cabinet hardware is a simple step that makes a big difference. It gives your cabinets a fresh, new look. This part is about putting the handles or knobs in the right place and fixing them well. Follow these steps for a perfect install.
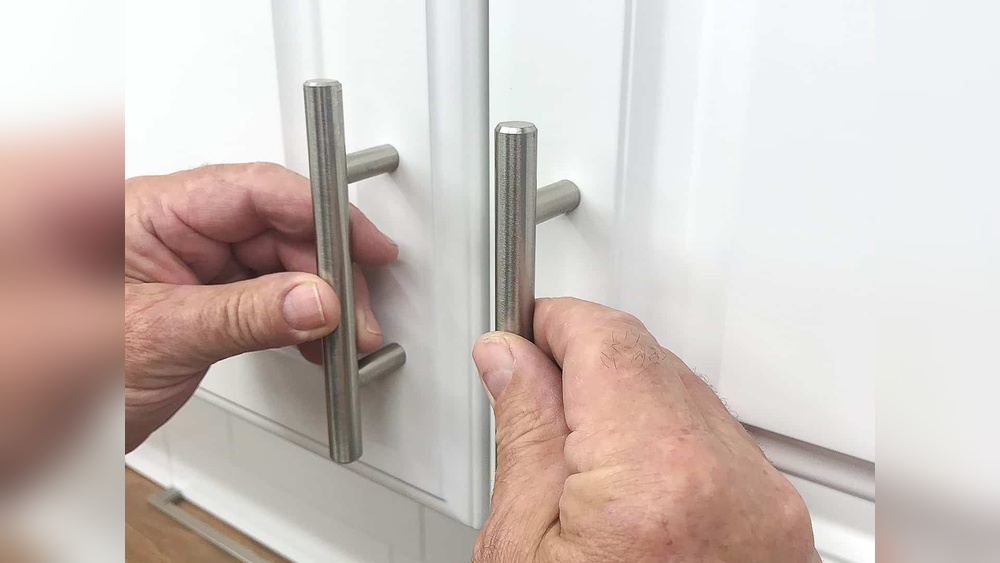
Aligning The Hardware
Start by placing the hardware on the cabinet door or drawer. Check that it sits straight and matches the other pieces. Use a ruler or measuring tape to keep the spacing even. Mark the screw holes lightly with a pencil. This helps avoid mistakes and keeps the hardware neat.
Securing Screws
Take the screws that came with the hardware. Use a screwdriver or drill to fasten them into the marked holes. Turn slowly to avoid stripping the screws. Tighten just enough so the hardware feels secure, but not too tight to damage the wood. Double-check each screw before moving on.
Checking For Stability
After securing all screws, gently pull the handle or knob. It should feel firm without any wiggle. If it moves, loosen the screws and realign the hardware. Then tighten the screws again carefully. A stable handle lasts longer and feels better to use.
Final Touches
After installing your cabinet hardware, the final touches make a big difference. These steps help your project look neat and last longer. Taking time now prevents problems later. Let’s explore how to finish strong.
Cleaning Up
Remove dust and debris from the hardware and cabinet surface. Use a soft cloth or brush for gentle cleaning. Avoid harsh chemicals that may damage finishes. Wipe fingerprints and smudges for a polished look. Clean up your workspace to keep tools ready.
Adjusting Hardware Fit
Check each handle or knob for tightness. Loose hardware can cause damage over time. Use a screwdriver to tighten screws carefully. Ensure the hardware sits straight and does not wobble. Make small adjustments for perfect alignment. Test doors and drawers to confirm smooth operation.
Maintaining Tools For Future Use
Clean your tools after use to remove dirt and dust. Store them in a dry place to prevent rust. Sharpen blades and bits if necessary. Check for any damage and repair or replace tools. Proper maintenance saves money and effort later. Ready tools mean easier projects next time.
Frequently Asked Questions
What Tool Is Best For Installing Cabinet Hardware?
A drill with a screwdriver bit is ideal for installing cabinet hardware. It ensures precise holes and secure fastening. A measuring tape and pencil help mark placement accurately. Using the right tool speeds up installation and prevents damage to cabinets.
How Do I Measure For Cabinet Hardware Placement?
Measure carefully from the cabinet edge to mark hardware placement. Use a ruler or tape measure to ensure consistency. Mark holes lightly with a pencil before drilling. Proper measurement guarantees symmetrical and professional-looking hardware alignment on all cabinets.
Can I Install Cabinet Hardware Without A Template?
Yes, you can install hardware without a template by measuring carefully. Use a ruler and pencil to mark drill holes precisely. While templates speed up the process, careful measurement ensures accurate placement and professional results without the extra tool.
How Do I Avoid Damaging Cabinets During Hardware Installation?
Use a drill with adjustable torque to prevent overdriving screws. Pre-drill holes to avoid wood splitting. Work slowly and measure twice before drilling. These steps protect your cabinet’s finish and structure during hardware installation.
Conclusion
Using the right tool makes cabinet hardware installation easier and faster. It helps you place screws in the right spot without mistakes. Take your time and follow each step carefully. You will see how neat and strong your cabinets look after.
Enjoy the process and feel proud of your work. Small efforts bring good results. Keep practicing, and your skills will improve over time. This simple tool is a great help for any DIY project.