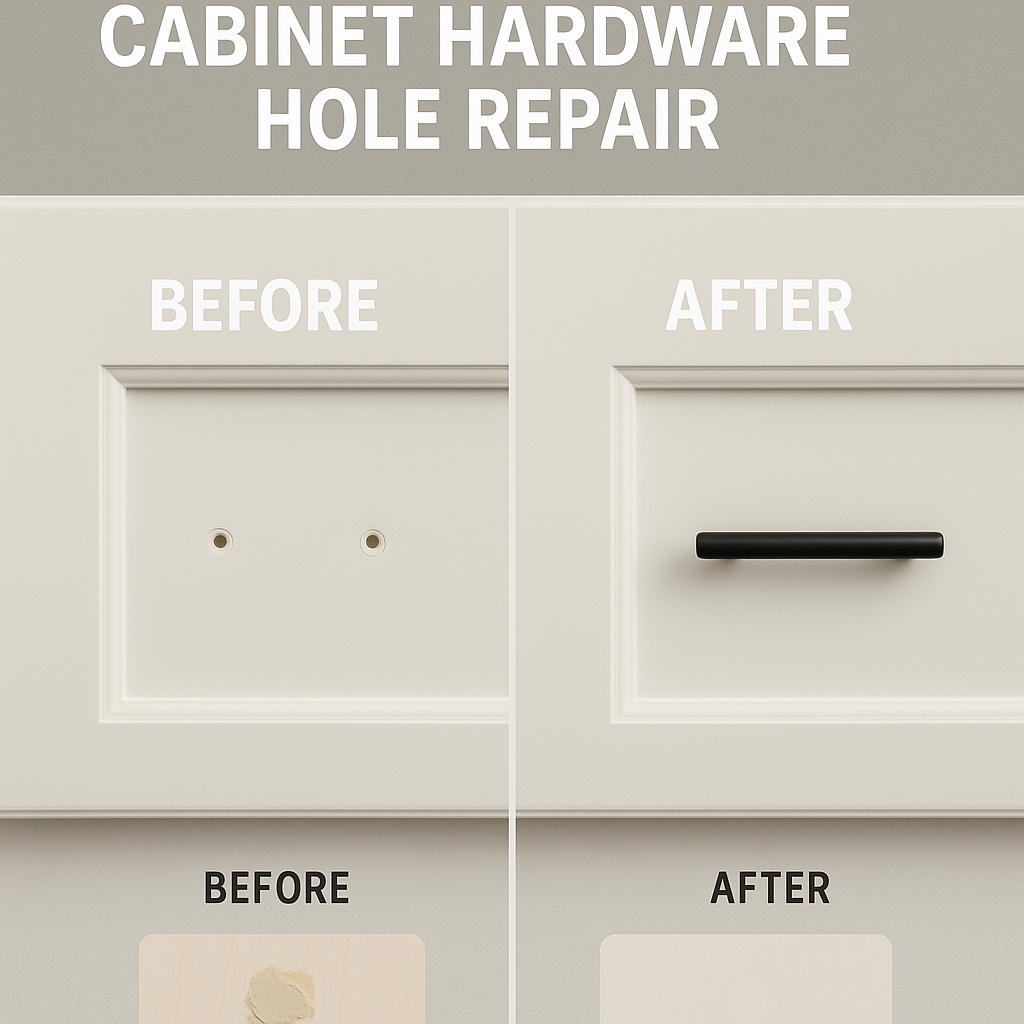
Have you ever tried to change your cabinet hardware only to find annoying holes left behind? Those extra holes can make your cabinets look worn out and unfinished.
But don’t worry—you don’t have to live with them or replace your entire cabinet. Fixing cabinet hardware holes is easier than you think, and with a few simple tools and tricks, you can make those holes disappear completely. In this guide, you’ll learn step-by-step how to repair your cabinet holes like a pro, saving your cabinets and giving your space a fresh, flawless look.
Ready to get started? Let’s dive in!
Credit: www.makingmanzanita.com
Common Causes Of Hardware Hole Damage
Damaged cabinet hardware holes often cause frustration and weaken cabinet function. Understanding common causes helps prevent further damage and guides proper repair.
Most hardware hole damage happens from frequent use or installation errors. Identifying these causes makes repairs easier and more effective.
Improper Installation
Incorrect drilling is a main cause of damaged hardware holes. Drilling too large or in the wrong spot weakens the wood. Using the wrong drill bit size also creates loose holes.
Wear And Tear
Daily use puts stress on cabinet hardware holes. Screws loosen over time, enlarging the holes. Heavy pulling or slamming cabinet doors worsens the damage.
Using The Wrong Hardware
Hardware that does not fit the original holes causes damage. Screws too big or small strip the hole edges. Mismatched hardware also leads to poor support and hole wear.
Moisture Exposure
Moisture weakens wood around hardware holes. Cabinets in kitchens or bathrooms face high humidity. Swollen or rotting wood makes holes larger and unstable.
Repeated Repairs
Multiple fixes on the same hole reduce wood strength. Filling holes improperly can cause crumbling. This leads to bigger holes and harder repairs over time.
Credit: www.woodworkerexpress.com
Tools And Materials Needed
Repairing cabinet hardware holes requires the right tools and materials. Choosing the proper items ensures a smooth and lasting repair. Gather everything before starting the project for best results.
Basic Tools
Start with a screwdriver to remove hardware. Use a putty knife to apply filler smoothly. Sandpaper helps to smooth the surface after filling. A drill may be needed to make new holes.
Filling Materials
Wood filler or wood putty works well to fill small holes. For larger holes, wooden dowels or toothpicks with wood glue provide stronger support. Choose a filler that matches the cabinet wood color for a seamless look.
Cleaning Supplies
Keep a clean cloth or rag handy to wipe dust and debris. Mild soap and water help clean the surface before repair. Clean surfaces help fillers stick better and last longer.
Finishing Supplies
After filling and sanding, touch up with paint or stain. Use a small brush for precise application. Finish with a clear coat to protect the repair from wear and tear.
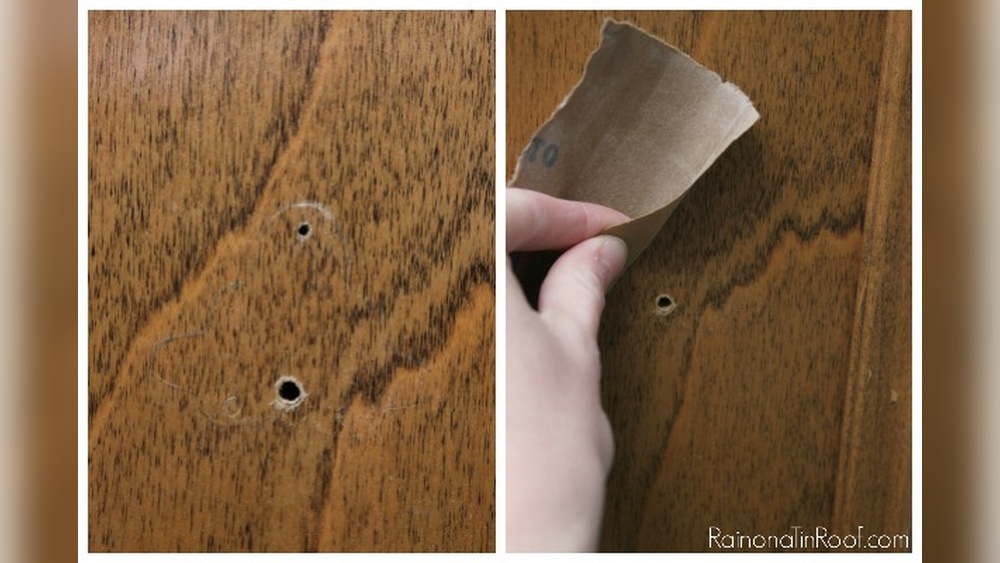
Filling Holes With Toothpicks And Glue
Using wood filler is a simple and effective way to fix small holes in cabinet hardware. This method works well for holes left by screws or misplaced drill points. Wood filler fills the gaps, creating a smooth surface that blends with the cabinet. It prepares the area for painting or staining, making repairs look seamless and neat.
Choosing The Right Wood Filler
Select a wood filler that matches your cabinet’s material and finish. For small holes, a pre-mixed filler is easy to use and dries quickly. Choose a filler suitable for indoor use to ensure durability. If your cabinet is painted, pick a filler that accepts paint well. For stained cabinets, a stainable wood filler works best to blend with the wood grain.
Applying And Sanding Filler
Start by cleaning the hole to remove dust and debris. Use a putty knife to press the filler firmly into the hole. Overfill slightly to allow for shrinkage as it dries. Let the filler dry completely, following the product instructions. Sand the filled area gently with fine-grit sandpaper until smooth and level with the cabinet surface.
Painting Or Staining Repairs
After sanding, wipe the area clean with a damp cloth. Apply primer if you plan to paint the cabinet. Use paint or stain that matches the surrounding area for the best finish. Apply thin coats and let each layer dry fully before adding the next. This process hides the repair and restores the cabinet’s original look.

Credit: www.amazon.com
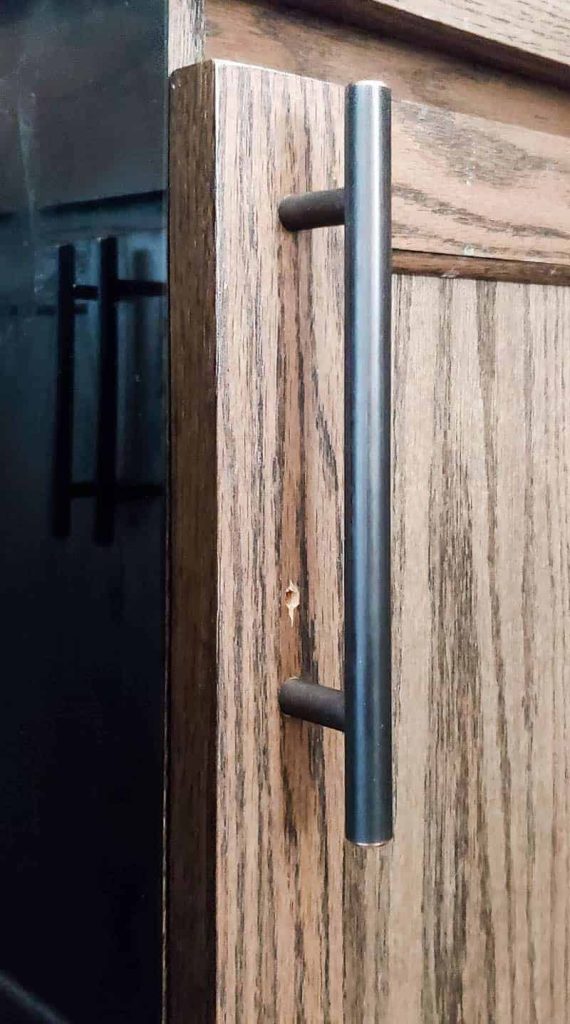
Repairing Holes Using Wooden Dowels
Misaligned cabinet hardware holes can spoil the look and function of your cabinets. Quick fixes restore both appearance and stability fast. These methods save time and avoid full replacements. Follow simple steps to fix old holes and create new, precise ones.
Filling Old Holes
Start by cleaning the old holes from dust and debris. Use wood filler or wood putty to fill the holes completely. Press the filler in tightly with a putty knife. Allow it to dry fully according to product instructions. Once dry, sand the area smooth with fine-grit sandpaper. This creates a flat surface for new hardware installation. Choose filler color close to your cabinet finish for best results.
Drilling New Holes
Mark the correct spot for the new holes with a pencil or tape. Use a measuring tape and level for accuracy. Choose a drill bit matching your hardware screws. Drill slowly to avoid splintering the wood. Check the hole depth to fit the screw length. Test hardware fit before final tightening. Properly aligned holes ensure cabinet doors open and close smoothly.
Frequently Asked Questions
Can You Patch Hardware Holes In Cabinets?
Yes, you can patch hardware holes in cabinets using wood filler, toothpicks with glue, or wooden dowels. These methods restore strength and appearance. After filling, sand smooth and repaint or stain to match the cabinet. This fixes holes efficiently and maintains cabinet durability.
How To Repair Cabinet Screw Holes?
Fill cabinet screw holes by inserting toothpicks coated with wood glue. Break excess flush and reinsert the screw. For stronger repair, drill out the hole, glue in a wooden dowel, let dry, then drill a pilot hole before screwing.
What Is The 1/3 Rule For Cabinet Hardware?
The 1/3 rule for cabinet hardware means placing handles or knobs one-third from the drawer or door edge. This creates balanced, ergonomic, and visually appealing hardware placement.
What Is The Best Filler For Screw Holes In Wood?
The best filler for screw holes in wood is wood glue combined with toothpicks or wooden dowels. Toothpicks fill small holes effectively. Wooden dowels offer a stronger, permanent fix. Both methods restore screw grip and durability for cabinet repairs and furniture.
Conclusion
Repairing cabinet hardware holes takes just a few simple steps. Use wood glue and toothpicks for small holes. For larger holes, wooden dowels offer a stronger fix. Always let glue dry fully before drilling new holes. This repair saves your cabinets from damage and looks clean.
A neat cabinet makes your space feel fresh and well cared for. Try these easy tips to keep your cabinets in great shape.