Are you struggling with ice buildup or frozen pipes on your rubber roof? Installing heat tape can be the simple solution you need to protect your home and save money on repairs.
But mounting heat tape on a rubber roof requires the right steps to avoid damage and ensure it works effectively. In this guide, you’ll learn exactly how to install heat tape safely and efficiently. Keep reading to find out how you can keep your roof safe and warm all winter long.
Choosing The Right Heat Tape
Choosing the right heat tape is important for protecting a rubber roof from ice and snow. The correct heat tape prevents damage and saves on repair costs. It also ensures safety and efficient heating.
Different heat tapes work for different roof types and weather conditions. Selecting one that fits your roof and climate is key. Consider the tape’s durability, power use, and installation ease.
Types Of Heat Tape
There are two main types of heat tape: self-regulating and constant wattage. Self-regulating tape adjusts heat output as temperature changes. It uses less power and is safer to use on rubber roofs.
Constant wattage tape provides steady heat regardless of temperature. It is simpler but may use more energy. Choose based on your roof size and insulation.
Factors To Consider
Check the tape length to cover all roof areas. The tape must be weatherproof and UV resistant for outdoor use. Also, look for flexible tape to fit roof curves.
Power source and wattage affect how well the tape heats. Match the tape wattage with your power supply capacity. Consider the tape’s installation method for ease and security.
Safety Certifications
Choose heat tape with safety certifications like UL or ETL. These marks show the product meets electrical safety standards. Certified tape reduces fire risks and ensures reliable performance.
Inspect the product for clear safety labels and instructions. Certified heat tape offers peace of mind during installation and use.
Credit: nermanhafriyat.com.tr
Preparing The Rubber Roof
Preparing the rubber roof is the first step for a successful heat tape installation. It ensures the tape sticks well and works properly. Taking time to prepare the surface helps avoid future problems. This section covers cleaning, inspecting, and gathering tools for the job.
Cleaning The Surface
Start by removing dirt, dust, and debris from the roof. Use a broom or brush to sweep away loose particles. Then, wipe the surface with a cloth dampened in mild soap and water. Avoid harsh chemicals that can damage the rubber. Let the roof dry completely before moving on.
Inspecting For Damage
Look closely for cracks, holes, or worn spots on the rubber roof. Small damage can cause leaks or reduce heat tape effectiveness. Mark any problem areas. Fix these issues before installing the heat tape. Repair kits made for rubber roofs are usually available at hardware stores.
Gathering Tools And Materials
Collect all tools and materials before starting work. Common items include heat tape, cleaning supplies, repair patches, scissors, and a measuring tape. Having everything ready saves time and avoids interruptions. Make sure the heat tape is the right length for your roof area.
Planning The Layout
Planning the layout of heat tape on a rubber roof is important for safe and effective installation. Careful planning saves time and prevents damage. The goal is to cover all areas that need heat without wasting tape or creating hazards.
Start with a clear plan. Know where to place the tape and how much you need. This step helps avoid problems later during the installation.
Measuring The Roof Area
Measure the total roof area that needs heat tape. Use a tape measure and write down the length and width. Measure twice to avoid mistakes.
Include gutters, downspouts, and any spots where ice can build up. Accurate measurements help you buy the right amount of heat tape.
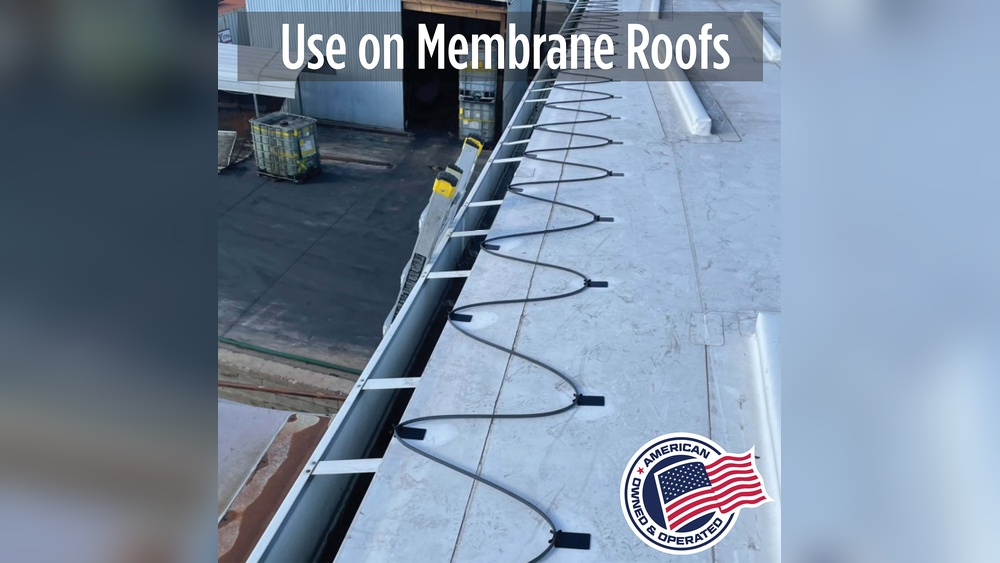
Mapping Heat Tape Placement
Draw a simple map of the roof on paper. Mark where the heat tape will go. Focus on edges, valleys, and areas where water pools.
Plan the path of the tape so it covers all critical spots. Make sure the tape reaches power sources for easy connection.
Avoiding Overlaps And Crossings
Keep heat tape lines separate. Do not overlap or cross the tape. Overlapping can cause overheating and damage the roof.
Space the tape evenly to ensure steady heat. Avoid crossing tape near sharp edges or metal parts to prevent wear.
Installing The Heat Tape
Installing heat tape on a rubber roof requires care and precision. Proper installation keeps the roof safe and ensures the heat tape works well. Follow these steps to install the heat tape correctly and protect your roof from ice and cold damage.
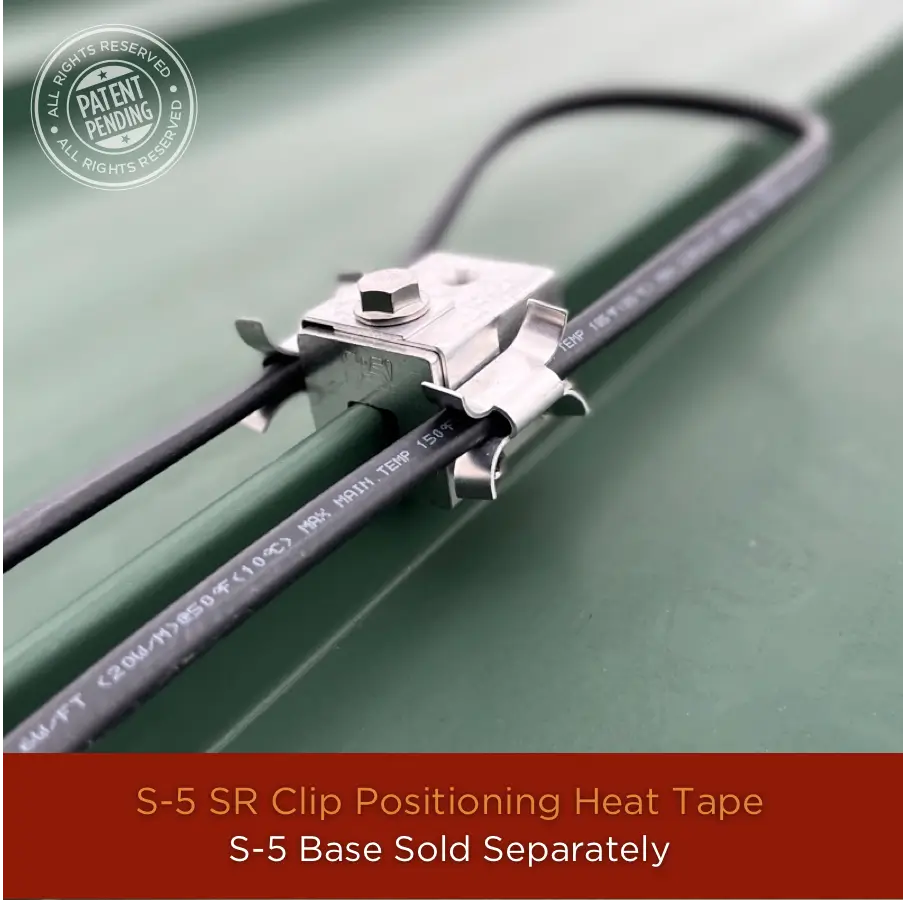
Securing With Compatible Fasteners
Use fasteners that match the rubber roof material. Avoid nails or staples that can damage the roof. Plastic clips or straps designed for heat tape work best. Secure the heat tape firmly but do not stretch it. Proper fasteners prevent movement and protect the roof’s surface.
Maintaining Proper Spacing
Keep the heat tape spaced evenly across the roof. Follow the manufacturer’s guidelines for distance between strips. Too close may cause overheating. Too far apart can leave cold spots. Correct spacing ensures even heat distribution and prevents damage.
Ensuring Electrical Connections
Check all electrical connections before turning on the heat tape. Use waterproof connectors to protect against moisture. Secure wires neatly to avoid tripping hazards. Test the system to confirm it heats properly. Proper connections keep the system safe and efficient.
Sealing And Protecting
Sealing and protecting heat tape on a rubber roof keeps it safe and effective. This step stops water leaks and damage from weather. Proper sealing helps the heat tape last longer. Protecting it from sun and wind is just as important. Checking for loose parts ensures everything stays secure and works well.
Applying Waterproof Sealant
Use a waterproof sealant around the edges of the heat tape. This stops water from getting under the tape. Choose a sealant made for rubber roofs. Apply it evenly and press it down firmly. Let the sealant dry fully before moving on. This forms a strong, water-tight barrier.
Protecting Against Uv Exposure
UV rays can damage heat tape and roof materials. Cover the heat tape with a UV-resistant tape or coating. This shields the tape from sun damage and cracking. Check the protection layer each season. Replace it if you see wear or fading. This keeps the heat tape working longer.
Checking For Loose Sections
Inspect the heat tape for any loose or lifted parts. Loose sections can cause poor heating and damage. Press down or reattach any loose spots with strong adhesive. Check all connections and overlaps carefully. Tight and secure heat tape ensures even heat and safety.

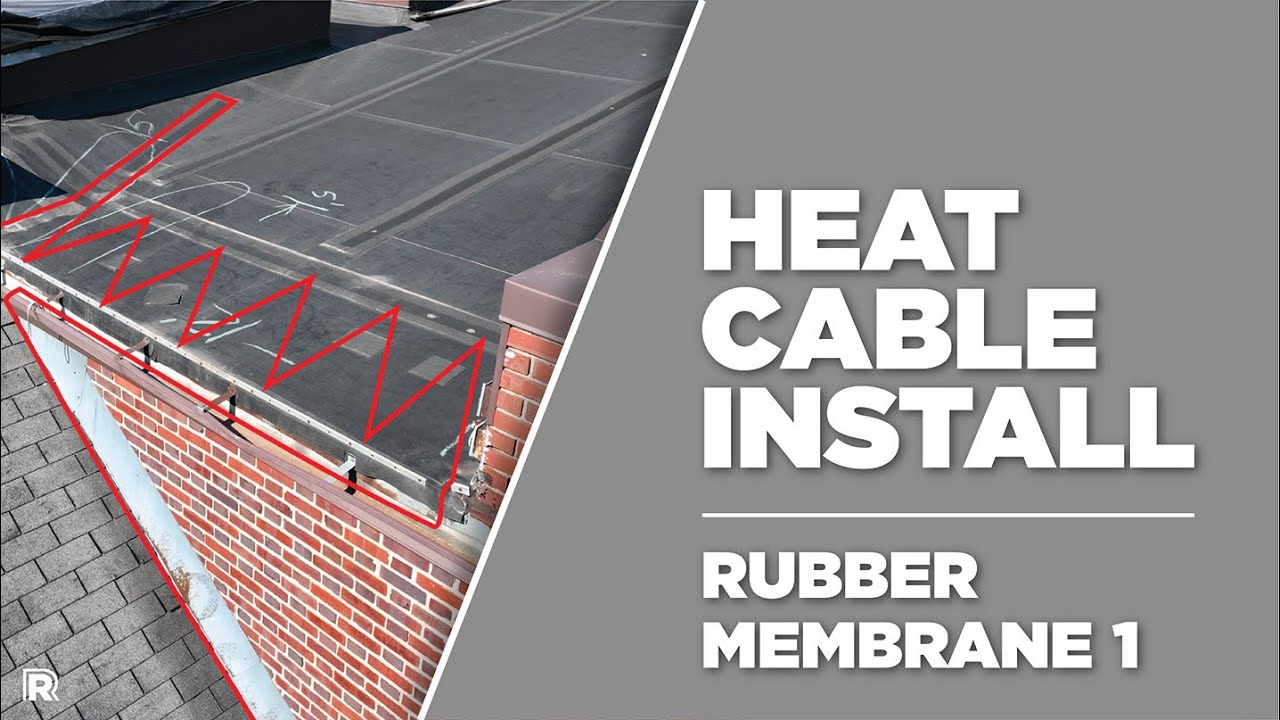
Credit: www.youtube.com
Testing The System
Testing the heat tape system is a crucial step after mounting it on a rubber roof. It ensures the tape works correctly and prevents damage from cold weather. Proper testing helps confirm safe operation and optimal heat distribution.
Check every part carefully during this process. Detect small problems early to avoid bigger issues later. Follow clear steps to test the system safely and effectively.
Powering On Safely
Turn on the heat tape following the manufacturer’s instructions. Use a circuit breaker or switch to control power. Avoid plugging in the tape before all connections are secure. Stay clear from wet areas while powering on. Watch for any sparks or unusual sounds.
Monitoring Heat Distribution
Feel the heat tape along its entire length. The warmth should be even without cold spots. Use an infrared thermometer for accurate checks. Ensure the tape does not overheat or get too hot. Heat should be steady to protect the roof and pipes.
Troubleshooting Common Issues
Look for damaged or loose connections. Replace any worn or broken parts immediately. If the tape does not heat, check the power source first. Reset breakers if needed. Consult the manual for error codes or signals. Call a professional if problems persist.
Maintenance Tips
Maintaining heat tape on a rubber roof is important for safety and performance. Regular care helps prevent damage and extends the tape’s life. Follow these simple maintenance tips to keep the heat tape working well.
Regular Inspections
Check the heat tape often, at least once a month. Look for cracks, wear, or areas where the tape might be loose. Inspect the connections to make sure they are tight and dry. Early detection of problems saves time and money.
Cleaning Procedures
Keep the heat tape clean from dirt and debris. Use a soft cloth or brush to gently remove any buildup. Avoid harsh chemicals or high-pressure water, which can damage the tape. Clean surfaces improve heat transfer and prevent damage.
Replacing Damaged Tape
Replace any part of the heat tape that shows cracks or breaks. Turn off the power before removing the old tape. Cut a new piece to fit and secure it properly to the roof. Proper replacement ensures safety and keeps the system efficient.
Credit: www.youtube.com
Frequently Asked Questions
How Do You Install Heat Tape On A Rubber Roof?
To install heat tape on a rubber roof, clean the surface first. Secure the tape using manufacturer-approved fasteners. Avoid overlapping the tape and ensure it runs along water flow paths. Follow local electrical codes and test the tape before covering it.
Can Heat Tape Damage A Rubber Roof?
Properly installed heat tape does not damage rubber roofs. Use compatible fasteners and avoid excessive heat settings. Regularly inspect the tape for wear or damage. Incorrect installation or overheating can cause damage, so follow manufacturer guidelines closely.
What Safety Precautions Are Needed For Heat Tape Installation?
Turn off power before installing heat tape. Use insulation and waterproof connectors. Avoid sharp bends and ensure proper grounding. Follow local electrical codes and manufacturer safety instructions. Regular maintenance checks prevent fire hazards.
How Long Does Heat Tape Last On A Rubber Roof?
Heat tape typically lasts 5 to 10 years depending on quality and exposure. Regular inspection and maintenance can extend its lifespan. Replace damaged or worn tape promptly to maintain roof protection and efficiency.
Conclusion
Mounting heat tape on a rubber roof is simple with the right steps. Start by cleaning the roof surface well. Attach the heat tape securely, following safety rules. Check connections and test the tape to ensure it works. Regularly inspect the tape during winter months.
Proper care helps prevent ice and water damage. Stay safe and keep your roof warm all season. This guide helps you protect your roof easily.