Are you ready to upgrade your cabinets but worried about drilling the wrong holes? Installing cabinet hardware can be tricky, and a small mistake can ruin the look—and cost you extra time and money.
That’s why making a simple, precise template is your secret weapon. With the right template, you’ll install knobs and pulls quickly, evenly, and confidently every time. In this guide, you’ll learn how to create your own easy-to-use cabinet hardware template that saves you from guesswork and keeps your cabinets looking flawless.
Keep reading—you’re just a few steps away from mastering the perfect cabinet hardware installation!
Credit: www.sandandsisal.com
Materials Needed
Measuring cabinet hardware is a key step before installation. Precise measurements ensure handles and knobs fit perfectly. This step helps avoid mistakes and saves time. Accurate measuring guarantees your hardware looks balanced and professional.
Determining Handle And Knob Sizes
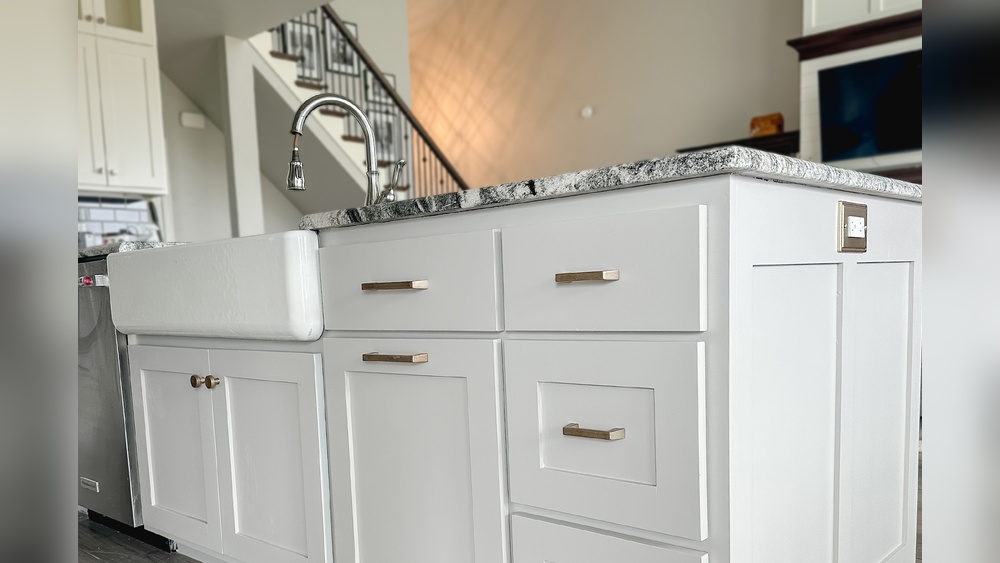
Select hardware sizes that suit your cabinet style. Common handle lengths are 3, 4, or 5 inches. Knobs usually range from 1 to 1.5 inches in diameter. Measure existing hardware or check product specs. Choose sizes that match your cabinet size and design. This prevents handles from looking too big or small.
Marking Hole Spacing Accurately
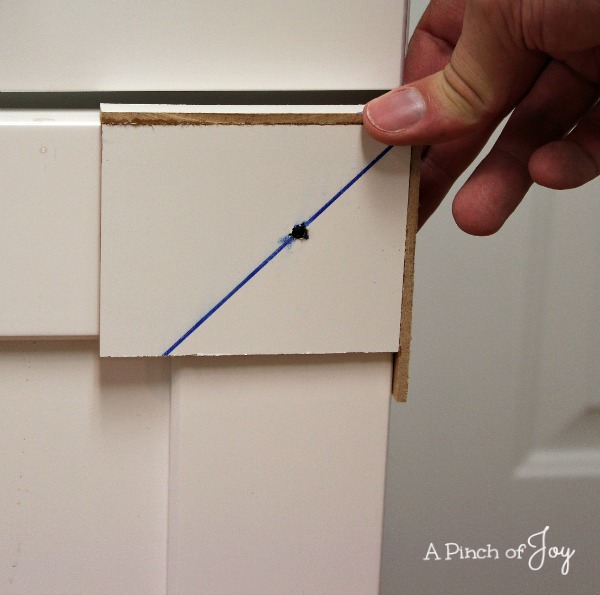
Use a ruler or tape measure to mark hole spacing. For handles, measure center-to-center distance between screw holes. Double-check measurements before marking holes on the cabinet. Mark holes with a pencil for clear visibility. Use a template or jig for consistent marks on multiple cabinets. Accurate hole spacing prevents crooked hardware and uneven gaps.
Measuring Cabinet Hardware
Installing cabinet hardware is a key step in finishing your cabinetry. Proper installation gives your cabinets a neat and professional look. Using a template helps ensure the hardware is aligned and evenly spaced. This section explains how to use your template for drilling and attaching handles and knobs.
Drilling Holes Using The Template
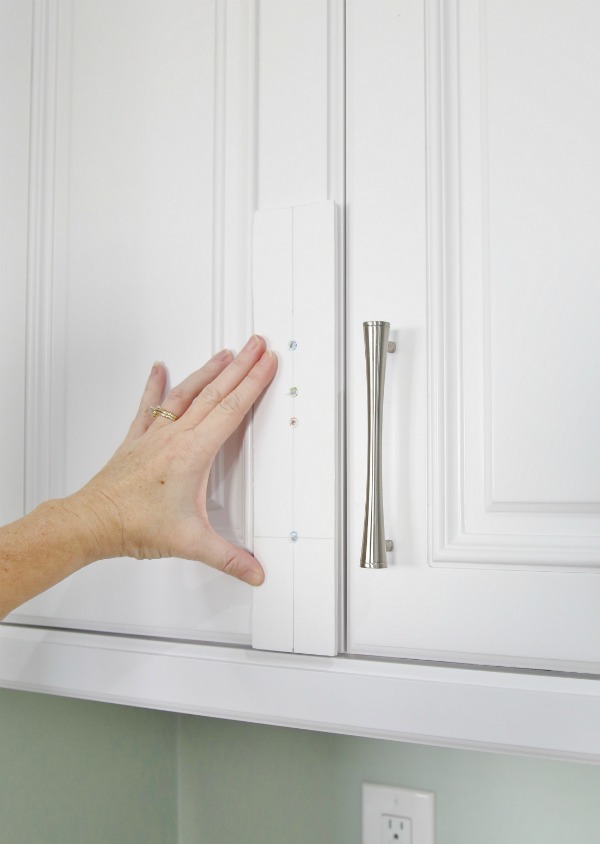
Place the template firmly on the cabinet door or drawer front. Make sure it is aligned with the edges or center line. Use a pencil to mark the hole positions through the template holes. Double-check the marks for accuracy before drilling.
Choose a drill bit that matches the size of your hardware screws. Drill straight holes at the marked spots. Avoid pushing too hard to prevent splitting the wood. Clean any dust or debris from the holes before moving on.
Attaching Handles And Knobs Securely
Insert the screws from the inside of the cabinet door or drawer. Hold the handle or knob in place on the outside. Tighten the screws carefully using a screwdriver. Do not overtighten, as this can damage the hardware or wood.
Check that each handle or knob sits flush and does not wobble. Adjust the screws if needed for a secure fit. Repeat the process for all hardware pieces for a consistent finish.
Creating The Template
Creating a template for installing cabinet hardware saves time and improves accuracy. Small errors can lead to misaligned handles or knobs, causing frustration. Using a precise template helps place hardware exactly where it belongs every time. Follow these tips to boost your precision and work efficiently.
Avoiding Common Mistakes
Measure twice, drill once. Mark your template clearly to avoid confusion. Check that holes align perfectly with your hardware before drilling. Use a sharp pencil or fine marker for clear lines. Test the template on a scrap piece of wood first. This step helps catch errors early without damaging cabinets. Keep your template steady while marking to prevent slipping. Using clamps can hold it firmly in place. Avoid rushing the process; careful work prevents costly fixes.
Reusing And Storing Your Template
Store your template in a flat, dry place to keep its shape. Label it with the cabinet type or size for easy identification. Reusing templates saves setup time on future projects. Clean the template after each use to remove dust and debris. Consider making templates from durable materials like acrylic or plywood. This ensures they last longer and maintain accuracy. Proper storage avoids warping or damage that could affect measurements.
Credit: www.apinchofjoy.com

Credit: www.thriftydecorchick.com
Frequently Asked Questions
Are There Templates For Handle Placement?
Yes, templates for handle placement exist to ensure precise, consistent hardware installation on cabinets. They save time and prevent errors.
What Is The 1 3 Rule For Cabinet Hardware?
The 1-3 rule for cabinet hardware means placing handles 1 inch from the edge and 3 inches apart for balanced look and function.
How To Use A Cabinet Hardware Template?
Align the cabinet hardware template on the door or drawer front. Mark drill holes through the template. Drill holes precisely. Attach hardware securely. Use the template to ensure consistent placement and save time.
What Is The Formula For Cabinet Pulls?
The formula for cabinet pulls measures center-to-center distance between mounting holes. Common sizes include 3, 4, and 5 inches. Measure precisely for proper fit and alignment.
Conclusion
Making a cabinet hardware template saves time and ensures accuracy. It helps place handles evenly on drawers and doors. Using simple tools, anyone can create a reliable guide. This reduces mistakes and keeps your project neat. Try making your own template for a smooth installation process.
Clear measurements and steady hands make all the difference. Enjoy the satisfaction of a professional-looking finish at home.