Are you tired of struggling to install cabinet hardware perfectly every time? Imagine having a simple tool that helps you place knobs and handles accurately and quickly.
Making your own cabinet hardware template can save you time, reduce mistakes, and give your cabinets a professional look. In this guide, you’ll learn easy steps to create a custom template that fits your needs. Keep reading, and you’ll discover how to make your hardware installation smoother and stress-free.

Credit: ourhomefromscratch.com
Choosing Materials
Choosing the right materials for your cabinet hardware template is important. The material affects how easy the template is to use and how long it lasts. A good template should be sturdy and easy to mark. It should also handle repeated use without losing shape.
Best Templates Materials
Wood is a popular choice. It is easy to cut and shape. Plywood and hardwood both work well. Plastic sheets are another option. They are lightweight and resist moisture. Acrylic plastic offers smooth edges for clean marks. Metal templates last the longest but are harder to make. Aluminum is a common metal choice for durability. Pick a material that suits your skill and tools.
Tools You Need
Basic tools make crafting your template easier. A ruler or measuring tape helps with precise measurements. A pencil or fine-tip marker marks the points. A saw or utility knife cuts wood or plastic. Sandpaper smooths rough edges for safety. For metal, use a metal cutter and file. A drill can add holes for screws or handles. Collect these tools before starting your template project.
Measuring Your Cabinet
Measuring your cabinet accurately is the first step to making a perfect hardware template. It helps ensure that your handles and knobs fit well and look balanced. Taking clear and exact measurements saves time and prevents mistakes during installation.
Start by deciding where you want to place the hardware. Think about comfort and style. Measuring carefully here sets the foundation for the entire project.
Marking Hole Positions
Use a pencil to mark where the holes will go. Measure from the edges of the cabinet door or drawer to find the right spot. Keep your marks light but visible. This makes drilling easier and more precise.
Mark both sides if you are working on doors with two handles. Make sure the marks line up perfectly to keep the look even.
Double Checking Measurements
Check your marks twice before drilling any holes. Use a ruler or tape measure to confirm distances. Measuring twice avoids costly errors.
Look at your marks from different angles. Make sure they match on all cabinet doors or drawers for uniformity. A small mistake here can spoil the whole look.
Creating The Template
Creating the template for your cabinet hardware is a key step. This guide helps you make an accurate and reusable template. It saves time and keeps your hardware aligned perfectly.
The process starts with transferring your measurements carefully. Then, you cut the template to fit your needs. Follow these steps to get a clean and useful template.
Transferring Measurements
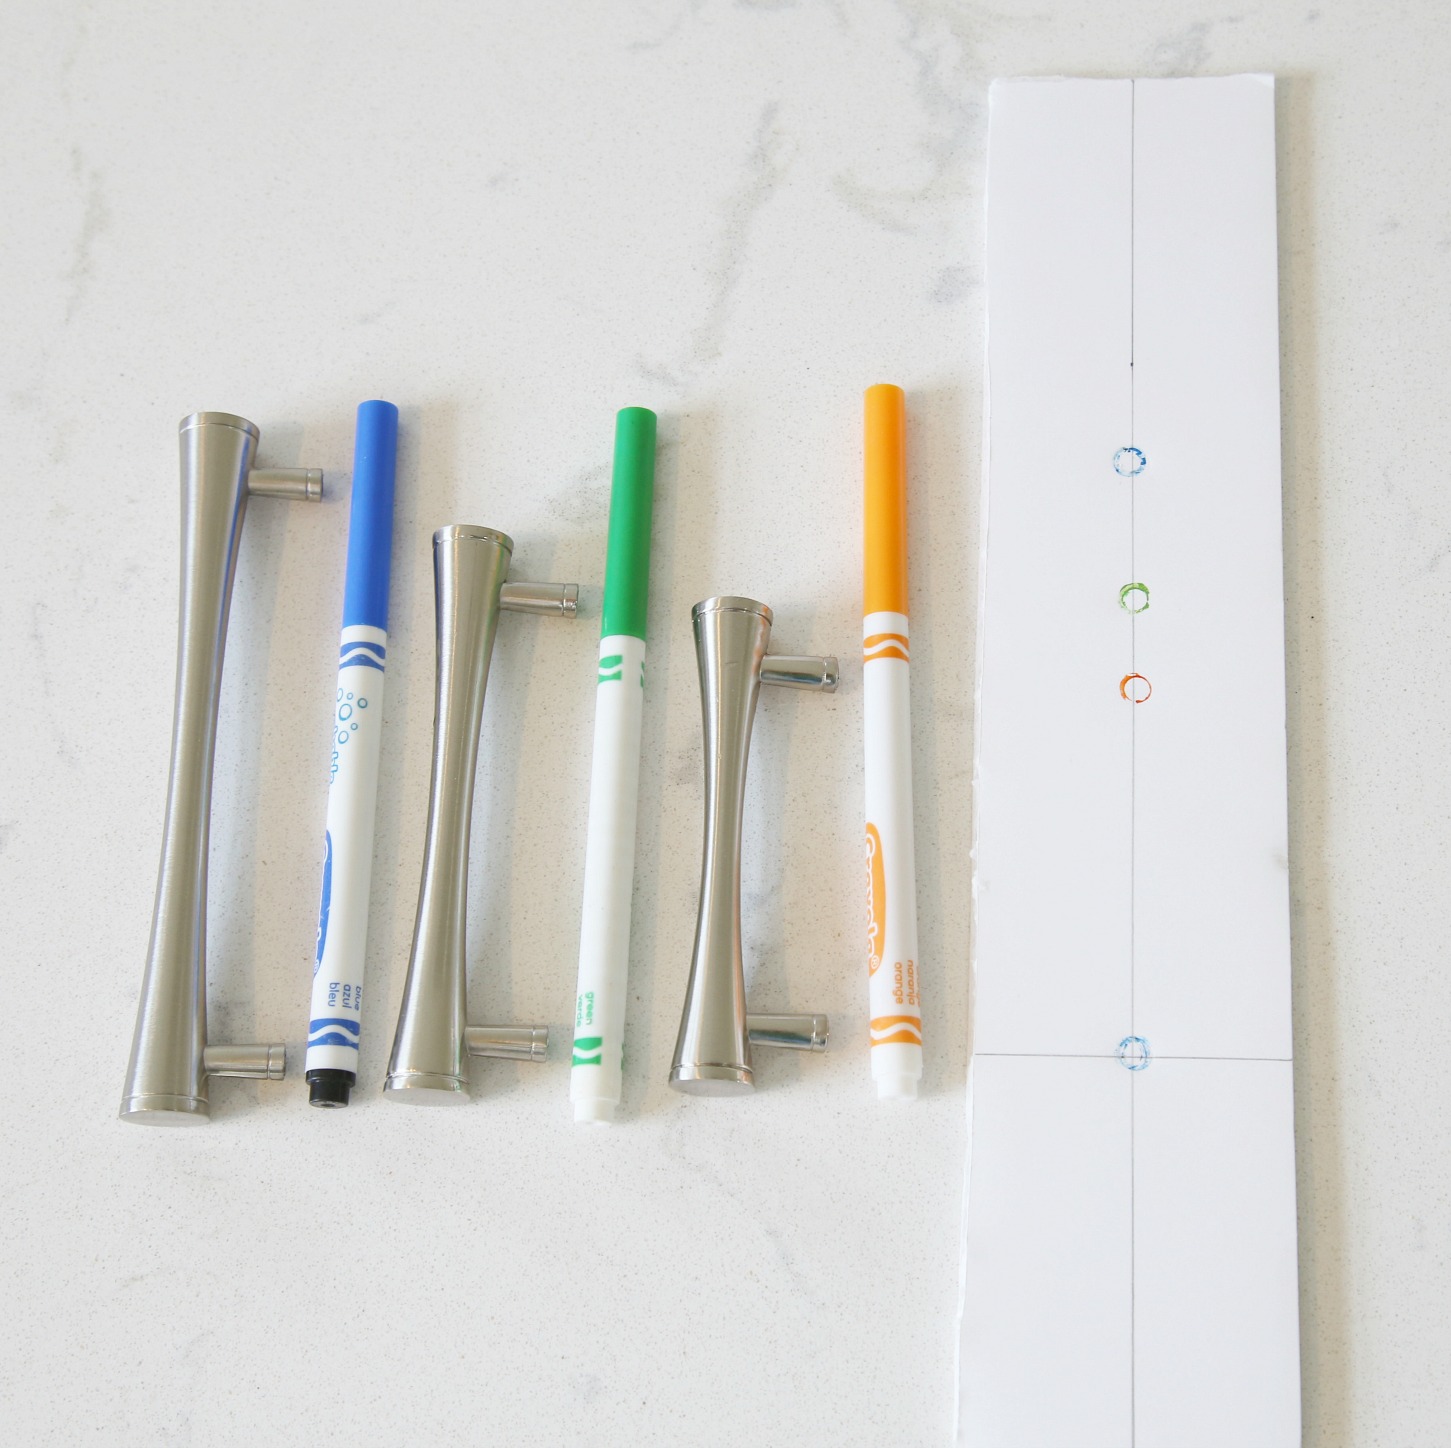
Begin by measuring the hardware holes on your cabinet. Use a ruler or tape measure for accuracy. Mark the exact spots on a piece of stiff paper or cardboard.
Double-check each measurement to avoid mistakes. Make clear dots or crosses where screws will go. The better the transfer, the easier the drilling process.
Cutting The Template
After marking, cut out the template with scissors or a craft knife. Cut precisely around the edges to keep the shape. Make holes at the marked points using a pin or small drill.
Test the template by placing it on the cabinet. Check if the holes line up well. Adjust if needed before using it for drilling.
Credit: www.sandandsisal.com
Using The Template
Using your cabinet hardware template makes installation easier and more precise. The template acts as a guide for drilling holes in the right spots. It saves time and reduces mistakes.
Place the template carefully on the cabinet surface. Check the alignment before marking or drilling. This step ensures your hardware fits perfectly.
Aligning On Cabinets
Place the template flat against the cabinet door or drawer. Use edges or existing marks to line it up properly. Hold the template steady with one hand.
Check that holes on the template match the hardware size. Adjust the template if needed before marking. Mark the drilling spots through the template holes with a pencil.
Drilling Guide Tips
Use a drill bit that matches the screw size. Start drilling slowly to avoid slipping. Keep the drill straight to make clean holes.
Drill only to the needed depth for the screws. Use tape on the drill bit as a depth marker. Remove the template carefully after drilling to avoid shifting marks.
Customizing Your Template
Customizing your cabinet hardware template makes your project easier and more precise. A well-made template adapts to different hardware sizes and types. It also helps avoid mistakes during installation.
Small changes in your template can save time and improve accuracy. Personalizing it with labels and marks keeps your work organized. This section guides you on how to adjust and label your template effectively.
Adjusting For Different Hardware
Cabinet hardware comes in many shapes and sizes. Your template must fit the specific hardware you use. Measure the distance between screw holes carefully. Adjust the template holes to match these measurements exactly.
Make separate templates for knobs and handles. Handles often need two holes, while knobs need one. Mark these differences clearly on your template. This prevents confusion during drilling.
Use flexible materials like thin plastic or cardboard. They are easy to cut and adjust. You can make quick changes as needed without wasting materials.
Adding Labels And Marks
Labels and marks on your template keep track of hole positions. Write simple notes near each hole. For example, write “knob” or “handle” to identify the hardware type.
Add marks for center points and edge distances. These guide where to place the template on the cabinet door. Use a pencil or fine marker that won’t smudge easily.
Number multiple templates if you have more than one style. This avoids mixing them up during the project. Clear labeling improves speed and reduces errors.
Maintaining Your Template
Keeping your cabinet hardware template in good shape helps you use it many times. A well-maintained template saves time and keeps your work precise. Small efforts in care make a big difference over time.
Storage Ideas
Store your template in a flat, dry place. Avoid bending or folding it to keep its shape. Use a folder or a large envelope to protect it from dust. Label the storage container for easy finding later. Keep the template away from heavy items that might crush it.
Cleaning And Repairs
Clean the template gently with a soft cloth. Use mild soap and water if it is very dirty. Avoid harsh chemicals that can damage the material. Check for cracks or worn edges after each use. Fix small tears with clear tape to keep the shape stable. Replace the template if the damage affects accuracy.
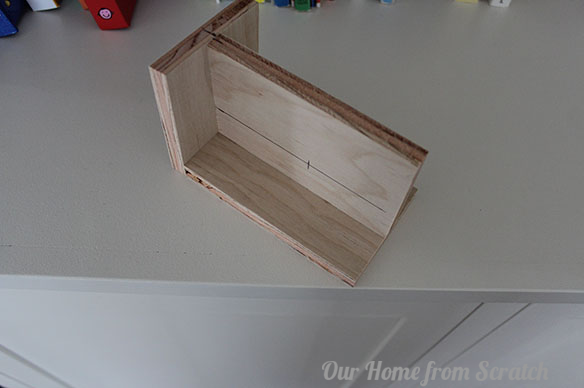
Credit: ourhomefromscratch.com
Frequently Asked Questions
What Materials Do I Need For A Cabinet Hardware Template?
You need paper or cardboard, a ruler, pencil, drill, and screws. These help create an accurate and reusable template for hardware placement.
How Do I Measure Cabinet Hardware Placement Accurately?
Measure the distance between screw holes and edges carefully. Use a ruler and mark exact points to ensure proper alignment during installation.
Can I Reuse A Cabinet Hardware Template?
Yes, a well-made template can be reused multiple times. Store it safely to maintain shape and accuracy for future cabinet projects.
Why Make A Cabinet Hardware Template Instead Of Measuring Each Time?
Templates save time and reduce errors by providing consistent hole placements. They simplify installation and improve the overall cabinet appearance.
Conclusion
Creating your own cabinet hardware template saves time and ensures accuracy. It helps you place handles and knobs perfectly every time. You can avoid mistakes and frustration during installation. Using simple tools, anyone can make a template at home. This small step makes your cabinet project easier and neater.
Try making a template for your next cabinet update. You will see the difference in how smooth the work goes. Simple, practical, and effective—just what you need for cabinet hardware installation.