Are you tired of struggling to install cabinet hardware perfectly every time? Imagine a simple tool that can save you time, avoid mistakes, and make your cabinets look professionally finished.
That’s exactly what a jig can do for you. You’ll discover how to use a jig step-by-step to get precise, consistent results with your cabinet handles and knobs. Whether you’re a beginner or just want to improve your skills, this guide will make the process easy and stress-free.
Keep reading to unlock the secret to flawless cabinet hardware installation!
Choosing The Right Jig
Choosing the right jig for cabinet hardware is key to a smooth project. The right jig helps place holes accurately and saves time. Picking the proper jig depends on your hardware type, material quality, and compatibility. This guide covers those points to help you pick well.
Types Of Cabinet Hardware Jigs
Cabinet hardware jigs come in many styles. Some jigs are for handles, others for knobs. Handle jigs often have multiple hole settings. Knob jigs usually have one hole guide. There are also adjustable jigs that fit different hardware sizes. Choose a jig that matches your hardware style.
Materials And Build Quality
Jigs made from durable materials last longer. Plastic jigs are light but can wear out fast. Metal jigs offer strength and precision. Check for smooth edges and solid construction. A sturdy jig keeps your holes straight and clean. Avoid flimsy jigs that bend or break easily.
Compatibility With Hardware
Not all jigs fit every hardware piece. Confirm the jig fits your handle or knob size. Some jigs work only with specific hole spacing. Adjustable jigs offer more flexibility for different hardware. Using the right jig prevents mistakes and saves effort. Match the jig to your hardware for best results.
Preparing Your Workspace
Preparing your workspace is the first step to using a jig for cabinet hardware. A clean and organized area helps you work faster and avoid mistakes. Setting up well also keeps you safe and makes the task more enjoyable.
Gathering Necessary Tools
Start by collecting all tools needed for the job. You will need a drill, screws, a pencil, measuring tape, and the jig itself. Having everything close by saves time. Check if your drill has the right bit size for the hardware screws.
Setting Up Work Surface
Choose a flat and sturdy surface to work on. A workbench or a strong table works best. Clear the area of any clutter. Lay down a soft cloth or mat to protect cabinet doors from scratches. Make sure there is enough light to see clearly.
Safety Precautions
Wear safety glasses to protect your eyes from dust and debris. Keep your fingers away from the drill bit when drilling. Use clamps to hold cabinet parts steady. Avoid loose clothing or jewelry that can get caught. Always work in a well-ventilated area.
Measuring And Marking
Measuring and marking are the first steps to install cabinet hardware correctly. Accuracy here saves time and keeps your cabinets looking neat. A jig tool helps make these tasks easier and more precise. This section explains how to measure and mark with a jig to get perfect handle placement and drill points.
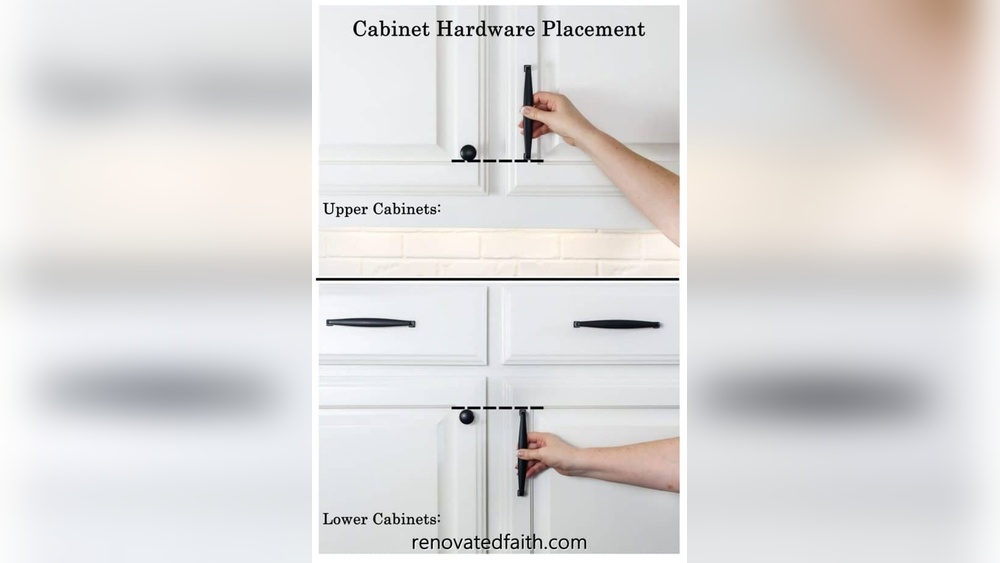
Determining Handle Placement
Start by deciding where to place the handles on your cabinet doors or drawers. Think about how you want them to look and feel. Most people place handles in the center or near the edge for easy reach. Use a ruler or tape measure to find the exact spot. Mark this spot lightly with a pencil. The jig will help keep this mark consistent across all doors and drawers.
Marking Drill Points Accurately
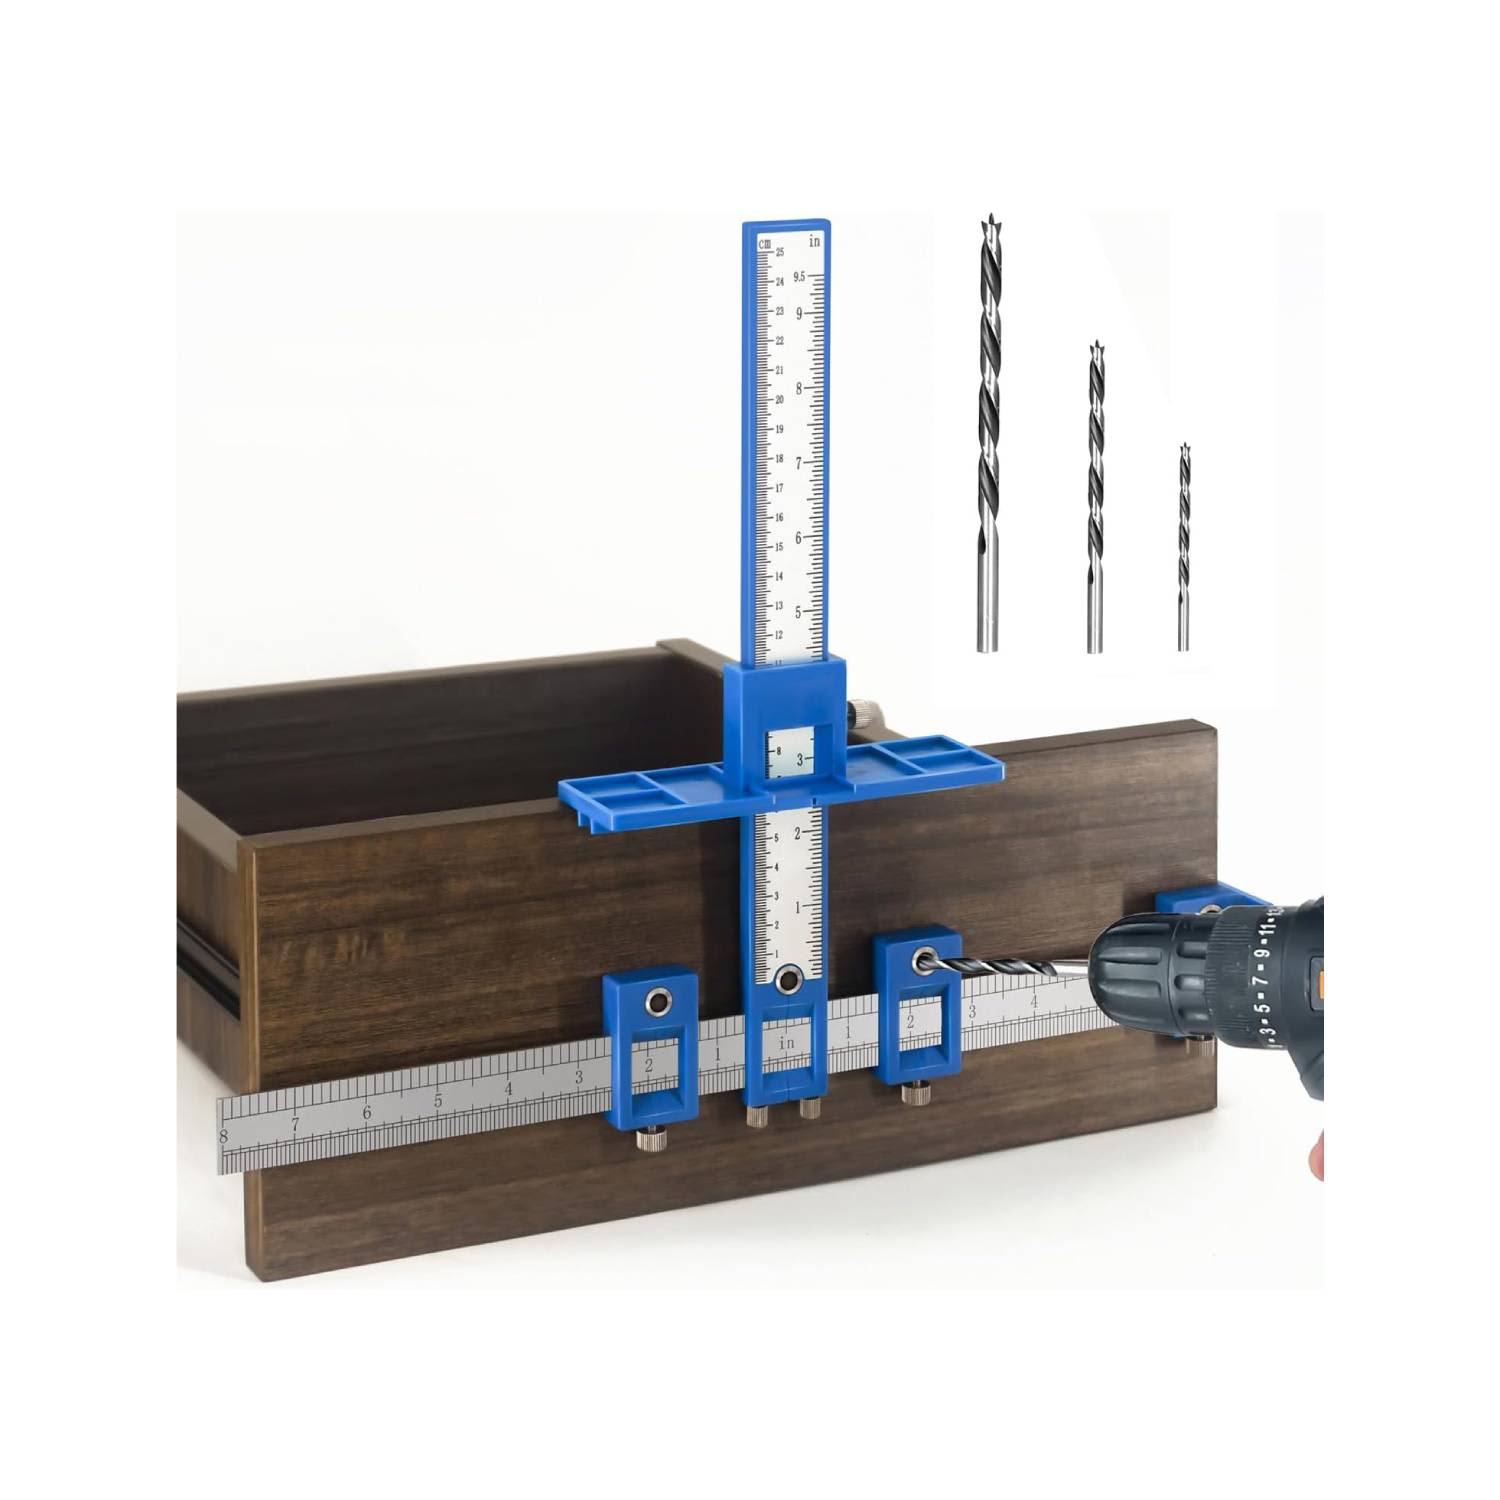
Use the jig to hold your drill points steady. Place the jig on the marked spot and line it up carefully. The jig has holes or guides to show where to drill. Press the jig firmly so it does not move. Mark the drill holes through the jig with a pencil or awl. Check each mark twice before drilling. This method keeps all holes uniform and avoids mistakes.
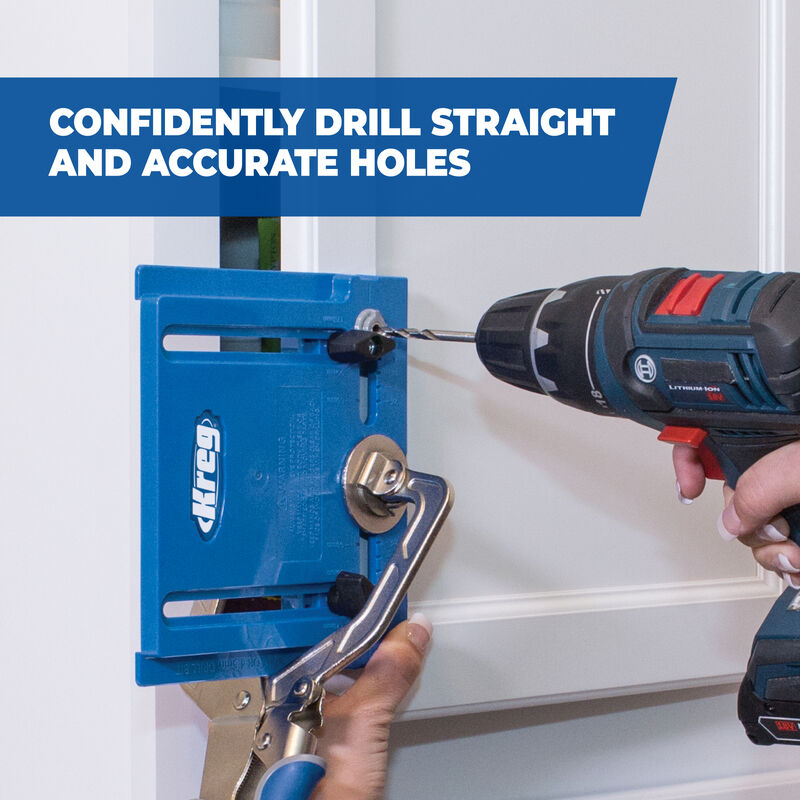
Credit: www.kregtool.com
Setting Up The Jig
Setting up the jig is the first step to install cabinet hardware correctly. It helps you place handles and knobs evenly. A well-set jig saves time and prevents mistakes. Follow simple steps to prepare your jig for the best results.
Adjusting For Cabinet Size
Start by measuring your cabinet’s door or drawer size. Most jigs have adjustable parts for different sizes. Move the stops or guides to match your cabinet’s width and height. This adjustment ensures holes line up perfectly on each piece.
Aligning With Marked Points
Mark the spots for screws or handles on your cabinet. Use a pencil to make small dots where hardware will go. Place the jig over these marks. Check that the jig’s holes match your pencil points exactly. This step avoids uneven or misplaced holes.
Securing The Jig In Place
Hold the jig firmly so it does not move during drilling. Use clamps if your jig or cabinet allows it. A steady jig means clean, accurate holes. Double-check the jig’s position before drilling each hole. This keeps your work neat and professional.
Drilling Holes With Precision
Drilling holes with precision is key to installing cabinet hardware correctly. A jig helps guide the drill to the exact spot. It keeps holes straight and evenly spaced. This results in a clean, professional look. Follow simple steps to drill holes that fit your hardware perfectly.
Choosing The Right Drill Bit
Select a drill bit that matches the hardware screws. Use a bit slightly smaller than the screw’s diameter. This allows the screw to grip firmly. A dull or wrong-sized bit can cause damage. Use a sharp, quality bit for smooth holes.
Maintaining Steady Pressure
Avoiding Common Mistakes
Mark hole positions clearly before drilling. Double-check measurements to prevent errors. Avoid drilling too deep by setting a depth stop. Do not rush; take your time for accuracy. Clean out wood dust from holes to ensure proper screw fit.
Attaching Cabinet Hardware
Attaching cabinet hardware is an important step for a neat and functional kitchen or bathroom. Using a jig helps place handles and knobs in the right spot every time. It makes the process faster and more precise.
Careful attachment prevents damage to cabinets and ensures hardware stays secure. This section explains how to select screws, tighten them carefully, and check alignment for the best results.
Selecting Correct Screws
Choose screws that fit your cabinet hardware perfectly. Screws that are too long may damage the cabinet back. Too short screws won’t hold the hardware firmly. Check the thickness of your cabinet door before picking screws.
Use screws made for cabinet installation. These often have a flat or oval head to sit well under hardware. Match the screw diameter to the hole in your hardware for a snug fit.
Tightening Without Damage
Use a screwdriver or drill with a clutch to control tightness. Tighten screws slowly to avoid stripping the hole or breaking the hardware. Stop as soon as the hardware feels secure.
Over-tightening can crack wood or bend metal parts. Hand-tightening often works better than power tools. If a screw feels tight but hardware still moves, check the screw size again.
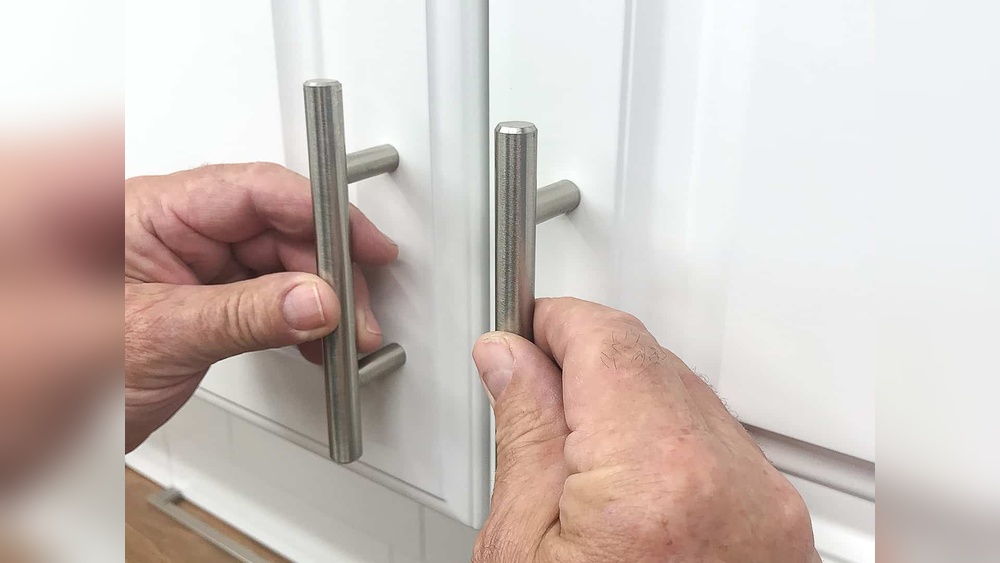
Checking Hardware Alignment
After attaching, look at the hardware from different angles. It should sit straight and even on the cabinet door. Use a level or ruler if needed to check horizontal alignment.
Hardware that is misaligned can cause doors to hang unevenly. It also looks unprofessional. Adjust screws slightly if the hardware is crooked before fully tightening.
Tips For Consistent Results
Getting consistent results with a jig for cabinet hardware makes your project look professional. Small mistakes can cause uneven holes or misaligned handles. Follow these tips to keep each cabinet perfect. They help save time and reduce frustration during installation.
Using Templates For Multiple Cabinets
Templates help place holes in the exact spot every time. Use a sturdy template made for your jig. Mark the template clearly before drilling. Clamp it firmly to avoid any movement. This method works best when installing hardware on many cabinets.
Double-checking Measurements
Always measure twice before drilling. Check the height and spacing of holes carefully. Use a ruler or tape measure for accuracy. Mark the spots with a pencil. Confirm alignment by comparing with other cabinets. This step prevents costly mistakes and uneven hardware placement.
Cleaning Up After Installation
Remove any wood dust or debris after drilling. Clean the jig and tools to keep them working well. Wipe down cabinet surfaces to avoid scratches. Proper cleanup protects your project and tools. It keeps the cabinets looking neat and ready for use.

Credit: www.homedepot.com
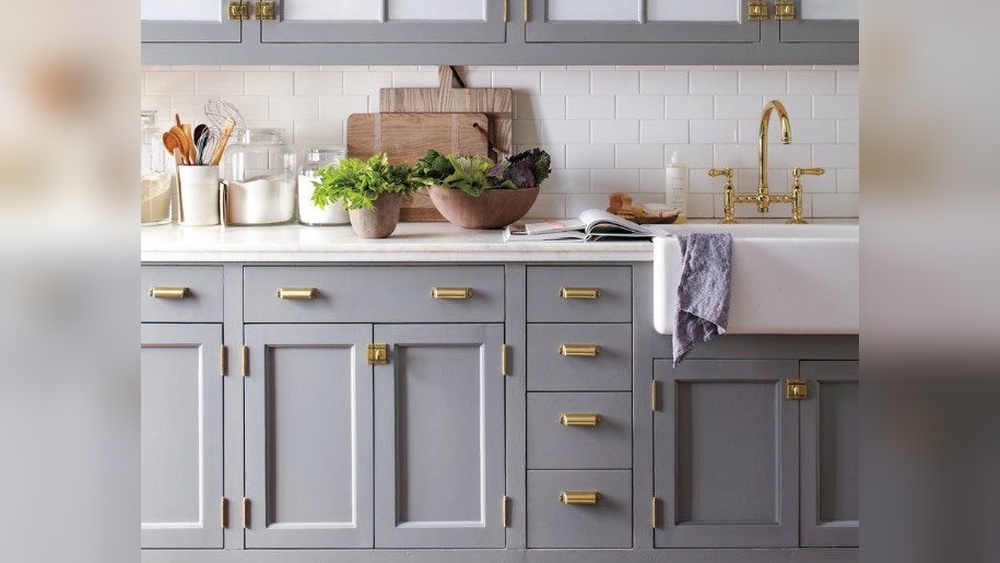
Credit: www.apartmenttherapy.com
Frequently Asked Questions
What Is A Jig For Cabinet Hardware?
A jig is a tool that guides drilling holes for cabinet hardware. It ensures precise and consistent placement of knobs and handles. Using a jig saves time and reduces errors during installation. It is essential for achieving professional-looking cabinet hardware alignment.
How Do You Use A Jig For Cabinet Handles?
Place the jig on the cabinet door or drawer front. Align it according to the hardware specifications. Clamp the jig securely to prevent movement. Drill holes through the jig’s guide holes for accurate placement. This method ensures uniform handle installation every time.
Can A Jig Fit Different Cabinet Hardware Sizes?
Yes, many jigs have adjustable settings for various hardware sizes. They accommodate different hole spacing and handle lengths. This versatility makes jigs useful for multiple cabinet hardware projects. Always check the jig’s specifications before use.
Why Is A Jig Important For Cabinet Hardware Installation?
A jig ensures consistent hole spacing and alignment. It prevents mistakes that can damage cabinets or misalign hardware. Using a jig speeds up installation and improves accuracy. It is vital for a clean, professional finish.
Conclusion
Using a jig for cabinet hardware saves time and improves accuracy. It helps you drill holes in the right spots every time. This tool makes your work neater and more professional. Even beginners can get better results with a jig.
Practice a little, and you will feel more confident. Remember, small steps lead to great progress. Try using a jig on your next project. It makes installing cabinet hardware easier and more fun.