Are you struggling to figure out how to program your Honeywell light switch? You’re not alone.
Setting up smart devices can feel confusing at first, but once you know the steps, it becomes quick and simple. This guide will walk you through the process, showing you exactly how to get your Honeywell light switch working just the way you want.
By the end, you’ll have full control over your lighting with ease. Keep reading to unlock the full potential of your smart switch and make your home smarter today.
Credit: www.honeywellstore.com
Honeywell Light Switch Types
Honeywell offers several types of light switches. Each type fits different needs and setups. Knowing the types helps in choosing the right one for your home or office. Some switches are simple, while others have smart features. This section explains the popular Honeywell light switch types and their key features.
Popular Models
Honeywell has many light switch models. The Honeywell Smart Switch is one of the most common. It works with apps and voice control. The Honeywell Standard Switch offers basic on/off functions. Another popular model is the Honeywell Dimmer Switch. It controls light brightness easily. Each model fits different room needs and preferences.
Features And Compatibility
Honeywell switches have various features. Some support Wi-Fi for remote control. Others work with Alexa or Google Home. Many models include dimming and scheduling options. Compatibility depends on your wiring and devices. Most Honeywell switches fit standard electrical boxes. Check if your system supports smart features before buying.
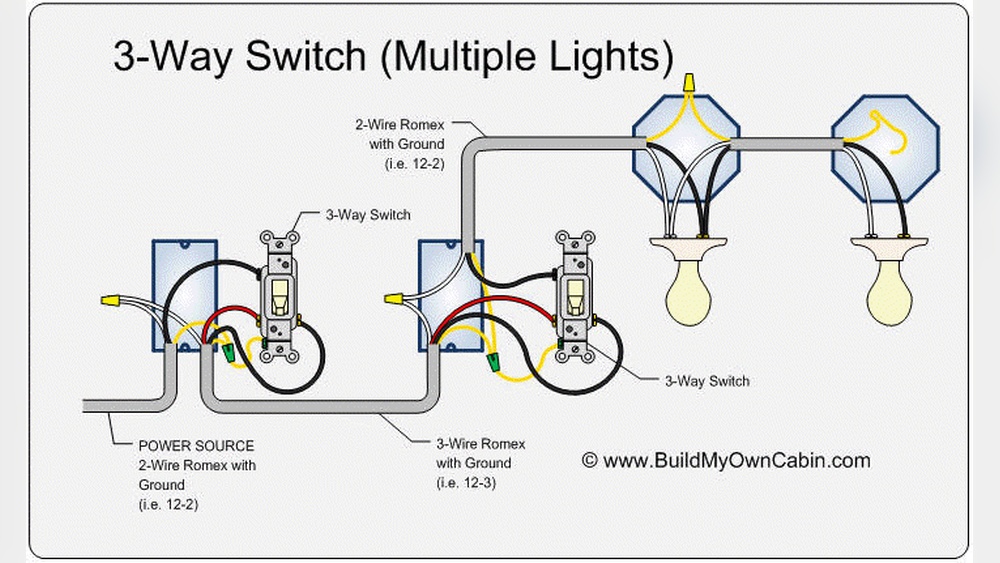
Tools Needed For Programming
Programming a Honeywell light switch needs some basic tools. These tools help you set up the switch correctly. Having the right equipment makes the process easier and safer.
Before starting, gather all tools to avoid interruptions. This saves time and reduces mistakes.
Required Equipment
You need a small flathead screwdriver to open the switch panel. A Philips screwdriver helps remove mounting screws. A voltage tester checks if the power is off. Wire strippers prepare the wires for connection. Finally, a ladder or stool helps reach high switches safely.
Safety Precautions
Always turn off the power at the circuit breaker before starting. Use the voltage tester to confirm no electricity flows to the switch. Wear insulated gloves to protect your hands. Avoid working in wet or damp areas to prevent shocks. Keep your tools dry and in good condition. Safety first keeps you safe and avoids damage.
Preparing The Switch
Preparing the Honeywell light switch is the first step before programming it. This step ensures safety and smooth setup. Proper preparation helps avoid accidents and device damage. Follow simple steps to get ready for programming.
Focus on turning off the power and removing the cover plate carefully. These tasks make programming easier and safer.
Power Off Procedures
Switch off the power to the light switch from the main circuit breaker. This stops electricity flow and prevents shocks. Use a voltage tester to confirm power is off. Never skip this step. Safety is key when handling electrical devices.
Removing The Cover Plate
Use a screwdriver to remove the screws holding the cover plate. Gently pull the cover plate away from the wall. Avoid forcing it to prevent damage. Keep screws safe for reassembly. Removing the cover plate gives access to the switch and wiring for programming.
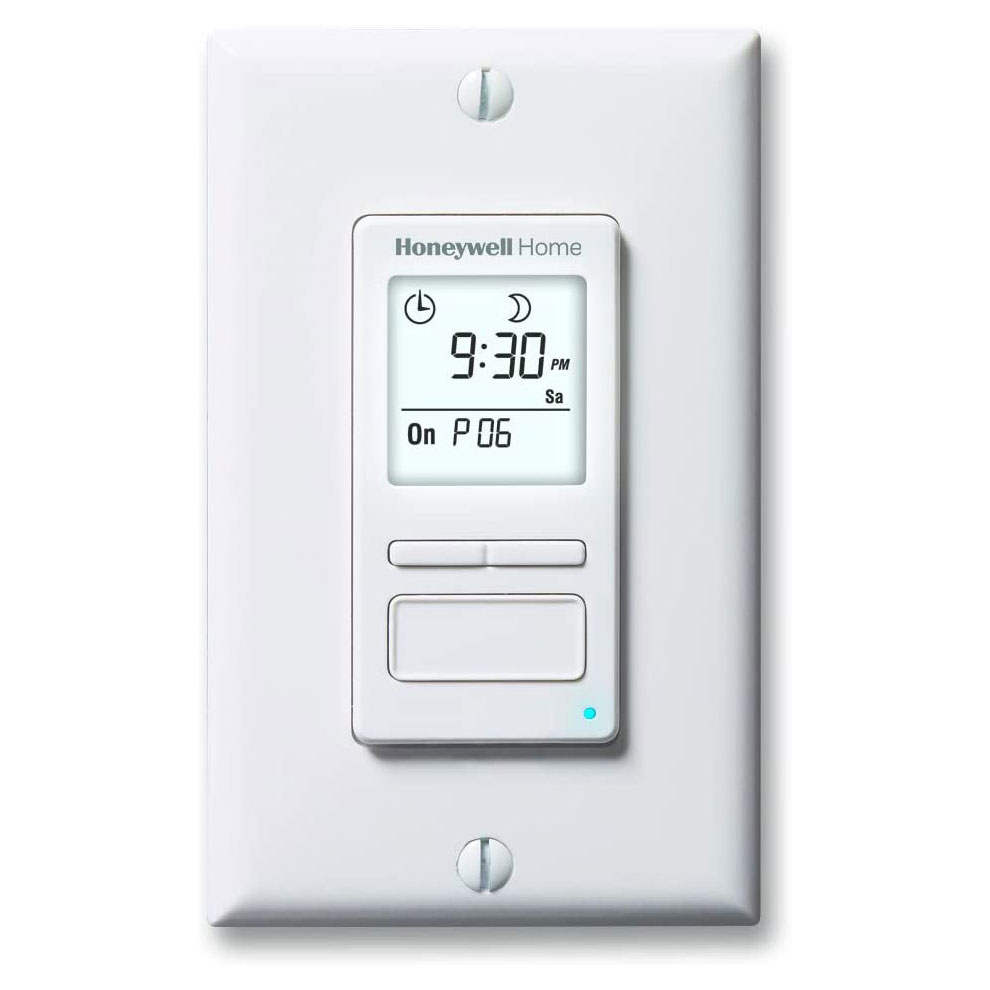
Entering Programming Mode
Entering programming mode is the first step to customize your Honeywell light switch. This mode lets you change settings and connect the switch to other devices. The process is simple and quick. You just need to follow the right steps to activate programming mode.
Button Combinations
To enter programming mode, press and hold specific buttons on the switch. Usually, this involves holding the “On” and “Off” buttons together. Keep them pressed for about 5 seconds. The switch will respond by changing its lights or sounds. This confirms it is ready for programming. Remember to release the buttons only after the switch shows a sign.
Indicator Lights
Indicator lights help confirm the switch is in programming mode. You might see a blinking light or a steady glow. Different colors can mean different modes. For example, a green light often means programming mode is active. Watch the lights closely. They guide you through the setup process. If the lights do not change, repeat the button combination step.
Setting The Switch Functions
Setting the switch functions is the next important step in programming your Honeywell light switch. This step lets you control how the switch behaves. You can change light levels, set timers, and connect sensors. These settings help you save energy and make your home more comfortable.
Adjusting Light Levels
Adjusting light levels lets you control the brightness. Use the switch buttons to raise or lower the light. Some models have a dimmer feature. Press and hold the button to dim slowly. Set the light to the perfect level for any room. This helps create the right mood and saves electricity.
Configuring Timers
Timers turn lights on or off automatically. Set a start time and an end time. Use the menu on the switch screen or the app. Timers are perfect for waking up or going to bed. They also help when you are not home. Timers keep your lights working without manual effort.
Setting Up Sensors
Sensors detect motion or light in the room. Connect the switch to these sensors for automatic control. Motion sensors turn lights on when you enter. They turn off lights after you leave. Light sensors adjust brightness based on daylight. This makes your lighting smart and energy-efficient.

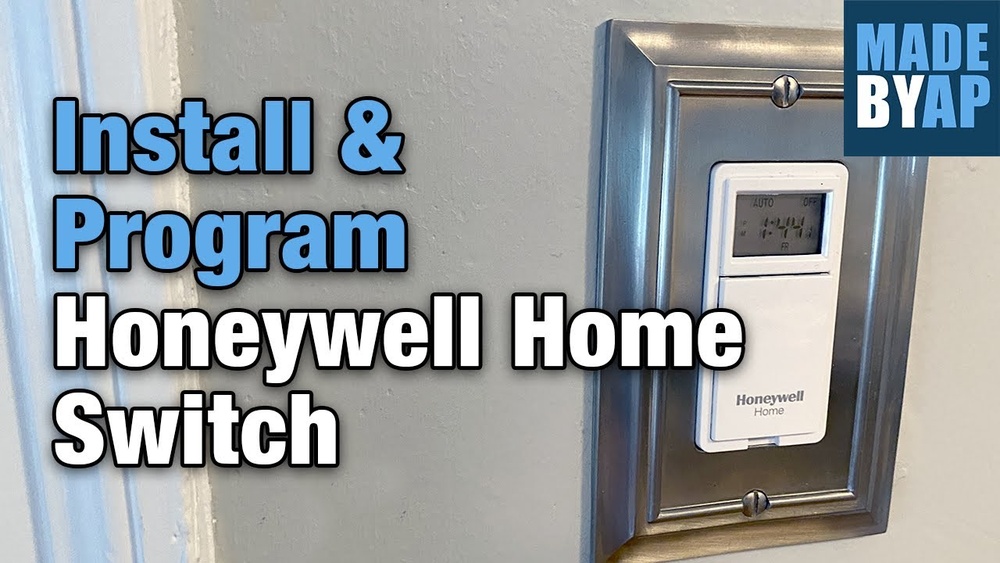
Credit: www.youtube.com
Linking To Smart Devices
Linking your Honeywell light switch to smart devices makes controlling your lights easier. You can manage your lights from your phone or by voice. This connection adds convenience and saves time.
Setting up your switch with smart devices involves a few simple steps. The process includes connecting to Wi-Fi, using the Honeywell app, and integrating voice assistants. Each step helps you control your lighting more effectively.
Wi-fi Setup
Start by connecting your Honeywell light switch to your home Wi-Fi network. This connection allows remote control from your phone. Press the switch’s setup button until the LED blinks. Open your phone’s Wi-Fi settings and join the switch’s network. Return to the Honeywell app to complete the Wi-Fi setup by entering your home network details. A stable Wi-Fi connection ensures your smart switch works smoothly.
Using The Honeywell App
Download the Honeywell app from your device’s app store. Create an account or log in if you already have one. The app guides you to add your light switch to your device list. You can turn lights on or off and set schedules from the app. The app also lets you monitor energy use and receive alerts. It makes managing your lights simple and clear.
Voice Assistant Integration
Connect your Honeywell light switch to voice assistants like Alexa or Google Assistant. Open the assistant’s app and find the option to add new devices. Link your Honeywell account by following the prompts. After linking, you can control your lights with voice commands. Say “turn on the lights” to activate them hands-free. Voice control adds comfort and ease to your daily routine.
Testing The Configuration
After programming your Honeywell light switch, testing the configuration is vital. This step confirms that the switch works as expected. It also helps find any setup problems early. Testing ensures a smooth and reliable lighting control experience.
Verifying Switch Response
Start by pressing the switch to check its response. The light should turn on or off immediately. Observe if the switch reacts correctly every time you press it. Test both single and multiple presses if your model supports it. Confirm that the switch controls the intended light or device. This step helps ensure the programming matches your needs.
Troubleshooting Common Issues
If the switch does not respond, check the wiring first. Loose or wrong connections often cause issues. Ensure the power supply to the switch is stable. Verify the programming steps were followed correctly. Reset the switch and reprogram if needed. Consult the Honeywell manual for error codes or signals. Small mistakes in setup can often cause common problems.
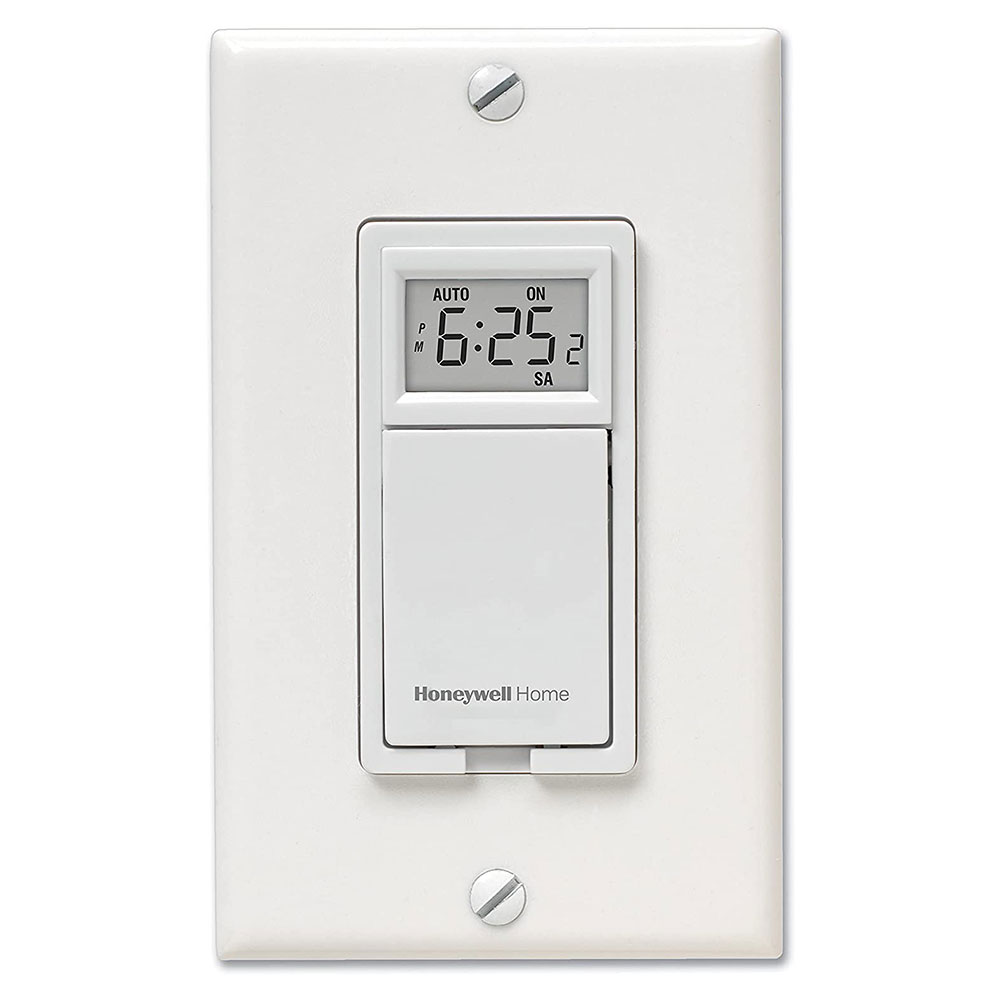
Credit: www.honeywellstore.com
Resetting The Switch
Resetting the Honeywell light switch can solve many issues. It clears all settings and restores factory defaults. This step is useful before programming the switch again. Follow simple steps to reset the device safely.
Factory Reset Process
Start by turning off the power to the switch at the breaker.
Press and hold the switch button for about 10 seconds. The light will blink quickly.
Release the button when the blinking stops. The switch resets to factory settings.
Turn the power back on. The switch is ready for new programming.
When To Reset
Reset the switch if it does not respond to commands. It helps fix connection problems.
Use reset before adding the switch to a new network or system.
If the switch behaves oddly or does not save settings, try resetting.
Resetting clears all previous data, making the switch fresh for setup.
Frequently Asked Questions
How Do I Program A Honeywell Light Switch?
To program a Honeywell light switch, start by turning off the power. Press and hold the “Program” button until the LED flashes. Follow the specific model’s instructions to set timing, brightness, or remote control options. Finally, save settings by pressing the “Program” button again.
Can I Reset My Honeywell Light Switch Programming?
Yes, you can reset the Honeywell light switch by turning off the power. Hold the “Reset” or “Program” button for 10 seconds until the LED blinks. This clears all previous settings and restores factory defaults. Reprogram the switch as needed afterward.
What Tools Are Needed To Program Honeywell Switches?
You only need a small flathead screwdriver to remove the switch cover. Some models require a smartphone app or remote for advanced programming. Always turn off power at the breaker before starting. No specialized tools are generally required for basic programming.
How Long Does Programming A Honeywell Light Switch Take?
Programming a Honeywell light switch usually takes less than 10 minutes. It depends on the model and complexity of settings. Basic on/off and timer functions are quick to set. Advanced features like remote control might take slightly longer.
Conclusion
Programming your Honeywell light switch is simple with clear steps. Follow each instruction carefully to avoid mistakes. Test the switch after programming to ensure it works correctly. Adjust settings anytime to fit your needs. Enjoy easy control of your home lighting.
Stay patient and take your time during setup. This guide helps make the process smooth and stress-free. Now, your Honeywell switch is ready to use.