Are you tired of struggling with messy, uneven strips of mounting tape that just won’t stick right? Knowing how to properly cut mounting tape can save you time, frustration, and ensure your projects look clean and professional.
Whether you’re hanging pictures, securing cables, or tackling a DIY project, the right cutting technique makes all the difference. Keep reading to discover simple tips that will help you get perfect cuts every time, so your work holds strong and looks flawless.

Credit: www.amazon.com
Choosing The Right Tape
Choosing the right mounting tape is key to a strong hold and clean finish. Different tapes suit different jobs. Pick one that fits your surface and weight needs. This choice makes cutting and applying the tape easier. It also keeps your items secure.
Types Of Mounting Tape
There are foam tapes, double-sided tapes, and clear tapes. Foam tapes work well on uneven surfaces. Double-sided tapes stick to both sides firmly. Clear tapes are good for glass and smooth surfaces. Each type has a unique grip and thickness. Know your project before picking a type.
Selecting Based On Surface
Match the tape to your surface type for best results. Rough surfaces need thick foam tapes for better grip. Smooth surfaces work well with thin, clear tapes. Some tapes resist water and heat, useful for outdoor use. Check the surface texture before choosing tape.
Tape Thickness And Strength
Thicker tapes offer more cushioning and grip. Thin tapes look neat but hold less weight. Choose tape strength based on what you are mounting. Heavy items need strong, thick tape. Light decorations can use thinner tape to avoid bulk.

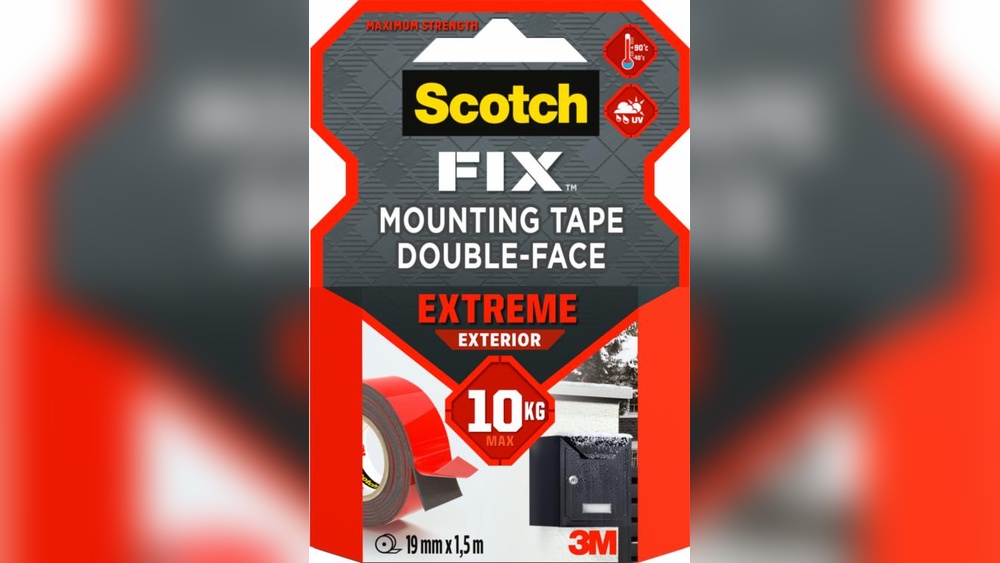
Credit: sc-electricals.com
Essential Tools For Cutting
Cutting mounting tape cleanly needs the right tools. Using proper tools helps to get straight, neat edges. It also saves time and keeps the tape usable. Having these tools ready makes the job easier and safer.
Best Scissors And Knives
Sharp scissors work well for thin mounting tape. Choose scissors that feel comfortable in your hand. For thicker tape, a utility knife or craft knife is better. Use a fresh blade to avoid tearing the tape. Cut slowly and steadily for smooth edges.
Using Cutting Mats
A cutting mat protects your work surface from scratches. It also helps keep the knife blade sharp longer. Place the tape on the mat before cutting. The mat provides a firm, even surface for precise cuts. This prevents slipping and uneven edges.
Safety Gear To Consider
Safety matters when cutting mounting tape. Wear gloves to protect your hands from cuts. Use eye protection if you work with sharp knives. Keep your fingers clear of the cutting path. Take your time to avoid accidents.
Preparing Tape For Cutting
Preparing mounting tape for cutting ensures a clean and precise application. Proper preparation avoids waste and keeps your project neat. Taking time at this stage helps achieve better results.
Measuring Accurate Lengths
Use a ruler or tape measure to find the exact length needed. Measure twice to avoid mistakes. Mark the length clearly on the tape or surface.
Marking Cut Lines
Draw a straight line where the tape will be cut. Use a pencil or fine marker. Clear lines guide your scissors or blade for a clean cut.
Handling Tape Without Stretching
Hold the tape gently to prevent stretching. Pulling can distort the tape and reduce its stickiness. Keep the tape flat and steady while cutting.
Cutting Techniques
Cutting mounting tape properly is key for strong, clean adhesion. Different projects need different cutting styles. Using the right techniques helps keep the tape neat and effective. It also saves time and reduces waste. Here are some simple ways to cut mounting tape for the best results.
Straight Cut Methods
Use sharp scissors or a craft knife for straight cuts. Place the tape on a flat surface before cutting. Measure the length carefully to avoid mistakes. Cut slowly and steadily to get a clean edge. Straight cuts work well for mounting pictures and frames. Keep the blade sharp to make smooth, precise cuts.
Creating Custom Shapes
Custom shapes fit better on uneven surfaces and corners. Draw the shape lightly on the tape with a pencil first. Use scissors or a craft knife to follow the outline. Small cuts let you shape tape into circles, triangles, or curves. Custom shapes help tape stick firmly without extra bulk. This is useful for creative projects and tricky spots.
Avoiding Frayed Edges
Frayed edges reduce tape’s stickiness and look messy. Use clean, sharp blades to cut tape. Cut slowly to stop tearing or jagged edges. Hold the tape tight while cutting to keep it steady. If edges start to fray, trim them again carefully. Well-cut edges ensure the tape sticks longer and looks neat.
Applying Cut Tape
Applying cut mounting tape correctly ensures your project stays secure. Follow simple steps to get the best hold. Proper application helps avoid peeling or misalignment.
Cleaning Surfaces First
Start by cleaning the surface well. Use rubbing alcohol or a mild cleaner. Dirt, dust, and grease stop tape from sticking. Let the surface dry completely before applying tape.
Aligning Tape Precisely
Place the tape carefully on the surface. Measure twice and cut once for accuracy. Align the tape with your mark or edge. Avoid stretching the tape during placement.
Pressing For Strong Adhesion
Press the tape firmly to the surface. Use your fingers or a flat tool. Apply even pressure along the entire strip. This step activates the adhesive and keeps tape secure.

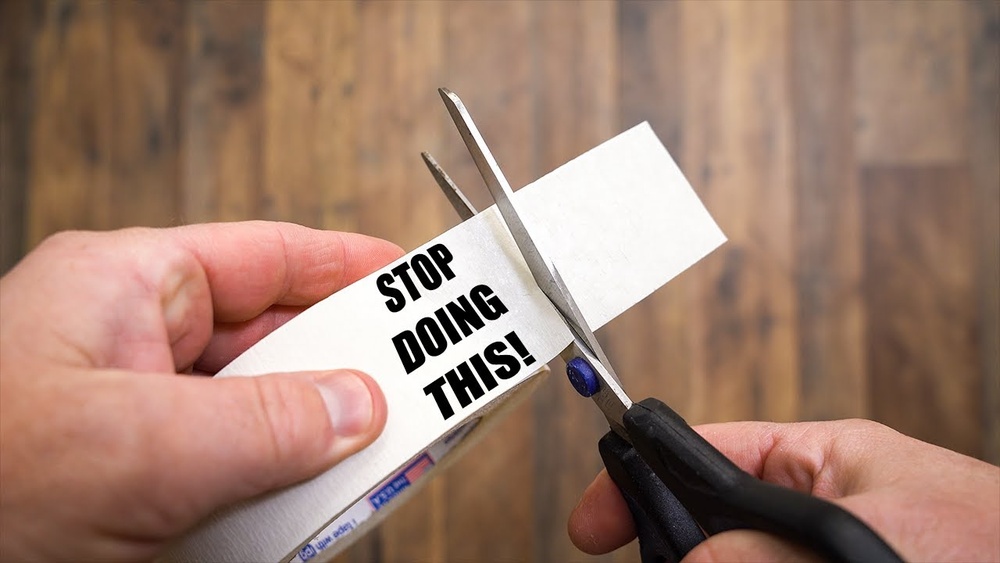
Credit: www.youtube.com
Common Mistakes To Avoid
Cutting mounting tape may seem simple, but mistakes can cause problems. These errors reduce tape strength and make your work harder. Avoiding common errors helps ensure a strong hold and clean finish.
Cutting Too Much At Once
Cutting a large piece wastes tape and makes handling tough. Smaller cuts fit better on surfaces. They also prevent the tape from curling or folding. Cut only what you need for each use.
Ignoring Tape Stretch
Pulling tape too hard stretches it. This weakens the adhesive and causes gaps. The tape may not stick well after stretching. Handle tape gently for a firm, even bond.
Applying On Dirty Surfaces
Dirt and dust stop tape from sticking properly. Clean the surface before applying tape. Use a cloth and mild cleaner for best results. Dry the area fully to secure the tape strong.
Frequently Asked Questions
How Do You Measure Mounting Tape Before Cutting?
Measure the required length with a ruler or tape measure. Mark the tape lightly with a pencil or pen to guide your cut. Accurate measurement prevents waste and ensures proper application.
What Tools Are Best For Cutting Mounting Tape?
Sharp scissors or a utility knife work best. They provide clean, straight cuts without fraying the tape edges. Avoid dull blades to maintain tape integrity.
Can You Cut Mounting Tape Into Different Shapes?
Yes, mounting tape can be cut into strips, squares, or custom shapes. This flexibility allows you to fit tape precisely to your project needs.
How To Avoid Stretching Mounting Tape While Cutting?
Cut the tape slowly and steadily without pulling. Keep the tape flat on a surface to prevent distortion. This maintains adhesive strength and fit.
Conclusion
Cutting mounting tape properly saves time and prevents waste. Use sharp scissors or a utility knife for clean edges. Measure twice before cutting to get the right size. Apply tape smoothly to avoid bubbles or wrinkles. Clean the surface well for better sticking power.
Practice these steps to make your projects easier. Small efforts lead to neat and strong results. Keep these tips in mind for your next tape job. Simple actions can make a big difference.