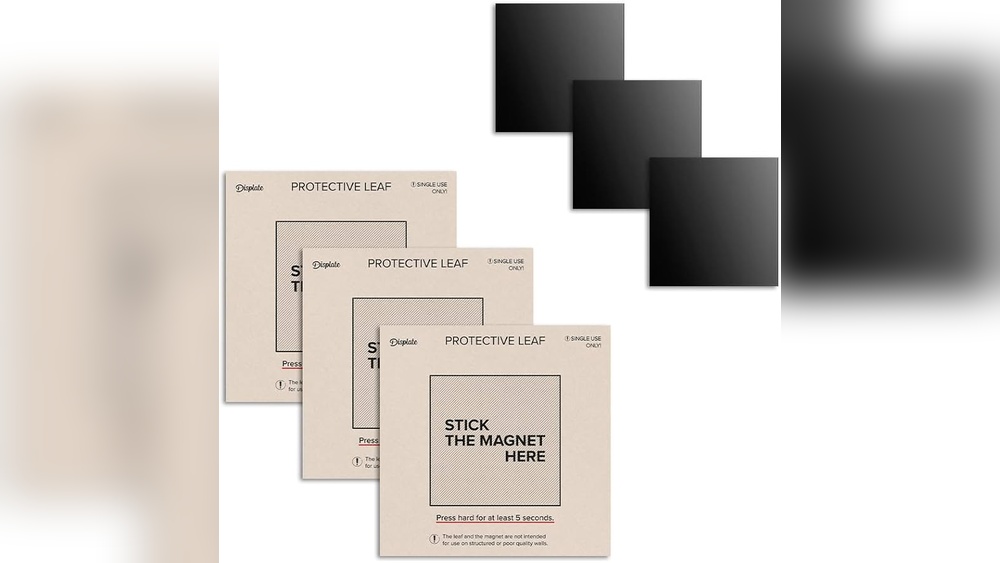
Looking to add a sleek, modern touch to your space with a Displate but worried about damaging your walls? You’re in the right place.
Mounting your Displate using 3M tape is a simple, damage-free way to showcase your favorite metal art without nails or drills. In this guide, you’ll discover easy, step-by-step tips to get your Displate perfectly positioned and securely mounted. Ready to transform your walls effortlessly?
Keep reading—you’re about to make your space look amazing in no time.
Credit: www.amazon.com
Choosing The Right 3m Tape
Choosing the right 3M tape is key for mounting your Displate securely. The right tape holds the metal poster firmly on the wall. It also protects your wall from damage. Different 3M tapes offer different features. Understanding these helps you pick the best one for your needs.
Types Of 3m Tape For Mounting
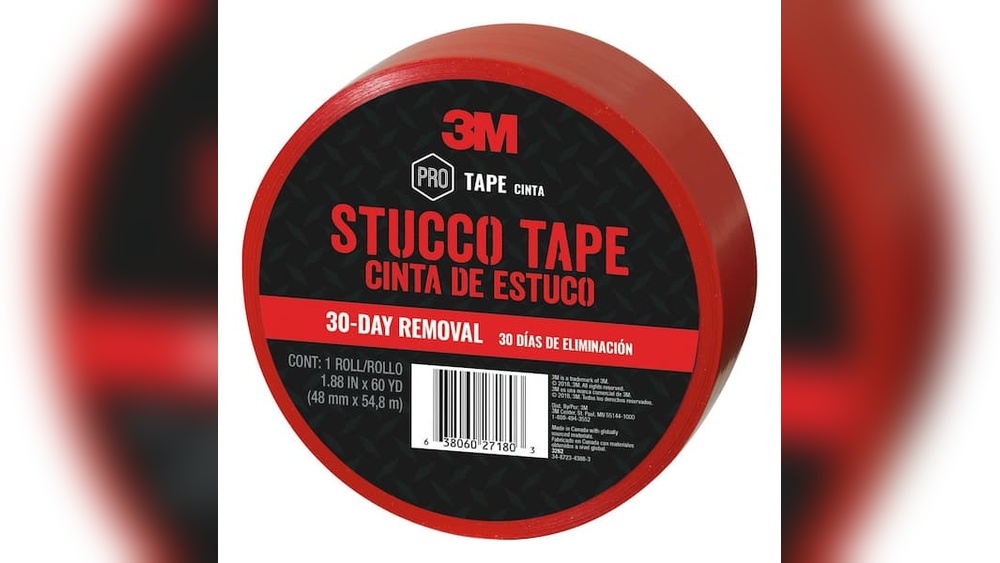
3M offers various tapes for mounting. The most common is the double-sided foam tape. It sticks well to many surfaces. Another option is the VHB (Very High Bond) tape. This tape has strong adhesive and lasts longer. Clear tapes work well on smooth walls. Foam tapes are better for rough or textured surfaces. Choose a tape that fits your wall type.
Strength And Durability Factors
Strength matters for keeping your Displate in place. Check the tape’s weight capacity. It should hold more than your Displate’s weight. Durability means the tape stays sticky over time. Some tapes resist heat and moisture better. This helps if your wall gets sunlight or humidity. Also, consider if the tape leaves residue when removed. A good tape holds strong but cleans off easily.
Credit: www.etsy.com
Preparing Your Wall And Displate
Preparing your wall and Displate is the first step to a secure mount. A clean, smooth surface ensures the 3M tape sticks well. Poor preparation can cause the Displate to fall or shift. Follow these simple steps for the best results.
Cleaning The Surface
Start by wiping the wall with a dry cloth. Remove dust and loose dirt first. Next, use a damp cloth with mild soap to clean the area. Avoid harsh chemicals that could damage the paint. Let the wall dry completely before moving on.
Ensuring A Smooth Application
Check the wall for bumps or rough patches. Smooth any uneven spots using fine sandpaper. Make sure the surface is flat and dry. Also, clean the back of the Displate with a dry cloth. This removes dust and oils that block the tape from sticking.
Step-by-step Mounting Process
Mounting your Displate with 3M tape is simple and quick. This step-by-step guide helps you place it perfectly on your wall. Follow each step carefully for a secure and neat display.
Measuring And Positioning
First, decide where you want your Displate. Use a tape measure to find the right height and center. Mark the spot lightly with a pencil. Check the position by holding the Displate against the wall. Adjust until it looks just right.
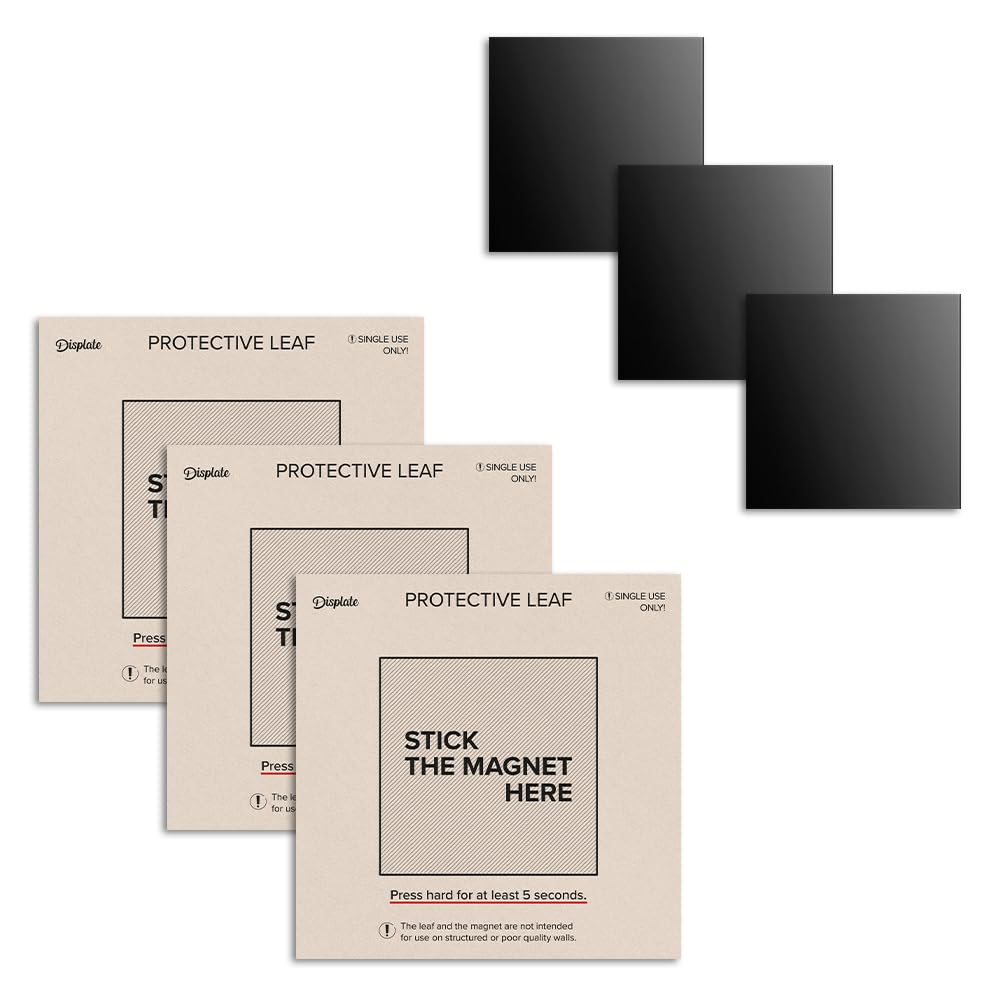
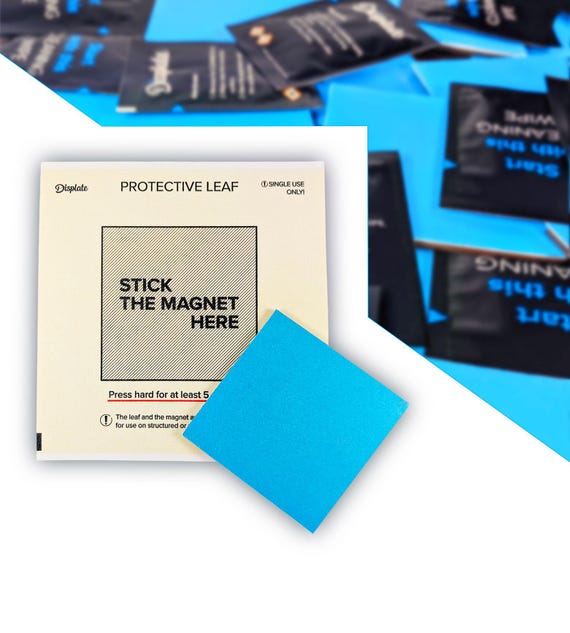
Applying The 3m Tape
Clean the wall surface with rubbing alcohol. Let it dry completely. Cut the 3M tape into pieces that fit your Displate’s back. Peel off the tape’s backing carefully. Stick the tape firmly on the back of the Displate. Press down to remove air bubbles.
Attaching The Displate
Remove the tape backing on the wall side. Align the Displate with your pencil marks. Press it firmly against the wall for 30 seconds. Hold steady to ensure good contact. Wait one hour before adjusting or touching it again.
Tips For Damage-free Removal
Removing a Displate mounted with 3M tape can be simple and safe. Protect your walls by following some easy tips. These help avoid damage and keep your wall smooth. Careful removal also means you can reuse the tape later.
Removing Tape Without Wall Damage
Start by warming the tape with a hairdryer. Heat softens the adhesive. Pull the tape slowly, at a low angle. Avoid quick or sharp pulls. If the tape breaks, use dental floss to cut behind it. Pull gently until the tape comes off. Clean any leftover sticky residue with rubbing alcohol.
Storing And Reusing 3m Tape
After removal, keep the tape clean and flat. Place it on wax paper to stop dirt and dust. Store the tape in a cool, dry place. Avoid folding or stretching it. Reuse only if the tape still sticks well. New adhesive can be added for better hold.
Common Mistakes To Avoid
Mounting Displate with 3M tape seems easy. Many people make simple mistakes that cause the Displate to fall. Avoiding these errors helps keep your artwork safe and secure on the wall.
Using Incorrect Tape Types
Not all 3M tapes work the same. Using the wrong tape can cause weak adhesion. Choose the tape designed for mounting heavy objects. Avoid thin or double-sided tapes made for paper or light items. The right tape holds firmly without damaging your wall or Displate.
Ignoring Surface Preparation
Dirty or dusty walls stop tape from sticking well. Clean the wall with rubbing alcohol before applying tape. Avoid using water or cleaning sprays that leave residue. Make sure the surface is dry and smooth. Proper cleaning ensures the tape grips tightly and lasts longer.
Benefits Of Using 3m Tape For Displate
Using 3M tape to mount your Displate brings many benefits. It makes the process simple and neat. The tape holds the artwork firmly without damage. Many people choose 3M tape for its convenience and strength.
This method suits renters and those who like to change their wall decor often. It keeps your walls clean and safe. The tape is also easy to remove without leaving marks.
Clean And Easy Installation
3M tape offers a clean way to hang your Displate. No tools or drills are needed. Just peel and stick. This cuts down time and effort. It keeps the wall smooth and tidy.
The tape sticks well on most surfaces. It holds the weight of your Displate securely. This method suits people who want quick results.
No Holes Or Permanent Marks
Using 3M tape means no holes on your walls. This protects paint and wallpaper. You avoid costly repairs and repainting. The tape removes cleanly without sticky residue.
This feature is great for renters or temporary displays. You can move or change your Displate easily. The walls stay fresh and intact.

Credit: www.ebay.com
Frequently Asked Questions
How Do I Prepare The Wall Before Mounting Displate?
Clean the wall with rubbing alcohol to remove dirt and grease. Ensure the surface is dry and smooth. Avoid dusty or textured walls for better tape adhesion.
Can 3m Tape Hold A Heavy Displate Securely?
Yes, 3M tape can hold Displates up to 3. 3 pounds. Ensure the tape is firmly pressed for maximum strength. Use multiple strips for larger Displates.
How Long Should I Press The 3m Tape On The Wall?
Press the tape firmly for at least 30 seconds. This ensures strong adhesion between the tape and the wall surface.
Is It Safe To Remove Displate From 3m Tape Later?
Yes, 3M tape can be removed safely without damaging walls. Use heat or gentle pulling to loosen the adhesive when removing.
Conclusion
Mounting your Displate with 3M tape is quick and simple. Clean the wall well before sticking the tape. Press the Displate firmly to ensure it holds. This method keeps your walls safe and your art secure. No tools or drilling needed.
You can change your display anytime without damage. Enjoy decorating your space easily and neatly with this easy method.