Are you struggling with snap fasteners that just won’t stay put or seem tricky to use? Learning how to snap fasteners correctly can save you time, frustration, and keep your clothes or projects looking sharp.
Whether you’re fixing a jacket, crafting a DIY project, or sewing your own garments, mastering this simple skill makes a big difference. Keep reading, and you’ll discover easy steps and insider tips to snap fasteners like a pro—quickly and confidently.
Your next project is about to get a whole lot easier!
Types Of Snap Fasteners
Snap fasteners come in various types suited for different uses. Choosing the right snap fastener depends on your project needs. Each type offers unique benefits and looks.
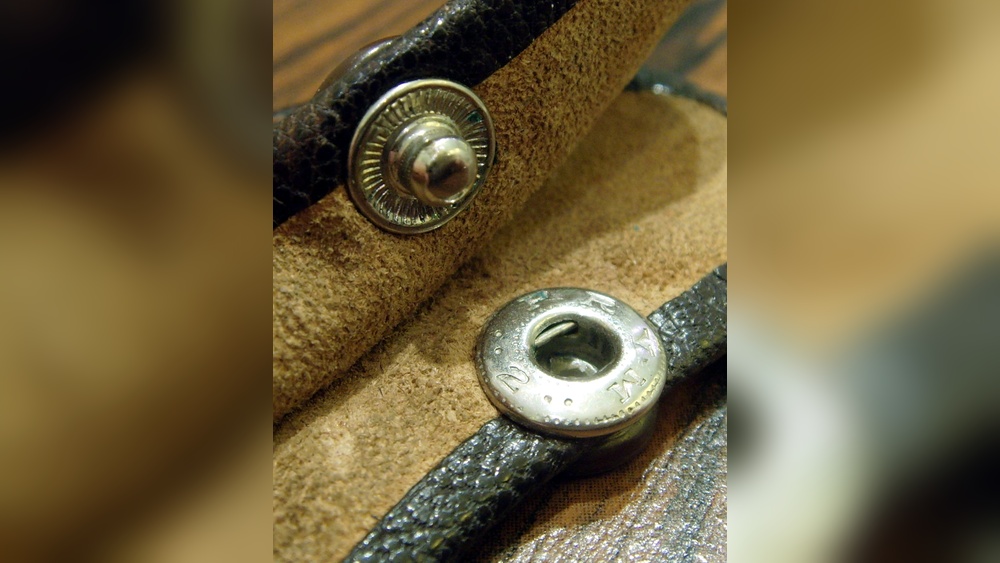
Metal Snaps
Metal snaps are strong and durable. They work well on heavy fabrics like denim and leather. These snaps provide a secure hold that lasts long. They also add a classic look to garments and accessories.
Plastic Snaps
Plastic snaps are lightweight and easy to use. They suit light fabrics such as cotton or polyester. These snaps come in many colors, making them ideal for kids’ clothing. They resist rust and are gentle on delicate materials.
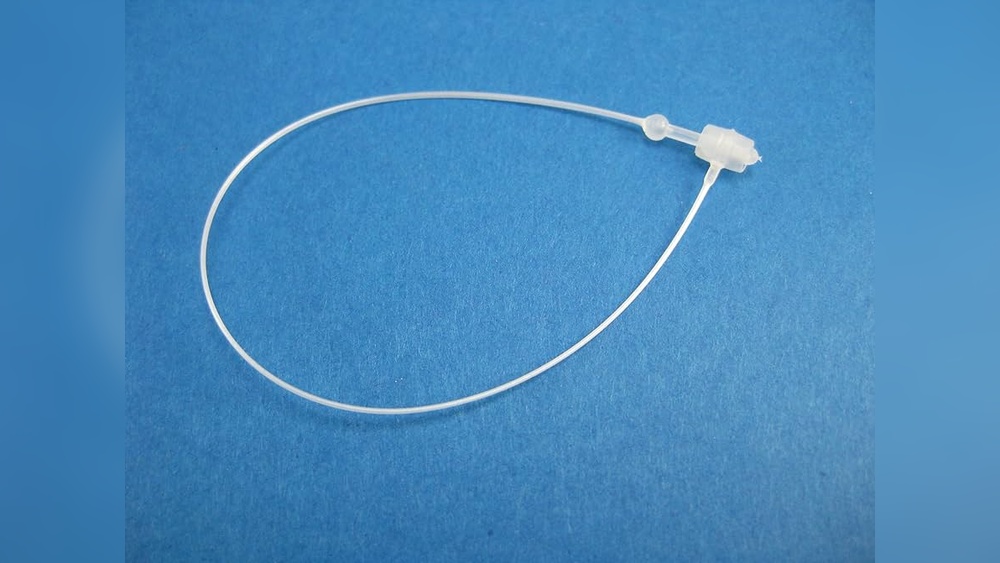
Magnetic Snaps
Magnetic snaps open and close smoothly with a simple touch. They are common in bags and purses. These snaps offer quick access without the need for buttons or zippers. Their hidden design keeps the look neat and clean.
Credit: so-sew-easy.com
Tools Needed
Snapping fasteners requires the right tools for a smooth process. Using proper tools ensures the fasteners attach securely and look neat. The tools vary by the method and type of fastener used. Here are the common tools needed to snap fasteners easily and effectively.
Snap Pliers
Snap pliers are designed specifically for attaching snap fasteners. They are easy to use and fit in your hand comfortably. The pliers hold the snap parts in place. Pressing the handles joins the snap pieces tightly on fabric. Snap pliers work well for small projects and light materials.
Hand Press
The hand press is a manual tool with a lever and a base. It provides strong pressure for setting snaps firmly. This tool works well with thicker fabrics or heavy-duty snaps. The press ensures even pressure, reducing the chance of damage. It is ideal for sewing shops or serious hobbyists.
Hammer And Anvil
The hammer and anvil method uses a small metal base and a hammer. Place the snap on the anvil, then tap with the hammer to attach the parts. This method is affordable and simple. It requires careful tapping to avoid bending or breaking the snap. Good for occasional use and basic fasteners.
Preparing The Fabric
Preparing the fabric is a key step before attaching snap fasteners. This process ensures the snaps fit well and hold strong. Careful preparation prevents damage and keeps the fabric neat. Follow simple steps to prepare your fabric for a smooth snap installation.
Marking Placement
Start by deciding where the snaps will go. Use a fabric pencil or chalk to mark spots clearly. Check the alignment on both fabric sides. Make small marks to avoid visible stains later. Accurate marks help the snaps line up perfectly.
Reinforcing The Area
Snaps can pull on fabric, so add support. Sew a small patch of interfacing behind each mark. This extra layer strengthens the fabric. For thin materials, use fabric glue to secure the patch. Reinforcement stops fabric from tearing or stretching around snaps.

Credit: so-sew-easy.com
Attaching Snap Components
Attaching snap components is the key step in using snap fasteners. It involves placing and securing each part of the snap firmly on your fabric. Proper attachment ensures the snap fasteners work smoothly and last long. Follow simple steps to set each piece correctly.
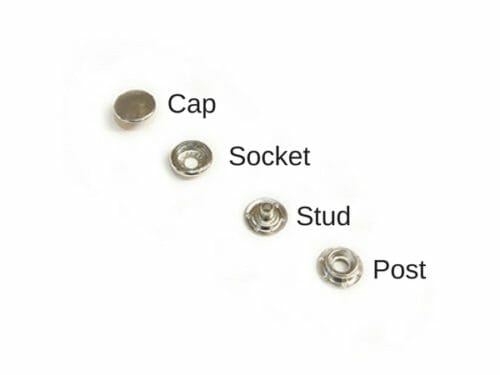
Setting The Cap And Socket
Start by placing the cap on the fabric’s front side. The cap shows the decorative top. Next, align the socket on the back side. The socket clicks with the stud later. Use a snap tool or pliers to press them together. Press firmly but gently to avoid damage. The cap and socket should sit tightly on the fabric.
Securing The Stud And Post
Place the post on the fabric’s front side. The post holds the stud firmly. Then, align the stud on the back side. The stud fits into the socket for closing. Use your snap tool or pliers again to press them together. Ensure a tight fit for durability. The stud and post must not move after pressing.
Checking Snap Alignment
Checking snap alignment is a key step for a neat and secure fastening. Proper alignment helps the snap fastener close smoothly and stay attached longer. Misaligned snaps can cause fabric damage or make the snap hard to use.
Take time to align both parts of the snap before pressing them together. A small adjustment can prevent problems later. This section explains how to check snap alignment correctly and easily.
Positioning The Snap Components
Place the snap parts on the fabric carefully. The top and bottom pieces must face each other exactly. Use a ruler or measuring tape for precise placement.
Using A Template Or Guide
Templates help mark snap spots evenly on your fabric. They ensure that snaps line up well. You can buy templates or create your own from cardboard.
Testing Alignment Before Fixing
Press the snap parts together without locking them. Check if they fit and close smoothly. Adjust the position if you feel resistance or gaps.
Marking Snap Locations Clearly
Use a fabric marker or chalk to mark snap positions. Clear marks help keep snaps straight during sewing or attaching. Avoid permanent markers to prevent stains.
Tips For Durable Closures
Durable closures keep your snaps secure and lasting longer. Choosing the right methods helps avoid wear and tear. Small details make a big difference in snap fastener strength.
Choosing The Right Snap Size
Select snap size based on fabric thickness. Thin fabrics need smaller snaps to prevent damage. Thick fabrics require larger snaps for a strong hold. Match the snap size to your project. Using the wrong size can cause snaps to pull out.
Using Interfacing For Strength
Interfacing adds extra support behind the snap. It stops fabric from stretching or tearing. Use a firm interfacing for soft or stretchy fabrics. Cut interfacing slightly larger than the snap area. Iron it on before attaching the snap. This step extends the life of your closures.
Common Mistakes To Avoid
Snapping fasteners might seem easy, but mistakes happen often. These errors can cause snaps to fail or break. Avoiding common mistakes helps your project last longer and look better.
Misalignment Issues
Snaps must line up perfectly. Misaligned snaps won’t close properly. This causes frustration and weak connections. Always check snap parts before pressing them together. Use a flat surface to keep snaps straight. Small shifts can ruin the snap’s function.
Over-tightening Snaps
Pressing snaps too hard is a common error. Over-tightening can bend or break the snap parts. It also damages the fabric around the snap. Apply firm but gentle pressure. Let the snap pieces fit without forcing them. This ensures a strong and neat finish.

Credit: susieddesigns.wordpress.com
Frequently Asked Questions
What Tools Do I Need To Snap Fasteners Properly?
You need a snap fastener kit, including pliers or a press, and the snap components. A hammer may help for manual installation. These tools ensure secure and aligned snap placement on fabric or leather.
How Do I Align Snap Fasteners Correctly?
Align the male and female parts on opposite fabric sides. Mark positions with chalk or pins to ensure precise placement. Proper alignment ensures snaps close firmly and last longer without damage.
Can Snap Fasteners Be Installed Without A Sewing Machine?
Yes, you can install snap fasteners by hand using pliers or a hammer and anvil. Sewing machines are optional but may speed up the process for fabric snaps. Hand tools work well for small projects.
How Do I Remove Snap Fasteners Without Damaging Fabric?
Use a flathead screwdriver or seam ripper to gently pry open the snap. Work slowly to avoid tearing the fabric. If metal is bent, carefully straighten it before removing the snap parts.
Conclusion
Snapping fasteners is simple with the right tools and steps. Practice a few times to get comfortable. Choose the correct size for your project. Press firmly but gently to avoid damage. Keep your workspace clean and organized. With patience, your skills will improve quickly.
Enjoy the neat, secure finish fasteners provide. Try different materials to see what works best. Small details can make a big difference. Stay consistent, and your projects will look great every time.