Are your kitchen cabinet doors not closing properly? Maybe the handles feel loose or the drawers don’t line up quite right.
Small problems like these can be frustrating, but the good news is you can fix them yourself. Learning how to adjust kitchen cabinet hardware is easier than you think—and it will make your kitchen look and feel brand new. Keep reading, and you’ll discover simple steps to get your cabinets working smoothly again, saving you time and money.
Tools Needed
Adjusting kitchen cabinet hardware requires the right tools. Having these tools ready makes the job easier and faster. This section explains the basic and optional tools needed for the task.
Basic Tools
A screwdriver is essential for loosening and tightening screws. Choose one that fits your cabinet hardware screws well.
A tape measure helps check spacing and alignment of handles and knobs.
A pencil is useful to mark holes or adjustments before drilling or screwing.
A level ensures your hardware is straight and looks professional.
Optional Tools For Precision
A power drill speeds up screw removal and installation. Use it carefully to avoid damage.
Small clamps hold cabinet doors steady during adjustment.
A magnetic screwdriver keeps screws from dropping in tight spaces.
A digital angle finder helps if you want perfect angles on your hardware.
Preparing The Cabinets
Preparing your kitchen cabinets is the first step in adjusting the hardware. It helps the new hardware fit well and work smoothly. Taking time to prepare cabinets properly saves effort later. Let’s explore how to get cabinets ready for new hardware.
Removing Old Hardware
Start by removing the old handles or knobs carefully. Use a screwdriver to unscrew each piece. Keep the screws safe if you plan to reuse them. Pull the hardware gently to avoid damaging the cabinet surface. Removing old hardware clears the space for new pieces.
Cleaning And Inspecting
After removing the hardware, clean the cabinet surface well. Use a soft cloth and mild cleaner to remove dirt and grease. Check for any damage like cracks or holes. Fill small holes with wood filler and let it dry. Clean, smooth surfaces help the new hardware stick better and look neat.
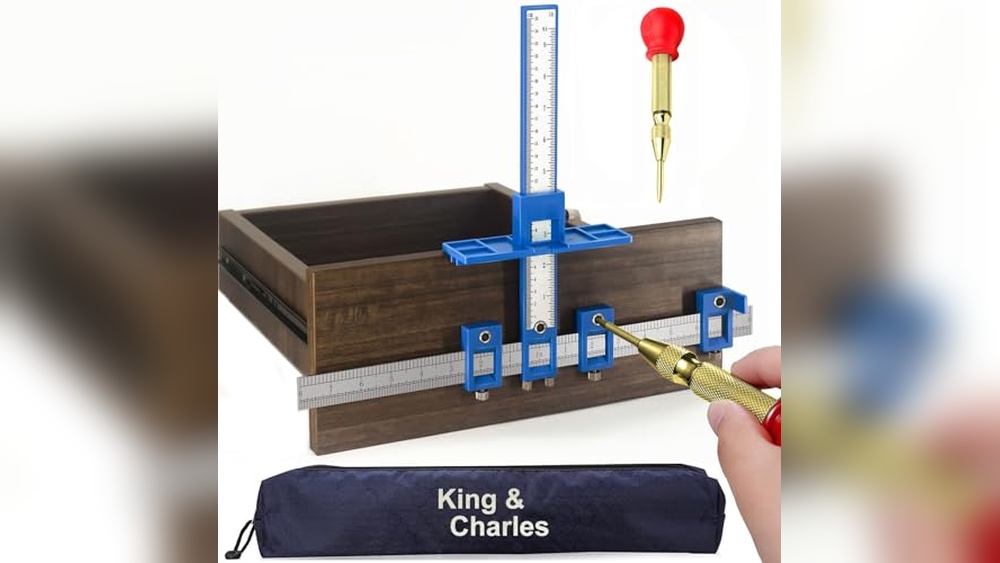
Measuring For Hardware
Measuring for kitchen cabinet hardware is the first step to a neat and professional look. Precise measurements help avoid mistakes and save time. Small errors can make handles or knobs look uneven or crooked. Taking your time with this step ensures your new hardware fits perfectly.
Marking Placement
Start by deciding where each piece of hardware will go. Use a pencil to mark spots clearly. Measure the distance from the edge of the cabinet door or drawer to your mark. Double-check the height for each piece. Use a ruler or tape measure for accuracy. Light marks help you adjust without damage.
Ensuring Symmetry
Symmetry makes your kitchen look balanced and tidy. Measure the same distance on all doors and drawers. Use a level to keep marks straight across multiple cabinets. Compare marks side by side to confirm they match. Consistent placement creates a clean, professional appearance. Take your time to get it right.

Credit: www.amazon.com
Installing New Hardware
Installing new kitchen cabinet hardware can refresh your kitchen’s look. It is a simple way to update cabinets without replacing them. Focus on careful placement and secure attachment. This ensures the hardware looks good and lasts long.
Aligning Handles And Knobs
Start by marking the spot for each handle or knob. Use a ruler or measuring tape for even spacing. Check that all marks line up across cabinet doors and drawers. A small level can help keep lines straight. Take your time to avoid crooked hardware.
Securing With Screws
Place the handle or knob over the marked spot. Insert screws from inside the cabinet or drawer. Use a screwdriver to tighten the screws firmly. Avoid overtightening to prevent damage. Check that the hardware does not wiggle or feel loose.
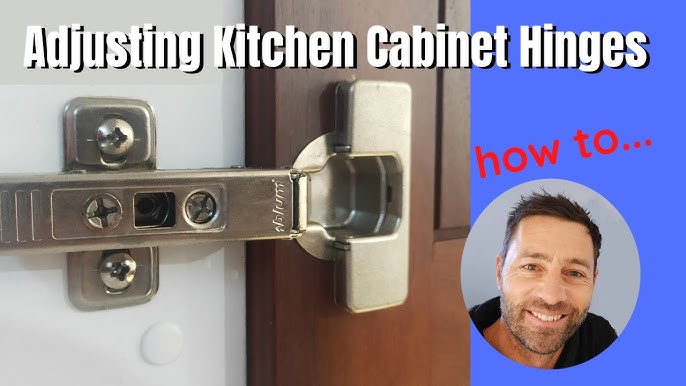
Adjusting Misaligned Hardware
Misaligned cabinet hardware can spoil your kitchen’s look and feel. Small adjustments can fix doors and drawers that don’t line up correctly. Proper alignment makes your kitchen look neat and works better. Follow clear steps to adjust hardware for a perfect fit.
Loosening And Repositioning
Start by loosening the screws on the misaligned hardware. Use a screwdriver that fits well to avoid damage. Loosen screws just enough to move the hardware. Adjust the piece slowly to align with the door or drawer edge. Check the fit by closing and opening the door. Repeat until the hardware sits straight and balanced.
Tightening For Stability
Once the hardware is in place, tighten the screws firmly. Tightening keeps the hardware from shifting out of place. Avoid over-tightening, which can strip the screw holes or crack the wood. Test the hardware after tightening to ensure smooth operation. Adjust again if the fit is still off. Proper tightening improves both function and appearance.
:max_bytes(150000):strip_icc()/SPR-how-to-adjust-cabinet-hinges-1822181-03-55fc34fddc2c45c2a99d467673356f5b.jpg)
Credit: www.thespruce.com
Tips For A Professional Look
Achieving a professional look with kitchen cabinet hardware requires careful attention. Small details make a big difference. Proper adjustment and style choices create a polished and cohesive appearance. Follow these tips to enhance your kitchen’s overall design.
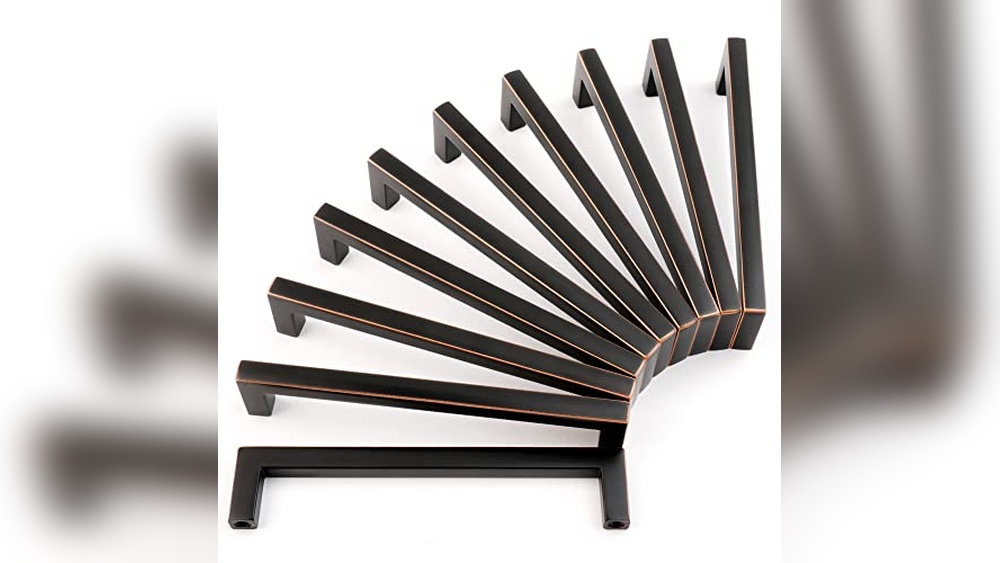
Matching Hardware Styles
Choose hardware that fits your kitchen’s style. Classic kitchens suit traditional knobs or handles. Modern kitchens look great with sleek, minimalist hardware. Avoid mixing too many styles in one space. Consistent design improves the kitchen’s flow and visual appeal.
Maintaining Consistency
Keep hardware placement uniform on all cabinets. Measure carefully before drilling holes. Use a template to ensure even spacing. Consistent height and alignment prevent a messy look. Check that screws are tight but not over-tightened. Proper installation supports smooth cabinet function.
Common Mistakes To Avoid
Adjusting kitchen cabinet hardware seems simple. Small mistakes can cause big problems. Knowing what to avoid saves time and effort. This section highlights common errors many make.
Over-tightening Screws
Tightening screws too much can damage your cabinets. It can strip the holes or crack the wood. Hardware may become loose over time if damaged. Turn screws gently until snug. Stop once you feel resistance. This prevents damage and keeps hardware secure.
Ignoring Measurement Accuracy
Incorrect measurements lead to misaligned handles or knobs. Uneven hardware looks unprofessional and can bother you daily. Always use a ruler or tape measure. Mark spots carefully before drilling. Double-check measurements to avoid mistakes. Accurate placement improves both function and appearance.
Credit: www.youtube.com
Frequently Asked Questions
How Do I Measure For New Cabinet Hardware?
Measure the distance between existing screw holes carefully. Use a ruler or tape measure. Accurate measurements ensure hardware fits perfectly.
What Tools Are Needed To Adjust Cabinet Hardware?
You need a screwdriver, drill, measuring tape, and pencil. These tools help remove, align, and secure the hardware properly.
How Can I Fix Misaligned Cabinet Handles?
Loosen screws, adjust the handle position, then tighten screws. Ensure handles are level and aligned for a neat look.
Can I Reuse Old Cabinet Hardware Screws?
Yes, if screws are undamaged and fit well. Otherwise, replace screws to ensure hardware stays secure and functions properly.
Conclusion
Adjusting kitchen cabinet hardware can improve your kitchen’s look and function. Small changes make a big difference. Take your time and follow each step carefully. Tighten screws and align handles for smooth use. Your kitchen feels fresher and easier to use.
Try this simple task to update your space today. Easy fixes bring new life to old cabinets. Enjoy your improved kitchen every day.