Are you tired of struggling to install cabinet hardware perfectly every time? Imagine having a simple tool that makes drilling holes fast, accurate, and mess-free.
That’s exactly what a cabinet hardware jig does for you. In this post, you’ll learn how to make your own jig step-by-step, saving time and avoiding costly mistakes. Keep reading, and soon you’ll have the confidence to tackle any cabinet project with ease and precision.
Your cabinets—and your sanity—will thank you!
Materials Needed
Gathering the right materials is the first step to making a cabinet hardware jig. Using proper tools and supplies ensures accuracy and ease during the project. This section lists all items needed for a smooth build process.
Essential Tools
Start with a drill and drill bits of various sizes. A tape measure helps mark precise points on the wood. Use a pencil for clear, visible markings. A clamp holds the jig steady while drilling. Sandpaper smooths rough edges for safety and better fit. A screwdriver is necessary for hardware installation. A square or ruler ensures straight lines and proper alignment.
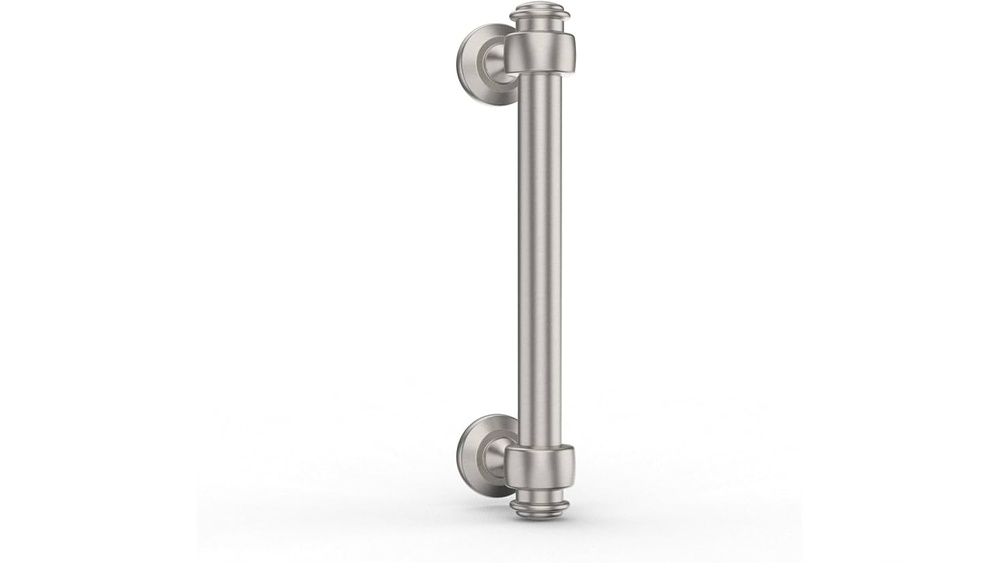
Recommended Hardware
Choose wood screws that fit your jig thickness. Small bolts and wing nuts allow easy adjustments on the jig. Use washers to protect the wood from screw damage. Select cabinet handles or knobs that match your project style. Hinges may be needed if your jig design includes moving parts. Make sure all hardware is rust-resistant for durability.
Safety Gear
Wear safety glasses to protect your eyes from flying debris. Use ear protection to reduce noise from power tools. Gloves help prevent splinters and improve grip. A dust mask keeps wood particles out of your lungs. Work in a well-ventilated area to avoid inhaling dust. Always follow safety instructions for each tool.
Choosing The Right Jig Design
Choosing the right jig design is key to making cabinet hardware installation easier. A good jig helps place holes exactly where they should be. This saves time and avoids mistakes. Different jig designs suit different needs and skill levels. Understanding your options helps pick the best one for your project.
Types Of Cabinet Hardware Jigs
There are several common types of cabinet hardware jigs. Some are simple and low-cost, like template jigs. These have preset hole patterns for handles and knobs. Adjustable jigs allow changing hole spacing for different hardware sizes. Some jigs include measurement guides for accuracy. Choose a type that fits your cabinet style and hardware.
Factors To Consider
Think about the hardware size and shape before choosing a jig. The jig must match the hole spacing of your handles or knobs. Consider the material of your cabinets. Some jigs work better on wood; others on metal or laminate. Also, check if the jig is easy to hold steady. Stability is important to drill clean, straight holes.
Customizing Your Jig
Customizing a jig adds flexibility to your work. You can adjust hole spacing to match unusual hardware. Adding marks or stops on the jig helps repeat the same hole placement. Use clamps or rubber grips to hold the jig firmly. Simple changes can make the jig fit your exact needs better.
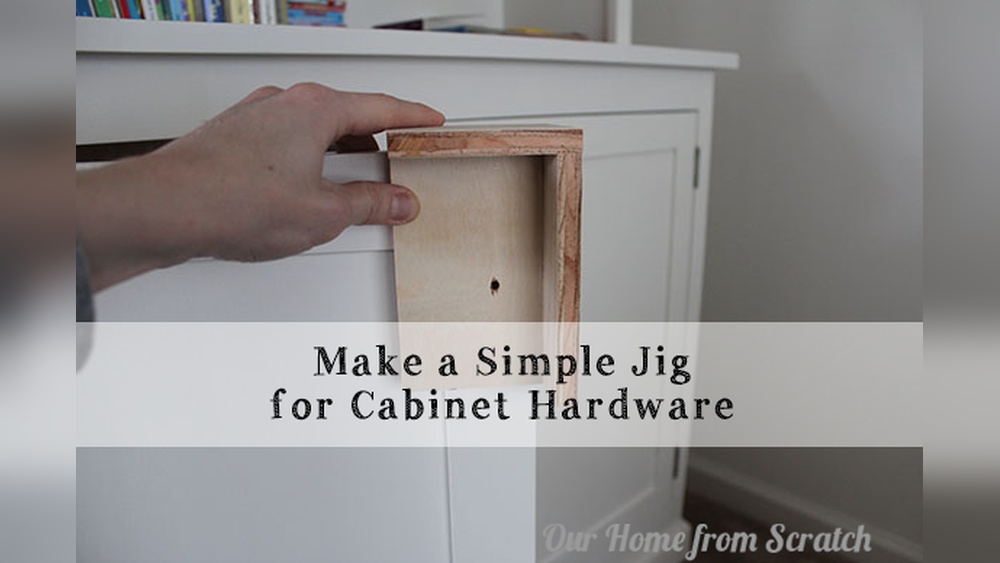
Step-by-step Jig Construction
Building a cabinet hardware jig makes installing handles easier and faster. A well-made jig ensures holes line up perfectly on every cabinet door or drawer. Follow these clear steps to create your own jig with simple tools and materials. This guide breaks down the process into easy parts.
Measuring And Marking
Start by measuring the distance between handle holes on your hardware. Use a ruler or tape measure for accuracy. Mark these points on a piece of wood or metal that will become your jig base. Double-check each mark for precision. Accurate marking prevents mistakes during drilling.
Cutting And Shaping
Cut the jig base to a comfortable size for your hands. Use a saw to make clean, straight cuts. Smooth the edges with sandpaper to avoid splinters. If your jig needs slots or holes to guide the drill, carefully cut or drill them now. Keep all cuts neat and precise for better results.
Assembly Tips
Attach any stops or guides to the jig base to hold cabinet doors in place. Use screws or glue for secure fixing. Test the jig on scrap wood before use. Adjust stops if holes don’t line up perfectly. A sturdy, well-assembled jig saves time and improves accuracy in your hardware installation.
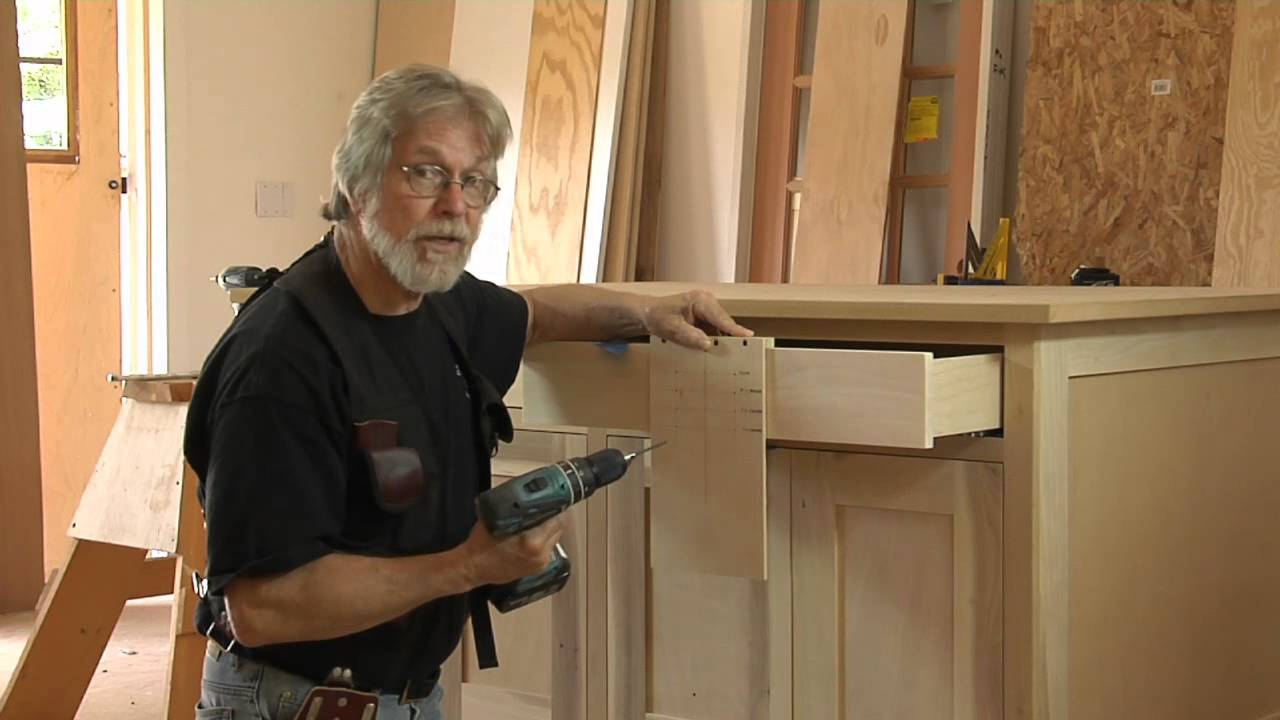
Credit: www.youtube.com
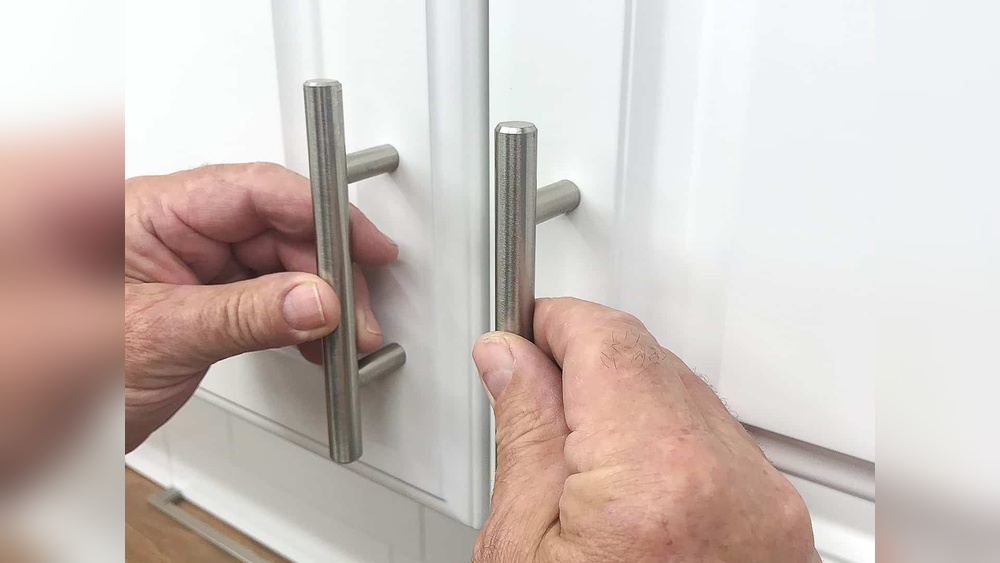
Using The Jig For Hardware Installation
Using the cabinet hardware jig makes hardware installation easier and faster. It helps place handles and knobs in the right spot every time. This tool reduces mistakes and keeps your cabinets looking neat and professional.
The jig acts as a guide to mark and drill holes accurately. It saves time by avoiding measuring each piece separately. With the jig, you get consistent results on all cabinet doors and drawers.
Positioning The Jig
Place the jig firmly on the cabinet surface. Align it with the edge or center, depending on your hardware type. Hold the jig steady to prevent slipping during marking or drilling. Check that the jig sits flat to ensure straight holes.
Drilling Accurate Holes
Use a drill bit that matches your hardware screws. Insert the drill bit into the jig’s hole guide. Drill slowly and steadily to avoid damaging the cabinet. The jig keeps the drill bit straight for clean, precise holes.
Checking Alignment
After drilling, place the hardware on the holes. Check if the handles or knobs line up evenly. Adjust the jig placement for the next piece if needed. Consistent alignment makes your cabinets look well-finished and balanced.
Troubleshooting Common Issues
Troubleshooting common issues is key when making a cabinet hardware jig. Small problems can cause big mistakes in your project. Fixing these early saves time and materials. Here are some common problems and how to solve them.
Misaligned Holes
Misaligned holes can ruin the look of your cabinet doors. Check your measurements carefully before drilling. Use a pencil to mark spots clearly. If holes are off, adjust your jig’s guides. Test on scrap wood before working on the actual piece.
Jig Stability Problems
A shaky jig causes uneven holes and frustration. Make sure your jig is clamped tightly to the wood. Add rubber pads under the jig to stop slipping. Use screws or bolts to secure moving parts firmly. Stability improves accuracy and safety.
Adjustments And Fine-tuning
Fine-tuning the jig helps get perfect hole placement. Adjust the stops and guides slowly and test each change. Use a level to keep your jig even. Small tweaks can fix big alignment problems. Keep notes on settings for future projects.
Maintenance And Storage
Proper maintenance and storage keep your cabinet hardware jig working well. Taking care of your jig helps avoid damage and saves money. A clean and safe jig lasts longer and performs better. Follow simple steps to keep it in top shape.
Cleaning Your Jig
Wipe the jig after each use with a dry cloth. Remove dust and small bits of wood or metal. Use a soft brush to clean tight spots. Avoid using water or harsh chemicals that cause rust. Keep moving parts free of dirt for smooth operation.
Safe Storage Practices
Store the jig in a dry place away from moisture. Use a protective case or box to avoid dust buildup. Keep it away from heavy tools that might cause damage. Store parts together to prevent loss. Label the storage area for easy finding.
Extending Jig Lifespan
Check your jig regularly for loose screws or worn parts. Tighten screws and replace damaged pieces promptly. Oil moving parts with a light machine oil to avoid rust. Avoid dropping or forcing the jig during use. Regular care helps your jig work like new for years.
Tips For Professional Results
Creating a cabinet hardware jig needs care and focus. Small mistakes can cause big problems. Follow these tips for neat and precise results. A good jig saves time and makes your work look professional.
Each step matters. Pay close attention to details. Accuracy is key to making sure your hardware fits perfectly every time.
Consistent Measurements
Measure twice, cut once. Always use the same ruler or tape for all parts. Mark your spots clearly with a pencil. Keep your marks light to avoid smudging. Consistent measurements help avoid holes in the wrong places.
Using Clamps Effectively
Clamps hold your jig steady. Use them to keep wood from moving. Place clamps where they don’t block your drill. Tighten clamps enough to hold, but not to damage wood. Proper clamping makes your drilling safe and exact.
Double-checking Before Drilling
Always check your marks and clamp position again. Use a square tool to confirm right angles. Look for any dirt or sawdust on the surface. Clean surfaces help drills go in smoothly. Checking twice saves you from costly mistakes.
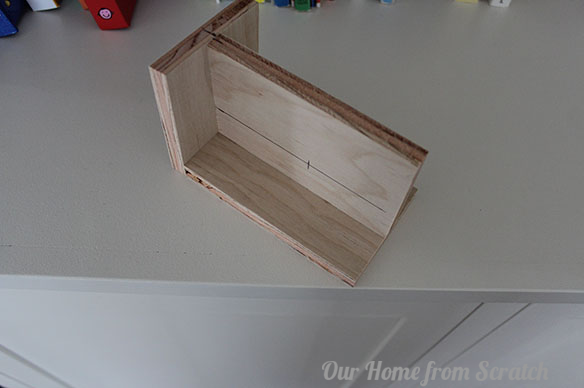
Credit: ourhomefromscratch.com

Credit: www.youtube.com
Frequently Asked Questions
What Is A Cabinet Hardware Jig Used For?
A cabinet hardware jig ensures precise, consistent placement of handles and knobs. It speeds up installation and improves accuracy. Using a jig reduces mistakes and saves time during cabinet hardware fitting.
How Do You Make A Simple Cabinet Hardware Jig?
To make a simple jig, use a piece of scrap wood. Mark hole positions based on hardware size. Drill guide holes and use clamps to hold the jig in place on the cabinet door.
What Materials Are Best For Cabinet Hardware Jigs?
Plywood, MDF, or scrap hardwood work well for jigs. Choose sturdy, flat material that won’t warp. The jig needs to hold steady during drilling for accurate holes.
Can A Cabinet Hardware Jig Fit Different Handle Sizes?
Yes, adjustable jigs or multiple hole patterns can fit various handle sizes. Some jigs have sliding stops or interchangeable templates for flexibility across hardware types.
Conclusion
Making a cabinet hardware jig saves time and improves accuracy. You can place handles and knobs in the same spot every time. This tool helps avoid mistakes and keeps your cabinets looking neat. Building your own jig is simple and uses basic materials.
Practice a few times to get comfortable with the process. Soon, installing hardware will feel easier and faster. Try this method on your next project and see the difference. Easy, quick, and effective—just what you need for better cabinet work.