Securing your home starts with a strong door lock, and a deadbolt is one of the best ways to keep intruders out. But how do you put a deadbolt on your door without hiring a locksmith?
You might think it’s complicated, but with the right steps, you can do it yourself quickly and easily. Imagine the peace of mind you’ll feel knowing your door is locked tight. Keep reading, and you’ll learn exactly how to install a deadbolt that fits perfectly and works smoothly every time.
Choosing The Right Deadbolt
Choosing the right deadbolt is the first step to secure your door effectively. The right lock adds safety and peace of mind. It also fits well with your door type and lifestyle. Understanding deadbolt options helps you make the best choice.
Types Of Deadbolts
Single-cylinder deadbolts use a key outside and a thumb turn inside. They are simple and common. Double-cylinder deadbolts need a key on both sides. These offer extra security but can be harder to use in emergencies. Lockable thumb turn deadbolts let you lock the thumb turn from inside with a key. This adds security while keeping convenience.
Factors To Consider
Think about the door material and thickness. Check if the deadbolt fits the door’s size. Consider the level of security needed. Higher security deadbolts resist picking and drilling better. Ease of use matters for daily locking and unlocking. Also, choose a finish that matches your door hardware.
Recommended Brands
Schlage offers strong, reliable deadbolts with good security features. Kwikset is known for easy installation and smart lock options. Medeco provides high-security locks that resist forced entry. These brands balance quality and price well. They have models suitable for most home needs.

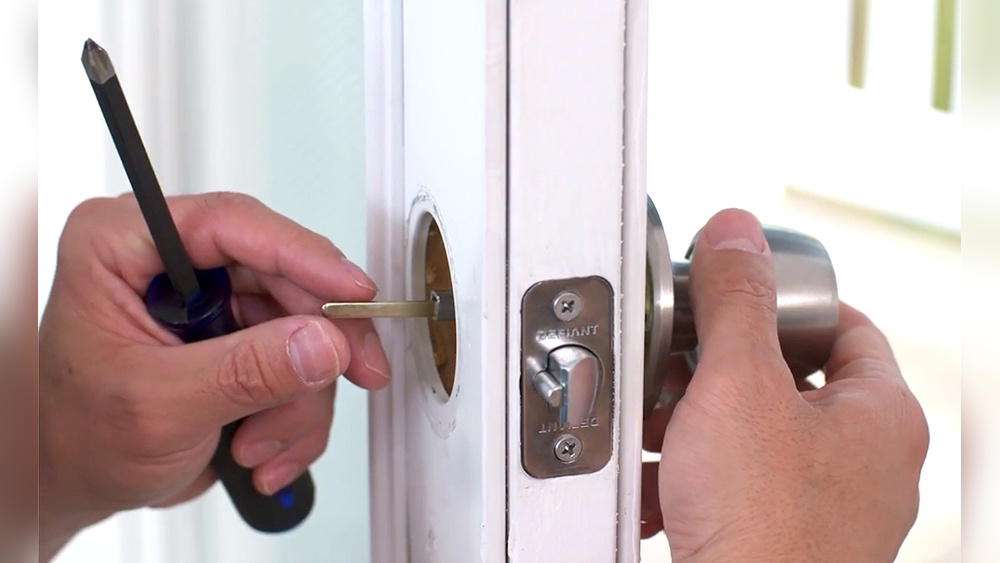
Credit: www.homedepot.com
Tools And Materials Needed
Installing a deadbolt requires specific tools and materials. Having these ready makes the process easier and faster. Gather everything before starting to avoid interruptions.
Essential Tools
- Power drill – for drilling holes in the door
- Drill bits – various sizes for different hole requirements
- Screwdriver – to tighten screws and secure the lock
- Measuring tape – to measure door thickness and mark holes
- Pencil – for marking drill points on the door
- Chisel – to create space for the lock plate
- Hammer – to help with the chisel work
- Level – to ensure the lock aligns properly
Additional Supplies
- Deadbolt lock kit – includes the lock, screws, and strike plate
- Wood filler – for fixing any mistakes or extra holes
- Sandpaper – to smooth rough edges after drilling or chiseling
- Masking tape – to protect the door surface while drilling
Preparing Your Door
Preparing your door is the first step to install a deadbolt. This step ensures the lock fits perfectly and works well. Taking time here saves effort later and makes the lock strong and secure.
Measuring And Marking
Use a tape measure to find the right spot for the deadbolt. Most deadbolts go about 6 to 12 inches above the door handle. Mark the exact height with a pencil. Check the thickness of your door too. Mark where the lock and the bolt will sit. Accurate marks help avoid mistakes during drilling.
Drilling Holes
Start drilling the holes at your marked spots. Use a drill bit size recommended by the deadbolt manufacturer. Drill straight through the door face for the lock cylinder. Then drill a hole on the edge of the door for the bolt. Clean up any rough edges after drilling. Smooth holes make the deadbolt fit better and work smoothly.
Installing The Deadbolt
Installing a deadbolt is a key step to improve your door’s security. This process needs care and attention to detail. Follow each step to fit the lock correctly. A well-installed deadbolt will work smoothly and protect your home effectively.
Fitting The Lock Mechanism
Start by placing the lock mechanism inside the hole on the door. Make sure the bolt fits into the edge cutout perfectly. Align the lock with the door’s thickness. Use screws to hold the lock mechanism in place. Tighten screws just enough to keep the lock steady.
Securing The Deadbolt
Next, fix the exterior and interior parts of the deadbolt. Connect the two parts through the door hole. Insert the key cylinder on the outside and the thumb turn on the inside. Secure both parts with the provided screws. Check that all screws are tight and the lock feels firm.
Testing The Lock
Turn the key or thumb turn several times. The bolt should move smoothly without sticking. Close the door and lock it. Check if the bolt fits fully into the door frame. Make sure the lock holds the door tightly shut. Adjust screws if the lock feels loose or hard to turn.
Installing The Strike Plate
Installing the strike plate is a key step to secure your deadbolt. The strike plate holds the bolt in place when locked. It fits on the door frame and helps keep the door closed tightly.
Proper installation of the strike plate ensures your deadbolt works well. It also makes your door stronger against forced entry. Follow these steps carefully to position and reinforce the strike plate.
Positioning The Strike Plate
First, close the door and mark where the bolt hits the frame. Align the strike plate so the bolt fits into its hole easily. The plate should sit flush with the door frame surface.
Use a pencil to trace around the strike plate on the frame. This outline shows where to chisel a recess. The plate needs to fit inside the frame, not sit on top.
Chisel the wood carefully inside the outline. Make the recess deep enough for the plate to sit flat. Test the fit by placing the plate in the recess.
Once the strike plate fits well, drill pilot holes for the screws. This prevents splitting the wood. Screw the strike plate securely to the frame.
Reinforcing The Door Frame
Reinforce the door frame around the strike plate for extra strength. Use longer screws to reach the wall stud behind the frame. This adds resistance against forced entry.
Metal reinforcement plates can be added over the strike plate. These plates spread the force over a larger area. They help protect the frame from damage.
Check the frame for any cracks or weakness. Repair any damage with wood filler or replace the frame if needed. A solid frame improves deadbolt security.
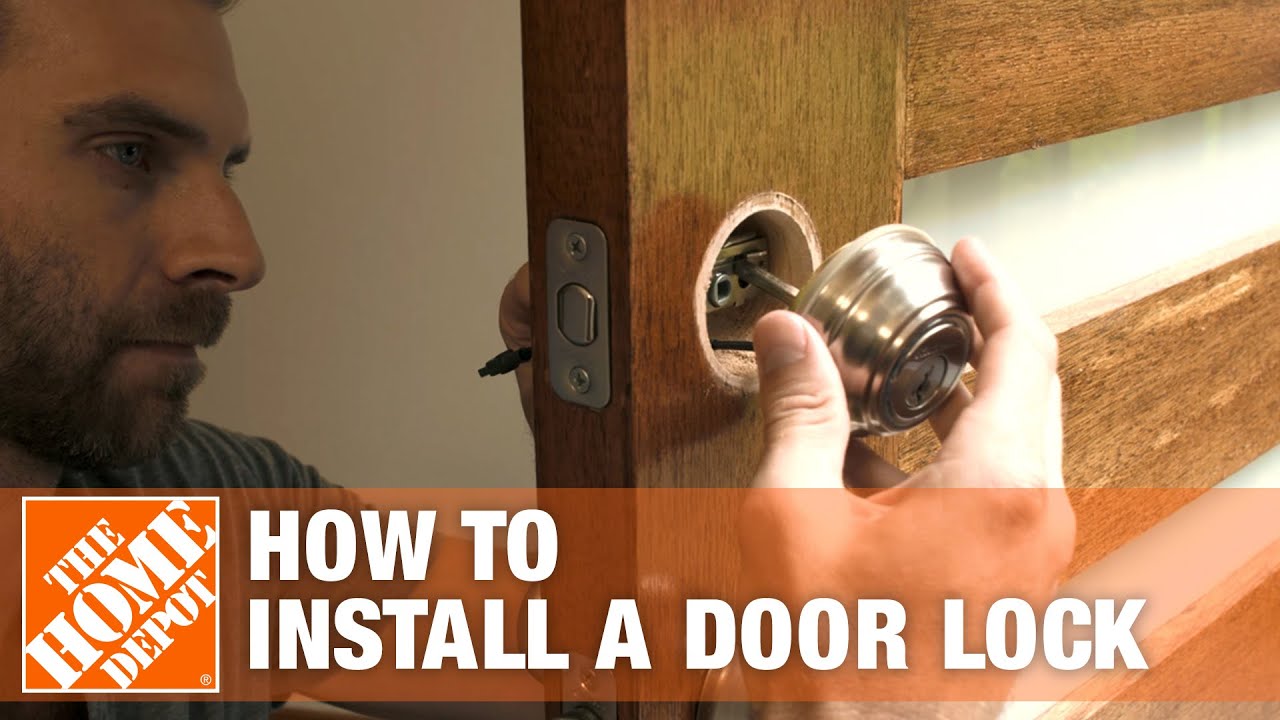
Credit: www.youtube.com
Tips For Enhanced Security
Adding a deadbolt is a strong step to protect your home. Small changes can make your door even safer. Use these tips to get the best security from your deadbolt.
Using Longer Screws
Replace short screws in your door frame with longer ones. Use screws at least 3 inches long. They hold the strike plate firmly in the wall frame. This makes it hard for someone to force the door open.
Long screws reach the wood behind the frame. This adds strength and stops the door from moving easily. Check all screws, including those on the hinges. Strong screws create a tough barrier against break-ins.
Regular Maintenance
Keep your deadbolt working well with regular checks. Test the lock to see if it turns smoothly. Clean any dirt or dust from the keyhole and bolt.
Lubricate the lock with graphite or a silicone spray. Avoid oil-based products that attract dirt. Tighten any loose screws on the lock and door. Regular care stops problems before they start.
Troubleshooting Common Issues
Troubleshooting common issues is key when installing a deadbolt. Small problems can stop your lock from working properly. Fixing these issues saves time and keeps your door secure. This section helps you identify and solve frequent deadbolt problems quickly.
Misalignment Problems
Misalignment happens when the deadbolt does not line up with the strike plate. The bolt may not slide in smoothly. Check if the strike plate is too high or low. Adjust it by loosening screws and moving the plate. Tighten screws after moving the plate to the correct spot.
Also, check if the door is warped or swollen. This can cause alignment issues. Sand down the edge of the door slightly if needed. Make sure the bolt fits into the hole without force.
Lock Jamming Solutions
Lock jamming can occur if dirt or rust blocks the bolt. Clean the bolt and lock parts with a cloth. Use graphite powder or a silicone-based lubricant to ease movement. Avoid oil-based lubricants as they attract dirt.
Check the key for damage or bending. A damaged key may not turn the lock properly. Try another key or get a replacement if needed. Make sure the deadbolt screws are tight but not too tight. Over-tightening can cause the lock to jam.

Credit: www.youtube.com
Frequently Asked Questions
How Do I Install A Deadbolt On My Door?
Start by measuring and marking the door for the deadbolt placement. Drill holes for the lock and strike plate. Insert the deadbolt mechanism and secure it with screws. Finally, test the lock to ensure smooth operation and proper alignment.
What Tools Are Needed To Install A Deadbolt?
You need a drill, drill bits, screwdriver, measuring tape, pencil, chisel, and a hole saw. These tools help create precise holes and secure the deadbolt components firmly on your door.
How Long Does It Take To Put On A Deadbolt?
Installing a deadbolt typically takes 30 to 60 minutes. It depends on your experience and door type. Following instructions carefully speeds up the process and ensures proper installation.
Can I Install A Deadbolt On Any Door Type?
Most standard wooden and metal doors can have deadbolts installed. However, very thin or hollow doors may require special locks or reinforcement for security and proper fitting.
Conclusion
Installing a deadbolt adds extra safety to your home. It is a simple way to protect your door. Follow the steps carefully to avoid mistakes. Take your time and measure everything well. A secure door helps you feel safe inside.
Regularly check your deadbolt for smooth operation. This small effort can prevent many problems. Now, you can improve your home’s security easily. Safety starts with a strong lock on your door.


