Have you ever faced the frustration of a stuck or broken deadbolt cylinder? Removing it might seem tricky, but with the right steps, you can handle it yourself without calling a locksmith.
Imagine saving time, money, and the hassle by learning a simple method to take out that old or damaged cylinder quickly. In this guide, you’ll discover exactly how to remove a deadbolt cylinder safely and easily, even if you’ve never done it before.
Keep reading, and you’ll gain the confidence to fix your lock like a pro.
Tools Needed
Removing a deadbolt cylinder requires a few basic tools. Having the right tools makes the job easier and faster. Prepare these items before starting the removal process. Each tool plays an important role in taking out the cylinder safely and correctly.
Screwdrivers
Screwdrivers are essential for removing screws that hold the deadbolt in place. A Phillips head screwdriver is most common for deadbolts. Sometimes, a flathead screwdriver is also needed. Make sure the screwdriver fits the screws well. Using the wrong size can strip the screw heads.
Pliers
Pliers help to grip and pull parts during removal. Needle-nose pliers work best for tight spaces. They allow you to handle small pieces without slipping. Use pliers carefully to avoid damaging the lock or door.
Replacement Parts
Have replacement parts ready before starting the removal. This includes a new deadbolt cylinder or lock set. Check that the replacement matches the size and type of the old one. It saves time and avoids mistakes later.
Prepare The Door
Preparing the door is the first step to remove a deadbolt cylinder safely and easily. This step ensures you have clear access to the lock and prevents damage. It also helps you work faster and avoid mistakes. Follow the steps below to get the door ready for deadbolt removal.
Remove Door Hardware
Start by taking off all hardware near the deadbolt. Remove the door handle or knob first. Use a screwdriver to unscrew the screws holding the hardware in place. Keep the screws in a safe spot for later use. Take off the faceplate around the deadbolt next. This plate covers the cylinder and must be removed to reach the lock. Carefully pry it off if needed.
Ensure Safety
Safety matters before any tool work. Make sure the door is open and steady. Secure it with a doorstop or wedge to avoid sudden closing. Wear safety glasses to protect your eyes from dust or debris. Use gloves to protect your hands from sharp edges or splinters. Check that your tools are in good condition and ready to use. These steps prevent accidents and keep the process smooth.
Locate The Retaining Screw
Locating the retaining screw is a key step in removing a deadbolt cylinder. This screw holds the cylinder in place. Finding it lets you remove the cylinder safely. The process is simple but requires attention.
Find The Cylinder Screw
Look on the edge of the door, near the cylinder. The retaining screw is usually visible here. It may be a small screw with a flat or Phillips head. Use a screwdriver to check if it fits.
This screw keeps the cylinder from sliding out. Removing it allows you to pull the cylinder from the door. Take care to keep the screw safe for reinstallation.
Types Of Fasteners
Retaining screws come in different types. Most are flathead or Phillips screws. Sometimes, hex or Torx screws are used. Each type needs the right screwdriver.
Using the wrong tool can strip the screw head. This makes removal difficult. Check the screw type before you start. This saves time and protects your door.

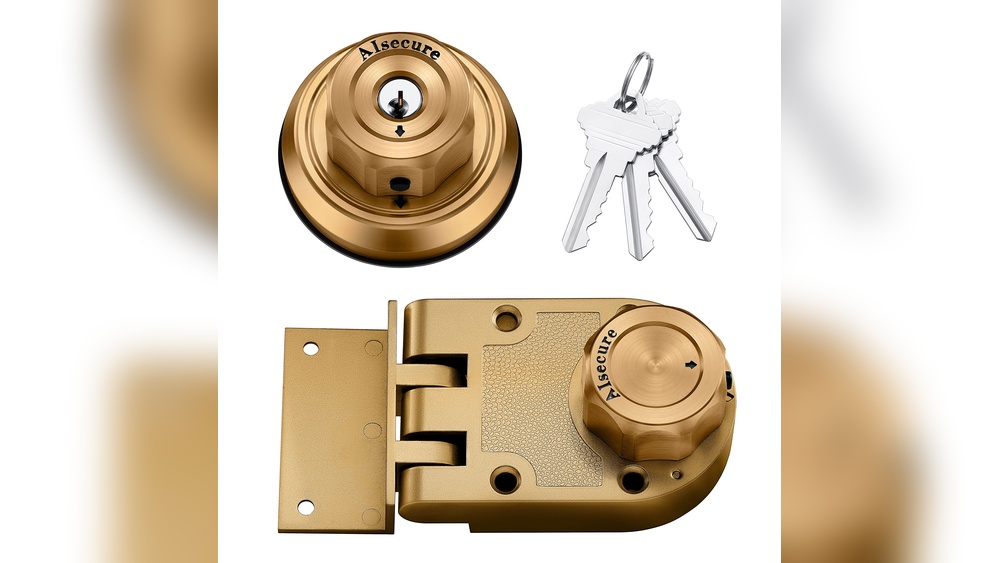
Credit: fast.parkavenuelocks.com
Remove The Cylinder
Removing the deadbolt cylinder is an important step in changing or fixing your lock. This part holds the key mechanism. Taking it out carefully can help you replace or repair the lock without damage.
Follow these simple steps to remove the cylinder safely and easily.
Unscrew The Retaining Screw
Locate the small screw on the side of the lock faceplate. This screw holds the cylinder in place. Use a screwdriver to turn it counterclockwise. Remove the screw completely. Keep it safe for reassembly later.
Pull Out The Cylinder
Once the screw is out, gently pull the cylinder from the door. You may need to wiggle it slightly to loosen it. Pull it straight out to avoid damaging the lock or door. Now, the cylinder is free and ready to be replaced or repaired.
Troubleshooting Common Issues
Troubleshooting common issues can save time and frustration when removing a deadbolt cylinder. Problems often arise from parts that are stuck or damaged. Identifying these problems early helps avoid further damage and makes the removal process smoother.
Stuck Cylinder
A cylinder can get stuck due to dirt, rust, or worn parts. Try spraying a lubricant into the keyhole. Let it sit for a few minutes. Gently wiggle the cylinder while pulling it out. Avoid using too much force to prevent damage. If it still won’t move, tap the cylinder lightly with a rubber mallet. This can help loosen it without causing harm.
Damaged Screws
Damaged screws often block cylinder removal. Screws can become stripped or rusted over time. Use a screwdriver that fits the screw head perfectly. Apply steady pressure while turning. If screws are stripped, try using a rubber band for extra grip. Rusted screws may need a penetrating oil. Let the oil soak in before attempting removal. In tough cases, a screw extractor tool can help remove damaged screws safely.
Install New Cylinder
Installing a new deadbolt cylinder is the next step after removing the old one. This part controls the locking mechanism and must fit correctly. A proper installation ensures your door locks smoothly and safely. Follow the simple steps below to place your new cylinder securely.
Align The New Cylinder
Hold the new cylinder and slide it into the door’s lock hole. Make sure the key slot faces outward. The cylinder must line up with the screw hole on the side of the door. Check that it fits snugly without forcing it. Proper alignment helps the lock work easily.
Secure With Screws
Use the screws that came with your new cylinder. Insert them into the side hole and tighten gently. Do not overtighten as this can damage the cylinder. Tighten until the cylinder feels firm and does not move. This keeps the lock safe and stable in your door.
Test The Lock
Testing the lock is a key step before removing the deadbolt cylinder. It helps ensure the lock works properly and avoids issues during removal. This step confirms the key and cylinder function well together. It also checks that the lock turns smoothly without sticking or jamming.
Check Key Function
Insert the key into the lock. Turn it gently to see if it fits well. The key should slide in and out easily. Test turning the key to lock and unlock the deadbolt. If the key feels stuck or hard to turn, note the problem before removal.
Ensure Smooth Operation
Turn the thumb turn or key several times. The deadbolt should move smoothly without resistance. Listen for any unusual sounds like grinding or clicking. Smooth operation means the cylinder is in good condition. Fix any stiffness or rough movement before you remove the cylinder.

Credit: www.youtube.com

Credit: www.wikihow.com
Frequently Asked Questions
How Do I Remove A Deadbolt Cylinder Safely?
To remove a deadbolt cylinder safely, first remove the screws on the interior side. Then, gently pull out the cylinder using the key. Avoid forcing it to prevent damage to the lock or door.
What Tools Are Needed To Remove A Deadbolt Cylinder?
You need a screwdriver, usually Phillips or flathead, and the key to remove a deadbolt cylinder. A pair of pliers may help if the cylinder is stuck. Having these tools ensures a smooth and damage-free removal process.
Can I Remove A Deadbolt Cylinder Without The Key?
Removing a deadbolt cylinder without the key is difficult and not recommended. It may require lock picking or drilling, which can damage the lock. It’s best to contact a locksmith for professional assistance in such cases.
How Long Does It Take To Remove A Deadbolt Cylinder?
Removing a deadbolt cylinder typically takes 5 to 10 minutes. The time depends on your experience and the lock’s condition. Proper tools and following correct steps can speed up the process.
Conclusion
Removing a deadbolt cylinder is simple with the right steps. Take your time and follow each instruction carefully. Use basic tools to avoid damage to your door or lock. If the cylinder feels stuck, don’t force it. A little patience helps a lot.
After removal, clean the area before installing a new cylinder. This task saves money and gives you control over your home security. Practice makes it easier next time. Remember, safety first. You can handle this job with confidence.