Are you worried about who might have access to your home? Changing the keys to your locks can give you peace of mind, but what if you have a Schlage deadbolt with a keypad?
Rekeying this type of lock might seem tricky, but it’s easier than you think. In this guide, you’ll learn exactly how to rekey your Schlage deadbolt with a keypad step-by-step. By the end, you’ll have full control over your home’s security without needing to call a locksmith.
Keep reading to discover how simple it is to protect your home and feel safe again.
.jpg)
Credit: www.allegion.com
Tools Needed
Identifying your Schlage deadbolt model is the first step to rekeying it. Knowing the exact model helps you find the right tools and instructions. It saves time and avoids mistakes during the rekeying process.
Different models may have unique features or parts. Understanding your deadbolt model ensures the keypad and lock cylinder match. This knowledge makes rekeying smoother and more effective.
Check Model Number
Look for the model number on the lock or packaging. It is often on the back or inside the battery compartment. The number usually starts with letters like “BE” or “FE.”
Write down the model number for reference. Use it to search for specific guides or parts. This helps you get exact instructions for your deadbolt.
Confirm Keypad Type
Identify the keypad type on your deadbolt. It can be touchscreen, push-button, or a combination lock. Each type may have different rekeying steps.
Check the keypad for any labels or model info. Knowing the keypad type ensures you use the correct method. It also helps avoid damage to the lock during rekeying.
Identify Your Deadbolt Model
Removing the deadbolt is the first step in rekeying your Schlage deadbolt with keypad. This step allows access to the internal parts that need changing. Handle each part carefully to avoid damage. Follow each instruction clearly for a smooth process.
Start by taking apart the exterior and interior pieces. Keep the screws and parts safe. A neat workspace helps you stay organized.
Unscrew Exterior Plate
Locate the screws on the exterior plate of the deadbolt. Use a screwdriver to remove these screws. Turn the screws counterclockwise until they come out. Keep these screws aside in a safe place. Gently pull off the exterior plate once the screws are out. Avoid forcing it to prevent damage.
Detach Interior Assembly
Next, move to the inside of the door. Find the screws that hold the interior assembly. Use the screwdriver to remove these screws as well. Carefully pull the interior assembly away from the door. Set it down on your workspace. This exposes the deadbolt mechanism inside the door.
Remove The Deadbolt
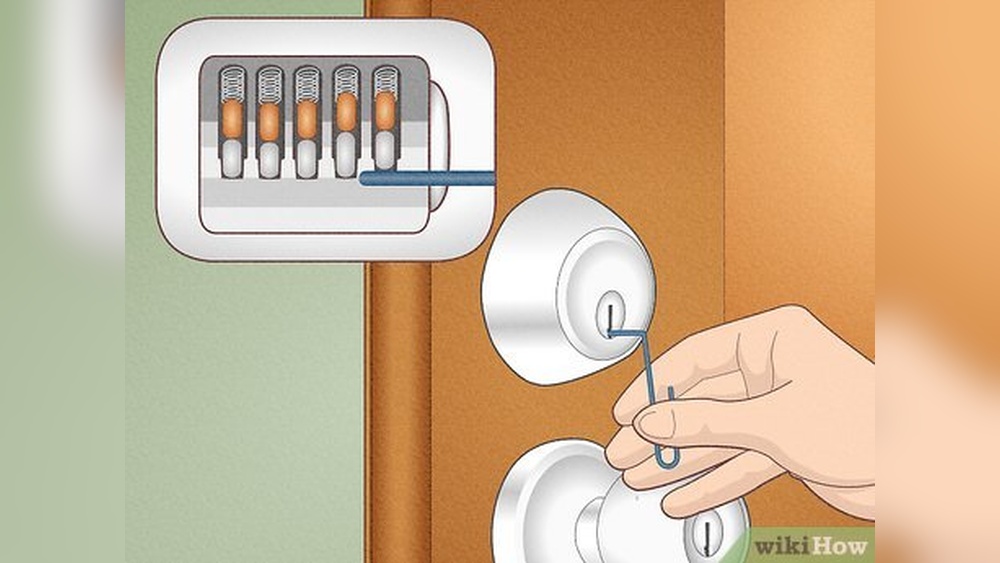
Accessing the lock cylinder is the first step in rekeying a Schlage deadbolt with a keypad. This part holds the key pins and allows the lock to turn. Removing it carefully ensures you can change the pins inside to fit a new key. Follow these steps to reach the lock cylinder safely.
Locate Cylinder Retaining Clip
Find the small clip that holds the lock cylinder in place. This clip is usually on the side of the lock inside the door. Use a flathead screwdriver or needle-nose pliers to gently pry it off. Keep the clip safe because you will need it to reassemble the lock.
Extract Cylinder
After removing the retaining clip, pull the lock cylinder straight out. You might need to wiggle it a little to loosen it. Be careful not to drop or damage any parts. Once out, you can start the rekeying process by changing the pins inside the cylinder.
Credit: www.schlage.ca
Access The Lock Cylinder
Removing old pins is an important step in rekeying a Schlage deadbolt with a keypad. The pins inside the lock control which key works. Taking out the old pins lets you put new ones that match your new key. This step needs care and the right tools to avoid damage. Pay close attention to each pin and spring inside the lock cylinder.
Use Pinning Tray
A pinning tray helps keep pins organized during the process. Place the lock cylinder parts on the tray to avoid losing tiny pins. The tray has compartments for different pin sizes. Sort the old pins by size as you remove them. This makes it easier to find the right pins later. Keep the tray close and work slowly.
Handle Springs And Pins Carefully
Springs and pins are small and can easily fall or get lost. Use a steady hand when removing them from the cylinder. Do not force the pins out or you might damage the lock. Use tweezers or a small pick tool for better control. Handle the springs gently to keep their shape. Proper care ensures the lock works smoothly after rekeying.
Remove Old Pins
Matching new pins to your new key is a crucial step in rekeying a Schlage deadbolt with a keypad. The pins inside the lock must fit perfectly with the key cuts. This ensures smooth operation and proper security. Taking time to match pins accurately saves effort later and prevents lock jams.
Compare Key Cuts
Start by looking closely at the new key cuts. Each cut has a specific depth. Compare these depths to the old key to understand the changes. Use a key gauge or ruler for better accuracy. This helps identify the right pin sizes needed for each cut.
Select Correct Pin Sizes
Choose pins that match the depths of the new key cuts. Pins come in different sizes, each designed for a specific cut depth. Insert the pins carefully into the lock cylinder. Check that they align with the key cuts. Correct pin selection allows the lock to turn smoothly with the new key.
Match New Pins To New Key
Reassembling the cylinder is a key step in rekeying your Schlage deadbolt with a keypad. This process ensures the lock works smoothly with your new keys. Take your time and follow each step carefully. A well-assembled cylinder means better security and easy operation.
Insert New Pins
Begin by placing the new pins inside the cylinder plug. Match each pin size to the cuts on your new key. The pins must fit perfectly for the lock to turn. Use the key to check if the pins align correctly. Adjust the pins if the key does not slide in easily.
Secure Cylinder Back
After inserting the pins, place the cylinder plug back into the housing. Hold the plug firmly to prevent the pins from falling out. Use the retaining clip or screw to secure the cylinder in place. Test the key to confirm the cylinder moves smoothly. Your lock is ready for use once secured.
Reassemble The Cylinder
Reinstalling the deadbolt is a key step after rekeying your Schlage deadbolt with a keypad. This step ensures your lock works correctly and stays secure. Take your time and follow each part carefully. A proper reinstall will keep your door safe and functional.
Attach Interior Assembly
Start by placing the interior assembly against the door. Make sure it fits over the spindle and aligns with the screw holes. Hold it firmly in place. Insert the screws into the holes. Tighten them evenly to keep the assembly stable. Do not over-tighten; this can damage the lock.
Secure Exterior Plate
Next, position the exterior plate on the outside of the door. Align it with the spindle and screw holes carefully. Press it flat against the door surface. Insert the screws to hold the plate in place. Tighten all screws firmly but gently. Check that the keypad buttons are accessible and work smoothly.
Reinstall The Deadbolt
Testing the new key and keypad ensures your Schlage deadbolt works correctly. This step confirms the lock operates smoothly and securely. It helps avoid problems before you fully trust the lock again.
Check Manual Key Operation
Insert the new key into the lock cylinder. Turn it slowly to unlock and lock the door. The key should move easily without sticking or resistance. Test the key several times to confirm consistent action. If the key jams, recheck the rekeying process or try another key.
Verify Keypad Functionality
Enter your new code on the keypad to test the lock. The deadbolt should extend and retract smoothly with each code entry. Try locking and unlocking multiple times to ensure reliability. Check the keypad buttons for proper response and no delays. Confirm the battery is fresh to avoid keypad errors.
Test New Key And Keypad
Troubleshooting your Schlage deadbolt with a keypad can save time and frustration. Problems may arise during or after rekeying. Simple fixes often solve common issues. Follow clear steps to get your lock working smoothly again.
Fix Key Binding Issues
Key binding happens when the key does not turn easily. Dirt or debris inside the lock can cause this. Clean the key and lock with a soft cloth. Avoid using oil, as it can attract more dirt.
Check if the key is worn or bent. A damaged key may not fit correctly. Try a spare key if available. If the problem persists, recheck the lock pins during rekeying. Make sure they align correctly with the key cuts.
Reset Keypad Code
Sometimes the keypad code stops working after rekeying. Resetting the code can fix this issue. Find the reset button inside the battery compartment. Press and hold it for a few seconds until the light blinks.
Enter a new code following the instructions in the manual. Test the new code several times to ensure it works. Keep the new code written down in a safe place. This step prevents lockout and keeps your home secure.

Credit: www.youtube.com
Frequently Asked Questions
How Do You Start Rekeying A Schlage Keypad Deadbolt?
Begin by removing the deadbolt from the door. Use the original key to align the lock cylinder. Follow the Schlage rekeying kit instructions carefully to replace the pins inside the cylinder with new ones matching your new key.
Can I Rekey A Schlage Deadbolt Keypad Myself?
Yes, you can rekey a Schlage deadbolt keypad yourself with the right tools and instructions. It requires patience and attention to detail. Using a Schlage rekeying kit simplifies the process and saves the cost of hiring a locksmith.
What Tools Are Needed To Rekey A Schlage Keypad Deadbolt?
You need a Schlage rekeying kit, original key, new keys, a screwdriver, and a follower tool. These tools help you disassemble the lock cylinder and replace the pins accurately. Having all tools ready makes the process smooth and efficient.
How Long Does Rekeying A Schlage Keypad Deadbolt Take?
Rekeying a Schlage keypad deadbolt usually takes about 15 to 30 minutes. The time depends on your experience and preparation. Following step-by-step instructions helps complete the task quickly and correctly without damaging the lock.
Conclusion
Rekeying a Schlage deadbolt with a keypad is simple and quick. You only need a few tools and clear steps. Changing the lock keeps your home safe and secure. Practice the steps a few times to feel confident. Always test the new keys and codes before finishing.
This small task saves money and adds peace of mind. Try it yourself and control who has access. Safe homes start with smart choices like this one.