Are you struggling to remove wall anchors without damaging your walls? You’re not alone.
Those little anchors can be tricky to get out once they’re set, leaving you frustrated and unsure of what to do next. But don’t worry—this guide will show you simple, effective ways to get out wall anchors quickly and safely.
By the end, you’ll have the confidence to tackle this common household hassle and keep your walls looking perfect. Ready to learn how? Let’s dive in.
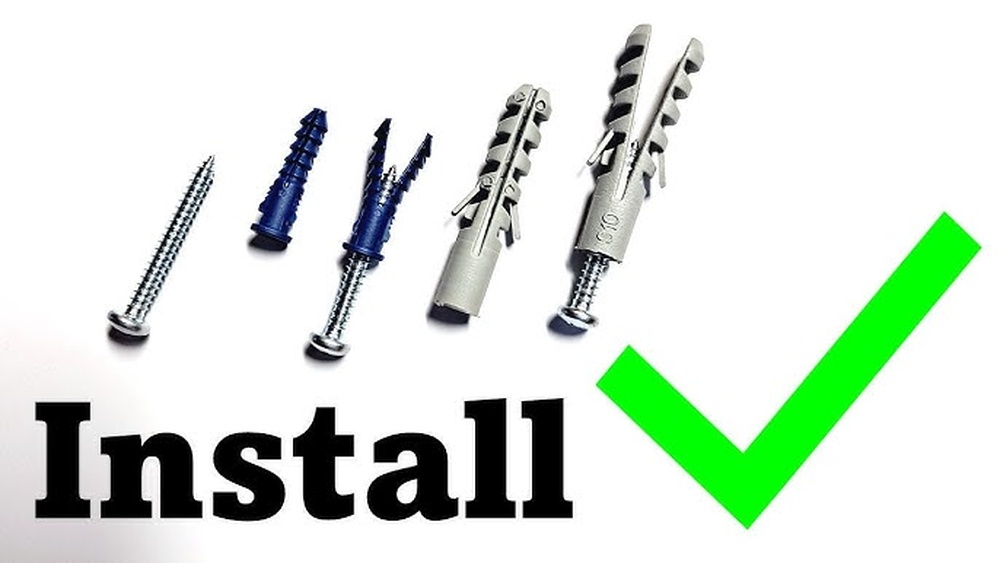
Types Of Wall Anchors
Removing wall anchors needs the right tools. Using proper tools makes the job easier and safer. It also protects your wall from damage. Here is a list of tools needed for removing wall anchors.
Basic Hand Tools
Start with simple hand tools. A flathead screwdriver helps pry the anchor out gently. Needle-nose pliers grip and pull smaller anchors from the wall. A utility knife can cut around the anchor to loosen it. These tools work well for light or medium anchors.
Power Tools
Power tools speed up the removal process. A drill with a screwdriver bit can twist out threaded anchors. An electric screwdriver offers better control and less effort. Use a rotary tool with a cutting bit to trim stubborn anchors flush with the wall. Power tools suit tougher anchors and larger jobs.
Safety Equipment
Safety is important during removal. Wear safety goggles to protect your eyes from debris. Gloves protect your hands from sharp edges and tools. A dust mask stops you from inhaling dust. Always use safety gear to avoid injuries and stay safe.

Credit: theturquoisehome.com
Tools Needed For Removal
Preparing the area is the first step before removing wall anchors. It helps keep your workspace safe and clean. Taking time to prepare will make the process smoother and reduce damage to your wall.
Clearing The Wall Surface
Remove any items hanging near the anchor. Clear dust, dirt, or paint from the wall around the anchor. This gives you better visibility and access. Use a soft cloth or brush for cleaning. Avoid harsh chemicals that can damage the paint.
Protecting Surrounding Areas
Place a drop cloth or old sheet on the floor below the wall. Cover nearby furniture with plastic or cloth. This prevents dust and debris from settling on surfaces. Tape edges of the cloth to keep it in place. Protecting the area saves you time during cleanup.
Preparing The Area
Removing wall anchors can be tricky without the right steps. Each type of anchor needs a different approach for safe and clean removal. Follow these simple methods for each common anchor type. Doing it right keeps your walls smooth and ready for new fixtures.
Removing Plastic Expansion Anchors
Start by unscrewing the screw completely. Use pliers to grip the anchor’s edge. Gently pull the anchor straight out of the wall. If it resists, push it inside the wall cavity. Fill the hole with spackle after removal.
Extracting Toggle Bolts
Remove the screw from the toggle bolt first. The toggle will fall inside the wall. Push it deeper using a thin stick or screwdriver. Patch the hole with wall filler. Toggle bolts often leave larger holes.
Taking Out Molly Bolts
Unscrew the bolt until the collar loosens. Use pliers to pull the collar out slowly. If it won’t budge, tap it gently into the wall. Fill and sand the hole for a smooth finish.
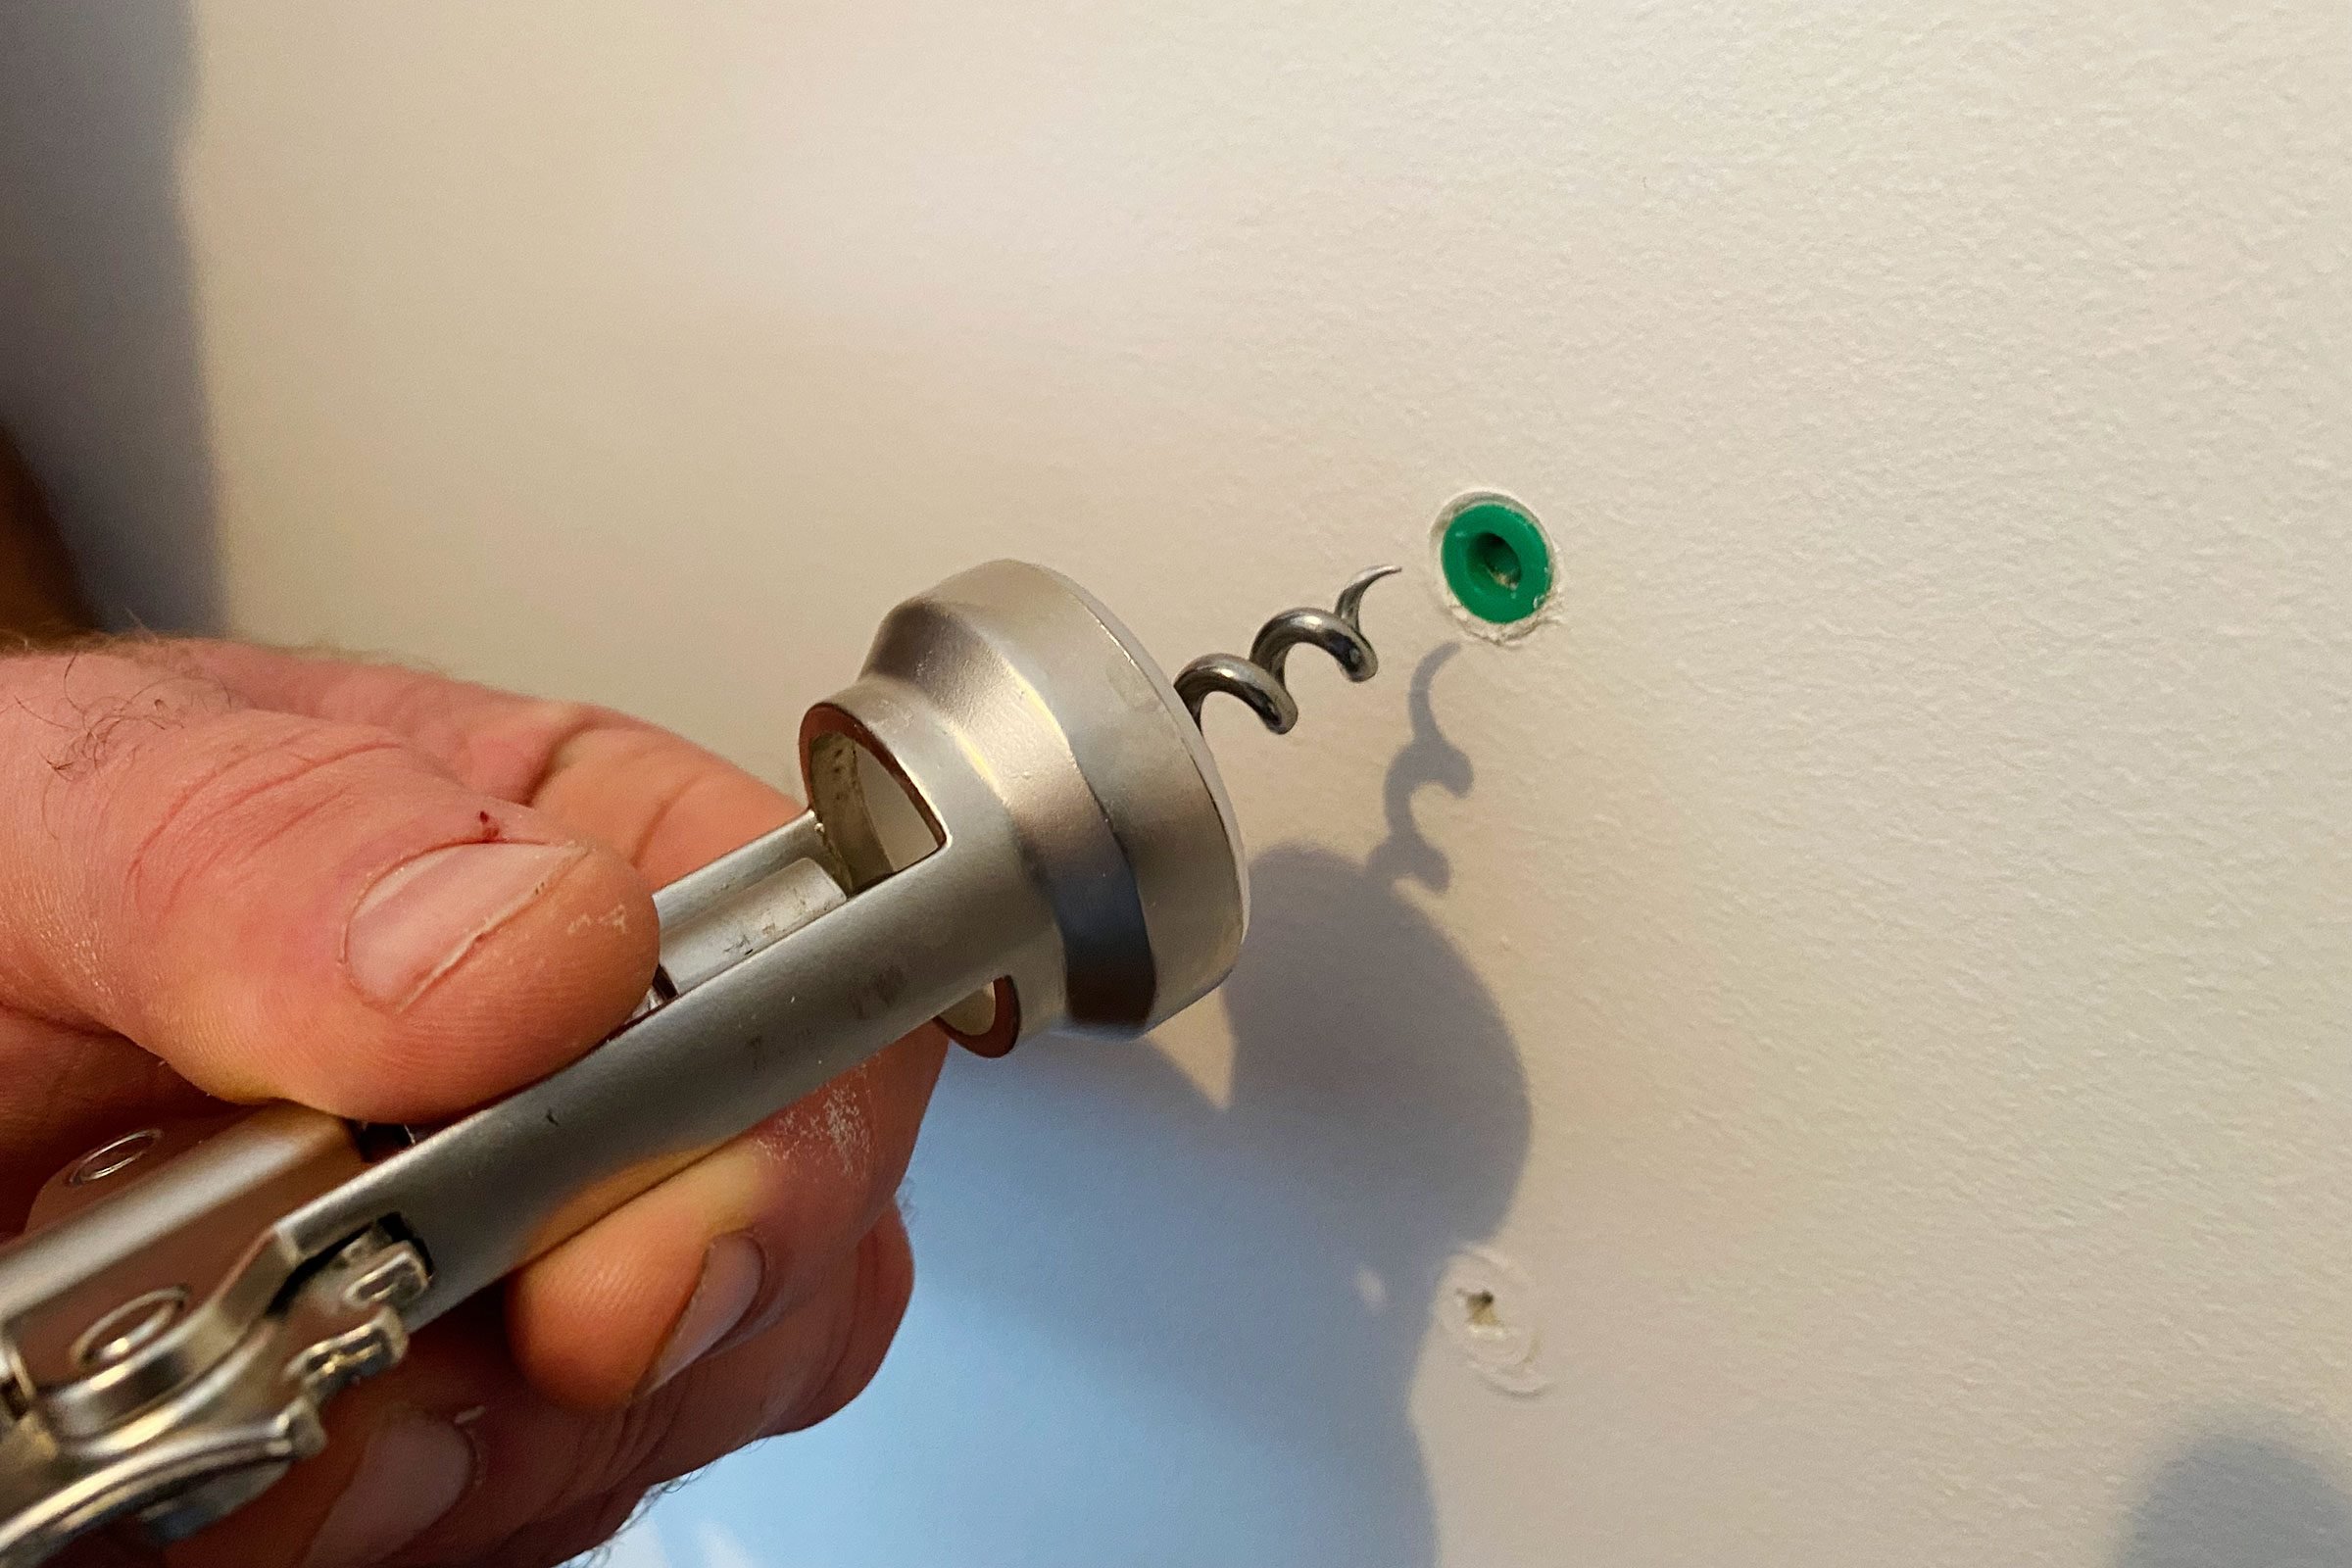
Pulling Threaded Drywall Anchors
Unscrew the bolt fully from the anchor. Use pliers to turn the anchor counterclockwise. Slowly back the anchor out of the drywall. Avoid forcing it to prevent wall damage. Patch any leftover holes neatly.
Credit: www.familyhandyman.com
Step-by-step Removal Methods
Removing wall anchors often leaves holes or marks on the wall. Fixing these damages helps restore a smooth, clean surface. You can make the wall look almost new with simple steps. This process requires some patience but is easy to follow.
Filling Small Holes
Start by cleaning the hole area from dust and loose bits. Use a putty knife to apply spackling paste or wall filler. Press the filler into the hole firmly, filling it completely. Smooth the surface with the knife, removing extra filler around the hole. Let the filler dry fully, which may take a few hours.
Sanding And Smoothing
After the filler dries, gently sand the patch with fine-grit sandpaper. Sand until the surface feels even and blends with the wall. Be careful not to sand too hard and damage the surrounding paint. Wipe away dust with a damp cloth to keep the area clean. This step creates a smooth base for painting.
Repainting Tips
Choose paint that matches your wall color exactly. Use a small brush or roller for better control. Apply paint in thin, even layers over the patched area. Let the first coat dry before adding another if needed. Feather the edges to blend the patch with the rest of the wall. This helps hide the repair for a flawless finish.
Fixing Wall Damage After Removal
Preventing wall damage in the future starts with smart choices and careful work. Walls look clean and hold strong when anchors fit right. This keeps your space neat and saves you time fixing holes or cracks later.
Good habits stop problems before they begin. Follow simple steps to protect your walls and keep anchors solid. The right anchor and correct installation make all the difference.
Choosing The Right Anchor
Pick anchors based on wall type and weight needs. Drywall needs different anchors than brick or plaster. Use lightweight anchors for small pictures. Heavy shelves need strong, heavy-duty anchors. A wrong anchor can cause wall cracks or holes.
Check the package for weight limits. Match anchor size to the screw and object. Using the correct anchor prevents damage and holds items safely.
Proper Installation Techniques
Start with a clean, dry wall surface. Drill a hole that fits the anchor size exactly. Too big or too small holes weaken the hold. Insert the anchor gently without forcing it. Tighten screws slowly to avoid splitting the wall.
Do not over-tighten screws. This can crack the wall or break the anchor. Follow instructions for each anchor type. Careful installation keeps walls strong and damage-free.

Credit: www.wikihow.com
Frequently Asked Questions
How Do You Remove Wall Anchors Without Damage?
To remove wall anchors without damage, gently pry them out with pliers. If stubborn, widen the hole slightly and pull carefully. Avoid excessive force to protect the drywall or plaster around the anchor.
What Tools Are Best For Extracting Wall Anchors?
The best tools for extracting wall anchors are needle-nose pliers, flathead screwdrivers, and a utility knife. These help grip, pry, or cut around the anchor for easier removal without damaging the wall.
Can Wall Anchors Be Reused After Removal?
Most wall anchors cannot be reused once removed because they deform during extraction. It’s best to replace them with new anchors for a secure hold and safety.
Why Do Wall Anchors Get Stuck In The Wall?
Wall anchors get stuck due to expansion inside the wall cavity or corrosion. This makes them hard to pull out, requiring careful prying or cutting to remove them safely.
Conclusion
Removing wall anchors can be simple with the right steps. Start slowly to avoid damaging the wall. Use common tools like pliers or a screwdriver. Pull or twist gently until the anchor comes out. Patch the hole afterward for a clean finish.
Taking time helps keep walls neat and smooth. Now, you can hang new items with confidence. Practice makes the process easier each time. Keep these tips in mind for any wall anchor removal.