Are you struggling to hang heavy items on your walls without worrying about them falling? Installing plastic wall anchor plastic toggles is a simple and reliable way to secure shelves, mirrors, and other decorations safely.
In this guide, you’ll learn exactly how to install these anchors step-by-step, even if you’ve never done it before. By the end, you’ll have the confidence to tackle your next wall project like a pro. Keep reading to discover the easy tricks that make your walls stronger and your home look great.

Credit: diy.stackexchange.com
Choosing The Right Anchor
Choosing the right plastic wall anchor is important for a secure hold. Different anchors work best for different walls and weights. Picking the correct anchor saves time and prevents damage. Learn how to select the proper plastic toggle anchor for your project.
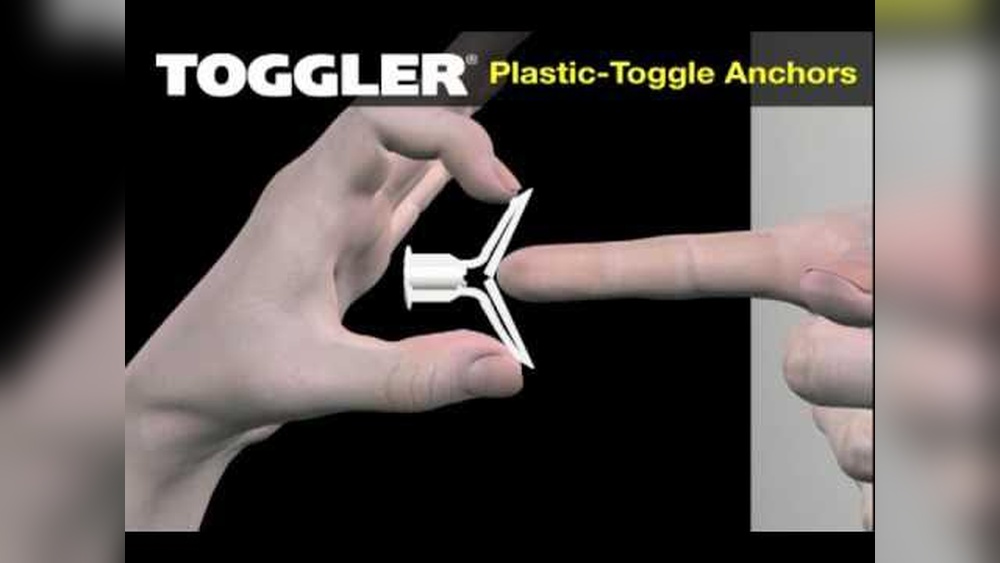
Types Of Plastic Toggle Anchors
Plastic toggle anchors come in several types. Some have wings that open behind the wall. Others use expanding sleeves to hold tight. Each type fits specific wall types and weight loads. Choose a type that matches your hanging needs.
Matching Anchor To Wall Material
Wall material affects anchor choice. Drywall needs anchors with wide wings or expanding parts. Hollow walls require toggle anchors that spread behind the surface. Concrete or brick demands heavy-duty anchors with strong grip. Match anchor type to the wall for strong support.

Credit: toggler.com
Gathering Tools And Materials
Before starting the installation of plastic wall anchor plastic toggles, gathering the right tools and materials is crucial. Having everything ready makes the job smooth and safe. It helps avoid interruptions and ensures the anchor holds firmly.
Prepare a clean workspace and check your tools are in good condition. This step saves time and prevents mistakes during installation.
Essential Tools Needed
First, get a drill with the correct drill bit size for your wall anchors. A screwdriver, either manual or electric, is necessary to tighten the toggle screws. A tape measure helps mark the exact spots on the wall. A pencil or marker is useful for marking drilling points. Finally, a level ensures the toggle anchors are straight.
Safety Gear Recommendations
Wear safety glasses to protect your eyes from dust and debris. Use gloves to guard your hands from sharp edges and tools. A dust mask keeps you safe from inhaling particles. Choose comfortable clothing that covers your arms and legs. These simple precautions reduce risks during installation.
Preparing The Wall
Preparing the wall is the first step to install a plastic wall anchor plastic toggle correctly. Taking time to prepare helps ensure the anchor holds firmly. This step avoids damage and makes installation easier. Follow these simple tasks before drilling.
Marking The Drill Spot
Start by deciding where to place the anchor. Use a pencil to mark the exact spot on the wall. Make sure the mark is clear and visible. Double-check the position to keep it straight and level. Accurate marking prevents mistakes during drilling.
Checking For Obstacles Behind Wall
Before drilling, check for pipes, wires, or studs behind the wall. Use a stud finder or wire detector for safety. Avoid drilling into hidden obstacles to prevent damage. This step protects your home and tools. Always be cautious and take time to scan the wall.

Credit: www.youtube.com
Drilling The Hole
Drilling the hole is a key step in installing a plastic wall anchor plastic toggle. The right hole ensures the anchor fits snugly and holds firmly. Drill carefully to avoid damage to your wall or anchor. Precision matters here to make the installation strong and safe.
Selecting The Right Drill Bit
Choose a drill bit that matches the anchor size. The bit should be slightly smaller than the toggle’s width. This helps the anchor grip the wall tightly. Use a standard twist drill bit for most walls. For drywall, a spade bit can work well too. Check the anchor package for size recommendations.
Drilling Technique Tips
Start drilling slowly to control the hole size. Keep the drill straight to avoid angled holes. Push gently without forcing the drill. Let the drill bit do the work. Clear out dust from the hole before inserting the anchor. This step helps the toggle open fully behind the wall.
Inserting The Plastic Toggle Anchor
Inserting the plastic toggle anchor is a key step in securing heavy items to walls. This process ensures the anchor holds firmly behind the wall surface. Correct insertion prevents damage and keeps your fixture stable.
Folding And Positioning The Toggle
Start by folding the toggle wings together. The wings should align so they fit through the wall hole. Hold the toggle firmly to keep it folded. Position the folded toggle near the drilled hole in the wall. Make sure the wings are tight for easy insertion.
Pushing The Toggle Through The Hole
Push the folded toggle through the hole slowly. Guide it until the wings pass the inside wall surface. You will feel slight resistance as the wings open inside. Once through, pull back gently to lock the toggle in place. Ensure the toggle is secure before adding screws.
Securing The Anchor
Securing the plastic wall anchor properly ensures strong support for your mounted items. This step prevents the anchor from loosening or pulling out. Follow simple actions to make sure the anchor holds tight inside the wall.
Tightening The Screw
Insert the screw into the plastic toggle anchor carefully. Turn the screwdriver slowly to tighten the screw. Stop as soon as you feel resistance. Over-tightening can damage the wall or anchor. A steady, firm turn is enough to secure the anchor.
Ensuring Firm Grip
Check if the anchor stays firmly in place. Wiggle the screw slightly to test its hold. The anchor should not move inside the wall. If it shifts, remove and reinsert it properly. A firm grip prevents damage and keeps items secure.
Testing The Installation
Testing the installation of plastic wall anchor plastic toggles is key. It ensures the anchor holds well and keeps objects secure. Proper testing avoids damage and extra work later. Follow simple steps to check the strength and fix common problems.
Checking Stability
Gently pull on the screw or hook attached to the anchor. It should not move or feel loose. Try to wiggle it slightly from side to side. The anchor must stay firm in the wall. Test with light pressure first, then increase gradually. If it holds steady, the installation is solid. A stable anchor supports weight safely.
Troubleshooting Common Issues
If the anchor moves or feels weak, check the wall hole size. Too large a hole reduces grip. Remove the anchor and try a bigger toggle or a different anchor type. Sometimes the anchor did not fully open behind the wall. Push it in deeper and retighten. Loose anchors may need a new hole in a stronger wall section. Repeat testing until the anchor stays secure.
Tips For Best Results
Using plastic wall anchor plastic toggles correctly ensures strong and safe fixtures. Small steps during installation can make a big difference in holding power. Follow simple tips for best results and avoid common pitfalls. Proper care keeps anchors working well for years.
Avoiding Common Mistakes
Choose the right toggle size for your wall thickness. Too small or large toggles reduce holding strength. Drill the hole carefully and clean out dust before inserting the toggle. Insert the toggle fully and make sure it opens behind the wall. Tighten screws slowly to avoid breaking the anchor. Do not reuse old or damaged toggles.
Maintenance And Longevity
Check mounted items regularly for any loosening. Tighten screws gently if needed. Avoid overloading anchors beyond their weight limit. Keep the wall area dry to prevent damage to plastic toggles. Replace anchors if you remove or move fixtures. These steps help maintain secure and long-lasting holds.
Frequently Asked Questions
What Tools Are Needed To Install Plastic Wall Anchor Toggles?
You need a drill, screwdriver, measuring tape, and a pencil. A drill bit matching the anchor size is essential. These tools help create the correct hole and secure the toggle properly.
How Do You Prepare The Wall For Plastic Toggle Anchors?
First, mark the spot with a pencil. Drill a hole slightly larger than the anchor’s diameter. Clean debris from the hole for a secure fit and better holding strength.
Can Plastic Toggle Anchors Support Heavy Loads?
Yes, plastic toggle anchors support moderate loads. Always check the anchor’s weight rating. For very heavy items, consider metal anchors or additional support.
How To Remove Plastic Wall Anchor Toggles Safely?
Unscrew the attached screw first. Use pliers to gently pull the toggle out. If stuck, push the toggle inside the wall cavity carefully.
Conclusion
Installing plastic wall anchor plastic toggles is simple and quick. Follow each step carefully for a strong hold. Always choose the right size for your project. Use common tools like a drill and screwdriver. Check the wall type before starting the job.
These anchors keep items secure and prevent damage. Practice makes perfect, so don’t worry if it takes time. Stay safe and take your time during installation. Now, you can hang shelves, pictures, or hooks with confidence.


