Are you tired of struggling with wall anchors that don’t fit or break too easily? Imagine creating your own strong, custom-fit wall anchors right at home.
With 3D printing, you can do just that—save money, get perfect sizes, and have anchors designed exactly for your needs. In this guide, you’ll learn simple, step-by-step tips to 3D print wall anchors that work reliably every time. Ready to take control of your home projects and impress yourself with your DIY skills?
Let’s dive in!
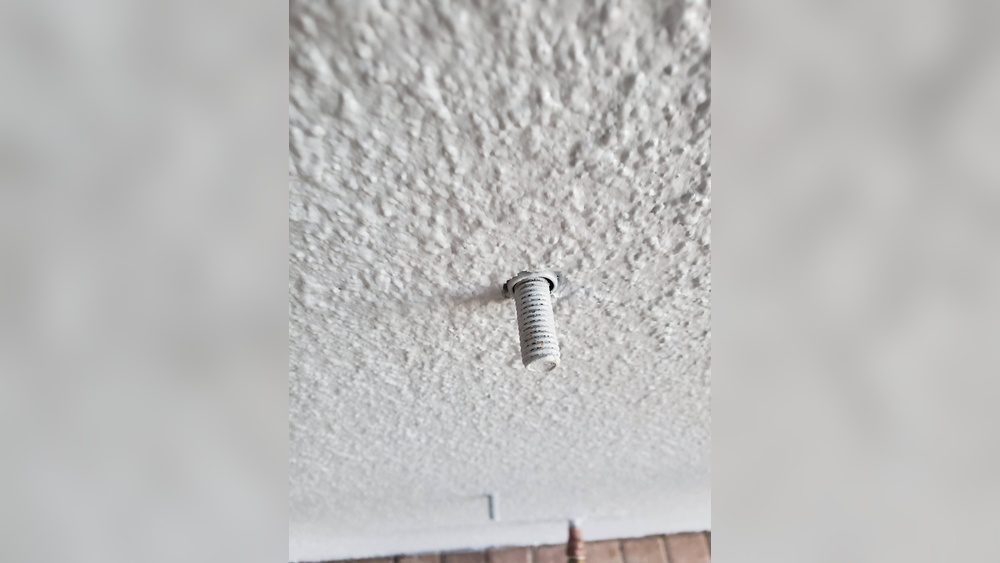
Credit: www.printables.com
Choosing The Right Material
Choosing the right material is key to 3D printing strong wall anchors. The material affects how well the anchor holds and lasts over time. Picking a good filament ensures safety and durability for your projects. Consider factors like strength, cost, and availability before printing.
Types Of Filaments Suitable For Anchors
Common filaments for wall anchors include PLA, ABS, and PETG. PLA is easy to print but less durable. ABS offers better strength and heat resistance. PETG combines durability and flexibility. Nylon is another option, known for toughness. Choose a filament that fits your anchor’s use.
Material Strength And Durability
Wall anchors need strong materials to hold weight without breaking. ABS and PETG provide good strength and resist impact. Nylon is very tough and flexible, ideal for heavy loads. PLA is weaker and may crack under stress. Consider the environment too; some materials resist moisture better.
Cost And Availability
Cost varies between filaments. PLA is usually the cheapest and easiest to find. ABS and PETG cost a bit more but offer better strength. Nylon can be expensive and harder to print. Choose a material that fits your budget and printer capabilities. Availability affects how fast you start your project.
Designing Wall Anchors
Designing wall anchors is a crucial step in creating reliable and strong fixings. Proper design ensures the anchor holds well in different wall materials. It also helps the 3D printed part perform like a commercial anchor. Careful thought in design improves safety and durability.
Each part of the anchor must work together to grip the wall firmly. The design should consider the material used for printing and the anchor’s purpose. Small changes in design can make a big difference in strength and fit.
Key Features For Strong Fixings
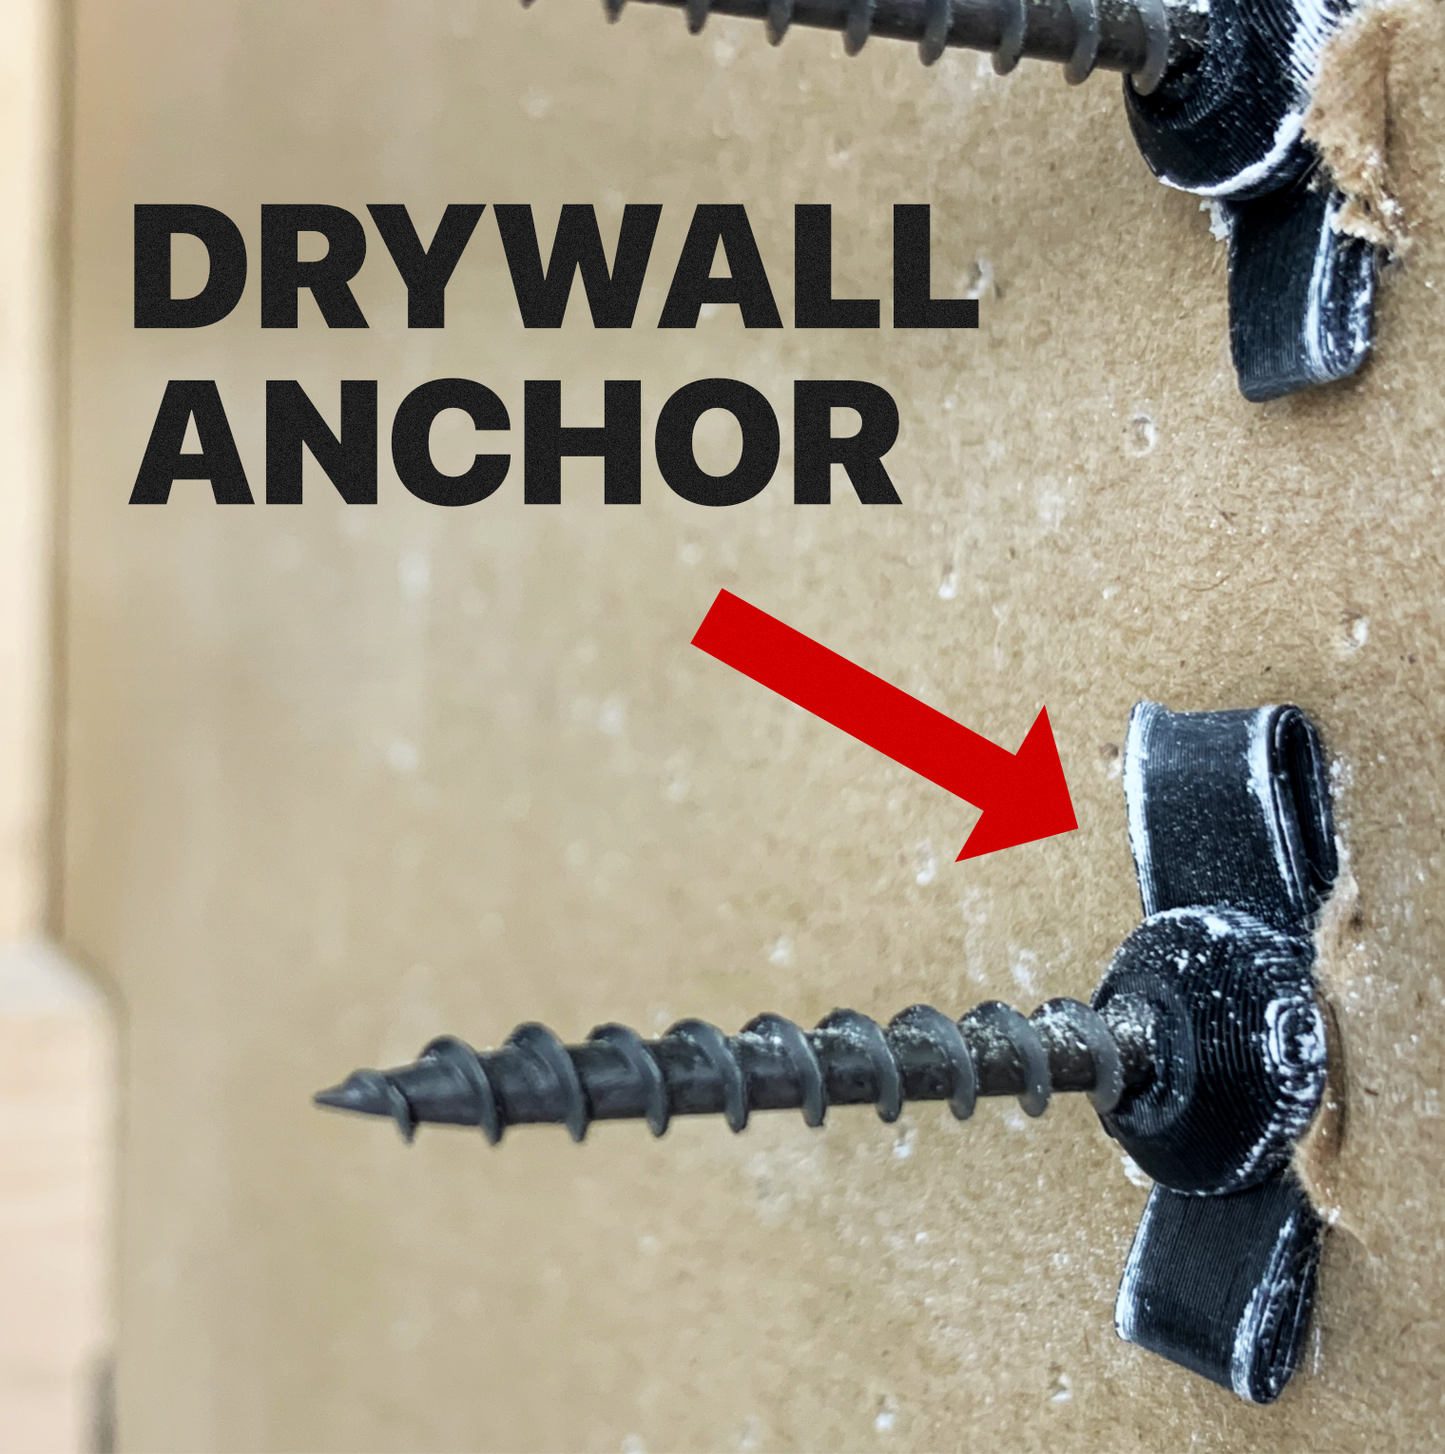
Wall anchors need features that create a tight grip inside the wall. Expandable wings or flanges increase surface area and prevent pull-out. Threaded sections help the anchor stay in place while screws tighten. A tapered shape allows easy insertion but resists removal.
Material flexibility is important. The anchor should bend slightly but not break. This flexibility helps the anchor adjust to wall irregularities. A strong, stable base stops the anchor from moving sideways once installed.
Using Cad Software For Custom Designs
CAD software allows precise design of custom wall anchors. It helps create exact shapes and test fitting digitally. You can modify designs quickly to match different wall types and screw sizes. CAD tools also allow simulation of forces to predict strength.
Custom designs fit unusual wall materials or special screw types. Digital models reduce printing errors and material waste. CAD makes it simple to save and share your anchor designs for future use.
Optimizing Anchor Dimensions
Correct dimensions improve anchor performance and ease of use. Length should suit wall thickness and screw size. Diameter must balance grip with ease of insertion. Too thin can break; too thick may damage the wall.
Consider the size of expandable parts to ensure they open fully inside the wall. Adjusting hole size inside the anchor for the screw improves tightness. Testing different sizes helps find the best fit for your needs.
Preparing The 3d Printer
Preparing the 3D printer is a key step before printing wall anchors. Proper setup ensures strong, accurate prints. Small details here can affect the final product’s fit and durability.
Start by checking the printer’s condition. Clean the nozzle and bed. Make sure the filament is loaded correctly. Calibration helps avoid print errors and weak layers.
Printer Settings For Precision
Set your printer for high precision to create detailed wall anchors. Use a slower print speed to improve accuracy. Adjust the print temperature to match the filament type. This prevents issues like stringing or blobs. Precision helps the anchors fit tightly in walls.
Bed Adhesion Techniques
Good bed adhesion keeps the print stable during the process. Use a heated bed to reduce warping. Apply glue stick or painter’s tape for extra grip. Level the bed carefully to avoid prints detaching or shifting. Strong adhesion ensures smooth, consistent layers.
Nozzle And Layer Height Adjustments
Choose a nozzle size that balances detail and speed. A 0.4 mm nozzle works well for wall anchors. Set a layer height between 0.1 and 0.2 mm for fine details. Smaller layers improve strength and surface finish. Proper nozzle and layer settings lead to durable, clean prints.
Printing Process
The printing process for 3D printing wall anchors is important for a strong final product. It starts with preparing your 3D printer properly. Following each step carefully helps ensure the wall anchors fit well and hold firmly.
Each phase, from loading filament to monitoring the print, affects the quality of your anchors. Staying attentive during printing reduces errors and waste. Let’s break down the key steps.
Loading And Calibrating Filament
Begin by loading the filament into your 3D printer. Make sure the filament type matches your printer settings. Use PLA or PETG for durable wall anchors.
Calibrate the printer’s nozzle and bed before printing. Level the bed to prevent print failures. A well-calibrated printer improves adhesion and accuracy.
Monitoring Print Quality
Watch the print as it progresses. Look for smooth layers and solid adhesion. Early detection of issues saves time and material.
Check the first layers carefully. They set the base for the entire print. Ensure the filament flows evenly and the print sticks to the bed.
Common Issues And Troubleshooting
Watch out for warping, stringing, or layer shifting. These problems weaken the anchor’s structure.
Fix warping by adjusting bed temperature or using a heated bed. Reduce stringing by lowering print temperature or increasing retraction settings.
If layers shift, tighten belts and check printer stability. Regular maintenance keeps the printer working well.
Post-processing Anchors
Post-processing is an important step after 3D printing wall anchors. It helps improve the look and strength of the anchors. Without post-processing, the anchors may have rough edges or weak points. Proper finishing ensures the anchors fit well and hold strong on walls.
Cleaning And Removing Supports
After printing, remove any support material carefully. Use pliers or cutters to break off supports. Clean the anchor with a brush to remove leftover bits. Washing the anchor with water can clear fine dust. Make sure the anchor is dry before moving to the next step.
Sanding And Smoothing Surfaces
Use fine sandpaper to smooth rough edges. Sand gently to avoid changing the shape. Focus on areas that touch the wall or screw. Smoother surfaces help the anchor fit better. Wiping the anchor after sanding removes dust and debris.
Strengthening Methods
Strengthen anchors by applying a thin layer of glue or resin. This adds durability and helps resist breaking. Let the glue dry completely before use. Another method is to heat the anchor slightly to improve layer bonding. Strong anchors hold screws firmly and last longer.
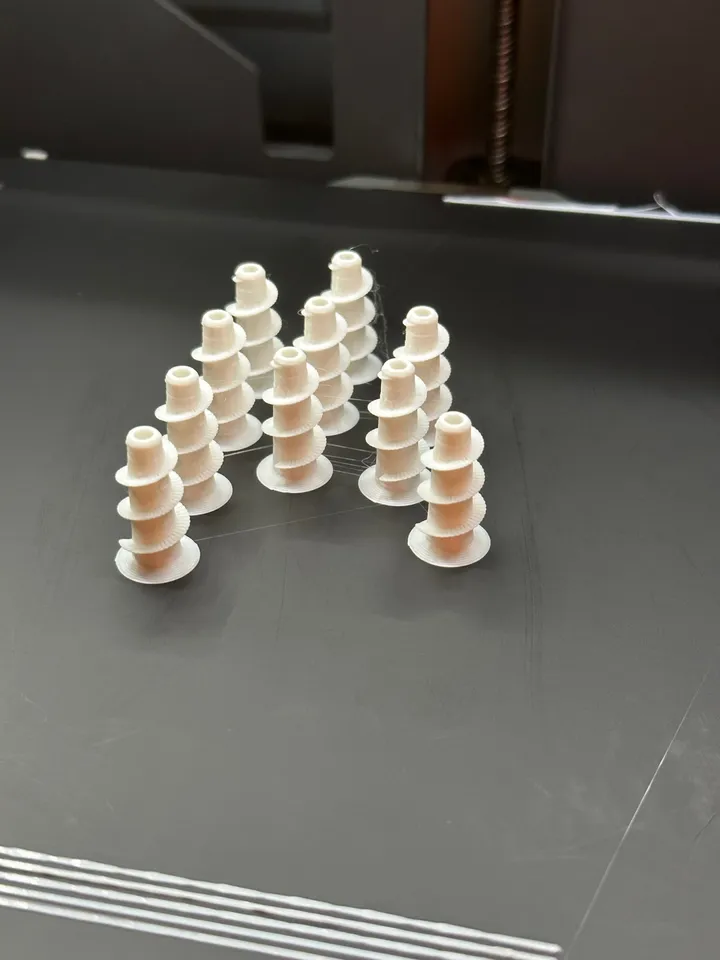
Credit: 3dprinteracademy.com
Testing Wall Anchors
Testing wall anchors is essential before using them for real projects. It ensures the anchors hold well and keep things safe on your walls. Proper testing avoids accidents and damage.
Different wall types and weights need different tests. Careful checks help find the best design for your 3D printed anchors.
Load Testing Techniques
Load testing checks how much weight the anchor can hold. Use weights or force meters to apply pressure. Increase the load slowly until the anchor fails. Record the maximum weight it supports safely.
Test multiple anchors to find average strength. This shows if your design is strong and reliable.
Evaluating Performance In Different Walls
Test anchors in various wall materials like drywall, brick, and concrete. Each material holds anchors differently. Some anchors work well in drywall but fail in brick.
Check how the anchor grips and stays in place. Note any cracks or damage to the wall. This helps choose the right anchor for each wall type.
Safety Considerations
Always wear safety gear during testing. Use gloves and eye protection to avoid injuries. Secure the testing area to prevent accidents.
Do not overload anchors beyond their limits. Overloading can cause sudden failure and harm. Test in a controlled environment for safe results.
Tips For Best Results
Getting the best results from 3D printing wall anchors requires care and attention. Small details can make a big difference in strength and fit. Follow these tips to improve your prints and ensure durable anchors.
Avoiding Common Mistakes
Start with the right filament type. PLA is easy but less flexible. Nylon or PETG offers better strength. Check your printer’s calibration before printing. Even small errors reduce anchor quality. Print anchors at slower speeds to increase detail. Avoid very thin walls; they break easily. Use supports only if necessary to save time. Clean the print bed to prevent warping. Inspect prints for gaps or weak points.
Enhancing Anchor Longevity
Choose a strong design with thick walls and ribs. Thicker anchors last longer under pressure. Post-process anchors by sanding rough edges. This avoids cracks and improves fit. Apply a sealant or coating for moisture protection. Store printed anchors in a dry place. Avoid direct sunlight to prevent material degradation. Use anchors only within their weight limits. Replace anchors after heavy use or damage.
Maintenance Advice
Regularly check anchors for signs of wear or damage. Remove dust and debris from anchor holes. Tighten screws gently to avoid cracking anchors. Replace anchors if they lose grip or become brittle. Keep printed anchors away from chemicals and solvents. Clean anchors with mild soap and water only. Test anchors before heavy use to ensure safety.

Credit: www.printables.com
Frequently Asked Questions
What Materials Work Best For 3d Printing Wall Anchors?
PLA and PETG are popular choices for 3D printing wall anchors. They offer strong adhesion and durability. PETG provides more flexibility and impact resistance. Use filaments suitable for your printer and environment to ensure reliable wall support.
How Strong Are 3d Printed Wall Anchors?
3D printed wall anchors can be quite strong if designed well. Strength depends on filament type, print settings, and anchor design. Proper infill and layer adhesion improve durability. For heavy loads, test anchors before full use to ensure safety.
Can I Customize Wall Anchor Designs With 3d Printing?
Yes, 3D printing allows easy customization of wall anchor designs. You can adjust size, shape, and features for specific wall types and loads. Custom designs improve fit and functionality, making your anchors more effective and tailored to your needs.
Is 3d Printing Wall Anchors Cost-effective?
3D printing wall anchors can save money compared to buying commercial anchors. You only pay for filament and electricity. It reduces waste by printing exact quantities needed. This method is ideal for DIY projects and small-scale uses.
Conclusion
3D printing wall anchors saves money and time. You can create strong anchors at home. Choose the right material for durability. Test each anchor before use for safety. This skill helps with many DIY projects. Practice makes the process easier and better.
Start small, then try bigger anchors. Keep learning to improve your 3D printing results. Enjoy the satisfaction of making your own tools. Simple steps lead to great outcomes.