Mounting tubular tires with tape might seem tricky at first, but once you know the right steps, it becomes simple and quick. If you want a smooth ride and a secure fit, mastering this skill is essential.
In this guide, you’ll discover easy-to-follow tips that save you time and prevent common mistakes. Ready to learn how to mount your tubular tires like a pro? Keep reading, and you’ll be confident to handle it yourself every time.
Credit: www.tufo.com
Tools And Materials Needed
Mounting tubular tires with tape needs specific tools and materials. Having the right items makes the job easier and safer. It also ensures a smooth ride and good tire performance. Below are the essentials for this task.
Choosing The Right Tubular Tire
Select a tire that fits your rim size exactly. Check the tire width matches your riding style. Road tires are usually narrower, while off-road tires are wider. Pick a tire with strong casing for durability. Quality tires reduce the risk of punctures and blowouts.
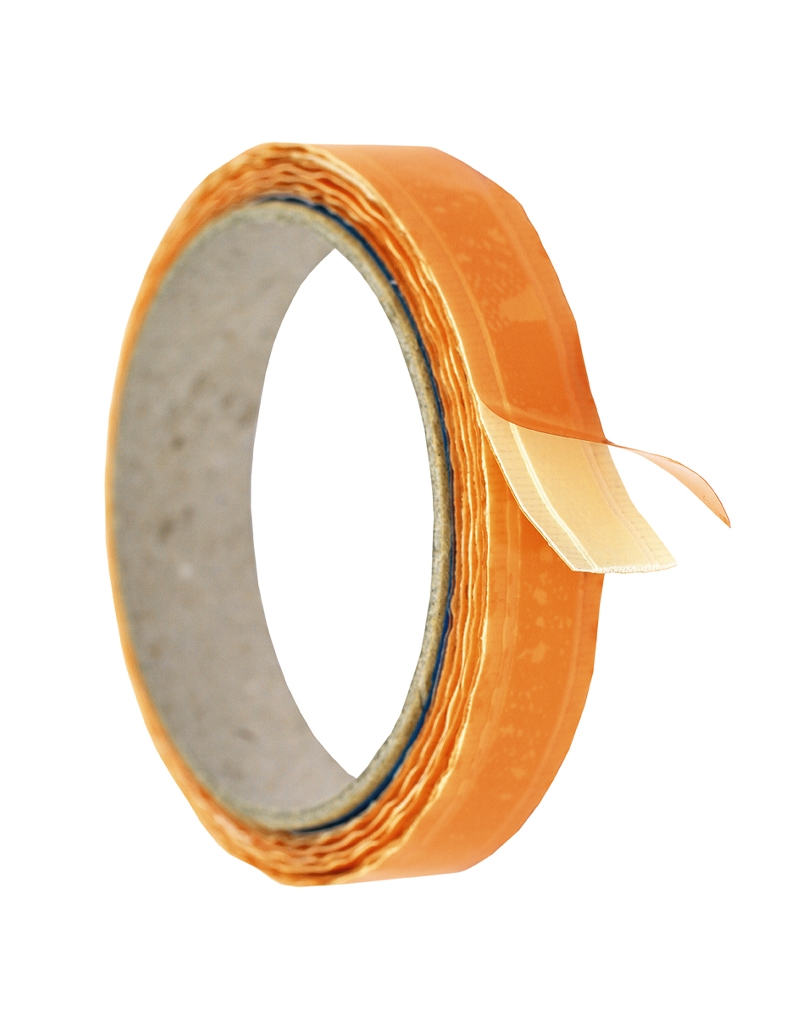
Selecting The Appropriate Rim Tape
Rim tape keeps the tire glued to the rim. Choose tape made for tubular tires only. The tape width should cover the rim bed fully. Use strong adhesive tape to hold the tire securely. Some tapes allow repositioning before setting permanently.
Additional Tools For Mounting
Use a clean cloth to wipe the rim before taping. Have a pair of scissors to cut the tape neatly. A roller tool helps press the tape evenly on the rim. Tire levers can assist in fitting the tire on the rim. Keep a pump ready to inflate the tire after mounting.
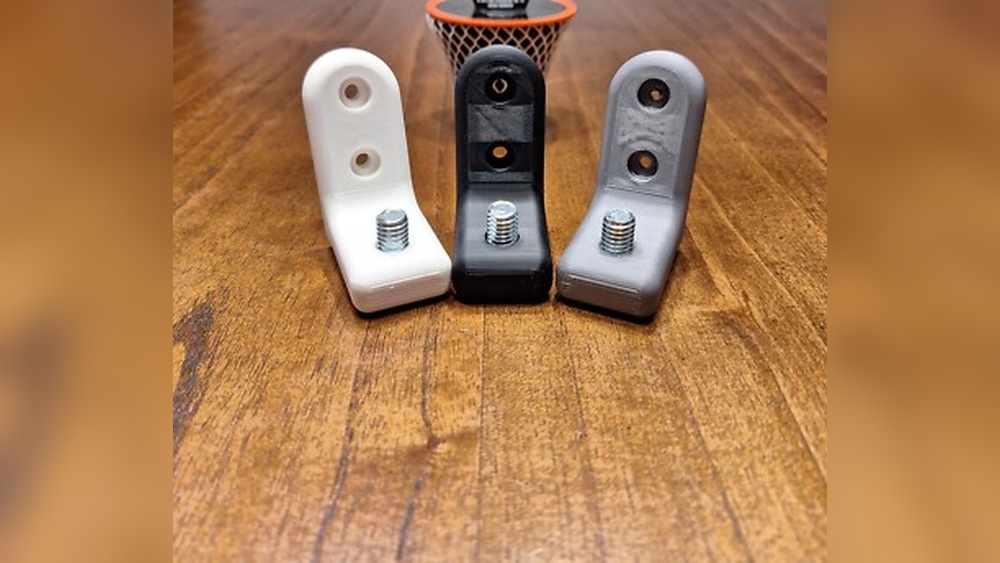
Credit: www.parktool.com
Preparing The Rim
Preparing the rim is an important step before mounting tubular tires with tape. A clean and well-prepared rim ensures the tire stays in place and performs well. Careful preparation helps avoid problems like slipping or uneven seating.
Cleaning The Rim Surface
Start by removing old tape or glue from the rim. Use rubbing alcohol and a clean cloth to wipe the surface. This removes dirt, oil, and residue that can prevent good adhesion. Make sure the rim is completely dry before moving on.
Applying The Rim Tape Correctly
Choose the right tape size for your rim width. Begin taping at the valve hole and wrap the tape tightly around the rim. Overlap the tape slightly to cover the entire surface evenly. Press the tape firmly to avoid air bubbles and wrinkles. Trim any excess tape for a neat finish.
Preparing The Tire
Preparing the tire is the first step in mounting tubular tires with tape. It ensures the tire sticks well and stays safe during rides. This step requires attention and care. Small mistakes here can cause problems later.
The preparation involves checking the tire’s condition and applying glue or adhesive properly. Both tasks affect how strong the bond will be between the tire and the rim. Let’s look closely at these tasks.
Checking Tire Condition
Start by inspecting the tire for any damage. Look for cuts, tears, or worn areas on the tire surface. Check the casing fabric inside the tire too. Make sure it is clean and dry.
Remove any dust, dirt, or old glue residue. Use a clean cloth or a soft brush. A smooth surface helps the glue stick better. Do not use water. It can weaken the glue’s hold.
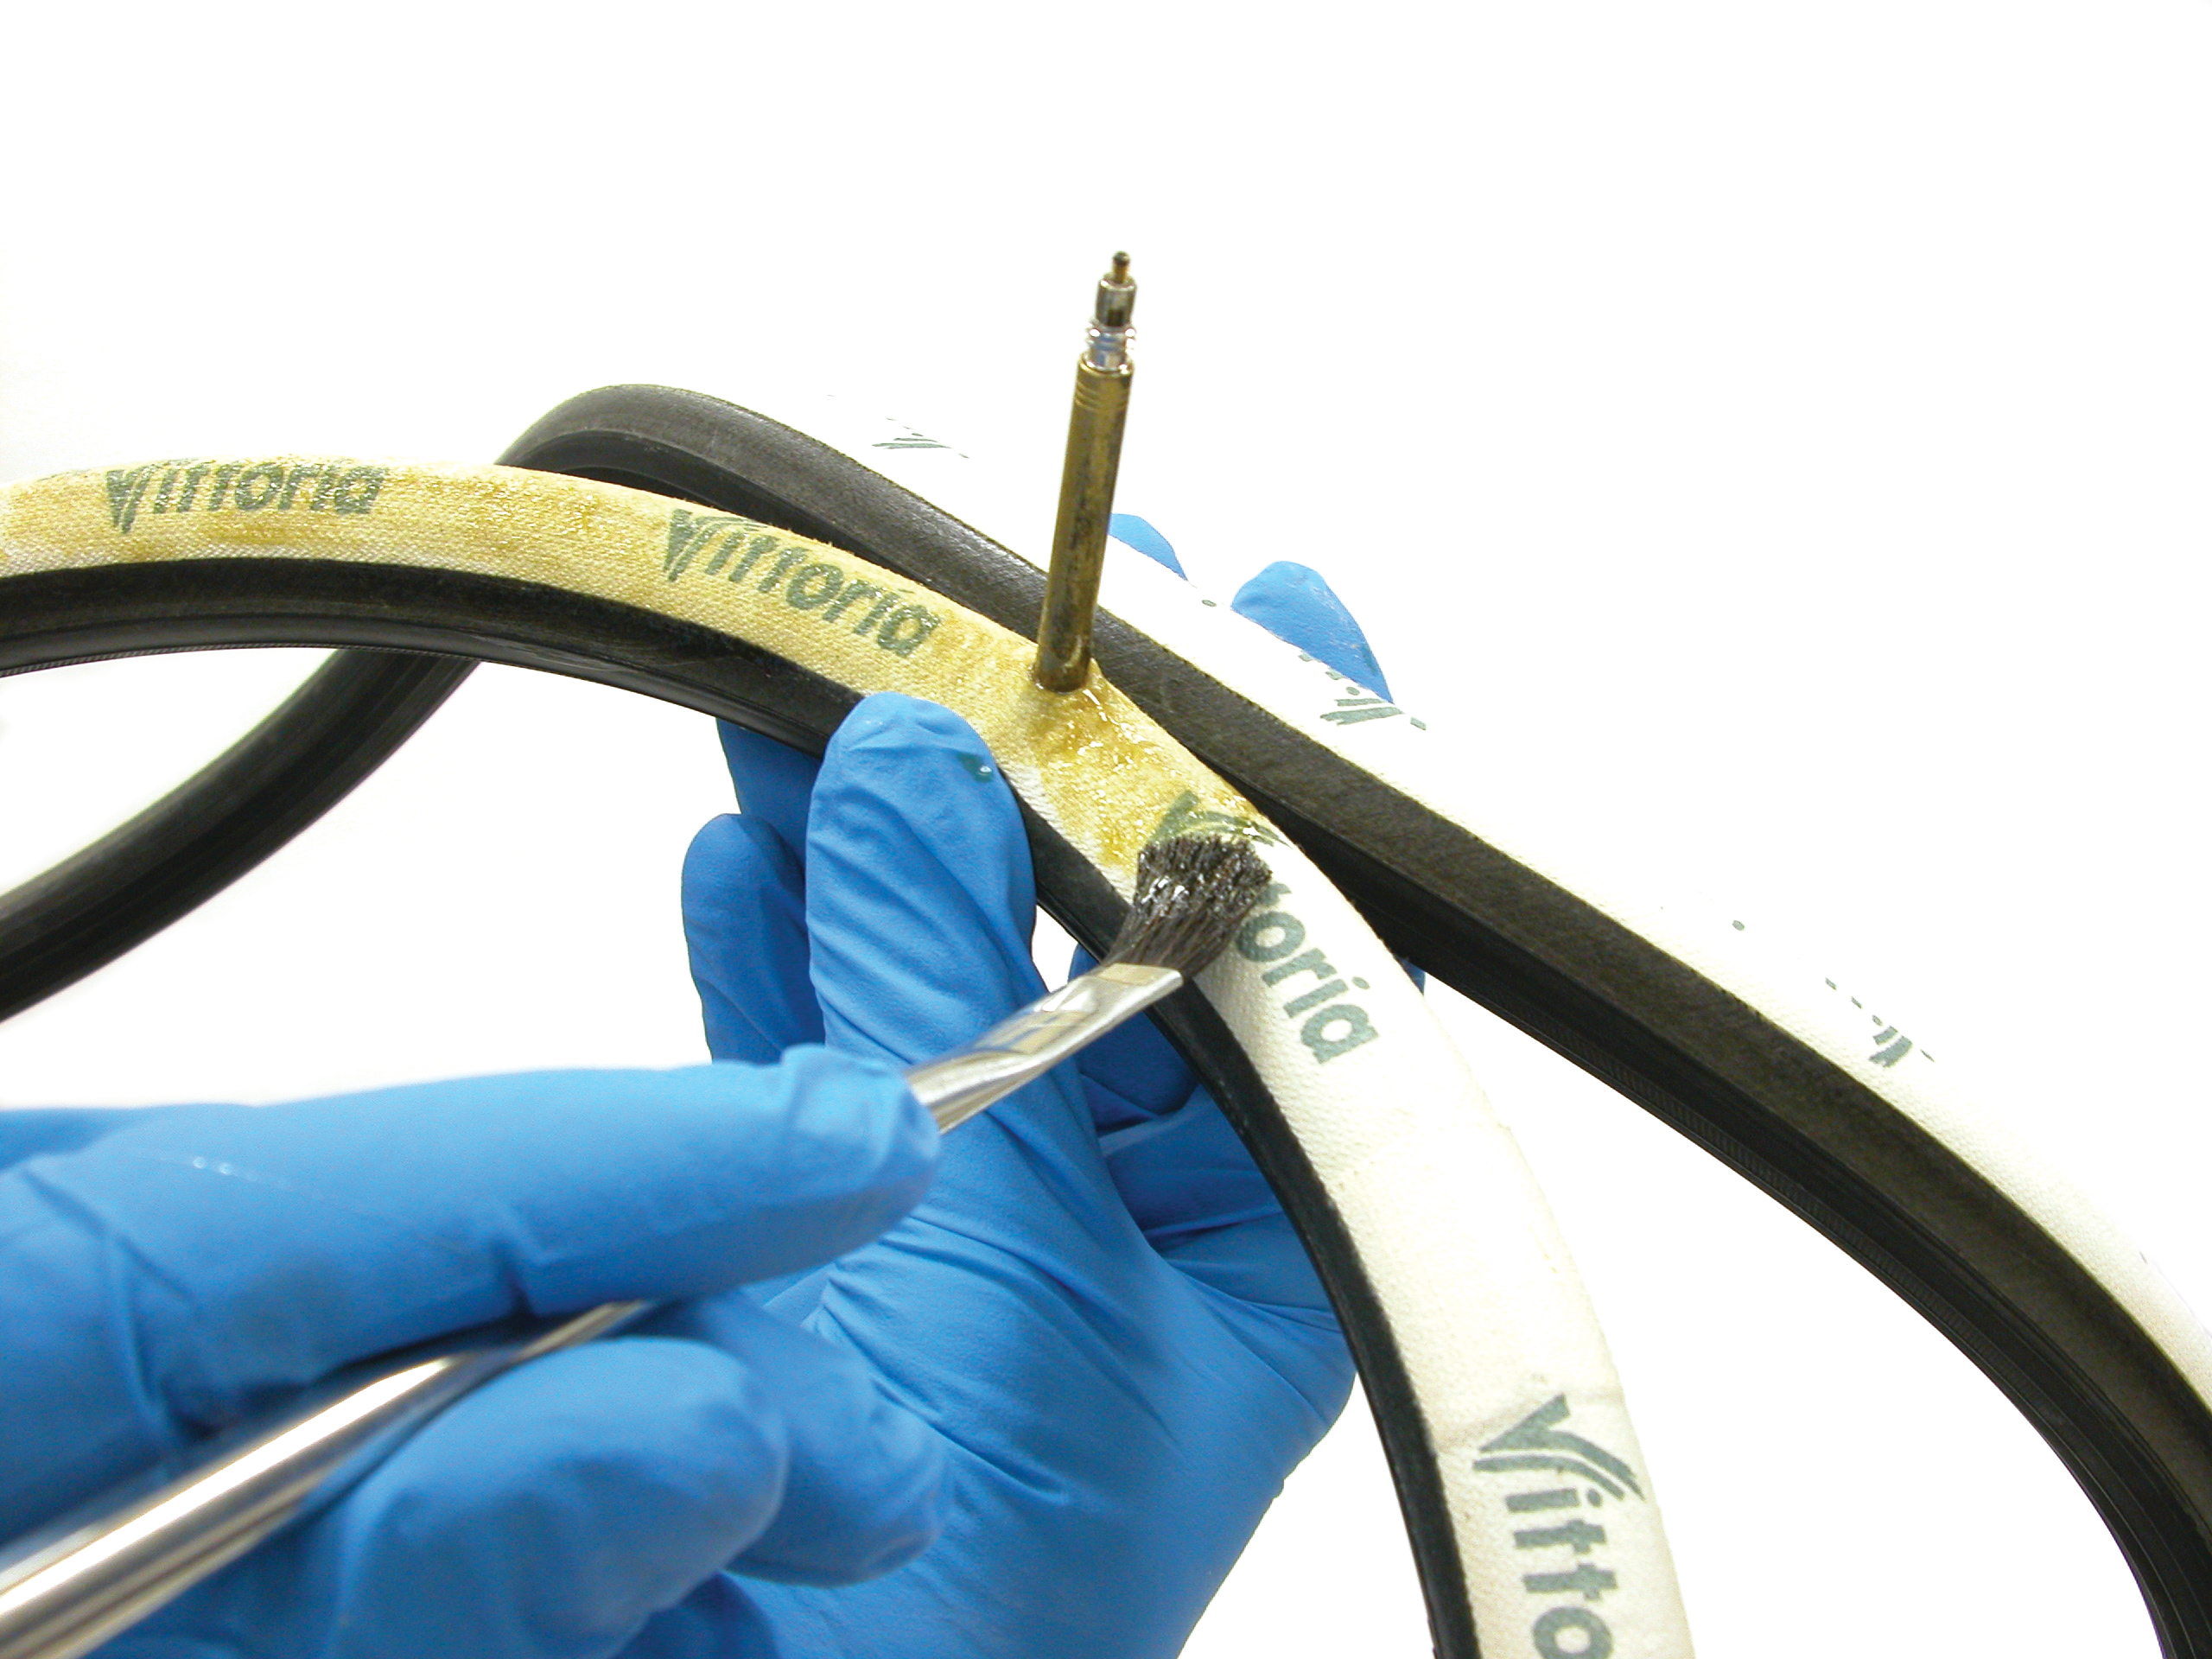
Applying Glue Or Adhesive
Use glue made specifically for tubular tires. Apply a thin, even layer on the tire’s base tape. Cover the entire surface where the tire meets the rim.
Wait a few minutes for the glue to become tacky. This helps create a stronger bond. Apply a second layer if needed. Avoid thick or uneven layers. They can cause the tire to slip.
Let the glue dry according to the instructions. Proper drying time is key. Too wet or too dry glue reduces adhesion. After drying, the tire is ready for mounting.

Credit: www.youtube.com
Mounting The Tire
Mounting tubular tires with tape is a key skill for cyclists. The process must be precise. Proper mounting ensures safety and smooth rides. This section guides you step-by-step through mounting the tire.
Aligning The Tire On The Rim
Place the tubular tire carefully on the rim. The tire’s center seam should line up evenly. Make sure it sits flat without twists or bumps. Check the tire’s shape all around the rim. Correct alignment helps balance and performance.
Securing The Tire With Tape
Start taping at the valve stem area. Use high-quality tubular tape for strong adhesion. Press the tape firmly as you wrap around the rim. Overlap the tape slightly to avoid gaps. Cover the entire rim surface under the tire. Proper taping prevents the tire from moving.
Ensuring Proper Fit And Tension
Check the tire’s tightness by pressing gently. The tire should feel snug, not too loose or too tight. Adjust the tape if the tire shifts or wrinkles. Spin the wheel slowly to confirm smooth rotation. Correct fit and tension improve ride safety and comfort.
Finishing Touches
Finishing touches are key to making sure your tubular tire is safe and ready to ride. This final phase helps avoid problems like air leaks or poor tire seating. Take your time here. These steps ensure the tire stays secure on the rim and performs well.
Checking Tire Seating
Look closely at the tire edges on the rim. The tire should sit evenly around the entire rim. No gaps or bulges should appear. Spin the wheel slowly and watch for any wobble. Proper seating prevents air loss and improves ride quality.
Inflating The Tire Safely
Use a pump with a pressure gauge. Inflate the tire slowly. Stop often to check the tire’s position on the rim. Avoid inflating too quickly to prevent damage. Inflate to the tire’s recommended pressure printed on the sidewall.
Final Inspection
Run your hands along the tire and rim. Feel for any loose tape or uneven spots. Check that the valve is straight and tight. Ensure the tire feels firm but not overinflated. A final look helps catch small issues before riding.
Common Mistakes To Avoid
Mounting tubular tires with tape requires care and attention. Many riders make simple mistakes that cause poor performance or damage. Avoiding these errors helps you get a smooth, safe ride. Focus on the right steps and double-check your work.
Incorrect Tape Application
Applying the tape wrongly is a common problem. If the tape is too loose, the tire can slip during riding. Too tight, and the tape might tear or not stick well. Always stretch the tape evenly and press it firmly to the rim. Avoid bubbles or wrinkles, which can cause uneven grip.
Uneven Tire Mounting
Uneven mounting leads to bumps and poor balance. The tire should sit straight and centered on the rim. Check the tire’s position all around before fully securing it. Spin the wheel to find any wobbles or tight spots. Fix these by adjusting the tire and tape carefully.
Ignoring Tire And Rim Compatibility
Not all tires fit every rim. Using incompatible tires and rims can cause poor adhesion or damage. Always check the size and type of both parts before starting. Using the wrong combination can make the tape fail or the tire come off easily. Match your tire and rim exactly for safe riding.
Maintenance Tips For Tubular Tires
Maintaining tubular tires is important for safe and smooth rides. Proper care helps the tape hold better and extends tire life. Follow these simple tips to keep your tubular tires in top shape.
Regular Inspections
Check your tires before every ride. Look for cuts, tears, or worn areas on the tire surface. Inspect the tape for any signs of peeling or damage. Catching problems early prevents accidents and costly repairs.
Reapplying Tape When Needed
Over time, the tape may lose its stickiness. Remove the old tape carefully and clean the rim surface. Apply new tubular tape evenly without wrinkles. Press firmly to ensure a strong bond between the tire and rim.
Storage Recommendations
Store your tubular tires in a cool, dry place away from sunlight. Avoid folding or crushing them to keep the shape intact. Keep tires away from oils, solvents, or sharp objects that can cause damage.
Frequently Asked Questions
How Do You Prepare Rim Tape For Tubular Tires?
Clean the rim surface thoroughly before applying rim tape. Ensure the tape is centered and pressed down firmly. Overlap the tape slightly for better adhesion and smooth out any bubbles or wrinkles for a secure fit.
What Tools Are Needed To Mount Tubular Tires With Tape?
You need rim tape, tubular tires, a tire lever, and a pump. Optional tools include a cleaning cloth and rubbing alcohol. These tools help ensure proper tape application and secure tire mounting.
How Tight Should Tubular Tires Be When Mounted?
Tubular tires should fit snugly without excessive force. Ensure the tire bead sits evenly on the rim. Proper tightness prevents tire slippage and improves safety during rides.
Can I Reuse Rim Tape On Tubular Tires?
Reusing rim tape is not recommended. Tape loses adhesive strength after removal. Always use fresh tape for a secure and safe tire mount.
Conclusion
Mounting tubular tires with tape takes patience and care. Start by preparing the rim and tire properly. Apply the glue evenly and let it dry a bit before placing the tire. Press the tire firmly to ensure a strong bond.
Check the tire for any gaps or loose spots. With practice, the process becomes easier and faster. A well-mounted tire improves ride quality and safety. Keep these steps in mind for a smooth experience. Ready to hit the road with confidence?