Are you ready to upgrade your bathroom with sleek, deck mounted bath taps but worried about the installation? You’re not alone.
Fitting bath taps might seem tricky, but with the right steps, you can do it yourself quickly and confidently. Imagine having stylish taps that not only look great but also work perfectly every time you use your bath. In this guide, you’ll discover simple, clear instructions that make the process easy—even if you’re not a DIY expert.
Keep reading, and by the end, you’ll have the skills to transform your bath with taps that fit just right.
Credit: thewatermonopoly.com
Tools And Materials Needed
Before fitting deck mounted bath taps, gather the right tools and materials. This step makes the job easier and faster. Having everything ready helps avoid mistakes and delays. Safety is also important, so include protective gear.
Essential Tools
- Adjustable wrench for tightening nuts
- Pipe wrench for gripping pipes firmly
- Screwdrivers (flathead and Phillips) for screws
- Spirit level to check tap alignment
- PTFE tape for sealing threaded connections
- Hacksaw to cut pipes if needed
- Measuring tape to measure pipe length accurately
Required Materials
- Deck mounted bath taps suitable for your bath
- Flexible hoses to connect taps to water supply
- Washers and gaskets to prevent leaks
- Pipe connectors matching your plumbing system
- Sealant or plumber’s putty for waterproof sealing
Safety Gear
- Gloves to protect hands from sharp edges
- Safety goggles to guard eyes from debris
- Knee pads for comfort while working low
- Work clothes that you don’t mind getting dirty
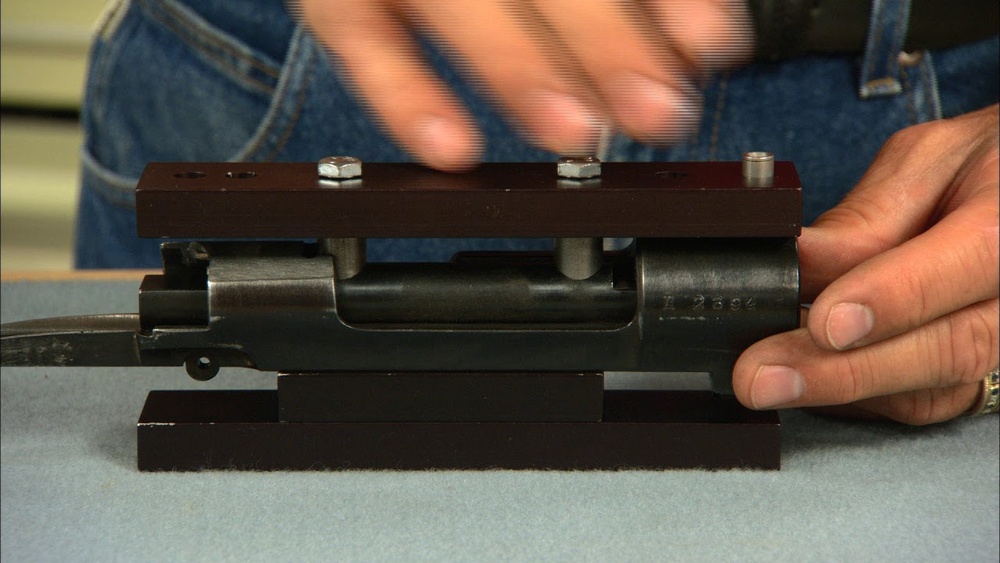
Credit: tapron.co.uk
Preparing The Bath Surface
Preparing the bath surface is the first step to fit deck mounted bath taps properly. A clean and smooth surface helps the taps sit firmly. It also stops leaks and damage later. Take your time to prepare the area well.
Cleaning The Area
Start by cleaning the bath surface around the tap holes. Remove dirt, soap scum, and grease. Use a mild cleaner and a soft cloth. Avoid harsh chemicals that may damage the bath finish. Dry the area fully before moving on.
Checking The Mounting Holes
Inspect the holes where the taps will mount. Make sure they are the right size and shape. Remove any old sealant or debris inside the holes. Look for cracks or damage near the holes. Fix any problems before installing the taps.
Ensuring Proper Measurements
Measure the distance between the tap holes carefully. Check the size matches your new taps. Use a tape measure and note the exact spacing. Confirm the taps will fit without forcing or gaps. Accurate measurements help avoid installation issues.
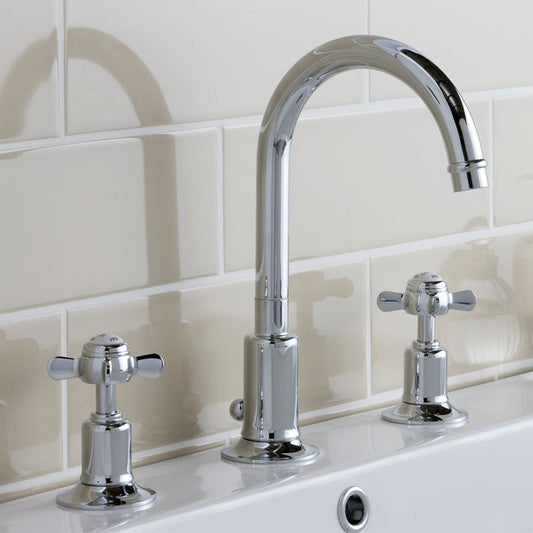
Installing The Deck Mounted Bath Taps
Installing deck mounted bath taps is a straightforward task with the right steps. This type of tap sits on the rim of the bath. It offers easy access and a clean look.
Follow clear steps for proper installation. This ensures a good fit and avoids leaks. Focus on correct positioning, secure mounting, and proper water connection.
Positioning The Taps
Start by placing the taps on the bath rim. Check the holes in the bath for the tap fittings. Make sure the taps align well with these holes. Keep the taps straight for a neat appearance. Leave enough space for comfortable use.
Securing The Mounting Hardware
Use the mounting nuts and washers provided. Tighten the nuts under the bath carefully. Avoid over-tightening to prevent damage. Check the taps stay firmly in place. The taps should not wobble or shift.
Connecting The Water Supply
Attach the hot and cold water pipes to the taps. Use flexible hoses for easier connection. Check that the connections are tight to stop leaks. Turn on the water supply to test. Look for any drips or loose fittings.
Testing And Adjustments
Testing and adjusting your deck mounted bath taps is crucial. It ensures the taps work well and last longer. This process helps find leaks, balance water flow, and secure fittings. Follow these steps to get the best results.
Checking For Leaks
Turn on the water supply slowly. Watch all connections for drips or wet spots. Use a dry cloth to wipe joints and see if water appears. Tighten any loose fittings carefully. A small leak can cause big damage over time.
Adjusting Water Flow
Test both hot and cold water taps. Make sure water flows smoothly and evenly. Adjust the valves if water pressure feels too high or low. Balance the flow for comfort and safety. Avoid sudden bursts or weak streams.
Final Tightening
Once everything works well, tighten all nuts and bolts firmly. Use the right tools to avoid damage. Check each fitting one last time for leaks. Proper tightening keeps taps secure and prevents future problems.
Maintenance Tips
Maintaining deck mounted bath taps is key to keeping them working well. Regular care helps avoid leaks and keeps the taps looking new. Simple steps can save time and money in the long run. Follow these tips to keep your bath taps in top shape.
Regular Cleaning
Clean the taps with a soft cloth every week. Use mild soap and warm water to remove dirt. Avoid harsh cleaners that can damage the finish. Dry the taps after cleaning to stop water spots. Regular cleaning stops grime build-up and keeps the taps shiny.
Preventing Corrosion
Check taps for signs of rust or corrosion often. Wipe off any water left on the taps after use. Use a protective wax or polish designed for metal surfaces. Keep the bathroom well-ventilated to reduce moisture. These steps help prevent corrosion and extend tap life.
When To Replace Parts
Listen for dripping sounds or notice reduced water flow. These signs mean parts may need replacement. Replace washers and seals to stop leaks quickly. If the tap handle is stiff or loose, check the cartridge. Timely part replacement keeps the taps working smoothly.

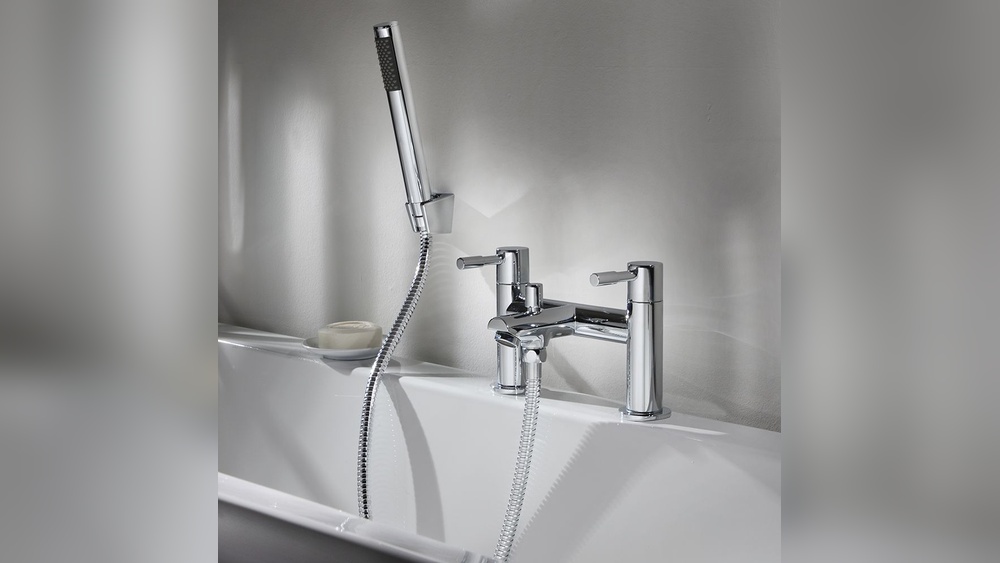
Credit: www.sporthacking.com
Frequently Asked Questions
What Tools Do I Need To Fit Deck Mounted Bath Taps?
You need a wrench, screwdriver, plumber’s tape, silicone sealant, and a basin spanner. These tools help ensure a secure, leak-free installation.
How Do I Prepare The Bath For Deck Mounted Taps?
Clean the bath surface and remove old fittings. Measure tap holes carefully to align new taps perfectly.
Can I Fit Deck Mounted Taps Without Professional Help?
Yes, with basic plumbing skills and the right tools, you can fit taps yourself. Follow instructions closely to avoid leaks.
How Do I Prevent Leaks When Fitting Bath Taps?
Use plumber’s tape on threaded joints and apply silicone sealant around the base. Tighten fittings securely but avoid over-tightening.
Conclusion
Fitting deck mounted bath taps can be simple and quick. Follow the steps carefully to avoid leaks or damage. Take your time to measure and align the taps properly. Use the right tools for a secure fit. Check all connections before turning the water on.
Enjoy your new taps with confidence. A little effort brings great results and a fresh bathroom look. Keep maintenance easy by cleaning taps regularly. Ready to try it yourself?