Have you ever found yourself locked out or needing to replace your deadbolt quickly? Knowing how to cut a deadbolt can save you time, money, and frustration.
Whether you want to remove an old lock or adjust its size, this skill puts control in your hands. Keep reading, and you’ll discover simple, step-by-step instructions that anyone can follow—even if you’re not a DIY expert. By the end, you’ll feel confident handling deadbolts like a pro.
Ready to get started?

Credit: www.wikihow.com
Types Of Deadbolts
Deadbolts are essential for home security. They come in several types, each with its own use. Knowing the different types helps you choose the right one for your door. Here is a look at the main types of deadbolts.
Single Cylinder Deadbolts
Single cylinder deadbolts have a keyhole on the outside. Inside, they use a thumb turn for locking and unlocking. They are easy to use and common in many homes. These deadbolts work well on doors with glass far from the lock.
Double Cylinder Deadbolts
Double cylinder deadbolts need a key on both sides. This adds extra security to doors with glass nearby. It stops someone from breaking glass and reaching inside to unlock. However, they need a key each time to open or lock from inside.
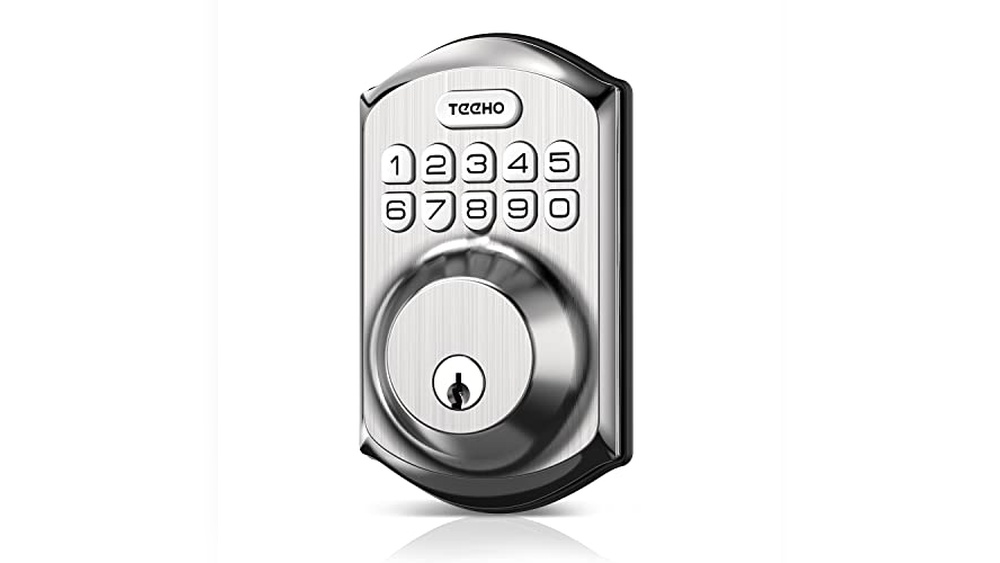
Keyless Deadbolts
Keyless deadbolts use a code or keypad instead of keys. They offer quick access without carrying keys. You can change the code as often as needed. These deadbolts are good for families or rental homes.
Tools Needed For Cutting
Cutting a deadbolt requires the right tools to work safely and effectively. Using proper equipment helps you make clean cuts and avoid damage. Prepare all tools before starting the job. This section covers the main tools needed for cutting a deadbolt.
Power Tools
Power tools speed up the cutting process and make it easier. An angle grinder with a metal-cutting disc works well. A rotary tool with a cutting wheel is good for detailed work. A power saw with a metal blade can also cut through deadbolts. Always check that the blade suits the metal type.
Manual Tools
Manual tools offer control and precision for cutting deadbolts. A hacksaw with a sharp blade is common. It takes more time but works for small jobs. A metal file helps smooth rough edges after cutting. Tin snips can cut thin metal parts. Use these tools carefully to avoid mistakes.
Safety Equipment
Safety is crucial when cutting metal. Wear safety goggles to protect your eyes from sparks and debris. Use gloves to shield your hands from sharp edges. Hearing protection reduces noise from power tools. A dust mask helps avoid inhaling metal dust. Prepare your workspace with good lighting and ventilation.
Preparing For Deadbolt Removal
Preparing for deadbolt removal is the first and most important step. It sets the stage for a smooth and safe process. Taking time to get ready reduces mistakes and damage to your door.
This preparation includes checking the lock type, cleaning the area, and making sure you stay safe. Each part helps you cut the deadbolt without problems.
Assessing The Lock
Start by looking closely at the deadbolt. Notice its shape, size, and how it fits in the door. Check for screws or covers hiding the fasteners. Knowing the lock type helps pick the right tools and methods.
Look for any signs of damage or rust. These can affect how the lock comes apart. Also, note if the lock has extra security features. This might need more care during removal.
Clearing The Work Area
Clear the space around the door before you begin. Remove objects like rugs, furniture, or decorations. This gives you room to work freely and safely. A tidy area helps avoid trips or accidents.
Keep your tools close, but organized. Lay them on a cloth or tray to stop them from rolling or falling. Good organization speeds up the job and keeps things neat.
Ensuring Safety
Safety is key when cutting a deadbolt. Wear safety glasses to protect your eyes from sparks or metal shards. Gloves protect your hands from sharp edges and hot tools. Dress in clothes that cover your arms and legs.
Make sure your work area has good light. Poor lighting can cause mistakes or injuries. Keep children and pets away from the area. This keeps everyone safe and focused on the task.

Credit: www.youtube.com
Cutting Methods
Cutting a deadbolt requires the right tools and careful techniques. Various cutting methods suit different situations. Choose the best method based on your tools and the deadbolt type.
Each method has pros and cons. Some are faster but noisy. Others need more effort but are quiet. Understanding these methods helps you decide.
Using An Angle Grinder
An angle grinder cuts through metal quickly. It has a spinning disc that slices the bolt. Wear safety gear to protect eyes and hands. Hold the grinder steady to avoid damage. Sparks fly, so work in a safe area. This method is fast but loud.
Employing A Hacksaw
A hacksaw is a simple hand tool with a fine blade. It takes more time but is quiet. Use steady, even strokes to cut through the bolt. Keep the blade aligned for a clean cut. This method requires patience and effort. It works well without power tools.
Bolt Cutters Approach
Bolt cutters have strong jaws to snap metal bolts. Place the jaws around the deadbolt’s shank. Apply steady pressure to cut through. This method is quick and uses no power. Choose bolt cutters sized for the deadbolt. They work best on thinner bolts.
Step-by-step Removal Process
Removing a deadbolt lock requires careful steps to avoid damage. Following the right process makes the job easier and safer. Below is a clear guide to cutting and removing a deadbolt.
Marking Cut Points
First, identify where to cut the deadbolt. Use a marker to draw straight lines on the lock cylinder. Focus on the metal parts holding the lock together. Mark both sides to ensure precise cuts. Clear markings help guide your saw or grinder.
Executing The Cut
Wear safety gear like goggles and gloves before cutting. Use a hacksaw or angle grinder for cutting the metal. Cut slowly along the marked lines to avoid mistakes. Keep the tool steady and apply even pressure. Stop cutting once the deadbolt cylinder is separated.
Removing Lock Components
After cutting, remove the deadbolt pieces carefully. Pull out the broken cylinder with pliers if needed. Check the latch and strike plate for damage. Remove screws holding the lock to the door. Clear all parts before installing a new lock.
Common Challenges
Cutting a deadbolt is not always a simple task. It involves several challenges that can slow down the process. Knowing these common problems helps you prepare better. It also makes the job safer and more effective.
Dealing With Hardened Steel
Deadbolts often use hardened steel. This metal is very strong and tough to cut. Regular tools may not work well on it. You need special saw blades or cutting tools made for hard metals. Using the wrong tool can waste time and damage your equipment.
Avoiding Damage To The Door
Cutting a deadbolt means working close to the door. The door material can be wood, metal, or fiberglass. Each type can get damaged easily if you are not careful. Take slow, steady cuts to protect the door. Cover areas around the lock to shield them from sparks or scratches.
Handling Rusted Or Stuck Bolts
Deadbolts can get rusty or stuck over time. Rust makes the metal harder and more brittle. Stuck bolts do not move, which makes cutting tricky. Use rust remover or lubricant before cutting. This softens the bolt and reduces the chance of tool damage or breakage.
Post-removal Tips
Removing a deadbolt is only the first step. After taking it out, some important tasks remain. These help keep your door safe and looking good. Follow these post-removal tips to finish the job right.
Cleaning The Area
Dust and metal shavings often cover the door after removal. Use a soft cloth to wipe the surface clean. Check for any rust or damage around the hole. Clean thoroughly to prepare the door for the new lock.
Installing A New Lock
Choose a lock that fits your door’s size and style. Follow the instructions carefully for correct placement. Ensure the new lock sits flush against the door. Test the lock to confirm it works smoothly and securely.
Disposing Of Old Hardware
Old deadbolts and screws should not be thrown away carelessly. Separate metal parts for recycling if possible. Dispose of non-recyclable pieces in the trash safely. Keep your workspace tidy to avoid accidents later.

Credit: www.reddit.com
When To Call A Professional
Cutting a deadbolt is not always a simple task. Some situations need expert help. Knowing when to call a professional saves time and avoids damage. It also keeps your home safe and secure.
Complex Locks
Some deadbolts have intricate designs. They need special skills to cut properly. Professionals know how to handle complex locks. They work quickly without causing harm to the door.
Lack Of Proper Tools
Cutting a deadbolt requires specific tools. Ordinary tools may not work well. Without the right equipment, the job takes longer. Professionals bring the tools needed for the task.
Safety Concerns
Cutting a deadbolt can be risky. It involves sharp tools and power devices. Mistakes may cause injury or damage. Professionals follow safety rules to protect you and your property.
Frequently Asked Questions
How Do You Safely Cut A Deadbolt Lock?
Use a bolt cutter or an angle grinder with safety gear. Cut the lock’s shackle carefully to avoid injury and damage to the door.
What Tools Are Best For Cutting A Deadbolt?
Bolt cutters, angle grinders, or reciprocating saws work best. Choose based on your lock type and available equipment.
Can You Cut A Deadbolt Without Damaging The Door?
Yes, using precise tools like a rotary tool minimizes door damage. Avoid excessive force and protect the door’s surface.
How Long Does It Take To Cut Through A Deadbolt?
It usually takes 5 to 15 minutes, depending on the tool and lock toughness. Preparation and safety precautions may add time.
Conclusion
Cutting a deadbolt takes care and the right tools. Follow each step slowly and carefully. Stay safe and double-check your work. Practice on old locks if you can. This helps build your confidence. Remember, patience is key to success. Keep your workspace clean and organized.
Doing this yourself can save money and time. Take your time and do it right. You can handle this task with ease.