Changing a two-way light switch might sound tricky, but it’s something you can handle yourself with the right steps. Imagine being able to fix that flickering or faulty switch without waiting for an electrician.
In this guide, you’ll learn exactly how to do it safely and quickly. By the end, you’ll feel confident and save money, all while improving your home. Ready to take control of your lighting? Let’s get started.

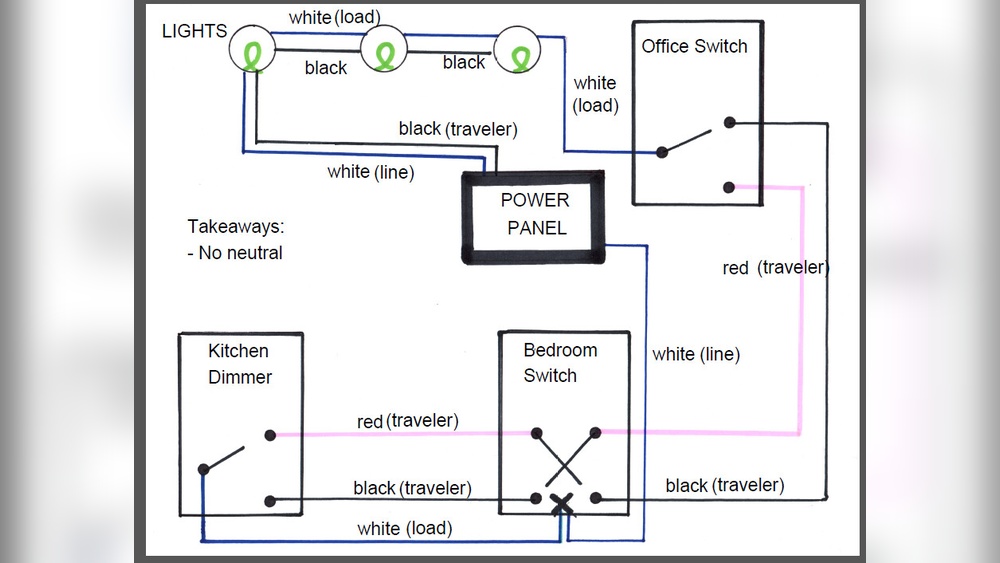
Credit: www.youtube.com
Tools And Materials Needed
Changing a two-way light switch needs the right tools and materials. Using proper tools makes the job easier and safer. Gather everything before starting to avoid interruptions.
Basic Tools
You will need a screwdriver set, usually flathead and Phillips. A voltage tester is essential to check if wires are live. Wire strippers help remove insulation from wires cleanly. Needle-nose pliers make bending wires easier. A flashlight can help if the area is dark.
Safety Gear
Wear insulated gloves to protect against electric shocks. Safety glasses protect your eyes from dust and sparks. Use rubber-soled shoes to avoid grounding yourself. Always turn off the power at the breaker before starting work.
Replacement Switch Options
Choose a switch that matches your current setup: single-pole or two-way. Look for switches with clear labeling on terminals for easy wiring. Some switches come with a built-in indicator light. Select a switch with the correct voltage and current rating for your home.
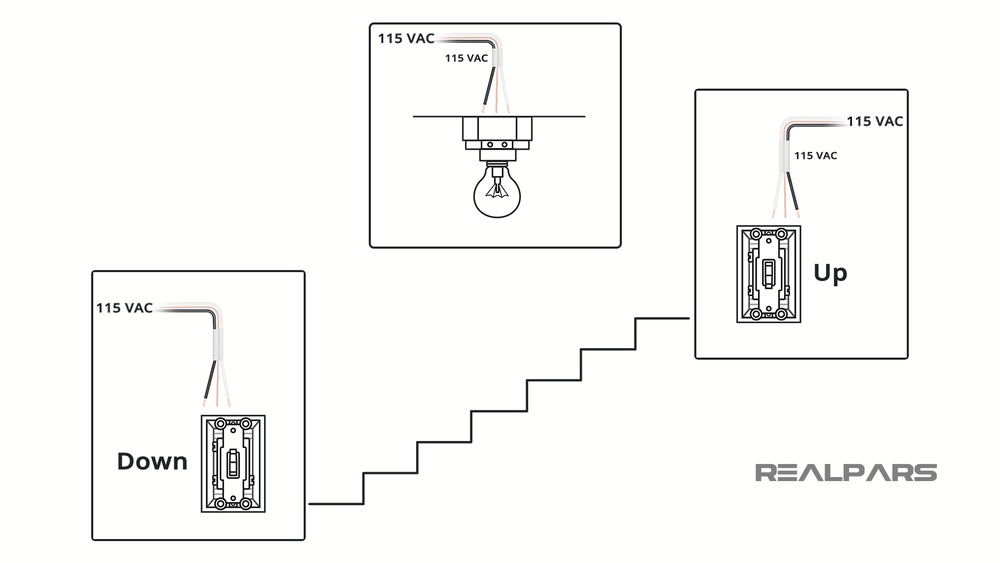
How Two Way Switches Work
Two way switches let you control one light from two different places. They are useful in hallways, stairs, or big rooms. Understanding how these switches work helps you change or fix them safely.
Wiring Basics
Two way switches have three terminals. One is the common terminal. The other two are called traveler terminals. Wires connect these terminals between the two switches. The light connects to the common terminal of one switch. The power source connects to the common terminal of the other switch.
Electricity flows through traveler wires. Flipping either switch changes the path of electricity. This turns the light on or off from either switch.
Common Configurations
The most common setup uses two two-way switches and one light. The switches connect with two traveler wires. These wires carry current back and forth.
Another setup adds more switches using special four-way switches. These go between two two-way switches. They let you control the light from many places.
Preparing For The Switch Replacement
Preparing to replace a two-way light switch is important for safety and success. Proper preparation helps avoid accidents and ensures a smooth process. Follow these simple steps before starting the switch replacement.
Turn Off Power
First, locate the circuit breaker panel. Switch off the breaker connected to the light switch. This stops electricity from flowing to the switch. Never work on a live circuit to avoid electric shock.
Test For Electricity
Use a voltage tester to check the switch wires. Touch the tester to the wires to see if power is present. If the tester lights up or beeps, power is still on. Double-check the breaker and test again.
Remove Old Switch
Unscrew the switch cover plate carefully. Use a screwdriver to remove the screws holding the switch. Gently pull the switch out from the wall box. Note the wire positions for easy reinstallation.

Credit: www.youtube.com
Wiring The New Two Way Switch
Wiring a new two way switch is a key step in replacing your old switch. This part ensures your lights work correctly from both switches. The process involves identifying the wires, connecting them to the right terminals, and securing the switch safely in the wall box. Follow each step carefully for a safe and effective installation.
Identifying Wires
First, look at the wires coming from the wall. Usually, you will see three wires: the live wire, the neutral wire, and the traveler wires. The traveler wires connect the two switches and allow control from both ends. The live wire supplies power to the switch. Use a voltage tester to find the live wire safely.
Connecting Terminals
Next, connect the wires to the switch terminals. The live wire goes to the common terminal, often marked as “COM.” The traveler wires connect to the two remaining terminals. Tighten the screws firmly to hold each wire. Check that no copper wire is exposed outside the terminal.
Securing The Switch
Finally, push the switch gently into the wall box. Make sure no wires get pinched or damaged. Use screws to fix the switch tightly to the box. Attach the switch cover plate to finish the job. Turn the power back on and test your new two way switch.
Testing The New Setup
Testing the new setup is a key step after changing a two-way light switch. It ensures your wiring works correctly and the switch controls the light as expected. This step helps catch any wiring mistakes before finalizing the installation. Follow these simple checks to confirm everything functions well and safely.
Restore Power
Turn the main power back on at the circuit breaker. Wait a few seconds for electricity to flow through the wires. This step is safe if all connections are secure and insulated. Avoid touching wires or terminals while power is on.
Check Switch Functionality
Test each two-way switch by flipping it on and off. The light should turn on or off from both switch locations. Try different combinations to confirm the wiring is correct. Both switches must control the light independently.
Troubleshooting Tips
If the light does not respond properly, turn off the power immediately. Double-check the wire connections for tightness and correct placement. Look for loose or crossed wires that might cause issues. Use a voltage tester to ensure power reaches the switch. Replace any damaged parts and repeat the test.

Credit: www.reddit.com
Safety Tips And Common Mistakes
Changing a two way light switch needs care and attention. Safety is the top priority. Many common mistakes can cause problems or danger. Knowing these tips helps you avoid accidents and faulty wiring.
Avoiding Electrical Hazards
Turn off power at the breaker before starting work. Test the switch with a voltage tester to confirm no electricity flows. Wear insulated gloves for extra protection. Keep tools dry and work in a dry area. Never touch wires with bare hands. Always use tools with insulated handles. Check for damaged wires or loose connections. Replace any faulty parts before finishing the job.
Handling Wiring Errors
Label wires before disconnecting to avoid confusion. Follow the wiring diagram carefully. Connect wires to the correct terminals only. Avoid mixing wires from different circuits. Tighten all screws securely but do not over-tighten. Double-check connections before restoring power. Test the switch after installation to ensure it works properly. If unsure, consult a professional electrician for help.
Frequently Asked Questions
How Do You Identify A Two-way Light Switch?
A two-way switch has three terminals: one common and two travelers. It controls one light from two locations. Look for these terminals to confirm.
What Tools Are Needed To Change A Two-way Switch?
You need a screwdriver, voltage tester, wire stripper, and electrical tape. These tools ensure safe and proper switch replacement.
How To Safely Turn Off Power Before Replacing Switch?
Turn off the circuit breaker linked to the switch. Use a voltage tester to confirm power is off before starting work.
Can I Replace A Two-way Switch Myself?
Yes, if you understand wiring and safety precautions. Always turn off power and follow instructions carefully to avoid hazards.
Conclusion
Changing a two-way light switch is easier than it seems. Turn off the power before starting. Follow each step carefully and take your time. Double-check all connections before turning the power back on. Test the switch to make sure it works right.
Safety matters most, so do not rush. You can handle this task with some patience and care. Now, enjoy your properly working two-way switch.