If you want to improve your home security, installing a deadbolt is one of the best steps you can take. But before you can secure your door, you need to know how to drill a deadbolt hole correctly.
It might sound tricky, but with the right guidance, you can do it yourself without any hassle. This article will walk you through each step, making the process simple and stress-free. Keep reading, and you’ll soon have the skills to add that extra layer of protection to your home.

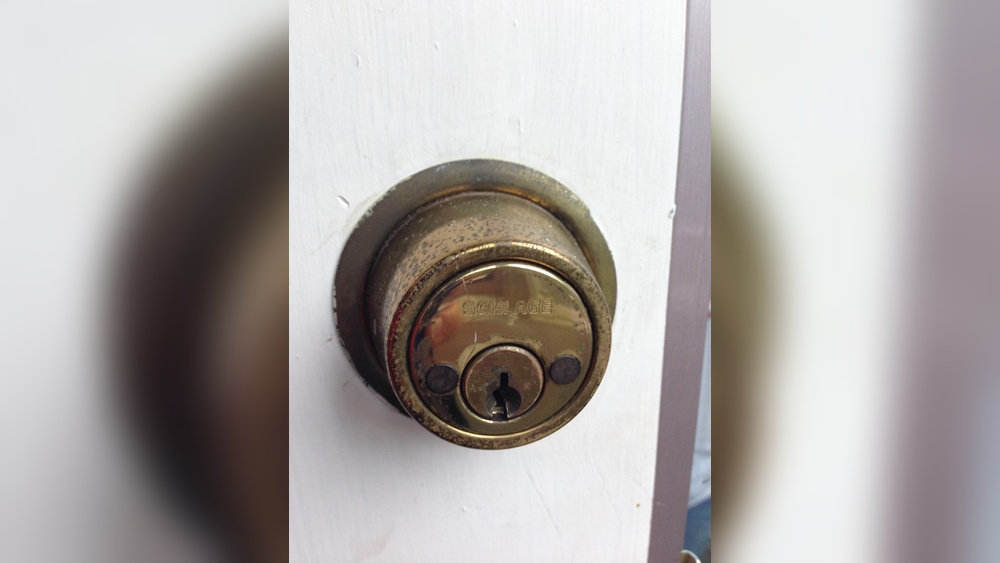
Credit: www.familyhandyman.com
Tools And Materials Needed
Before drilling a deadbolt hole, gather the right tools and materials. This ensures a smooth and safe process. Using proper tools helps create clean, accurate holes. It also protects the door from damage.
Each tool has a specific role in the process. Having everything ready saves time and effort. Here is a list of essential tools and materials for this task.
Power Drill
A power drill is necessary to make the holes. Choose a drill with variable speed settings. It provides better control during drilling. Cordless drills offer more mobility and ease of use.
Hole Saw Drill Bit
A hole saw drill bit creates the main hole for the deadbolt. The typical size is 2 1/8 inches. It cuts cleanly through wood or metal doors. Ensure the bit fits your drill securely.
Spade Bit Or Auger Bit
Use a spade or auger bit for the smaller latch hole. The standard size is 1 inch. It drills a straight hole through the door edge. This hole connects the latch to the deadbolt.
Measuring Tape And Pencil
Accurate measurements are crucial. Use a measuring tape to mark the exact locations. Mark points with a pencil for easy visibility. Double-check measurements before drilling.
Chisel And Hammer
A chisel and hammer help create a recess for the latch plate. This allows the plate to sit flush with the door edge. Use gentle taps to avoid splitting the wood.
Safety Gear
Protect your eyes with safety glasses during drilling. Wear gloves to protect your hands from splinters and sharp edges. Ear protection reduces noise from the power drill.
Choosing The Right Location
Choosing the right location for drilling a deadbolt hole is very important. The hole must be in the correct spot for the lock to work properly. A wrong position can cause security problems or damage the door. Take time to find the best place before drilling.
Think about the door’s structure and how the lock will fit. The location should allow the deadbolt to slide smoothly into the door frame. Also, the hole must be deep enough for the lock parts to sit inside.
Measure The Height From The Door Bottom
Measure at least 6 to 12 inches from the bottom of the door. This height is standard for most deadbolt locks. Mark the spot clearly with a pencil. Accurate height ensures easy use and good security.
Check The Door Thickness
Most doors are 1.75 inches thick. The deadbolt hole must match this thickness. Measure your door carefully. Choose a drill bit size that fits the lock’s specifications well.
Avoid Door Edges And Panels
Do not drill too close to the door edge. Leave at least 2 inches from the edge. Avoid door panels or glass areas. These parts may crack or weaken the door if drilled.
Align With The Strike Plate On The Frame
Make sure the deadbolt hole aligns with the strike plate. The strike plate is on the door frame. Proper alignment helps the bolt lock securely. Measure and mark both door and frame before drilling.
Marking The Door And Frame
Marking the door and frame is the first step in drilling a deadbolt hole. Accurate marks ensure the lock fits well and works smoothly. Take your time to measure and mark precisely. This step helps avoid mistakes that can weaken the door or cause misalignment.
Use a pencil and measuring tape for clear, visible marks. Marking correctly makes the rest of the installation easier and faster.
Marking The Door For The Deadbolt
Start by measuring the height for the deadbolt on the door. Standard height is about 6 to 7 inches above the doorknob. Mark this spot clearly on the door edge and face. Use a square tool to keep marks straight and even.
Marking The Frame For The Strike Plate
Close the door and mark where the deadbolt will meet the door frame. This spot is where the strike plate will go. Measure carefully to align the strike plate with the deadbolt. Mark the frame edge with a pencil to guide your drilling.
Double-check Your Measurements
Check all marks twice before drilling. Measure from the floor or door edge to ensure accuracy. Mistakes here cause problems with the lock’s function. Use a level if needed to keep marks even. Correct marking saves time and effort later.
Drilling The Face Bore Hole
Drilling the face bore hole is the first step in installing a deadbolt lock. This hole goes through the door’s face, allowing the lock’s main body to fit securely. Accuracy is key to ensure the deadbolt works smoothly and stays strong.
Use the correct drill bit size, usually 2 1/8 inches. Mark the spot on the door where the hole will be drilled. This spot is typically 6 to 12 inches above the doorknob. Double-check the height before you start.
Preparing The Door Surface
Clear the door surface of any dirt or paint. This helps the drill bit grip better and prevents slipping. Place masking tape over the drill mark. This reduces splintering and keeps the hole clean.
Drilling The Hole
Hold the drill steady and start drilling slowly. Keep the drill level and straight. Drill halfway through the door from one side. Stop once the drill bit pokes through the other side.
Finishing The Hole
Flip the door and drill from the other side. This prevents wood from splintering on the exit point. Drill until the hole is clean and smooth. Remove any wood chips or dust from the hole.
Drilling The Edge Bore Hole
Drilling the edge bore hole is a key step in installing a deadbolt lock. This hole allows the lock’s latch to fit snugly into the door. Getting the size and position right ensures the deadbolt works smoothly.
Use a drill and a hole saw bit designed for edge bore holes. The hole must be clean and straight. Take your time to avoid mistakes that can weaken the door.
Marking The Correct Position
Measure the door’s edge carefully. Mark the spot where the deadbolt latch will sit. The center of the hole should align with the lock’s faceplate. Double-check measurements before drilling.
Choosing The Right Drill Bit
Select a hole saw bit matching the deadbolt’s latch size. Common sizes are 1 inch or 1 1/8 inch. Using the wrong size can cause a loose or tight fit. A sharp bit makes cleaner cuts.
Drilling The Hole Safely
Clamp the door to keep it steady. Drill slowly and apply steady pressure. Stop if the drill slips or the wood splinters. Clear sawdust often to see your work clearly.
Cleaning And Finishing The Edge Hole
Remove rough edges with sandpaper or a file. This helps the latch slide in smoothly. Check the hole for proper depth and width. A clean edge hole improves lock security and function.

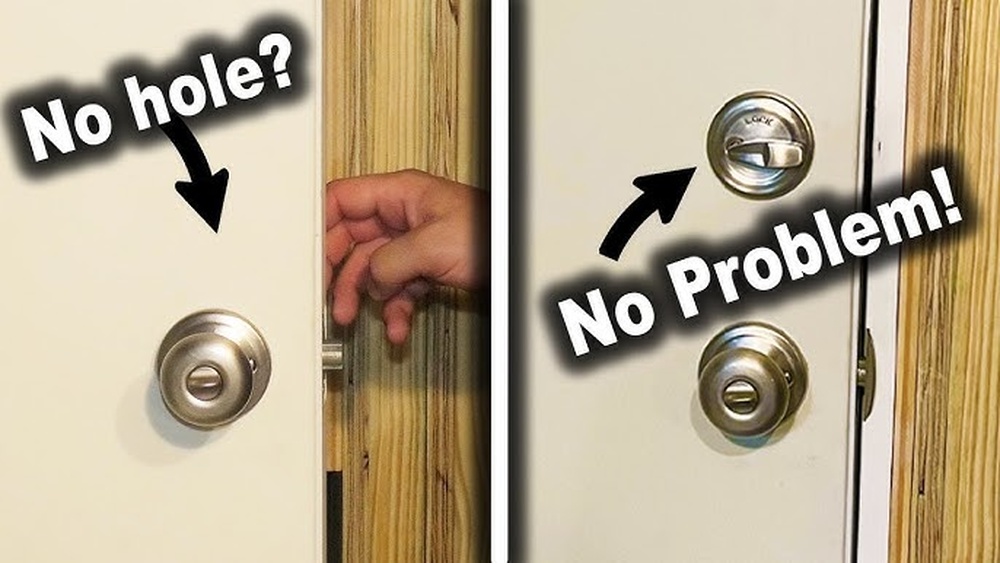
Credit: www.youtube.com
Chiseling For The Latch Plate
Chiseling for the latch plate is a key step in installing a deadbolt. It creates a flat space on the door edge. This space allows the latch plate to sit flush with the door surface. Without proper chiseling, the deadbolt may not fit or work well.
This process requires patience and precision. A sharp chisel and a hammer are needed. The goal is to remove just enough wood for the latch plate to fit perfectly.
Marking The Latch Plate Area
Start by placing the latch plate against the door edge. Trace around the plate with a pencil. This outline shows the exact area to chisel. Make sure the outline is clear and visible.
Setting The Chisel Depth
Use a utility knife to score the outline edges. This helps prevent wood splitting. Set the chisel blade to the latch plate thickness. This depth ensures a snug fit without gaps.
Chiseling The Wood
Hold the chisel firmly at the scored edge. Tap it gently with a hammer to remove wood. Work slowly and carefully, following the pencil lines. Check the fit often to avoid over-chiseling.
Testing The Latch Plate Fit
Place the latch plate into the chiseled recess. It should sit flat and flush with the door edge. If it sticks out, chisel a little more. A good fit keeps the deadbolt secure and smooth to operate.
Installing The Deadbolt Components
Installing the deadbolt components is the next important step after drilling the hole. This process secures your door and makes sure the lock works correctly. Each part must fit well and be tightened properly.
Take your time with this step. Correct installation improves safety and helps the deadbolt last longer. Follow these simple instructions to install the components smoothly.
Installing The Deadbolt Latch
Start by inserting the deadbolt latch into the hole on the door edge. Make sure the slanted side faces the door jamb. Push it in until it fits flush with the door surface.
Secure the latch using the screws provided. Use a screwdriver to tighten them firmly. Avoid over-tightening to prevent damage to the latch or door.
Attaching The Exterior Deadbolt
Next, place the exterior part of the deadbolt on the outside of the door. Align the tailpiece through the latch mechanism. Check that the tailpiece fits properly into the latch slot.
Hold the exterior deadbolt steady while you move to the interior side. This helps keep everything in place for the next step.
Mounting The Interior Deadbolt Plate
On the inside of the door, align the interior plate with the tailpiece. Slide it into position carefully. The thumb turn should be easy to turn without resistance.
Secure the interior plate with screws. Tighten them evenly to keep the deadbolt stable. Test the thumb turn to confirm smooth operation.

Credit: www.parkavenuelocks.com
Testing The Deadbolt Operation
Testing the deadbolt operation is a key step after drilling the hole. It ensures the lock works smoothly and fits perfectly. A properly functioning deadbolt improves home security and convenience.
Check the lock’s movement before final assembly. This helps catch any issues early. Testing saves time and effort later.
Insert The Deadbolt And Turn The Key
Place the deadbolt into the drilled hole carefully. Turn the key slowly to see if it moves smoothly. The bolt should extend and retract without sticking or jamming.
Check The Bolt Alignment With The Strike Plate
Close the door and test the bolt alignment with the strike plate. The bolt must fit fully into the strike plate slot. If it does not, adjust the strike plate or the bolt position.
Test Lock Operation Multiple Times
Turn the key and thumb turn several times. The lock should operate quietly and easily each time. Consistent operation shows the deadbolt is installed correctly.
Common Mistakes To Avoid
Drilling a deadbolt hole requires care and precision. Many people make simple mistakes that can ruin the lock or door. Avoiding these errors saves time and money. It also keeps the door strong and secure.
Here are some common mistakes to watch out for during the drilling process.
Not Measuring Correctly
Marking the hole in the wrong place is a frequent error. Measure twice, drill once. Check the height and distance from the edge carefully. A small mistake can cause the deadbolt to fit poorly.
Using The Wrong Drill Bit
Choosing a drill bit that is too large or too small causes damage. Use a hole saw bit designed for deadbolts. The right size ensures a clean, smooth hole. Avoid bits made for metal if drilling wood.
Drilling Too Fast
Applying too much speed creates rough holes and cracks. Slow and steady drilling is best. Let the drill do the work. Pressing hard can split the door material.
Ignoring Door Material
Different doors need different tools and care. Wood, metal, and fiberglass each require specific drill bits. Know your door type before starting. This prevents damage and ensures a good fit.
Not Checking For Obstructions
Failing to check inside the door leads to hitting wires or reinforcements. Use a stud finder or inspection tool first. Clear any obstacles before drilling. This avoids damage to the door and tools.
Tips For A Professional Finish
Achieving a clean, professional finish while drilling a deadbolt hole takes care and patience. Small details make a big difference in how the door looks and works afterward. Follow these tips to keep your work neat and precise.
Use Painter’s Tape To Protect The Door Surface
Place painter’s tape over the drilling spot. It stops the wood from splintering or chipping. Mark the hole on the tape for better visibility. This simple step keeps edges smooth and clean.
Start With A Small Pilot Hole
Drill a small pilot hole before the larger one. It guides the bigger drill bit and prevents slipping. The pilot hole helps keep the hole straight and centered.
Keep The Drill Steady And Slow
Hold the drill firmly and drill slowly. Fast drilling can cause rough edges or damage. Take your time to ensure a straight, smooth hole.
Clear Wood Dust Frequently
Stop drilling now and then to clear dust. Wood dust can block the drill bit and cause uneven drilling. Use a brush or blow air to keep the area clean.
Sand Edges For A Smooth Finish
After drilling, gently sand the hole edges. Use fine-grit sandpaper to remove any rough spots. This step gives a polished look and prevents splinters.
Frequently Asked Questions
What Tools Do I Need To Drill A Deadbolt Hole?
You need a power drill, hole saw bit (2 1/8-inch), spade bit (1-inch), tape measure, pencil, and chisel. These tools ensure precise holes for the deadbolt lock installation.
How Do I Measure For The Deadbolt Hole Placement?
Measure 6 to 12 inches above the door handle. Mark the door edge and face with a pencil for accurate drilling locations.
What Is The Correct Hole Size For A Deadbolt Lock?
Drill a 2 1/8-inch diameter hole through the door face. Use a 1-inch hole saw for the edge hole to fit the latch.
How Deep Should I Drill The Deadbolt Hole?
Drill through the door completely for the face hole. For the edge hole, drill about 1-inch deep to fit the latch.
Conclusion
Drilling a deadbolt hole takes patience and care. Follow each step slowly and check your work often. Use the right tools to make the job easier. Measure twice to avoid mistakes. Safety comes first—wear goggles and keep hands clear. With practice, this task becomes simple and quick.
Keep your door secure with a properly installed deadbolt. Small efforts lead to strong home protection. Try it yourself and gain confidence in DIY projects.