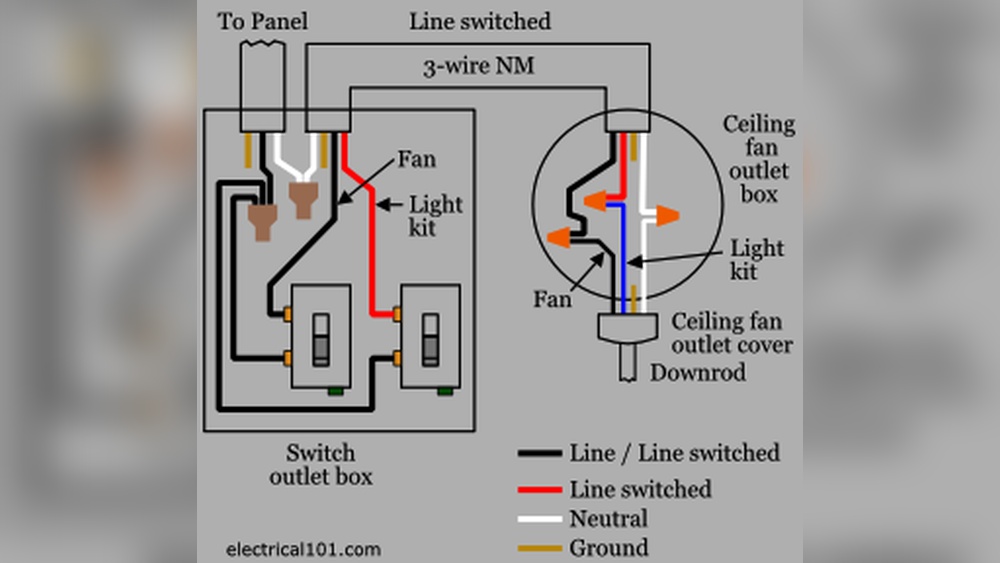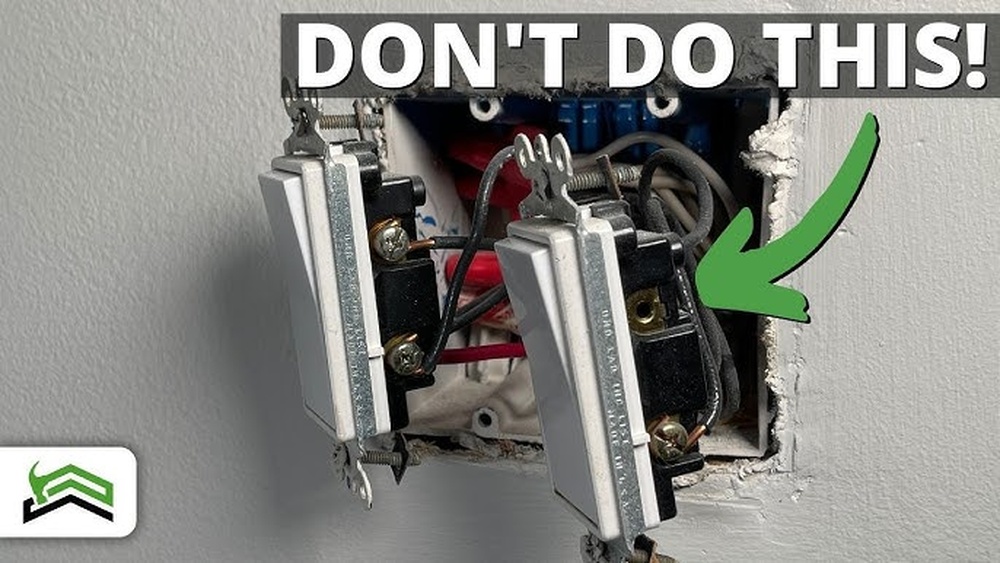
Have you ever wished your light switch was in a different spot—maybe closer to the door or at a more comfortable height? Changing the position of a light switch can make your daily routine smoother and your space more convenient.
But how do you do it without calling an electrician or risking safety? In this guide, you’ll discover simple, step-by-step instructions to move your light switch confidently and safely. Keep reading, and you’ll soon have full control over your lighting setup—just the way you want it.
Tools And Materials Needed
Changing the position of a light switch needs the right tools and materials. Having these ready makes the job easier and safer. It helps avoid mistakes and saves time.
Here is a list of what you will need. Each item plays an important role in the process.
Essential Tools
- Screwdriver (flathead and Phillips) for removing and attaching screws
- Voltage tester to check if wires are live
- Wire stripper for removing insulation from wires
- Drill with bits for making new holes
- Measuring tape to mark the new switch position
- Level to ensure the switch is straight
- Pencil for marking measurements
Required Materials
- New light switch if replacing the old one
- Electrical box to hold the switch securely
- Wire connectors to join wires safely
- Electrical tape for extra insulation
- Wall patching compound to fix holes after moving the switch
- Sandpaper for smoothing patched areas
- Faceplate cover to finish the switch installation

Credit: www.reddit.com
Safety Precautions
Changing the position of a light switch needs careful attention to safety. Electricity can be dangerous if not handled correctly. Taking the right safety steps protects you and your home. This section covers important safety measures before and during the work.
Turn Off The Power
Always switch off the power at the circuit breaker first. Do not rely on the wall switch alone. Use a voltage tester to check that the wires are not live. This prevents shocks and injuries.
Use Proper Tools
Use insulated tools made for electrical work. Avoid using damaged or worn-out tools. Proper tools help prevent electric shocks and make the job easier.
Wear Safety Gear
Wear rubber-soled shoes to reduce electric shock risk. Use safety goggles to protect your eyes from debris. Gloves can protect your hands from sharp edges and wires.
Work In A Dry Area
Make sure the work area is dry. Water and electricity do not mix. Avoid working near wet floors or damp walls to stay safe.
Label Wires And Take Photos
Label each wire before disconnecting. Take photos of the wiring setup. This helps you reconnect wires correctly and avoid mistakes.
Turning Off Power
Turning off the power is the first and most important step before moving a light switch. It keeps you safe from electric shocks. Always make sure no electricity flows to the switch you will work on.
Safety is key. Never skip this step. Even if the light is off, electricity may still be running through the wires.
Locate The Main Circuit Breaker
Find your home’s main circuit breaker panel. It is usually in the basement, garage, or a utility room. The panel controls all electrical circuits in your house.
Switch Off The Correct Breaker
Look for the breaker labeled for the light switch or the room you are working on. Flip the breaker to the OFF position. This cuts power to the switch.
Use A Voltage Tester
After switching off the breaker, use a voltage tester on the switch wires. This tool confirms no electricity is present. Never touch wires without testing first.

Credit: www.realpars.com
Removing The Existing Switch
Removing the existing light switch is the first step to changing its position. This step needs care and focus for safety and success. Follow clear instructions to avoid mistakes. Turn off the power at the breaker box before starting. This protects you from electric shock.
Unscrewing The Switch Cover
Start by taking off the switch cover. Use a flathead or Phillips screwdriver. Remove the screws holding the cover in place. Keep the screws safe for later use. Gently pull the cover away from the wall. This exposes the switch and wiring inside.
Disconnecting Wires
Next, disconnect the wires from the switch. Take a photo or note the wire positions for reference. Loosen the screws holding the wires or release push-in connectors. Carefully pull the wires free. Avoid touching wire ends together. This step prepares the switch for removal.
Preparing The New Location
Running electrical wiring is a key step in changing a light switch position. It involves moving the wires safely and correctly from the old switch location to the new one. Careful planning helps avoid future problems like shorts or power loss.
Understanding the basics of wiring ensures the switch works as expected. This task requires focus and respect for electrical safety rules. Using the right tools and materials makes the job easier and safer.
Extending The Wire
Start by turning off the power at the breaker box. Measure the distance from the old switch to the new spot. Cut the wire to the needed length, leaving extra for connections. Use wire strippers to remove insulation from the ends. Connect the new wire to the existing one with wire nuts. Make sure the connection is tight and secure. Use the same type of wire as the original for safety.
Securing The Cable
Run the cable along the wall or inside the wall cavity. Use cable staples to hold it in place every 12 inches. Avoid damaging the wire insulation while stapling. Keep the cable away from sharp edges or heat sources. Leave some slack near the switch box for easy connection. Check local codes for proper cable support rules. Proper securing prevents wire movement and potential hazards.
Running Electrical Wiring
Moving a light switch requires careful installation at the new spot. This step ensures the switch works safely and fits well. Follow clear instructions to connect wires and mount the switch properly.
Take your time to avoid loose connections or damage. A well-installed switch lasts longer and keeps your home safe.
Connecting Wires To Switch
Start by identifying the wires in the wall box. Usually, there is a live wire, a neutral wire, and a ground wire.
Attach the live wire to the switch’s brass terminal. Connect the neutral wire to the silver terminal if your switch needs it. Secure the ground wire to the green screw.
Use a screwdriver to tighten all connections firmly. Loose wires can cause sparks or switch failure.
Mounting The Switch
Place the switch into the wall box carefully. Align the screw holes on the switch with those on the box.
Use screws to fix the switch in place. Do not overtighten; this may crack the switch or the box.
Finally, attach the switch cover plate. This protects the wires and gives a clean look.
Installing The Switch At New Position
Troubleshooting common issues is key when changing a light switch position. Problems can happen even with simple tasks. Knowing how to fix these issues saves time and frustration.
Many problems come from wiring mistakes or loose connections. Some issues affect the switch’s function, while others may cause safety risks. Careful checks help find the source of trouble fast.
Checking For Loose Wires
Loose wires cause flickering or no power. Turn off the power before touching any wires. Use a screwdriver to tighten all wire connections. Make sure wires fit snugly under screws or in terminals.
Testing The Switch With A Voltage Tester
A voltage tester shows if power reaches the switch. Place the tester on the wires connected to the switch. If no power shows, check the circuit breaker or fuse box. Replace the switch if power is present but it still does not work.
Identifying Incorrect Wiring
Incorrect wiring causes the switch to fail or short circuit. Compare your wiring to the switch diagram. The hot wire usually connects to the switch’s brass screw. The neutral wire goes to the silver screw or back in the box. Move wires to correct places carefully.
Dealing With A Tripped Circuit Breaker
A tripped breaker cuts power to the switch. Find your breaker panel and look for any switch in the off position. Flip it back to on. If it trips again, check for wiring errors or overloads on the circuit.

Credit: www.reddit.com
Frequently Asked Questions
How Do I Safely Turn Off Power Before Moving A Light Switch?
Always switch off the circuit breaker controlling the light switch. Use a voltage tester to confirm no power flows before starting work.
Can I Change A Light Switch Position Without Rewiring?
Yes, if the new position is close. You may need to extend wiring using proper connectors and follow electrical codes.
What Tools Are Needed To Change Light Switch Position?
Common tools include a screwdriver, wire stripper, voltage tester, electrical tape, and possibly a drill for new mounting holes.
How Long Does It Take To Move A Light Switch?
Typically, moving a light switch takes 30 minutes to 1 hour, depending on wiring complexity and wall type.
Conclusion
Changing a light switch position can improve your room’s comfort and style. Always turn off the power before starting to stay safe. Take your time and follow the steps carefully. Use the right tools to avoid damage. Small changes like this can make a big difference.
You can do it yourself with some patience. Enjoy your updated space and the new switch spot. Keep practicing simple home fixes to build confidence. Simple projects like this help you learn and save money.