Are you tired of struggling with a stubborn pull string light switch that just won’t work properly? Changing it yourself might seem tricky, but it’s easier than you think.
Imagine fixing that annoying switch quickly, saving money, and gaining a handy skill all at once. In this guide, you’ll discover simple, step-by-step instructions to replace your pull string light switch safely and efficiently. Keep reading, and you’ll have your light working perfectly again in no time!

Credit: www.reddit.com
Tools And Materials Needed
Before changing a pull string light switch, gather the right tools and materials. This step ensures the job goes smoothly and safely. Using the correct items prevents damage and saves time. Prepare your workspace with good lighting and a clean surface.
Essential Tools
You need a few basic tools to replace a pull string light switch. A screwdriver is necessary to remove screws. Choose a flathead or Phillips based on your switch type. Wire strippers help remove insulation from wires. Needle-nose pliers are useful for bending wires. A voltage tester ensures the power is off before starting. Have electrical tape ready for securing wire connections.
Choosing The Right Replacement Switch
Select a switch that matches your current one in size and function. Check the voltage and amperage ratings on the old switch. Use these numbers to find a compatible replacement. Consider the style, such as single-pole or three-way switch. Ensure the pull string length suits your needs. Buying the correct switch avoids wiring issues and improves safety.
Safety Precautions
Working with electrical parts can be risky. Safety must come first when changing a pull string light switch. Taking the right precautions helps avoid shocks and accidents. This section covers key safety steps before starting the work.
Power Off Tips
Turn off the power at the circuit breaker. Do not rely on the wall switch alone. Confirm that the switch is off by toggling it. Keep the breaker off throughout the process. This stops electricity from flowing to the switch. Use a lock or tag on the breaker to prevent others from turning it on.
Using A Voltage Tester
Check the wires with a voltage tester before touching them. A tester shows if electricity is still present. Place the tester probe on the wires or terminals. A light or sound means the power is still on. Test all wires connected to the switch. Never assume power is off without testing.
Removing The Old Switch
Removing the old pull string light switch is the first step to installing a new one. This process needs care and safety. You will handle electrical parts, so take your time. Turn off the power at the breaker to avoid shocks.
Once the power is off, you can start by locating and opening the switch housing. The pull string switch is usually inside the light fixture or on the ceiling. Removing it carefully prevents damage and makes the job easier.
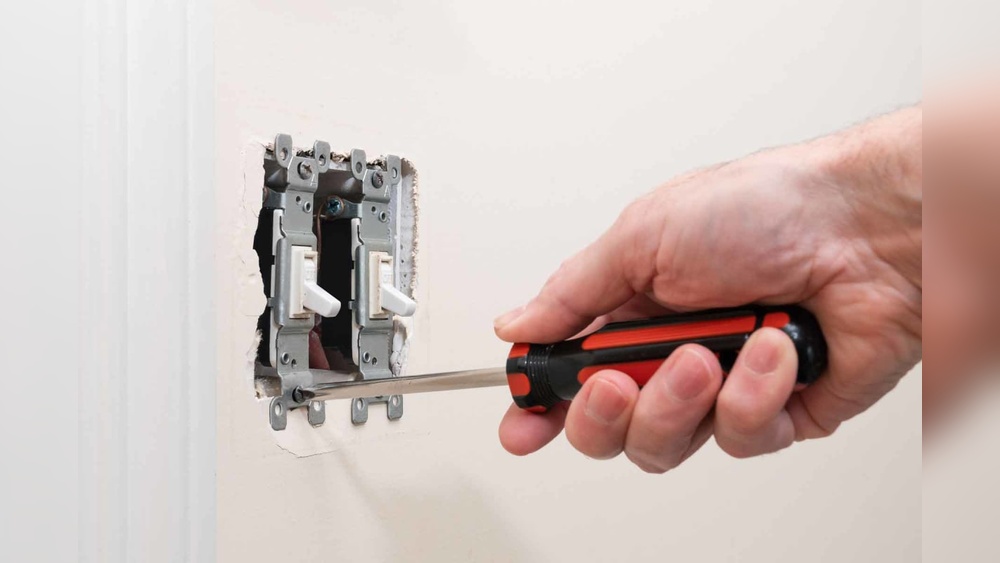
Accessing The Switch
First, remove the light bulb or cover to see the switch clearly. Use a screwdriver to take off any screws holding the switch housing. Gently pull the housing down to expose the switch. Be careful not to pull too hard. The wires are attached to the switch and need to stay intact until disconnected.
Disconnecting The Wires
Look closely at the wires connected to the old switch. There are usually two or three wires. Use a voltage tester to confirm the power is off. Unscrew the wire connectors or loosen the screws holding the wires. Carefully separate the wires from the switch. Keep the wires from touching each other or any metal surface. Now, the old switch is ready to be removed.

Credit: www.reddit.com
Installing The New Pull String Switch
Installing the new pull string switch is a simple process. It involves connecting the wires and securing the switch in place. Taking your time and following the steps carefully ensures a safe and functional switch. Below are the key steps to help you complete the installation smoothly.
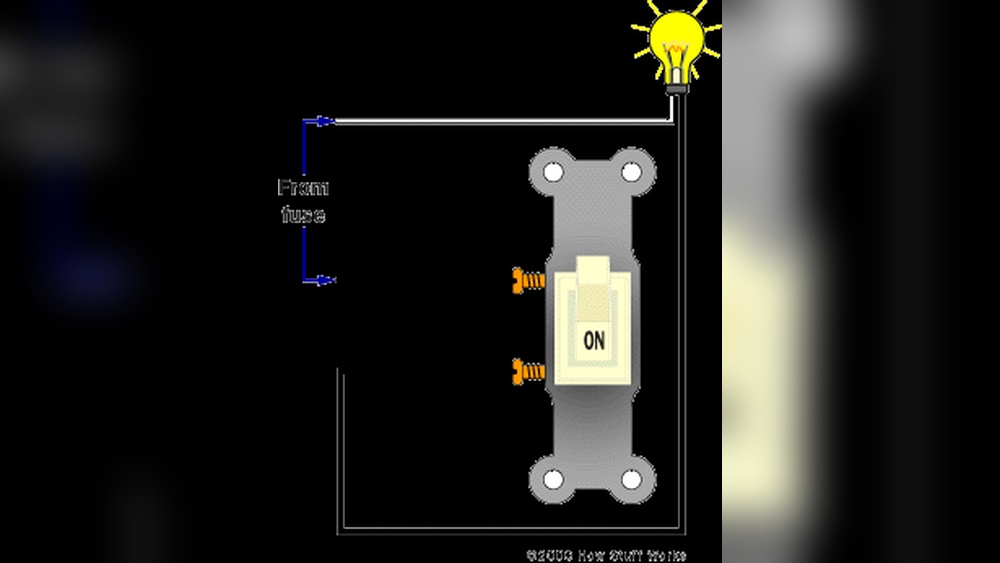
Connecting The Wires
Start by matching the wires from the switch to the wires in the ceiling. Usually, the wires are black, white, and green or copper. Connect the black wires together using a wire connector. Next, join the white wires in the same way. Finally, connect the green or copper ground wire to the green screw on the switch. Make sure all connections are tight and secure to avoid any loose contacts.
Securing The Switch In Place
After connecting the wires, gently push them back into the electrical box. Align the switch with the mounting holes on the box. Use the screws that came with the switch to fasten it tightly. Avoid over-tightening, which can crack the switch or the box. Pull the string a few times to check if the switch works properly. Once confirmed, attach the cover plate for a clean finish.
Testing The New Switch
Troubleshooting pull string light switches can save time and money. Most problems have simple fixes. Knowing what to check helps you solve issues quickly. This section guides you through common problems and when to seek expert help.
Common Issues
One common issue is the string getting stuck or not pulling smoothly. Dirt or dust can cause this. Try cleaning the string and switch area gently.
Another problem is the light not turning on. Check if the bulb is burnt out or loose. Replace the bulb or tighten it carefully.
The switch might click but not work. This can mean an internal part is broken. Sometimes the switch needs replacement.
The pull string may snap or become loose over time. If the string breaks, use a new one of similar length and thickness.
When To Call A Professional
If the switch still does not work after basic fixes, call an electrician. Electrical faults can be dangerous to fix alone.
Do not try to repair wires or internal parts without knowledge. Professionals have the tools and skills to handle complex problems safely.
When the switch sparks or causes flickering lights, stop using it. Seek expert help immediately to prevent hazards.
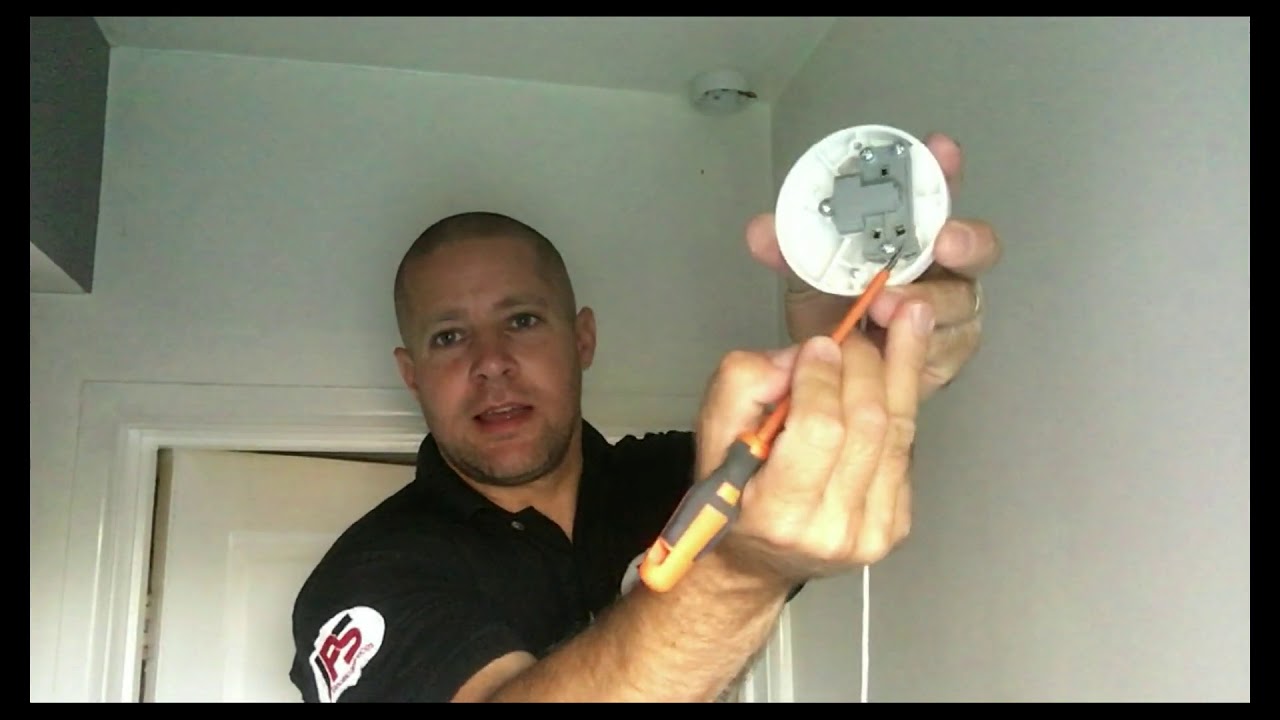
Credit: www.youtube.com
Frequently Asked Questions
How Do You Safely Change A Pull String Light Switch?
Turn off power at the circuit breaker before starting. Use a voltage tester to confirm no electricity flows. Remove the old switch carefully, disconnect wires, and connect them to the new switch. Secure the switch and restore power to test it.
What Tools Are Needed To Replace A Pull String Switch?
You will need a screwdriver, wire stripper, voltage tester, and electrical tape. These tools help safely remove the old switch, prepare wires, and install the new one securely. Having these ready ensures a smooth replacement process.
How To Identify The Correct Replacement Pull String Switch?
Check the old switch for model numbers or voltage ratings. Match the new switch with similar specifications to ensure compatibility. Using the correct replacement avoids electrical issues and ensures proper function of the light fixture.
Can I Replace A Pull String Switch Without Electrical Experience?
Basic electrical knowledge is helpful but not required if you follow safety steps carefully. Always turn off power and test before touching wires. If unsure, consult a professional electrician to avoid hazards or damage.
Conclusion
Changing a pull string light switch can be simple and quick. Follow the steps carefully and stay safe. Turn off power before starting any work. Use the right tools for the job. Take your time to avoid mistakes. A new switch can improve your room’s lighting.
You can do this without calling a professional. Enjoy the satisfaction of fixing it yourself. Keep this guide handy for future reference. Easy repairs like this save money and effort. Give it a try and see the difference.