Are you tired of fumbling in the dark or struggling to find the right switch to get your lights on? Imagine a simple way to control your lighting that feels natural and effortless every time.
Getting lights with a switch hold isn’t just about convenience—it’s about taking control of your space with a touch that suits your pace. You’ll discover easy steps and smart tips to master this technique, making your everyday lighting experience smoother and more satisfying.
Ready to light up your room on your terms? Keep reading to learn how.
Choosing The Right Switch
Choosing the right switch is key to getting lights with a switch hold feature. The switch controls how you turn your light on and off. Picking the right type makes your lighting work smoothly and safely. This section explains types of switches and their compatibility with your lighting system.
Types Of Switches
There are many switch types for lighting controls. The common types include toggle, rocker, push-button, and dimmer switches. Toggle switches flip up and down easily. Rocker switches press on one side to turn on or off. Push-button switches work by pressing a button. Dimmer switches adjust light brightness by turning a knob or sliding a lever.
For a switch hold feature, push-button or rocker switches often work best. They allow you to hold the switch in one position to keep the light on. Dimmer switches can also have a hold function to control brightness levels. Choose a switch type that feels easy to use and fits your room style.
Compatibility With Your Lighting
Check if the switch matches your light’s wiring and power needs. Some switches only work with certain bulbs like LED, CFL, or incandescent. Using the wrong switch can cause flickering or damage. Make sure the switch voltage fits your home’s electrical system.
Smart switches need Wi-Fi or a hub to function. Traditional switches work with simple wiring. Measure the space in your switch box to ensure the new switch fits. Confirm the switch’s hold function works with your lighting setup for smooth operation.
Gathering Necessary Tools
Before installing lights with a switch hold, gather the right tools. Proper tools make the job easier and safer. Having everything ready saves time and avoids frustration. Prepare well to ensure a smooth installation process.
Essential Tools List
Start with a screwdriver set. Use both flathead and Phillips screwdrivers. A voltage tester is crucial to check power before working. Wire strippers help remove insulation cleanly. A drill and drill bits may be needed for mounting. Pliers assist with gripping and bending wires. Electrical tape secures wire connections. A flashlight or headlamp improves visibility in dark spaces.
Safety Equipment
Wear insulated gloves to protect against electric shocks. Safety glasses shield your eyes from debris. Use a sturdy ladder for reaching high places safely. Ensure your work area is dry to prevent accidents. Have a first aid kit nearby just in case. Always turn off the power at the breaker before starting work.
Preparing The Installation Area
Preparing the installation area is a key step before you start working on lights with a switch hold. It helps keep the process safe and smooth. Taking time to get ready can prevent accidents and make the job easier.
Turning Off Power
Safety starts with turning off the power. Find the circuit breaker that controls the light you will work on. Switch it off to stop electricity flow. Use a voltage tester to check if the wires are dead. Never skip this step to avoid electric shocks.
Clearing The Workspace
Clear the area around the light switch and fixture. Remove furniture, decorations, and any objects that block access. A clean workspace lets you move freely and keeps tools close. Good lighting helps you see better during installation. It also reduces the risk of accidents or mistakes.
Wiring The Switch
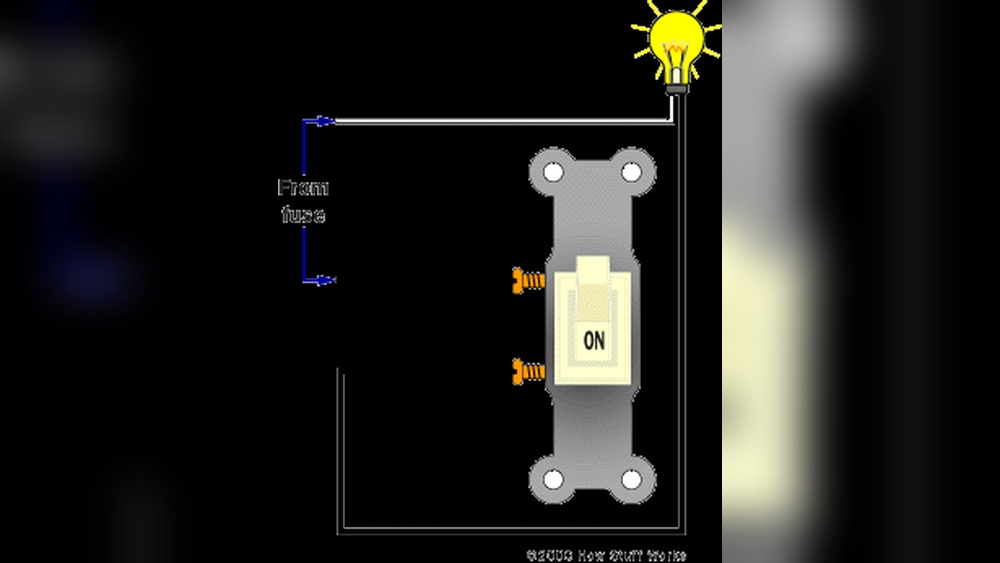
Wiring the switch is an important step in getting lights with a switch hold. This process controls the flow of electricity to your lights. Proper wiring makes sure your lights work safely and correctly. A small mistake can cause the lights not to work or create a safety hazard. Follow the steps carefully to connect the switch properly.
Identifying Wires
First, turn off the power at the breaker box to stay safe. Open the switch box to see the wires inside. Usually, there are three types of wires: live (hot), neutral, and ground. The live wire carries electricity to the switch. The neutral wire completes the electrical circuit. The ground wire protects you from electrical shocks. Use a voltage tester to find the live wire. The wires often have different colors: black or red for live, white for neutral, and green or bare for ground.
Connecting Wires Correctly
Connect the live wire to the switch’s input terminal. Attach the wire going to the light to the switch’s output terminal. Twist the wire ends together and secure them with wire nuts. Connect the neutral wires together but do not connect them to the switch. Attach the ground wire to the switch’s ground terminal or the metal box. Make sure all connections are tight and secure. Close the switch box and turn the power back on. Test the switch to see if the light works with a hold.
Testing The Switch
Testing the switch is a key step in getting lights with a switch hold. This step ensures the switch works safely and correctly. It prevents problems and avoids electrical hazards.
After installing the switch, careful testing confirms it controls the lights as expected. Follow clear steps to check power and functionality. This process takes only a few minutes and gives peace of mind.
Power Restoration
First, restore power to the circuit by turning the breaker back on. Check the switch for any signs of damage or loose wires. Make sure the switch feels stable and secure in its box.
Restoring power allows you to test the switch under normal conditions. Use a non-contact voltage tester to confirm power is present at the switch terminals. This step ensures the switch is ready for use.
Functionality Check
Next, test the switch by flipping it on and off. The light should turn on when the switch is held in the “on” position. It should turn off when released or switched off completely.
Try holding the switch to confirm it keeps the light on steadily. Any flickering or failure means the switch or wiring needs rechecking. Confirm the switch operates smoothly without sticking or resistance.
Credit: www.wyze.com
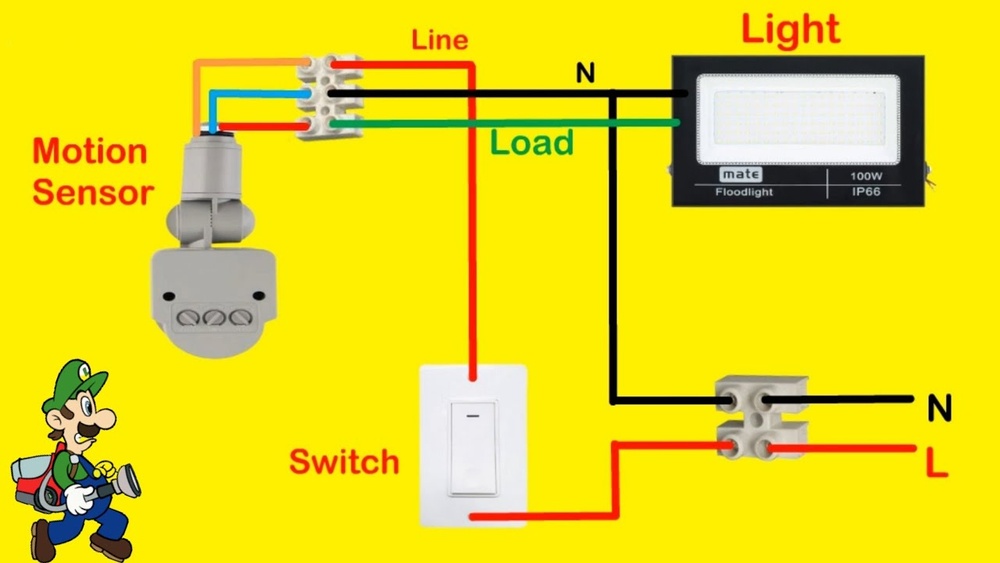
Troubleshooting Common Issues
Troubleshooting common issues with lights and switches can save time and frustration. Many problems have simple fixes. Understanding these fixes helps you get your lights working smoothly again.
Below are common problems and easy steps to solve them. Follow these tips to handle switch and light issues quickly.
Switch Not Responding
First, check if the switch is properly connected to power. Sometimes the switch is loose or wires are disconnected. Turn off the power before inspecting the switch.
Next, test the switch with a multimeter. A faulty switch will not send power to the light. Replace the switch if it does not work properly.
Also, check the circuit breaker or fuse box. A tripped breaker can stop the switch from working. Reset the breaker if needed.
Flickering Lights
Flickering lights usually mean a loose connection. Check the bulb by tightening it firmly. Replace the bulb if flickering continues.
Look for loose wires in the switch or light fixture. Turn off power before checking. Secure any loose wires.
Another cause could be a dimmer switch not compatible with your bulb. Use bulbs that match the dimmer’s requirements.
Tips For Safe Installation
Installing lights with a switch hold requires care and attention. Safety is the top priority during installation. Follow simple tips to avoid accidents and ensure the job is done right.
Avoiding Electrical Hazards
Always turn off the power at the circuit breaker before starting work. Use a voltage tester to confirm the power is off. Avoid touching wires with wet hands or metal tools. Wear rubber-soled shoes to reduce shock risk. Use insulated tools designed for electrical work. Keep the work area dry and clean. Do not overload circuits by adding too many lights to one switch.
When To Call A Professional
Call an electrician if you feel unsure about the wiring. Complex setups or old wiring need expert handling. Never guess which wires connect to the switch. Professionals have tools and knowledge to work safely. Calling an expert can save time and prevent hazards. Trust a professional for any electrical repairs or upgrades beyond basic installation.

Credit: www.amazon.com
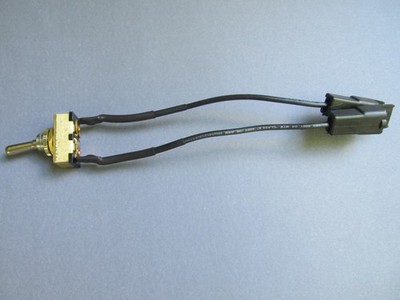
Credit: www.ebay.com
Frequently Asked Questions
What Does “switch Hold” Mean In Lighting Control?
Switch hold means pressing and holding a switch to keep lights on. It allows manual control without automatic timers or sensors.
How To Install A Switch Hold For Lights?
Install a switch hold by wiring a momentary switch with a relay. This setup keeps lights on while you hold the switch.
Can Switch Hold Save Energy With Lighting?
Yes, switch hold saves energy by giving direct control. Lights only stay on when needed, preventing unnecessary usage.
What Types Of Switches Work For Switch Hold Lighting?
Momentary push-button switches are best for switch hold setups. They activate lights only while being pressed and held.
Conclusion
Getting lights with a switch hold is simple and useful. Follow the steps carefully to avoid mistakes. Practice helps you get better and faster. Remember safety first when handling electrical parts. Small changes make a big difference in your space.
Enjoy the convenience of controlling lights with ease. Keep learning and trying new techniques. Soon, this skill will feel natural and helpful.