Your light switches are one of the most touched spots in your home, yet they often get overlooked when it comes to cleaning. Dirt, grime, and germs can build up quickly, making your switches look dull and even posing health risks.
But don’t worry—cleaning your light switches is easier than you think. You’ll discover simple, safe, and effective ways to make your switches sparkle again. Keep reading to learn how to refresh your space with just a few easy steps!

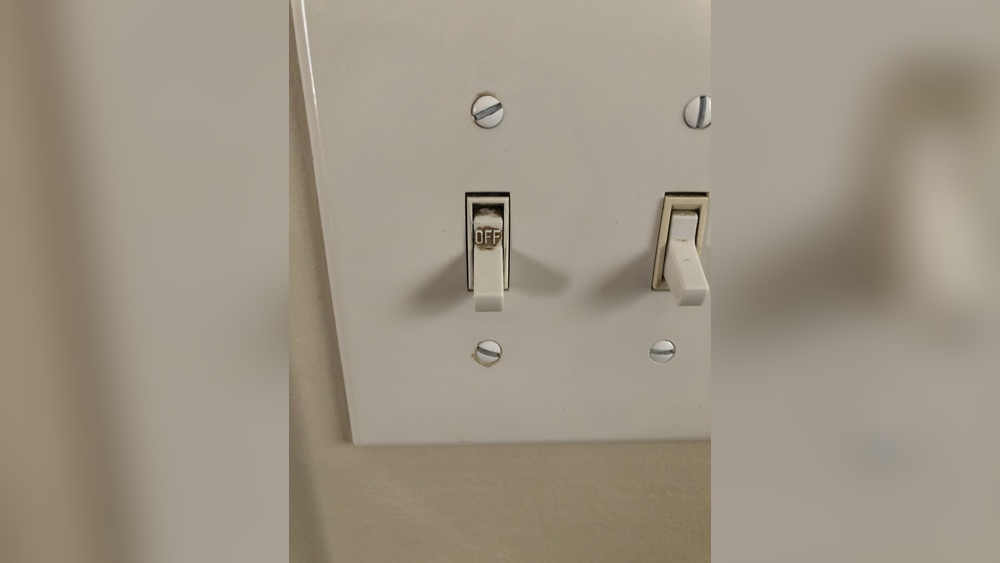
Credit: www.youtube.com
Prepare For Cleaning
Preparing to clean your light switch is important for safety and efficiency. Taking a few simple steps before starting helps avoid accidents. It also makes the cleaning process easier and more effective.
Follow these key preparation steps to ensure your light switch is ready for cleaning.
Gather Necessary Supplies
Collect all cleaning tools before you start. You will need a soft cloth, mild soap or detergent, and a small brush. Avoid harsh chemicals that can damage the switch surface. Have cotton swabs ready for tight spots.
Turn Off Power
Safety is the top priority. Switch off the power at the circuit breaker or fuse box. Double-check the switch to confirm no electricity flows. This step prevents shocks and protects your electrical system.
Protect Surrounding Areas
Light switches are near walls and paint. Cover the wall with a cloth or paper towel to catch drips. This stops water or cleaner from damaging surfaces. Use painter’s tape if needed to secure the cover.
Remove The Switch Cover
Removing the switch cover is the first step to clean a light switch properly. It gives you full access to the switch and helps avoid damage. Take your time and follow simple steps carefully.
This part is important for safety and better cleaning results. Make sure the power is off before you start.
Unscrew The Faceplate
Locate the screws holding the faceplate in place. Use a screwdriver that fits the screw heads well. Turn the screws slowly to avoid stripping them. Place the screws somewhere safe. Keep track of them to avoid losing any.
Handle With Care
Gently pull the faceplate away from the wall. Avoid using too much force to prevent cracks or breaks. If the plate feels stuck, check if all screws are fully removed. Set the faceplate aside on a soft surface. This prevents scratches or damage during cleaning.
Clean The Switch Cover
Cleaning the switch cover is a simple step that makes a big difference. Dirt and grime build up over time. A clean switch cover looks fresh and helps keep germs away.
Focus on the right tools and methods. This ensures the cover stays safe and shiny.
Choose The Right Cleaning Solution
Pick a mild cleaner to protect the switch cover. Avoid harsh chemicals that can damage the plastic or paint. A mix of warm water and gentle soap works well. For tougher spots, use a small amount of rubbing alcohol. Test the cleaner on a small area first to check for any damage.
Wipe And Scrub
Use a soft cloth or sponge to wipe the cover gently. For stubborn dirt, use a soft-bristled brush or an old toothbrush. Clean around the edges and corners where dust collects. Be careful not to press too hard to avoid breaking the cover.
Dry Thoroughly
After cleaning, dry the switch cover with a dry cloth. Make sure no moisture remains around the edges. Moisture can cause electrical problems or damage the wall. Let the cover air dry a bit before turning the switch back on.

Credit: www.wikihow.life
Clean The Switch Itself
Cleaning the light switch itself is an important step for a fresh and safe home. Dirt and grime build up over time on the switch surface. This can make it look dirty and affect its function.
Cleaning carefully keeps the switch working well and looking neat. Use gentle tools and avoid water inside the switch. Follow these simple steps to clean your light switch properly.
Use A Dry Cloth Or Brush
Start by wiping the switch with a dry cloth. Use a soft cloth to avoid scratches. A small brush can reach corners and edges. Gently brush away dust and dirt. This removes loose particles without damage.
Avoid Moisture Inside
Never let water or liquid go inside the switch. Moisture can cause electrical problems. Use only dry tools for cleaning. If needed, slightly dampen the cloth but wring it well. Keep liquids away from the switch’s gaps.
Spot Clean Stubborn Dirt
For tough stains, use a small amount of mild cleaner. Apply it to the cloth, not directly on the switch. Rub gently on the dirty spot. Wipe again with a dry cloth to remove residue. Repeat if needed, but avoid over-wetting.
Reassemble The Switch
After cleaning the light switch, it is time to put it back together. This step is important to make sure the switch works well and looks neat. Take your time to reassemble the switch carefully. Follow each step to avoid any damage or loose parts.
Replace The Cover
Start by placing the cover plate back over the switch. Align it with the screw holes. Make sure it fits snugly against the wall. A properly placed cover keeps dust and dirt out.
Tighten Screws Securely
Use a screwdriver to tighten the screws on the cover plate. Turn each screw until it feels firm. Avoid over-tightening to prevent cracking the cover. Secure screws hold the switch firmly in place.

Credit: www.youtube.com
Restore Power And Test
After cleaning your light switch, restoring power and testing its function is essential. This step ensures the switch works properly and safely. Take your time to follow each action carefully. Safety is the top priority.
Turn Power Back On
Locate your circuit breaker panel. Flip the switch back to the ON position. This restores electricity to the light switch. Avoid rushing this step. Ensure the breaker stays firmly in place. Confirm the power is back by checking other devices on the same circuit.
Check Switch Functionality
Press the light switch up and down several times. Watch if the light turns on and off correctly. Listen for any unusual sounds like buzzing. Test all related lights to confirm full operation. If the switch does not work, turn off the power again and recheck your cleaning or wiring steps.
Tips For Maintaining Clean Switches
Keeping light switches clean helps maintain a neat and healthy home. Dirt and germs can build up quickly on switches. Regular care prevents stains and grime from becoming hard to remove. Simple habits protect switches and keep them looking fresh.
Regular Dusting
Dust gathers on switches every day. Use a soft cloth or duster to clean them often. Light dusting stops buildup and keeps switches bright. A quick wipe once a week works well.
Avoid Harsh Chemicals
Strong cleaners can damage switch surfaces. Stay away from bleach, ammonia, or abrasive sprays. Use mild soap and water or special electronic wipes. Gentle cleaning keeps switches safe and lasts longer.
Handle Switches With Clean Hands
Dirty hands spread oils and germs on switches. Wash hands before touching switches to reduce grime. Clean hands help keep switches tidy and reduce the need for frequent cleaning.
Frequently Asked Questions
How Often Should I Clean Light Switches?
Clean light switches at least once a month to remove dirt and germs. Frequent cleaning prevents buildup and maintains hygiene.
What Is The Safest Way To Clean A Light Switch?
Turn off the power before cleaning. Use a damp cloth with mild soap and avoid excess moisture to prevent damage.
Can I Use Disinfectant Wipes On Light Switches?
Yes, disinfectant wipes are effective for killing germs on light switches. Ensure the switch is dry before turning power back on.
What Materials Do I Need To Clean Light Switches?
You need a microfiber cloth, mild soap, water, and optionally disinfectant wipes. Avoid abrasive cleaners to protect the switch surface.
Conclusion
Cleaning your light switches keeps your home fresh and safe. Use simple tools like a cloth and mild cleaner. Always switch off power before you start. Regular cleaning stops germs from spreading. It also helps your switches last longer. Small efforts make a big difference in your home’s hygiene.
Try to clean switches every few weeks. Safe, easy, and quick—clean switches brighten your space.