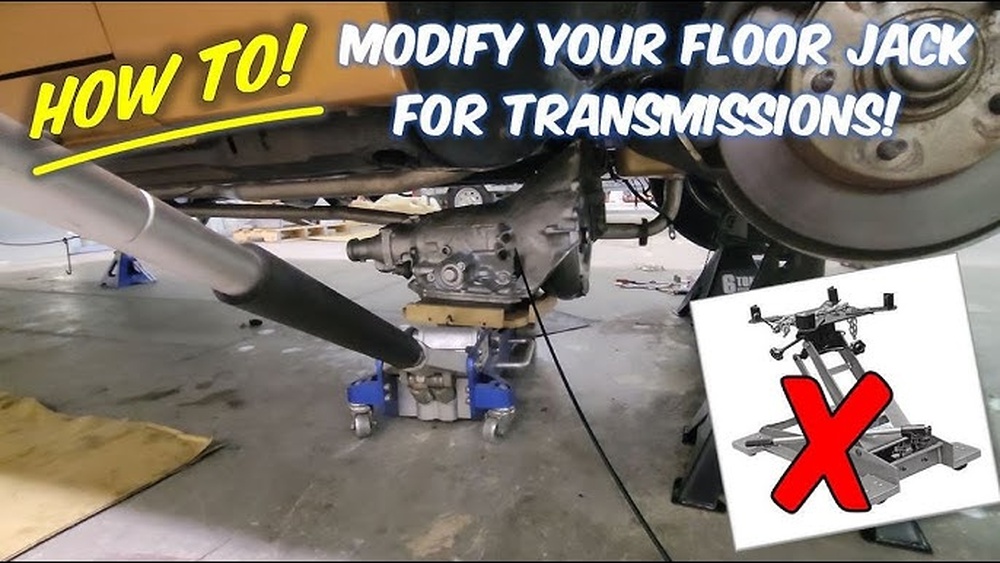
Removing a transmission can feel like a huge challenge, especially if you don’t have the right tools or guidance. But what if you could make the process smoother and safer using just a floor jack?
You’ll discover step-by-step how to remove a transmission with a floor jack, saving you time, effort, and frustration. Whether you’re a DIY enthusiast or tackling a repair for the first time, this guide will give you the confidence and know-how to get the job done right.
Keep reading—your transmission removal just got a whole lot easier.

Credit: www.youtube.com
Preparing The Vehicle
Preparing the vehicle is the first step in removing a transmission with a floor jack. This stage ensures safety and efficiency during the process. Proper preparation reduces risks and makes the job easier.
Follow these key steps carefully to get your vehicle ready for transmission removal.
Gathering Tools And Equipment
Collect all necessary tools before starting. You will need a floor jack, jack stands, wrenches, screwdrivers, and safety gear. Having everything on hand saves time and avoids interruptions. Check that your floor jack can support the vehicle’s weight safely.
Securing The Vehicle
Park the vehicle on a flat, stable surface. Use wheel chocks to prevent movement. Lift the vehicle with the floor jack at the recommended jacking points. Place jack stands under strong frame areas to hold the vehicle securely. Never rely on the jack alone to support the vehicle.
Disconnecting Battery And Components
Disconnect the negative battery cable to avoid electrical shorts. Remove any components blocking access to the transmission. This may include the driveshaft, exhaust parts, and wiring connectors. Label wires and bolts to simplify reassembly later. Safety first: disconnecting the battery prevents shocks and accidents.
Accessing The Transmission
Accessing the transmission is the first step in removing it safely with a floor jack. This process requires care and attention to detail. You must clear the area around the transmission to work comfortably. Each connection to the transmission needs to be carefully disconnected. This ensures the transmission can be removed without damage.
Removing Driveshaft
Start by removing the driveshaft from the vehicle. Locate the bolts that connect the driveshaft to the transmission flange. Use the right size wrench to loosen these bolts. Carefully slide the driveshaft out of the transmission. Support the driveshaft to prevent it from dropping or getting damaged.
Detaching Linkages And Wiring
Next, detach all linkages connected to the transmission. This includes shift linkages and any cables. Be gentle to avoid breaking clips or connectors. After linkages, disconnect the wiring harness attached to the transmission. Use a small flat tool to release clips if needed. Label wires to help with reassembly later.
Draining Transmission Fluid
Drain the transmission fluid before removal to avoid spills. Place a drain pan under the transmission drain plug. Use a wrench to remove the plug and let the fluid flow out. Wait until all fluid drains completely. Replace the drain plug securely before continuing with removal.
Using The Floor Jack
Using a floor jack to remove a transmission makes the job safer and easier. It helps hold the heavy transmission steady while you work. This section explains how to use the floor jack correctly during the removal process.
Positioning The Floor Jack
Place the floor jack under the transmission’s center. Make sure it is on a flat, stable surface. Adjust the jack so it lines up with the transmission’s base. Keep the jack’s saddle touching the transmission firmly. Double-check the position before lifting.
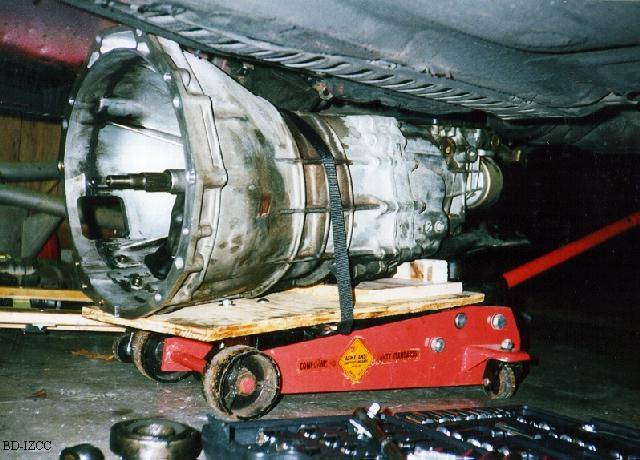
Supporting The Transmission
Slowly raise the jack until it supports the transmission’s weight. The transmission should not move or tilt. Use wooden blocks on the jack to protect the transmission. Keep the transmission steady during the whole process. This prevents damage and keeps you safe.
Loosening Mounting Bolts
With the transmission supported, start loosening the mounting bolts. Use the right size wrench or socket. Loosen bolts evenly to avoid sudden shifts. Do not remove all bolts at once. Leave some bolts until the transmission is fully supported by the jack.
Credit: www.zhome.com
Removing The Transmission
Removing the transmission is a key step in vehicle repair. It requires patience and care. This process involves several tasks that must be done in order. Using a floor jack helps support the transmission safely. Follow these steps to avoid damage and ensure safety.
Lowering The Transmission Carefully
Start by slowly lowering the transmission with the floor jack. Move the jack down a little at a time. Watch for any parts that might catch or bind. Keep the transmission level to prevent slipping. Take your time to avoid sudden drops or shifts.
Disconnecting Remaining Connections
Check for any cables, wires, or hoses still attached. Remove these carefully before continuing. Use the right tools to avoid breaking clips or connectors. Label the wires and hoses for easy reinstallation later. Make sure nothing holds the transmission in place.
Extracting The Transmission
Once all connections are free, slide the transmission out gently. Keep the floor jack steady as you move it. Use a helper if the transmission is heavy or hard to control. Place the transmission on a safe surface. This step finishes the removal process safely.
Post-removal Steps
After removing the transmission with a floor jack, there are important steps to follow. These steps ensure the transmission and vehicle parts stay in good condition. Taking time here saves effort later and helps avoid damage.
Inspecting Transmission And Surrounding Parts
Carefully check the transmission for any cracks or leaks. Look at the seals and bolts for wear or damage. Examine nearby parts like the clutch and flywheel. Spotting issues now prevents bigger problems during reinstallation.
Cleaning And Preparing For Installation
Remove dirt, grease, and old oil from the transmission surface. Use a clean cloth and mild cleaner to wipe it down. Clean the area where the transmission mounts. This helps the new installation fit tightly and securely.
Safety Tips For Handling Transmission
Always wear gloves to protect your hands from sharp edges. Use proper lifting techniques to avoid back strain. Keep the transmission stable on the floor jack or a stand. Avoid sudden movements that could cause it to fall or tip over.

Credit: www.toyotavantech.com
Frequently Asked Questions
How Do I Safely Position A Floor Jack For Transmission Removal?
Position the floor jack under the transmission’s bell housing using a sturdy wood block. Ensure the jack is centered and stable before lifting. This prevents damage and provides steady support throughout the removal process.
What Tools Are Essential For Removing A Transmission With A Floor Jack?
You’ll need a floor jack, jack stands, a socket set, screwdrivers, and a transmission jack adapter. These tools help safely support and detach the transmission from the vehicle.
Can I Remove A Transmission Alone Using A Floor Jack?
Yes, with proper preparation and caution. A floor jack can support the transmission’s weight, but using jack stands and taking safety steps is crucial to avoid accidents.
How Do I Disconnect The Transmission Before Lifting It With A Jack?
Disconnect the battery, drain transmission fluid, remove driveshafts, and disconnect linkages and wiring. These steps free the transmission, making it safe to lift and remove.
Conclusion
Removing a transmission with a floor jack takes care and patience. Follow each step slowly and check your work often. Keep safety as your top priority during the process. Using the right tools makes the job easier and safer. Practice makes perfect, so don’t rush.
Soon, you will feel more confident handling transmission removal yourself. This guide helps you save money and learn new skills. Try it carefully, and you will succeed.