Looking to hang your favorite pictures without damaging your walls? Picture mounting tape might be the simple solution you’ve been searching for.
It’s quick, clean, and holds your frames firmly in place. But how do you use it correctly to get the best results every time? You’ll discover easy steps and expert tips that make picture mounting tape your go-to tool for decorating.
Keep reading to transform your walls effortlessly and confidently.
Credit: www.youtube.com
Choosing The Right Tape
Choosing the right picture mounting tape is important for a strong hold and a neat look. The wrong tape can cause your pictures to fall or damage your walls. Knowing the different types of tape, their strength, and what surfaces they work on helps you pick the best one for your needs. This guide breaks down these key points clearly.
Types Of Picture Mounting Tape
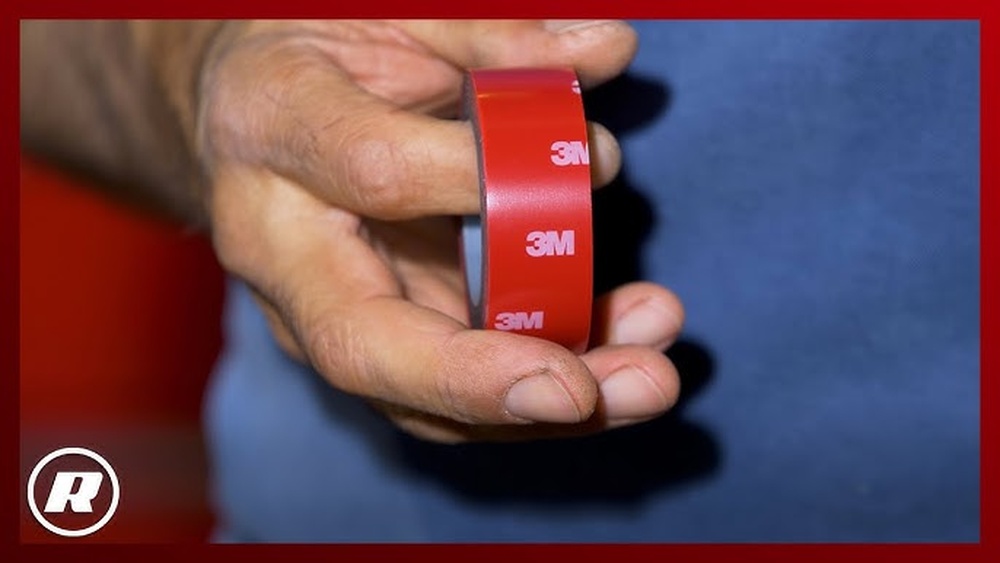
Picture mounting tape comes in several types. Double-sided tape sticks on both sides for a clean hold. Foam tape is thicker and helps with uneven surfaces. Clear tape is invisible and works well for light pictures. Heavy-duty tape holds heavier frames safely. Choose the type based on your picture and wall type.
Strength And Weight Capacity
Each tape has a weight limit. Light tapes hold small, thin pictures. Stronger tapes support heavier frames. Check the tape’s packaging for weight capacity. Using weak tape on heavy pictures causes falls and damage. Always pick tape that can handle your picture’s weight.
Surface Compatibility
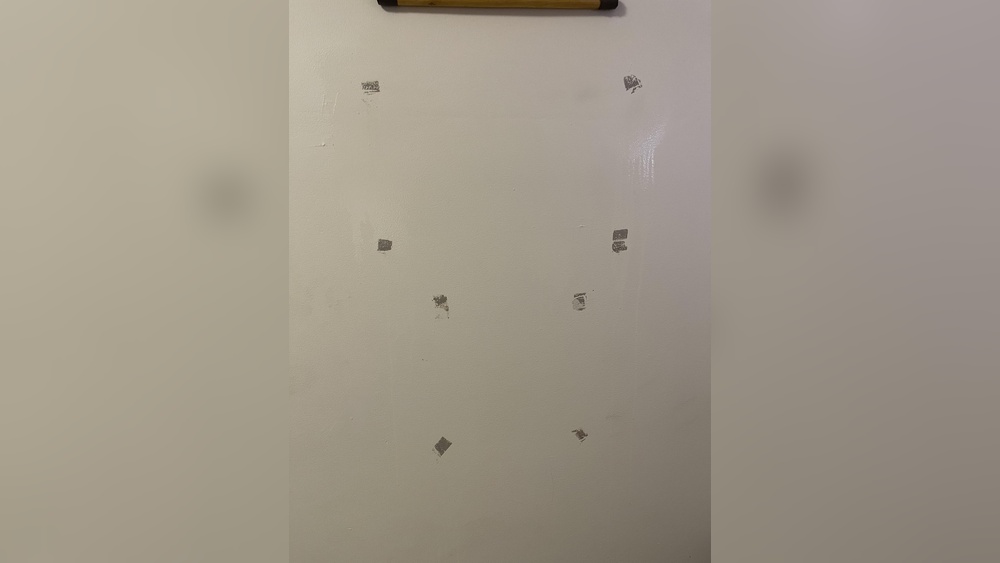
Tape sticks differently on various surfaces. Some tapes work well on painted walls, others on glass or wood. Rough or textured walls may need foam tape for better grip. Avoid tapes that can peel paint or leave marks. Match the tape to your wall type to keep your pictures secure and walls safe.

Credit: uk.gorillaglue.com
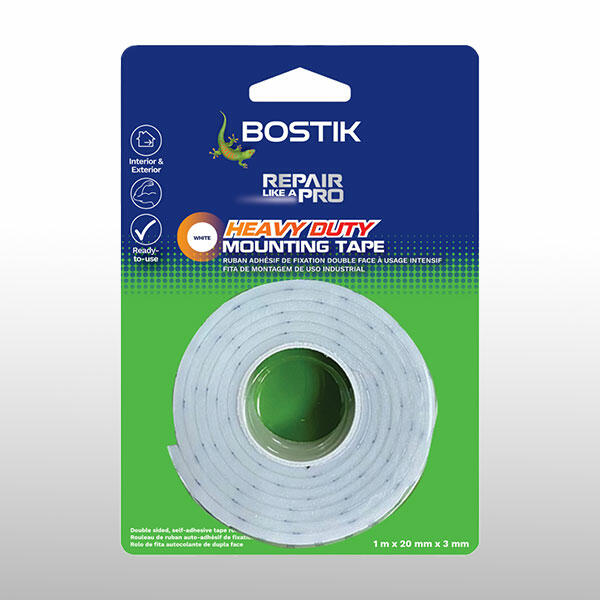
Preparing The Surface
Preparing the surface is a key step before applying picture mounting tape. A clean and smooth wall helps the tape stick better. This prevents the picture from falling off later. Follow simple steps to get the wall ready.
Cleaning The Wall
Start by removing dust and dirt from the wall. Use a soft cloth or sponge with mild soap and water. Gently wipe the area where you want to place the tape. Avoid harsh chemicals that can damage the paint. Let the wall dry completely before moving to the next step.
Drying And Smoothness Check
Check that the wall is fully dry. Moisture can stop the tape from sticking well. Feel the surface with your hand. It should be smooth and free from bumps. If the wall is rough, use fine sandpaper to smooth it out. Clean the dust after sanding. Now, the wall is ready for the tape.
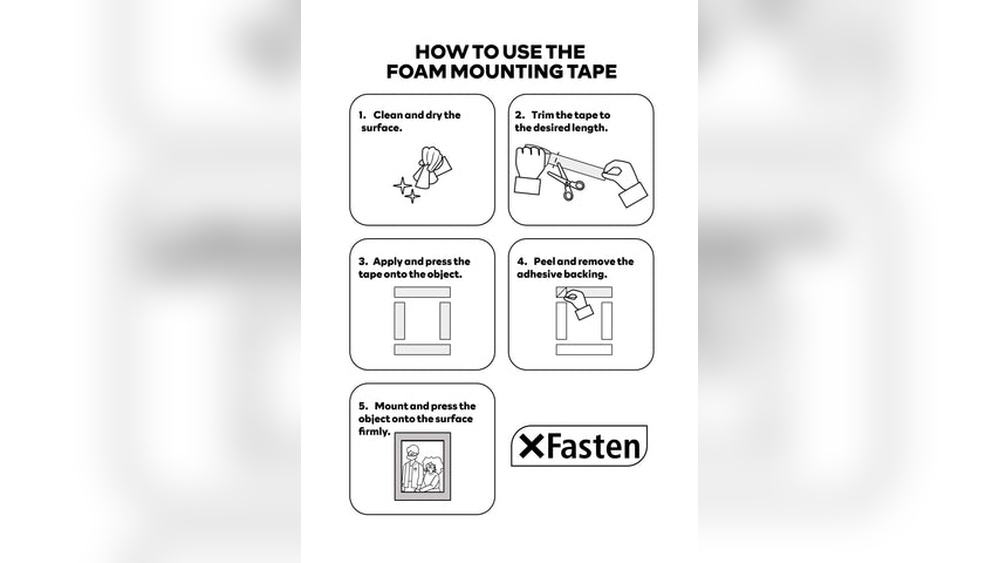
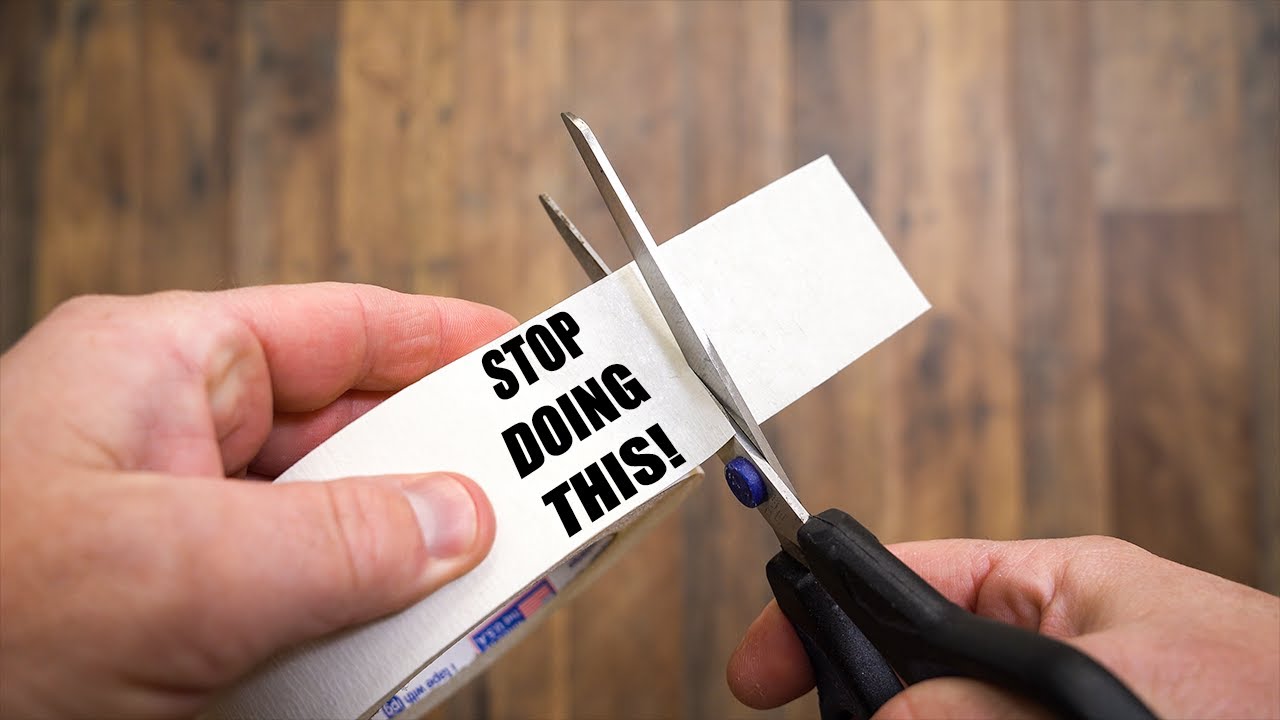
Cutting And Applying Tape
Cutting and applying picture mounting tape is a simple step in framing your photos or artwork. Doing it right helps your pictures stay secure and look neat. This section explains how to measure, cut, and place the tape correctly.
Measuring Tape Length
Start by measuring the length of the tape needed. Measure the sides of your frame where the tape will go. Add a little extra length to avoid shortage. Precise measurement helps keep the frame stable.
Cutting Tips
Use sharp scissors or a craft knife for clean cuts. Cut the tape on a flat surface to avoid wrinkles. Cut straight lines for a better fit. Avoid pulling the tape while cutting to keep its stickiness.
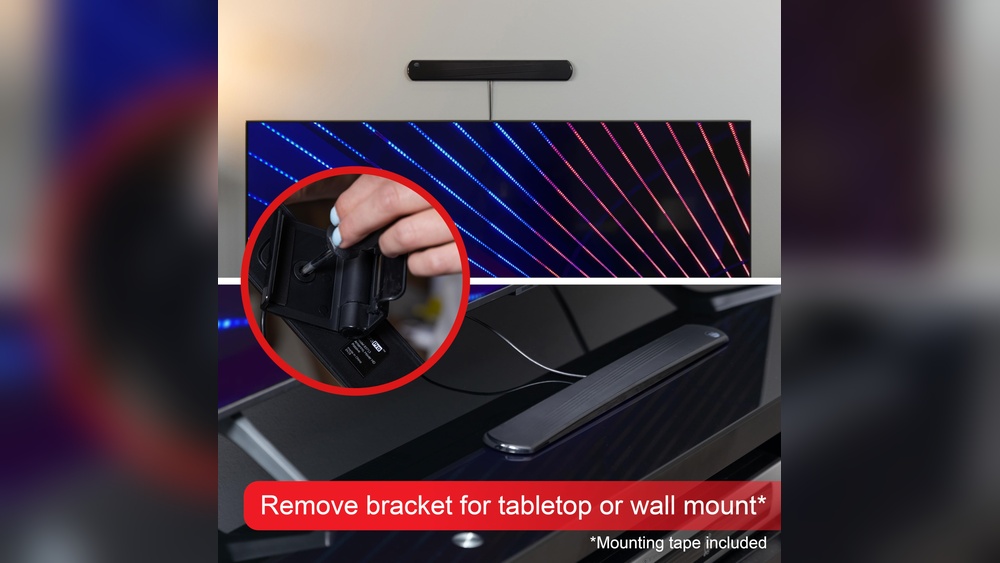
Applying Tape To Frame
Peel the tape backing carefully without touching the sticky side. Place the tape evenly along the frame edge. Press firmly to make sure the tape sticks well. Smooth out any bubbles or wrinkles for a clean finish.
Positioning The Picture
Positioning the picture is a key step in using picture mounting tape correctly. It ensures the artwork looks great and stays secure on the wall. Take your time to get the placement just right before fixing the tape. A well-placed picture brightens any room instantly.
Marking Wall Placement
Start by deciding where the picture should hang. Use a pencil to make small marks on the wall. Mark the top corners or the center of where the frame will sit. These marks guide you during the mounting process. Use a level tool for straight placement if available.
Aligning The Frame
Hold the frame up to the marked spots on the wall. Check if the picture is straight and centered. Adjust the position until it looks balanced and aligned. Take a step back and view the picture from different angles. This helps avoid crooked or uneven hanging.
Securing The Picture
Cut strips of picture mounting tape to fit the frame’s back. Attach tape evenly along the edges for strong hold. Press the frame firmly against the wall at your marks. Hold it in place for a few seconds to secure the tape. Double-check the picture stays level and steady on the wall.
Ensuring Long-lasting Hold
Using picture mounting tape correctly ensures your pictures stay in place for a long time. A strong, lasting hold prevents pictures from falling or shifting. Follow simple steps to make sure the tape sticks well and keeps your pictures secure.
Pressing Firmly
Apply the tape evenly on the back of the picture. Press it down firmly against the wall or surface. Strong pressure helps the tape bond tightly. Hold the picture for a few seconds to improve grip. This step is key to a good, lasting hold.
Avoiding Common Mistakes
Do not use tape on dirty or rough surfaces. Dust and moisture weaken the adhesive. Avoid stretching the tape as you apply it. Cut the tape cleanly to prevent peeling. Use the right amount of tape for the picture’s weight.
Checking Adhesion Over Time
Check the tape’s grip after a few days. Make sure the picture has not shifted. If you see any loosening, press the tape again. Replace the tape if it loses stickiness. Regular checks keep your pictures secure for longer.
Credit: diy.bostik.com
Removing And Reusing Tape
Removing and reusing picture mounting tape saves money and reduces waste. It also helps keep your walls clean and your pictures in place. Knowing the right steps makes this process easy and effective.
Safe Removal Techniques
Start by peeling the tape slowly from one corner. Pull it back gently at a low angle. Avoid ripping or pulling too fast. Use a hairdryer on low heat to soften the adhesive if the tape is stubborn. Heat makes the tape easier to remove without damage.
Cleaning Residue
Some tape leaves sticky residue on surfaces. Use a soft cloth with mild soap and water to clean it. For tougher residue, try rubbing alcohol or a small amount of oil. Test any cleaner on a hidden spot first. Wipe gently to avoid damage to the wall or frame.
Reapplication Tips
Check the tape for dirt or loss of stickiness before reuse. Cut fresh pieces from the tape roll for better hold. Press the tape firmly when applying it again. Keep the surface dry and clean for best results. Proper reapplication ensures your picture stays secure longer.
Frequently Asked Questions
What Is Picture Mounting Tape Used For?
Picture mounting tape is used to securely attach photos or artwork to walls. It provides a strong, damage-free hold. It’s ideal for hanging lightweight frames without nails or hooks.
How Do You Apply Picture Mounting Tape Correctly?
Clean the surface before applying the tape. Cut the tape to the needed size. Press firmly on both the frame and the wall for a secure bond.
Can Picture Mounting Tape Damage Walls?
High-quality picture mounting tape is designed to be removable. It leaves no marks or residue on most surfaces. Always test on a small area first to ensure no damage.
How Much Weight Can Picture Mounting Tape Hold?
Most picture mounting tapes hold between 1 to 5 pounds per strip. For heavier frames, use multiple strips or opt for stronger mounting solutions.
Conclusion
Picture mounting tape makes hanging art easy and neat. It holds frames firmly on walls without nails. Use it on clean, dry surfaces for best results. Press the tape firmly to avoid slips. Remove it carefully to protect your walls.
This simple tool saves time and keeps your space tidy. Try it for your next decorating project. Your pictures will stay in place and look great. Simple, clean, and effective—picture mounting tape works well.