Have you ever flicked a light switch only to find the lights won’t turn on? It’s frustrating, right?
Knowing how to test a light switch yourself can save you time, money, and hassle. Whether your switch feels loose, won’t click properly, or just doesn’t work, this simple skill puts the power in your hands. You’ll discover easy steps to check if your light switch is faulty or if the problem lies elsewhere.
Keep reading—your next quick fix might be just a few tests away.
:max_bytes(150000):strip_icc()/testing-single-pole-switches-1152811-03-8b89394a236d499ebee520df31a0ce27.jpg)
Credit: www.thespruce.com
Tools Needed
Testing a light switch requires a few basic tools. These tools help check if the switch works properly and if electricity flows safely. Having the right tools makes the job easier and safer.
Multimeter
A multimeter measures electrical current, voltage, and resistance. It helps find out if the switch is open or closed. You can check if electricity passes through the switch. This tool is essential for accurate testing.
Voltage Tester
A voltage tester detects live electricity without touching wires. It shows if power is reaching the switch. This tool is simple to use and adds a layer of safety. It prevents electric shocks during testing.
Screwdriver
A screwdriver is needed to remove the switch cover. It also helps access the wiring behind the switch. Most light switches use a flathead or Phillips screwdriver. This basic tool is necessary to start the testing process.
Safety Precautions
Testing a light switch requires careful attention to safety. Electricity can be dangerous. Taking proper precautions reduces the risk of injury or damage. Always prepare yourself before starting any electrical work.
Turn Off Power
Switch off the power at the circuit breaker. Confirm the power is off by checking the light or using a voltage tester. Never work on a live circuit. This simple step protects you from electric shocks.
Use Insulated Tools
Choose tools with insulated handles. These tools prevent electricity from passing through to your hand. Regular tools can conduct electricity and cause harm. Insulated tools make testing safer and easier.
Wear Protective Gear
Wear rubber gloves and safety glasses. Gloves protect your hands from shocks. Glasses shield your eyes from sparks or debris. This gear adds extra safety during the testing process.
Identify The Switch Type
Before testing a light switch, you must identify its type. This step helps you understand how the switch works. Different switches have different wiring and functions. Knowing the type makes testing safer and easier. Here are common types you will find in homes.
Single-pole Switch
A single-pole switch controls one light or set of lights. It has two terminals and a simple ON/OFF function. This switch is the most common type in houses. You can spot it by its simple toggle design. Testing this switch is straightforward because it only interrupts one wire.
Three-way Switch
A three-way switch works with another switch to control one light. You often see this setup in hallways or large rooms. It has three terminals and no ON/OFF markings. Both switches can turn the light on or off. Testing a three-way switch requires checking both switches and their wiring.
Dimmer Switch
A dimmer switch changes the brightness of a light. It usually has a slider or a rotary knob. This switch uses special wiring for dimming control. Testing a dimmer switch involves checking the electrical load and the dimming function. It may need a different tester than regular switches.
Test With Voltage Tester
Testing a light switch with a voltage tester is a safe way to find electrical problems. A voltage tester shows if power flows through the switch. This step helps confirm if the switch receives electricity and sends it to the light.
Using a voltage tester requires caution. Always turn off the main power before removing the switch cover. This prevents shocks while checking wires. After that, you can test the switch properly.
Check For Power At The Switch
First, turn the power back on at the breaker. Hold the voltage tester near the switch’s terminals. The tester lights up or beeps if power is present. No light or sound means no power reaches the switch.
This test shows if electricity comes from the circuit to the switch. If no power is detected, the problem might be in the wiring or breaker.
Test The Load Wire
The load wire sends electricity from the switch to the light. Use the voltage tester on this wire next. Turn the switch on and off while testing the load wire.
The tester should show power when the switch is on. No power means the switch might be faulty. This step confirms if the switch controls the flow of electricity correctly.
Test With Multimeter
Testing a light switch with a multimeter is a simple and effective way to check if the switch works properly. A multimeter measures electrical properties like voltage and continuity. Using it helps find faults quickly without guesswork. This method suits both beginners and those with some electrical knowledge.
Set Multimeter To Continuity Mode
First, turn on your multimeter. Then, set it to continuity mode. This mode tests if electricity flows through the switch. It usually shows a sound or a light when there is a complete path. Continuity mode is often marked with a sound wave or diode symbol.
Test Switch Terminals
Next, identify the switch terminals. These are the metal screws or connectors on the switch. Touch one probe of the multimeter to one terminal. Touch the other probe to the other terminal. Flip the switch on and off while testing. This checks if the switch opens and closes the circuit.
Interpret Multimeter Readings
When the switch is on, the multimeter should beep or show zero resistance. This means the circuit is complete and electricity flows. When the switch is off, there should be no beep or a high resistance reading. This means the circuit is open and electricity does not flow. If readings do not match, the switch may be faulty.
Troubleshoot Common Issues
Troubleshooting common issues with a light switch helps find the cause of the problem fast. Many light switches stop working because of simple faults. Checking these issues can save time and money. Below are the main problems to look for when a light switch acts up.
Loose Connections
Loose connections often cause a light switch to fail. Wires can become loose inside the switch box. This stops electricity from flowing properly. Turn off the power first. Then, remove the switch cover and check the wires. Tighten any loose screws holding the wires. Make sure the wires are firmly attached to the terminals.
Faulty Switch
A faulty switch cannot control the light correctly. Switches wear out after years of use. Signs include a switch that feels loose or does not click. Test the switch with a multimeter to see if it works. Replace the switch if the multimeter shows no connection when toggled. New switches are easy to install and fix the problem quickly.
Wiring Problems
Wiring problems can stop a light switch from working. Damaged or broken wires block the flow of electricity. Inspect the wires for cracks, burns, or cuts. Also, check if the wires are connected to the right terminals. Fix any damaged wiring or call an electrician if unsure. Proper wiring keeps the light switch working safely and well.
Replace Or Repair Switch
Deciding to replace or repair a light switch depends on the problem’s severity. Simple issues like loose screws might only need tightening. More serious problems require a full replacement to ensure safety and proper function. Replacing the switch is a straightforward task anyone can do with basic tools.
Remove Old Switch
Turn off the power at the breaker to avoid shocks. Use a screwdriver to remove the switch cover plate. Unscrew the switch from the electrical box carefully. Note how the wires connect to the switch. Disconnect the wires by loosening the terminal screws.
Install New Switch
Connect the wires to the new switch terminals. Match the wire colors to the correct screws. Tighten the screws firmly to secure the wires. Place the switch back into the electrical box. Screw it in tightly to hold it in place.
Test After Replacement
Turn the power back on at the breaker. Flip the switch to see if the light works. Check for any flickering or loose connections. If the light works smoothly, the replacement was successful. If issues persist, consider consulting an electrician.
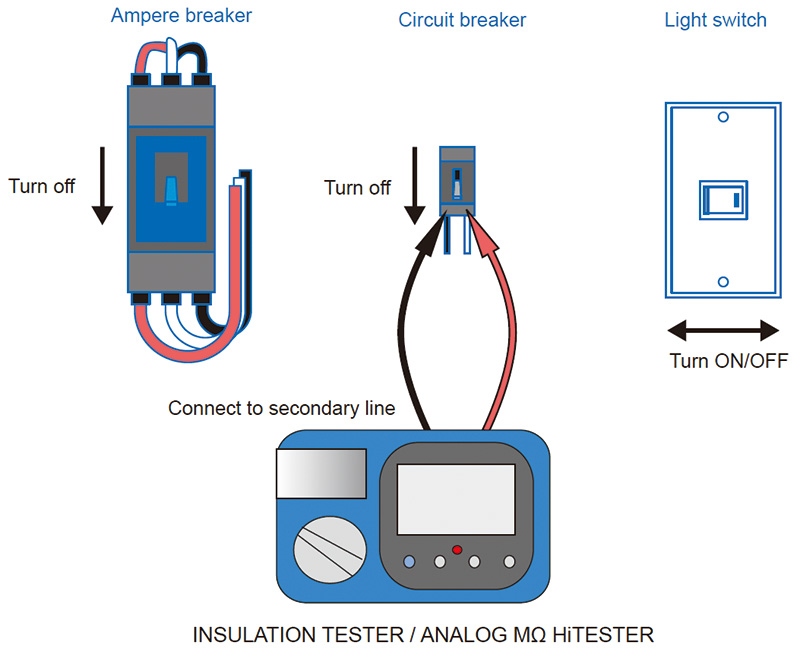
Credit: www.hioki.com
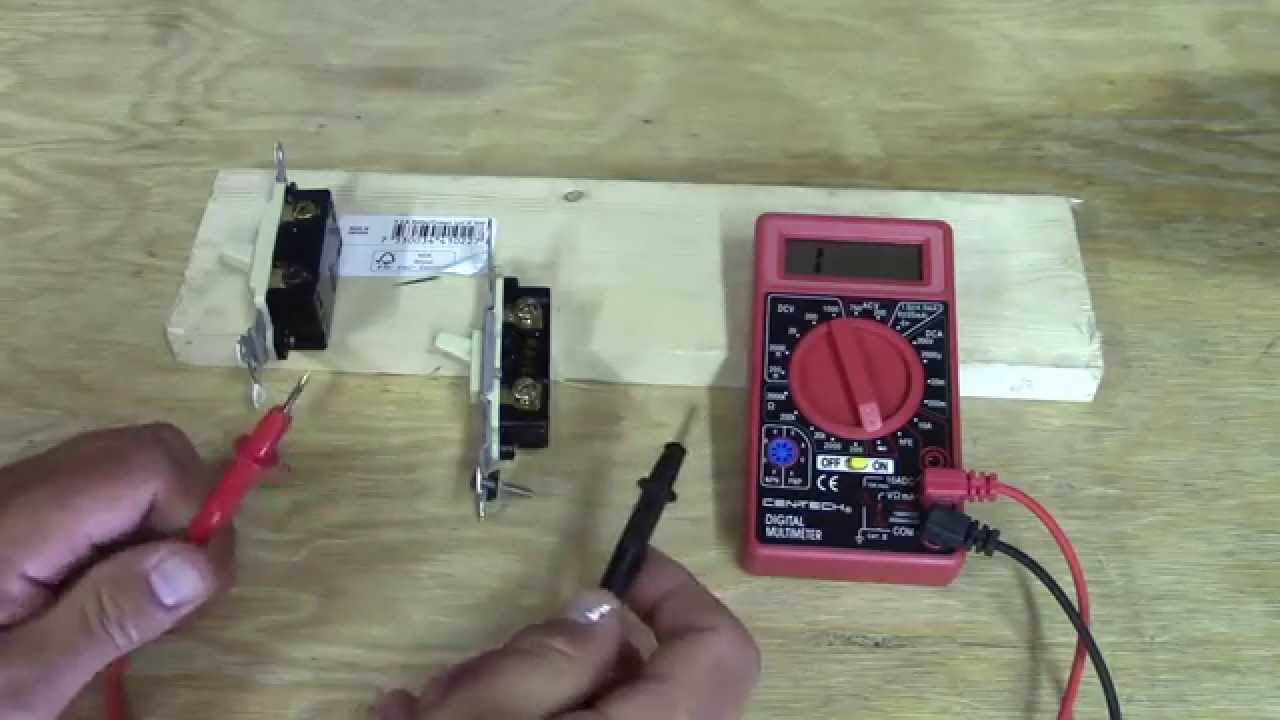
Credit: www.youtube.com
Frequently Asked Questions
How Can I Safely Test A Light Switch At Home?
Turn off the power at the circuit breaker first. Use a voltage tester to check for electricity. Then, flip the switch to see if the light responds. Always follow safety precautions when working with electrical components.
What Tools Are Needed To Test A Light Switch?
A voltage tester or multimeter is essential for testing a light switch. You may also need a screwdriver to remove the switch cover. These tools help determine if the switch is receiving and sending power correctly.
How Do I Know If A Light Switch Is Faulty?
If the light doesn’t turn on or flickers, the switch might be faulty. Test for voltage at the terminals with a tester. No voltage or inconsistent readings usually indicate a bad switch needing replacement.
Can A Light Switch Be Tested Without Removing It?
Yes, you can test a switch without removing it using a non-contact voltage tester. This tool detects voltage through the cover plate. However, detailed testing often requires removing the switch for direct access.
Conclusion
Testing a light switch is simple and safe when done right. Use a voltage tester or multimeter for best results. Always turn off power before starting any test. Check if the switch turns the light on and off. A quick test saves time and avoids bigger problems.
Knowing how to test helps keep your home safe. Try these steps next time your light switch acts strange. No need to call a professional immediately. You can handle basic tests with ease. Stay cautious, follow instructions, and you’ll do fine.