Is your ceiling fan’s light switch not working properly? Replacing it might seem tricky, but it’s easier than you think.
Imagine being able to fix it yourself without calling an electrician or spending a lot of money. In this guide, you’ll get clear, simple steps to replace your ceiling fan light switch safely and quickly. By the end, you’ll have the confidence to tackle this common home repair on your own.
Ready to get started? Let’s dive in!
Tools And Materials Needed
Replacing the light switch on a ceiling fan requires the right tools and materials. Having everything ready makes the job easier and safer. Each item plays a part in completing the task smoothly.
Gather these tools and materials before starting. This saves time and avoids interruptions.
Basic Tools For The Job
Start with a screwdriver set. Both flathead and Phillips screwdrivers are needed. A voltage tester is important to check power safety. Needle-nose pliers help in gripping and twisting wires. Wire strippers make clean cuts and remove insulation.
Materials To Replace The Switch
Buy a compatible replacement light switch for your ceiling fan. Use electrical tape for securing wire connections. Wire nuts are necessary to join wires safely. Keep extra screws handy in case the old ones are worn out.
Safety Equipment
Wear safety glasses to protect your eyes from dust and debris. Use insulated gloves for extra protection against electric shock. A sturdy ladder helps reach the ceiling fan comfortably. Ensure the ladder is stable and placed on even ground.
Safety Precautions
Always turn off the power before starting to avoid electric shock. Use a voltage tester to make sure wires are not live. Wear gloves and work in a well-lit area for safety.
Turn Off Power At The Circuit Breaker
Start by switching off the power to the ceiling fan. Do not rely only on the wall switch. Find the correct breaker in your electrical panel. Flip the breaker to the off position. Test the fan to confirm no power flows. This step prevents electric shocks during work.
Use A Voltage Tester
After turning off the breaker, check the wires with a voltage tester. Touch the tester to each wire carefully. Ensure the tester shows no electricity. This double-checks the power is truly off. Safety depends on confirming zero voltage.
Wear Protective Gear
Use insulated gloves to protect your hands. Wear safety glasses to shield your eyes. These simple tools reduce injury risks. Electrical work can cause sparks or debris. Prepare yourself before starting the job.
Keep The Work Area Dry
Moisture and electricity do not mix. Avoid working in wet or damp places. Dry your hands and tools well. A dry environment lowers the chance of shocks. Safety improves with careful site preparation.
Follow Manufacturer Instructions
Read the ceiling fan’s manual before replacing the switch. Each model has specific steps and warnings. Use the correct replacement switch as stated. Proper guidance helps avoid mistakes and hazards.
Turning Off The Power
Turning off the power is the first and most important step before replacing a light switch on a ceiling fan. This step keeps you safe from electric shock. Always treat electrical work with care and respect.
Never skip this step. Even if you think the power is off, double-check. Safety comes first in every home project.
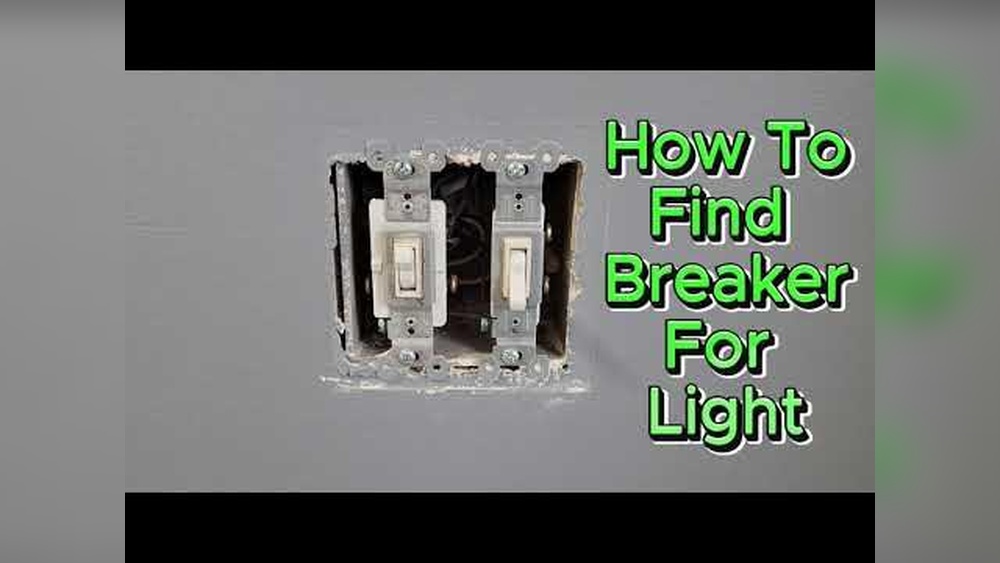
Locate The Circuit Breaker
Find the main electrical panel in your home. It is usually in the basement, garage, or utility room. Look for the switch that controls power to the ceiling fan.
Each breaker should be labeled for the area or room it controls. If labels are missing, turn off the main power switch to be safe.
Switch Off The Correct Breaker
Flip the breaker to the off position. This stops electricity flow to the ceiling fan. Avoid guessing. Turning off the wrong breaker may leave power on.
If unsure, turn off the main breaker. This cuts all power in the house temporarily.
Test The Power Is Off
Use a voltage tester or a simple lamp to check the power. Touch the tester to the wires in the ceiling fan. No light or beep means no power.
Never touch wires with bare hands. Always use tools made for electrical testing.
Double Check Before You Start
Turn the fan switch on and off to confirm no power. Try the fan and light controls. They should not work.
Only begin work after you are sure the power is completely off.
Removing The Old Light Switch
Removing the old light switch from a ceiling fan is a simple task. It helps prepare the fan for a new switch. This step needs careful handling to avoid damage. Follow clear instructions to ensure safety and success.
Accessing The Switch
Start by turning off the power at the circuit breaker. This stops any risk of electric shock. Use a ladder to reach the ceiling fan comfortably. Remove the light kit or cover carefully. You will see the light switch inside the fan housing. Unscrew or unclip the switch to access it fully.
Disconnecting Wires
Note the wiring setup before disconnecting. Take a photo or label the wires for easy reassembly. Use a screwdriver to loosen the wire connectors. Gently pull the wires from the switch terminals. Keep the wires separated to avoid mixing them up later. Make sure no wires touch each other or metal parts.
Choosing The Right Replacement Switch
Choosing the right replacement switch is key to fixing your ceiling fan. The switch controls the fan’s speed and light, so it must fit perfectly and work well. Picking the wrong switch can cause problems or even damage your fan.
Focus on finding a switch that matches your fan’s model and wiring. Check the switch type and the number of wires. Think about the switch’s size and shape too. These details keep your fan safe and working smoothly.
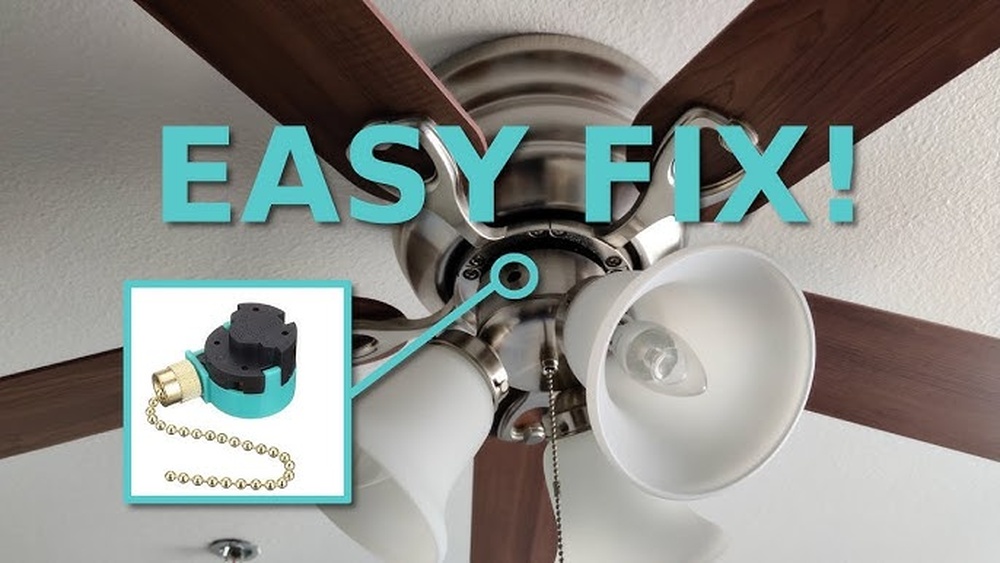
Identify The Type Of Switch
Ceiling fans use different switch types. Common ones include pull chain, rotary, and slide switches. Identify your old switch type before buying a new one. This helps ensure compatibility and easy installation.
Check The Number Of Wires
Count the wires connected to the old switch. Most switches have two or three wires. The new switch should have the same number and wire colors. This makes wiring safe and simple.
Match The Voltage And Current Rating
Look at the voltage and current rating on the old switch. The replacement should have equal or higher ratings. This prevents overheating and electrical hazards.
Consider The Switch Size And Shape
Switch size matters for fitting inside the fan’s housing. Measure the old switch’s dimensions. Choose a replacement that fits well without forcing it in place.
Buy Quality Switches
Opt for switches from trusted brands. Quality switches last longer and work reliably. Avoid very cheap options as they may fail quickly or cause safety issues.

Credit: www.youtube.com
Installing The New Light Switch
Installing the new light switch is the key step to restore your ceiling fan’s lighting. This process needs care and attention to ensure safety and proper function. Follow each step carefully to install the switch correctly.
Connecting The Wires
Start by matching the wires from the fan to the new switch. Usually, black or red wires carry power, and white wires are neutral. Attach the wires to the switch terminals using a screwdriver. Twist the wires tightly around the screws to avoid loose connections. Use wire nuts if needed to secure wire joins. Make sure no bare wire shows outside the connectors.
Securing The Switch
Push the connected wires gently into the switch box. Align the switch with the mounting holes. Use screws to fasten the switch firmly in place. Do not overtighten to avoid cracking the switch or wall plate. Attach the switch cover plate for a clean look. Double-check the switch is secure and fits well before restoring power.
Testing The New Switch
Testing the new switch is a key step after replacing it on your ceiling fan. This step ensures the switch works correctly and safely. Do not skip this part, as it helps avoid future problems.
Turn The Power Back On
First, restore power at the circuit breaker. This action powers the ceiling fan and the new switch. Make sure the area is safe before proceeding.
Check The Fan And Light Operation
Use the switch to turn the fan and light on and off. Test each speed setting on the fan. Confirm the light turns on without flickering or delay.
Listen For Unusual Sounds
Pay attention to any strange noises from the fan or switch. Buzzing or crackling sounds may indicate a wiring issue. Stop testing and turn off the power if you hear these sounds.
Feel For Heat On The Switch
Touch the switch carefully after it runs for a few minutes. It should not feel hot or warm. Heat suggests a possible electrical problem.
Double-check The Connections
If the switch does not work properly, turn off the power again. Inspect the wiring connections for tightness and correct placement. Loose wires can cause malfunctions.

Credit: www.amazon.com
Troubleshooting Common Issues
Troubleshooting common issues helps fix problems after replacing a light switch on a ceiling fan. It saves time and avoids extra costs. Many issues are simple and quick to solve. Understanding typical problems improves your repair skills.
Checking For Loose Connections
Loose wires cause the fan or light to not work. Turn off power before inspecting. Tighten all wire nuts and screws. Secure connections prevent flickering or no power issues. Test the switch after tightening.
Testing The Switch For Faults
A faulty switch stops the fan or light from turning on. Use a multimeter to check for continuity. Replace the switch if it shows no continuity. Confirm power is off before testing. A good switch shows a complete circuit.
Inspecting The Ceiling Fan Wiring
Wrong wiring leads to malfunction or short circuits. Match wires by color and function. Follow the fan’s wiring diagram carefully. Look for damaged insulation or exposed wires. Replace damaged wires to ensure safety.
Verifying Power Supply To The Fan
No power means the fan won’t work. Check the circuit breaker or fuse box first. Reset tripped breakers or replace blown fuses. Use a voltage tester to confirm power at the switch. Power must be steady for the fan to run.

Credit: www.amazon.com
Frequently Asked Questions
How Do I Safely Turn Off Power Before Replacing A Light Switch?
Always turn off the circuit breaker controlling the fan’s switch. Use a voltage tester to confirm no electricity flows. This ensures safety and prevents electrical shocks while you replace the light switch.
What Tools Are Needed To Replace A Ceiling Fan Switch?
You need a screwdriver, wire stripper, voltage tester, and replacement switch. These tools help you remove the old switch and install the new one safely and efficiently.
How Do I Identify The Wires Connected To The Fan Switch?
Typically, black or red wires connect to the switch terminals. The white wires are neutral and usually not connected to the switch. Label wires before disconnecting to ensure correct reconnection.
Can I Replace The Light Switch Without Removing The Fan?
Yes, you can replace the switch without removing the fan. Access the fan’s switch box, disconnect wires, and install the new switch carefully to avoid disturbing the fan assembly.
Conclusion
Replacing a light switch on a ceiling fan is simple with careful steps. Always turn off the power first to stay safe. Use the right tools and follow the instructions clearly. Double-check your work before turning the power back on.
A working switch makes your fan and light easy to control. Small repairs like this save money and add confidence. Try it yourself and enjoy the results. Simple tasks can bring big satisfaction.