Are you ready to give your clothes, bags, or DIY projects a clean, professional finish? Installing metal snap fasteners is a simple skill that can make a big difference in how your items look and function.
Whether you want to replace old snaps or add new ones, knowing the right way to install them will save you time and frustration. In this guide, you’ll learn easy steps to attach metal snap fasteners securely, even if you’ve never done it before.
Keep reading, and you’ll discover tips and tricks that will make the process smooth and satisfying—your next project is about to get a major upgrade!

Credit: spandexsimplified.com
Materials And Tools Needed
Before installing metal snap fasteners, gather all necessary materials and tools. Proper preparation makes the process smooth and efficient. Knowing the types of fasteners and having the right equipment helps you get professional results.
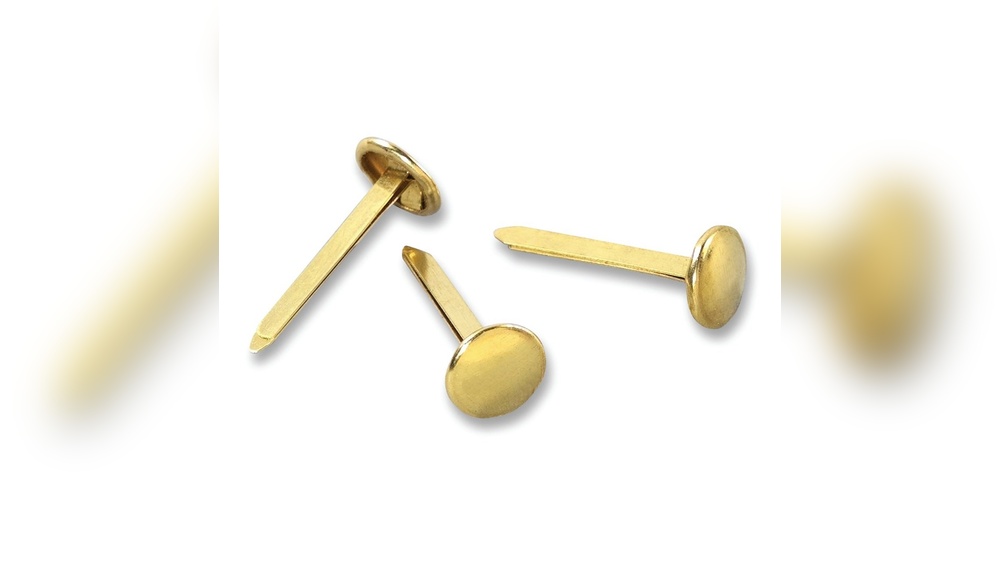
Types Of Metal Snap Fasteners
Metal snap fasteners come in various styles. Common types include sew-on snaps, rivet snaps, and prong snaps. Sew-on snaps require stitching, while rivet and prong snaps use pressure to attach. Choose snaps based on your fabric and project needs.
Essential Installation Tools
Basic tools include a snap fastener kit with setter and anvil. A hammer is needed to press the snaps together firmly. Scissors or hole punches help prepare the fabric. A ruler or measuring tape ensures proper snap placement.
Optional Accessories For Ease
Optional tools speed up installation and improve accuracy. A snap plier tool makes attaching snaps easier, especially for beginners. Fabric clips hold layers steady during installation. A small awl or hole punch creates clean holes for snaps.

Credit: www.youtube.com
Preparing Fabric And Snaps
Preparing fabric and snaps is the first key step to install metal snap fasteners. Proper preparation ensures the snaps hold firmly and look neat. It also helps prevent fabric damage during installation.
Careful marking, reinforcing, and handling of snap parts make the process smoother. Follow these steps to get ready before attaching your snaps.
Marking Snap Placement
Start by deciding where the snaps will go on your fabric. Use a fabric marker or tailor’s chalk to mark these spots clearly. Mark both sides of the fabric where the snap parts will meet.
Make sure the marks are aligned. This ensures the snaps close properly. Double-check placement before moving on.
Reinforcing Fabric
Thin or stretchy fabric needs extra support. Apply small fabric patches or iron-on interfacing behind each snap mark. This prevents tearing when you press or hammer the snap.
Use a lightweight patch for light fabrics and a stronger one for heavy materials. Reinforcement helps the snap stay secure for longer.
Separating Snap Components
Metal snap fasteners come in pairs: the cap and socket, and the stud and post. Separate each pair carefully before installation. Lay them out in the order you will attach them.
Knowing which part goes on which side of the fabric is important. The cap and socket usually go on the outside, visible side. The stud and post go on the inside.
Installing Snap Fasteners By Hand
Installing snap fasteners by hand offers a simple and effective way to add closures to your garments or crafts. This method requires only basic tools and a bit of patience. You can attach snaps securely without needing special machines. Follow each step carefully for the best results.
Positioning Top And Bottom Pieces
First, identify the top and bottom parts of the snap. The top piece is the socket, the female part with a hole. Place it on the visible side of your fabric. The bottom piece is the stud, the male part with a post. Position it on the fabric’s opposite side.
Ensure both pieces face the correct sides of the fabric. This placement allows the snap to close properly once installed.
Aligning The Socket And Stud
Next, bring the fabric layers together. Align the socket directly above the stud. Check carefully that the stud fits into the socket without shifting. Proper alignment ensures the snap fastener will function smoothly and hold firmly.
Hold the pieces steady with your fingers. Avoid moving the fabric while preparing to secure the snap.
Securing Snaps With A Hammer
Use a small hammer and a hard surface for this step. Place the snap pieces on a sturdy table or block. Gently tap the top of the snap with the hammer. Start with light taps to avoid damaging the snap or fabric.
Continue tapping until the snap parts join tightly. Check that the snap is secure but still able to open and close easily. Repeat the process for each snap needed on your project.
Using Snap Pliers For Installation
Using snap pliers for installing metal snap fasteners makes the process simple and precise. These specialized pliers hold the snap parts firmly and press them together without damage. This tool helps ensure a strong and lasting attachment on fabric or leather.
The following steps explain how to use snap pliers correctly for a smooth installation. Small details matter to get a perfect snap closure that works well every time.
Setting Up The Pliers
First, select the correct dies for your snap pliers. Each die fits a specific snap part like the cap or socket. Insert the dies into the jaws of the pliers securely. Adjust the pliers so they open and close smoothly. Make sure the dies align properly to avoid crooked snaps.
Clamping The Snap Components
Place the fabric between the snap parts carefully. Put the cap on the top die and the socket or stud on the bottom die. Close the pliers slowly to clamp the snap pieces together. Apply steady pressure until you feel the snap parts lock. Avoid squeezing too hard to prevent damage.
Checking Snap Closure
After installation, test the snap by pressing it closed. It should click firmly without extra force. Open and close the snap a few times to check durability. The snap should stay secure but remain easy to open. If it feels loose or too tight, reinstall or adjust your technique.
Installing Heavy-duty Snaps
Installing heavy-duty metal snap fasteners requires extra care and precision. These snaps are designed for tough materials and frequent use. They hold stronger than regular snaps and need proper handling to last long. Follow these steps to ensure a secure and durable attachment.
Differences In Components
Heavy-duty snaps have thicker parts than regular snaps. The cap and socket are usually larger and made from stronger metal. The post and stud are heavier and designed to press tightly. These components fit together firmly to handle stress. Choose snaps that match your fabric and project needs.
Applying Additional Reinforcement
Heavy fabrics need extra support to hold snaps well. Use a small patch of interfacing or fabric behind the snap area. This helps prevent tearing or warping from pressure. Sew a few stitches around the snap location before installing. Reinforcement adds strength and keeps the snap secure over time.
Techniques For Stronger Attachment
Use a heavy-duty snap setter or pliers designed for thick snaps. Align the parts carefully to avoid damage during installation. Press firmly but steadily to join the snap pieces. Avoid bending or twisting the snap components. Check the snap’s grip by opening and closing it several times to ensure proper function.
Sew-on Snap Fasteners
Sew-on snap fasteners offer a simple and reliable way to add closures to fabric projects. These fasteners consist of parts that you stitch directly onto the fabric. This method suits many types of garments and accessories. The sewing process ensures a firm hold without the need for special tools.
Understanding each part and the correct stitching method is key to a successful installation. Proper attachment prevents snaps from loosening or falling off during use. Below, learn how to identify parts, use stitching techniques, and secure the fasteners effectively.
Identifying Sew-on Parts
Sew-on snap fasteners have two main parts: the socket and the stud. The socket is the female part with a hole. It usually goes on the top or right side of the fabric. The stud is the male part with a post. This part attaches to the bottom or left side of the fabric. Both parts have holes for sewing thread. Caps often cover the top of each part for a neat finish.
Stitching Techniques
Thread a needle with strong sewing thread. Use a color that matches your fabric. Position the snap part on the fabric where you want it. Pass the needle through one hole of the snap part and the fabric. Pull the thread tight. Repeat for each hole, stitching several times to secure it. Tie a small knot on the back side of the fabric. Clip any extra thread. Avoid loose stitches to prevent the snap from moving.
Tips For Secure Attachment
Use a sturdy fabric that can hold the snap firmly. Reinforce weak fabric areas with interfacing if needed. Sew tightly around all holes of the snap part. Stitch several times through each hole for extra strength. Check alignment before sewing to ensure snaps close correctly. Test the snap by pressing it closed and pulling gently. Secure snaps last longer with careful stitching and proper placement.
Troubleshooting Common Issues
Installing metal snap fasteners can sometimes come with small challenges. These issues may affect the look and function of your project. Troubleshooting common problems helps fix these quickly. This section guides you through solutions for typical snap fastener problems.
Misaligned Snaps
Misaligned snaps do not close properly. Check the placement before setting snaps. Mark spots on both fabric pieces carefully. Use a ruler or measuring tape for accuracy. Press the snaps together to test fit before fixing. If misaligned, remove snaps gently and reposition. Use a fabric marker to guide placement.
Loose Fasteners
Loose snaps can fall off or shift. Ensure you use the right tools for setting snaps. Apply firm, even pressure when pressing the fasteners. Check the snap parts for any damage or wear. Replace any bent or broken pieces before installation. Tighten loose snaps by pressing them again firmly. Use pliers designed for snap fasteners to avoid damage.
Damaged Fabric Solutions
Fabric damage can happen during snap installation. Use a small piece of interfacing behind the snap area. This strengthens the fabric and prevents tearing. Avoid pushing the snap too hard through thin fabric. If fabric tears, patch the area before adding snaps. Use fabric glue or sew a small patch for extra support. Always test on scrap fabric to avoid damage.
Maintenance And Care
Proper maintenance and care keep metal snap fasteners working smoothly. Regular attention prevents damage and extends their life. Clean snaps gently and check for any wear. Replace worn snaps early to avoid fabric damage.
Cleaning Metal Snaps
Use a soft cloth to wipe dirt and dust off metal snaps. Mild soap and water work well for cleaning. Avoid harsh chemicals that might damage the metal. Dry snaps completely after cleaning to stop moisture buildup.
Preventing Rust And Wear
Keep metal snaps dry to prevent rust from forming. Store items with snaps in dry places. Avoid exposing snaps to saltwater or sweat for long periods. Applying a thin layer of clear nail polish can protect snaps from rust.
Replacing Worn Snaps
Check snaps often for signs of wear or looseness. Use snap pliers to remove damaged snaps carefully. Replace with new snaps of the same size and type. Secure new snaps firmly to avoid future problems.

Credit: www.amazon.com
Frequently Asked Questions
Which Side Of The Snap Goes On Top?
The female snap (socket with hole) goes on top or right side of the fabric. The male snap (stud) fits underneath, securing the closure.
How To Install Magnetic Snaps Without A Tool?
Mark snap placement on fabric. Push prongs through fabric holes. Fold prongs flat using pliers or a sturdy object. Align snap parts and press firmly together by hand. Test snap closure for secure fit.
How To Put On Metal Snaps With A Hammer?
Place the snap parts on fabric aligned correctly. Use a hammer to gently tap the snap setter until secure. Avoid excessive force to prevent damage.
How To Install Snap Clips?
Place the socket (female part) on the fabric’s right side. Position the stud (male part) on the opposite side. Align both pieces carefully. Use snap pliers or press firmly to secure the snap clip. Check the snap closure for proper fit and function.
Conclusion
Installing metal snap fasteners is simple with the right steps. Start by choosing the correct snap parts for your fabric. Align the top and bottom pieces carefully before pressing them together. Use proper tools like snap pliers for a secure fit.
Practice on scrap fabric to build confidence. With patience, your snaps will hold firmly and look neat. Now, you can add durable closures to jackets, bags, or crafts easily. Enjoy your improved sewing skills and finished projects!