Are you tired of struggling with messy glue or complicated tools when trying to hang a mirror? Mirror mounting tape could be the simple solution you’ve been searching for.
It’s strong, easy to use, and can hold your mirror securely without damaging your walls. You’ll discover exactly how to use mirror mounting tape step-by-step, so your mirror stays put and your space looks perfect. Keep reading, and you’ll learn tips that save you time, effort, and frustration.
Choosing The Right Tape
Choosing the right mirror mounting tape is important for a safe and lasting hold. The tape must fit the mirror size and surface type. This choice affects the ease of installation and the strength of the bond. Using the wrong tape can lead to damage or the mirror falling.
Consider the environment where the mirror will hang. Bathrooms or kitchens need tapes that resist moisture and heat. For dry rooms, standard tapes often work well. Knowing tape types and key factors helps pick the best option.
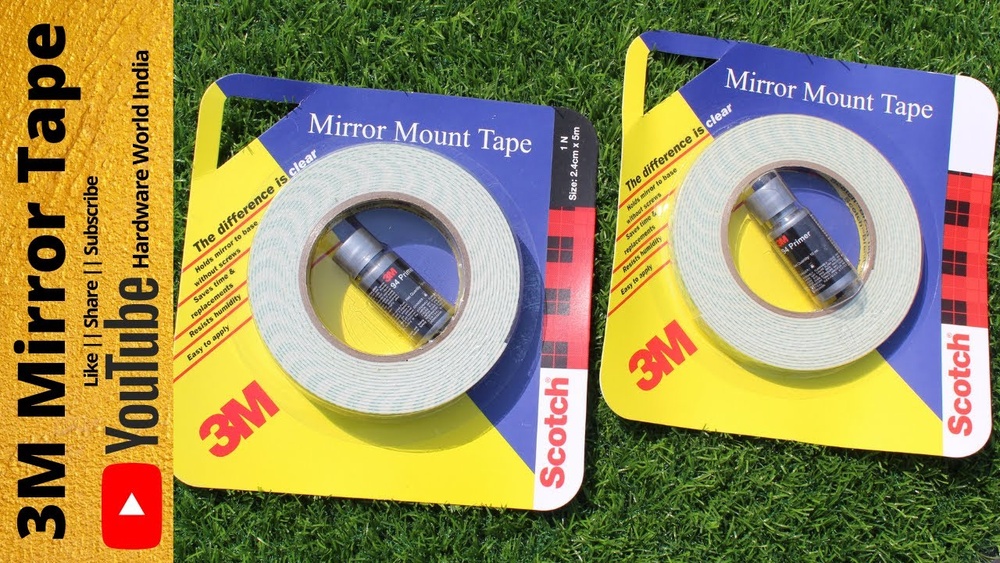
Types Of Mirror Mounting Tape
Double-sided foam tape is thick and strong. It cushions and holds well on uneven surfaces. Acrylic tape offers strong adhesion and resists weather. It suits both indoor and outdoor mirrors. Clear tapes are less visible and good for small mirrors. Some tapes are waterproof, ideal for moist rooms.
Factors To Consider
Surface type matters. Smooth surfaces need different tape than textured ones. Mirror weight is key. Heavy mirrors require stronger, thicker tape. Temperature range affects tape choice. Some tapes lose stickiness in heat or cold. Check tape size and length to cover enough area. Always read tape instructions for best use.

Credit: www.youtube.com
Preparing The Surface
Preparing the surface is a vital step before applying mirror mounting tape. It ensures the tape sticks well and holds the mirror securely. A clean and dry surface creates a strong bond between the tape, wall, and mirror.
Follow simple steps to clean both the wall and the mirror. This helps avoid any dust, grease, or moisture that can weaken the tape’s grip.
Cleaning The Wall
Start by wiping the wall with a dry cloth to remove dust. Use a mild soap and water mix to clean off grease or dirt. Avoid soaking the wall; just dampen the cloth slightly. Let the wall dry completely before applying the tape. This step prevents the tape from peeling off later.
Cleaning The Mirror
Use a soft cloth or microfiber towel to wipe the mirror surface. Spray a small amount of glass cleaner or rubbing alcohol on the cloth, not directly on the mirror. Clean the area where the tape will stick. Remove all fingerprints, dust, and smudges. Allow the mirror to dry fully before mounting it on the wall.
Cutting And Applying The Tape
Cutting and applying mirror mounting tape requires care and precision. Proper steps ensure strong attachment and a clean finish. Follow simple instructions to handle the tape correctly and avoid mistakes.
Measuring And Cutting
Start by measuring the area on the mirror where you want to place the tape. Use a ruler or tape measure for accuracy. Mark the length of tape you need with a pencil or marker. Cut the tape with sharp scissors or a utility knife. Cut straight edges to prevent peeling or uneven sticking. Avoid cutting too short or too long. The tape should fit the mirror perfectly for the best hold.
Applying Tape To The Mirror
Clean the mirror surface before applying the tape. Use a cloth with rubbing alcohol to remove dust and grease. Peel off one side of the tape’s backing carefully. Press the tape firmly onto the mirror along the marked area. Avoid touching the adhesive with your fingers. Press down evenly to remove air bubbles. Peel off the other backing side when ready to mount. Handle the mirror gently after applying tape to keep it secure.
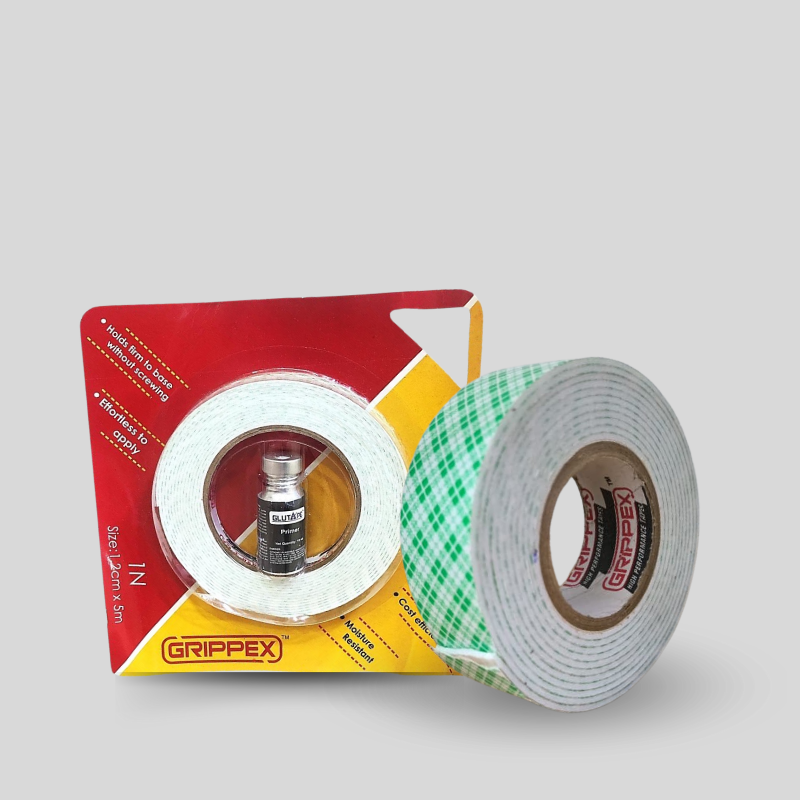
Credit: glutape.com
Mounting The Mirror
Mounting a mirror with mirror mounting tape is simple and quick. It creates a strong hold without nails or screws. Follow these steps to place your mirror safely and neatly.
Positioning The Mirror
Choose the exact spot for your mirror on the wall. Clean the wall surface with a cloth to remove dust and dirt. Measure and mark the area to ensure the mirror is straight. Peel off the tape backing carefully. Apply strips of tape evenly on the back of the mirror. Press the tape firmly to stick well.
Pressing And Securing
Lift the mirror and align it with the marked spot. Press the mirror onto the wall firmly. Hold it in place for about 30 seconds to help the tape bond. Avoid moving the mirror after mounting. Let the tape set for a few hours before hanging anything on the mirror.
Curing And Final Touches
Curing and final touches are key steps after applying mirror mounting tape. These steps ensure the tape holds strong and your mirror stays in place. Patience during curing helps the adhesive bond properly. Final checks make sure the mirror is stable and safe.
Allowing Adhesive To Set
After placing the mirror, give the tape time to cure. Most tapes need at least 24 hours to reach full strength. Avoid touching or moving the mirror during this time. The adhesive hardens and sticks firmly to the surface. A steady hold prevents the mirror from falling later.
Checking Stability
Once the adhesive cures, gently test the mirror’s stability. Press lightly on different areas to check for movement. If it feels loose, avoid hanging heavy items on it. A stable mirror means the tape did its job well. Regular checks help keep the mirror secure over time.
Common Mistakes To Avoid
Using mirror mounting tape seems simple, but small errors can cause big problems. These mistakes often lead to poor adhesion or damage to the mirror and wall. Avoiding common pitfalls helps your mirror stay secure and look great.
Not Cleaning The Surface Properly
Dirty or dusty surfaces reduce tape stickiness. Always clean the wall and mirror back with rubbing alcohol. Let them dry fully before applying tape. This step ensures strong bond and prevents the mirror from falling.
Using Too Little Tape
Small tape pieces do not hold heavy mirrors well. Apply enough strips across the mirror’s back for full support. Spread tape evenly. This balances the weight and keeps the mirror stable.
Ignoring Temperature And Humidity
High moisture or extreme temperatures weaken tape adhesion. Avoid mounting mirrors in bathrooms or outdoor spaces unless tape suits those conditions. Choose tape designed for humidity or use extra caution.
Peeling Off The Tape Backing Too Early
Removing the backing before placing the mirror wastes tape stickiness. Peel it off just before pressing the mirror onto the surface. This keeps the adhesive clean and strong.
Not Pressing Firmly Enough
Light pressure does not secure the tape well. Press the mirror firmly against the wall for 30 seconds or more. This activates the adhesive and improves hold.
Tips For Long-lasting Hold
Using mirror mounting tape correctly ensures a strong and lasting bond. Follow simple tips to keep your mirror secure for a long time. Small steps make a big difference in hold strength and durability.
Clean surfaces well before applying the tape. Dirt, dust, or oil can weaken the adhesive. Use rubbing alcohol and a clean cloth to wipe the area. Let it dry completely for the best results.
Choose The Right Tape Thickness
Select tape thickness based on your mirror’s weight. Thicker tape holds heavier mirrors better. Thin tape suits lightweight mirrors and smooth surfaces.
Press Firmly And Evenly
Apply strong pressure on the tape after placing the mirror. Press evenly across the surface to remove air bubbles. This helps the adhesive stick tightly.
Allow Time To Cure
Wait at least 24 hours before hanging anything on the mirror. The tape needs time to set and bond fully. Avoid moving or adjusting the mirror during this period.
Avoid Moisture And Heat
Keep the mounted mirror away from steam and heat sources. Moisture and heat can weaken the tape’s hold. Choose dry, cool spots for the best grip.

Credit: www.tesa.com
Frequently Asked Questions
What Surfaces Work Best With Mirror Mounting Tape?
Mirror mounting tape adheres well to smooth, clean, and dry surfaces like glass, metal, and painted walls. Avoid rough or porous surfaces to ensure a strong bond and long-lasting hold for your mirrors.
How Much Weight Can Mirror Mounting Tape Support?
Most mirror mounting tapes can hold between 5 to 10 pounds per inch of tape. Always check the manufacturer’s weight guidelines to avoid damage or falling mirrors.
Can I Remove Mirror Mounting Tape Without Damage?
Yes, gently heating the tape with a hairdryer softens the adhesive. Slowly peel it off to avoid damaging walls or mirrors.
How Do I Prepare The Surface Before Applying Mirror Tape?
Clean the surface thoroughly with rubbing alcohol to remove dust and grease. Ensure it is completely dry before applying the tape for maximum adhesion.
Conclusion
Using mirror mounting tape makes your project neat and secure. Clean surfaces well before applying the tape for best results. Press firmly and wait a bit to let it stick properly. This tape holds mirrors without damaging walls or leaving residue.
It saves time and effort compared to nails or screws. Choose the right tape strength for your mirror size. With these simple steps, your mirror will stay in place safely. Try it out and see how easy mirror mounting can be.