Are you struggling to find a strong, reliable way to stick things together without the mess of glue? Acrylic mounting tape might be exactly what you need.
This little-known adhesive can hold heavy items firmly while staying invisible and clean. If you want to learn how to use acrylic mounting tape like a pro, you’re in the right place. Keep reading, and you’ll discover simple steps and insider tips that will make your projects easier and your results flawless.
Your next fix or craft is about to get a lot better.
Choosing The Right Acrylic Tape
Choosing the right acrylic mounting tape is important for a strong and lasting bond. Different projects require different tapes. The wrong tape can cause poor adhesion or damage surfaces. Understanding key factors helps pick the best tape for your needs.
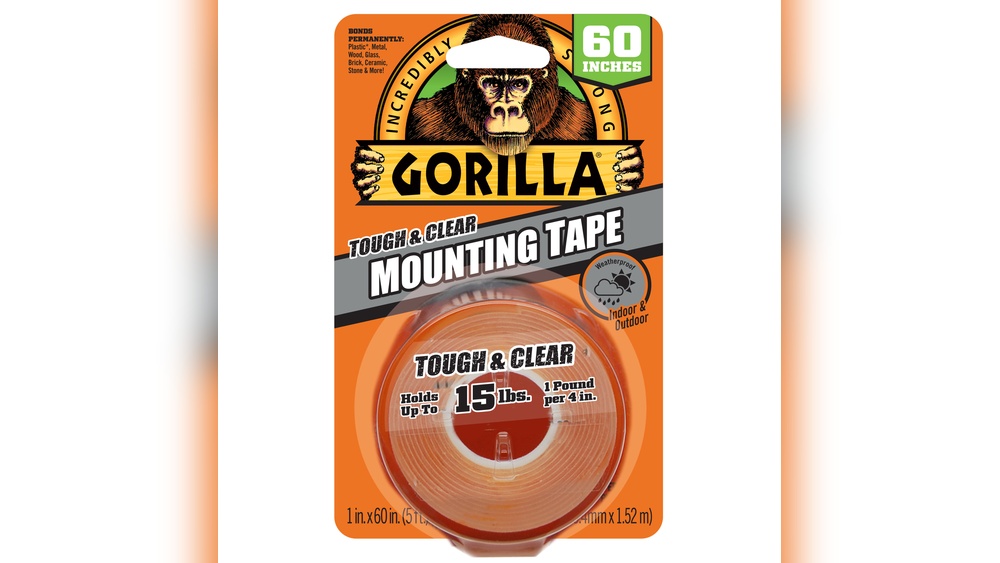
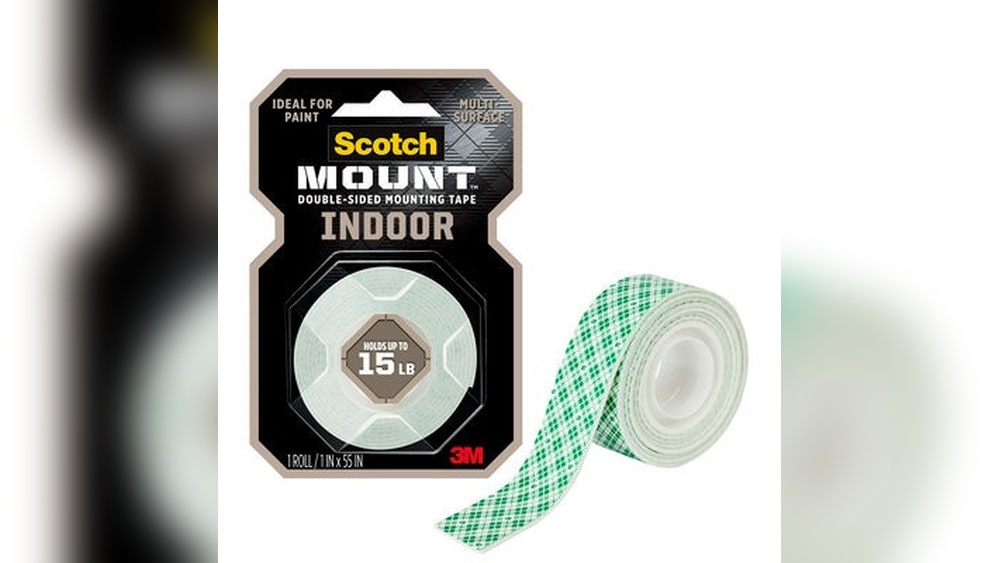
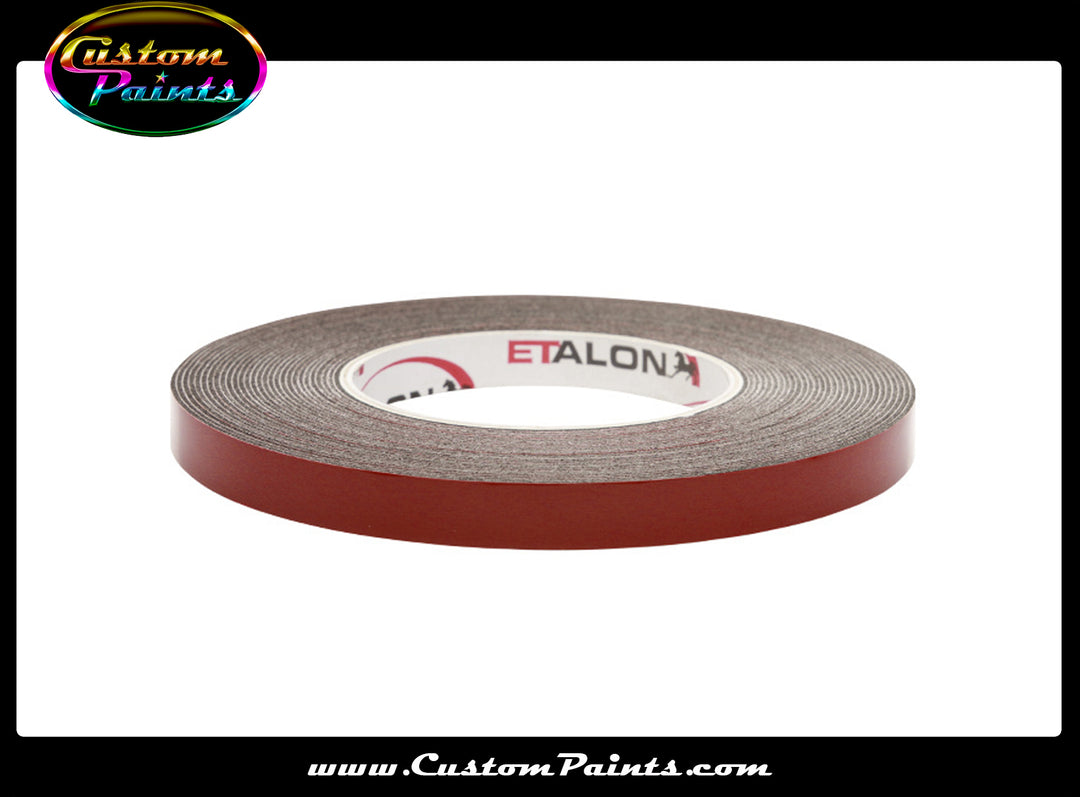
Types Of Acrylic Mounting Tape
Acrylic mounting tape comes in several types. Double-sided tape is common for mounting pictures and signs. Foam tape adds cushioning and fills gaps. Transfer tape is thin and invisible for clean finishes. Choose the type based on the project and surface.
Surface Compatibility
Not all tapes stick well to every surface. Smooth surfaces like glass or metal work well with most tapes. Rough or textured surfaces need foam tape for better grip. Check if the tape is safe for delicate surfaces like painted walls or plastics.
Tape Thickness And Strength
Thickness affects how much weight the tape can hold. Thin tapes are good for light objects and flat surfaces. Thicker tapes offer more strength and can absorb shocks. Match the tape strength with the object’s weight and surface type for best results.

Credit: www.walmart.com
Preparing Surfaces For Bonding
Preparing surfaces for bonding is a crucial step in using acrylic mounting tape. Proper preparation ensures strong adhesion and long-lasting results. Every surface must be clean, dry, and smooth before applying the tape. This section covers the key steps to get your surfaces ready.
Cleaning And Drying
Start by cleaning the surface with mild soap and water. Use a soft cloth to wipe away dirt and dust. Rinse well to remove any soap residue. Let the surface dry completely before applying the tape. Moisture can weaken the bond and cause failure.
Removing Residues And Oils
Use rubbing alcohol or a specialized cleaner to remove oils and residues. Even small amounts of oil can stop the tape from sticking. Apply the cleaner with a lint-free cloth. Wipe the area thoroughly and let it dry. Avoid touching the cleaned surface with your fingers.
Ensuring Surface Smoothness
Check the surface for bumps or rough spots. Smooth surfaces allow the tape to bond evenly. Sand any rough areas lightly with fine-grit sandpaper. Wipe away sanding dust before applying the tape. A smooth surface helps the tape stick better and last longer.
Applying Acrylic Mounting Tape
Applying acrylic mounting tape is simple and effective. This tape sticks strongly to many surfaces. It holds items firmly without nails or screws. The key is to apply it carefully. Follow these steps for the best results.
Cutting Tape To Size
Measure the area where you want to stick the tape. Cut the tape a little longer than needed. Use sharp scissors for a clean edge. Avoid stretching the tape while cutting. This keeps the tape strong and ready to use.
Proper Placement Techniques
Clean the surface before placing the tape. Dirt and dust reduce the tape’s grip. Peel off the backing slowly. Place the tape straight without wrinkles. Press it lightly to hold in place before final pressing.
Applying Pressure For Maximum Adhesion
After placing the tape, press firmly with your hand. Apply pressure for at least 30 seconds. Use a roller or flat object for even pressure. This helps the tape stick well and last long. Avoid moving the item after pressing.
Curing And Setting Time
The curing and setting time of acrylic mounting tape is key to a strong, lasting bond. This phase lets the adhesive fully attach surfaces. It needs attention to detail. Understanding the right conditions helps avoid weak spots or bond failure. Let’s explore factors that affect curing and how to get the best results.
Optimal Temperature Conditions
Temperature affects how fast acrylic mounting tape cures. Warmer temperatures speed up the process. Cooler temperatures slow it down. Aim for a room temperature between 65°F and 80°F (18°C to 27°C). Avoid very cold or hot environments during curing. Extreme temperatures can weaken the adhesive bond.
Avoiding Movement During Cure
Movement during curing can cause the bond to fail. Keep the mounted items steady and still. Do not press, twist, or pull the surfaces. Even slight shifts can cause gaps or bubbles. Use clamps or supports if needed to hold parts in place while curing.
Time Required For Full Bond Strength
The tape feels sticky quickly but needs more time for full strength. Most acrylic mounting tapes reach strong adhesion within 24 hours. For heavy or critical items, wait 72 hours for best results. Patience ensures the tape bonds deeply and securely.
Troubleshooting Bonding Issues
Troubleshooting bonding issues with acrylic mounting tape can save time and ensure strong, lasting adhesion. Understanding common problems helps fix weak bonds quickly. Simple steps improve tape performance on different surfaces.
Weak Adhesion Causes
Weak adhesion happens for several reasons. Dirt, dust, or oil on the surface reduce tape grip. Cold temperatures make the adhesive less sticky. Applying tape on wet or damp surfaces also weakens the bond. The tape may be old or expired, losing its stickiness. Pressure applied during installation might be too light for a strong hold.
Removing And Reapplying Tape
Remove tape carefully to avoid surface damage. Pull slowly at a sharp angle. Clean the surface with rubbing alcohol to remove residue. Dry the area completely before reapplying new tape. Cut a fresh piece of tape, press firmly for at least 30 seconds. Check the edges to ensure full contact with the surface.
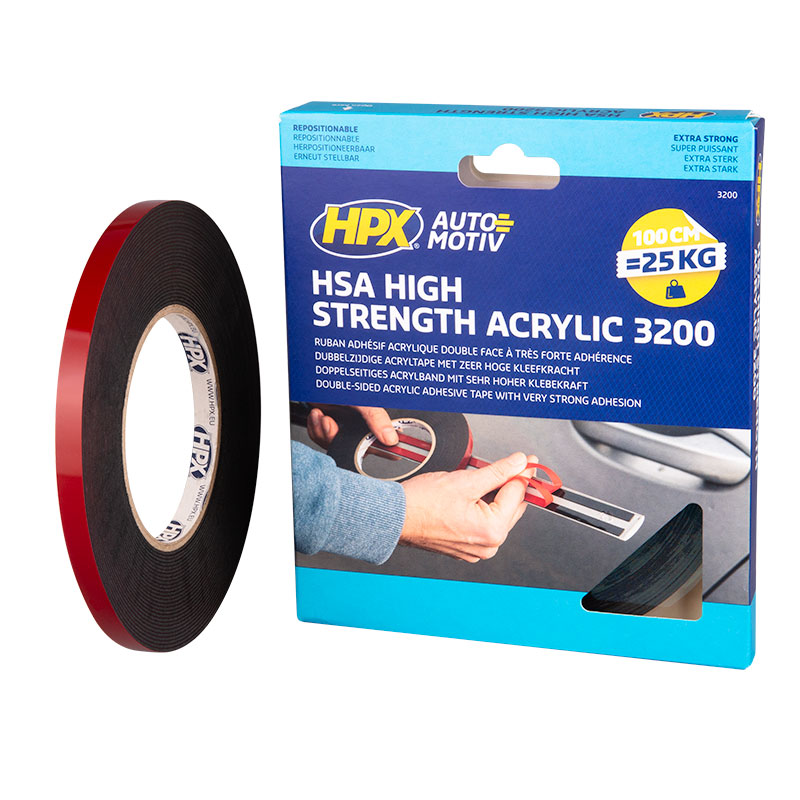
Handling Uneven Surfaces
Uneven surfaces make bonding difficult. The tape may not touch all areas evenly. Use a roller or flat tool to press tape into grooves and bumps. Apply heat with a hairdryer to soften tape and improve grip. For very rough surfaces, choose thicker tape designed for texture. Trim excess tape for a clean, secure finish.
Credit: hpx.eu
Safety And Storage Tips
Using acrylic mounting tape requires care to keep yourself and your materials safe. Proper safety and storage habits help maintain the tape’s strength and prevent accidents. Follow these simple tips to handle and store the tape correctly.
Safe Handling Practices
Always work in a clean, dry area to avoid dirt and moisture on the tape. Wear gloves to protect your skin from adhesives. Avoid touching the sticky side to keep it clean and effective. Cut tape with sharp scissors or a blade for clean edges. Keep tape away from children and pets to prevent accidental ingestion or sticking.
Proper Storage Conditions
Store acrylic mounting tape in a cool, dry place. Keep it away from direct sunlight and heat sources to avoid weakening the adhesive. Seal the tape in its original packaging or use airtight containers. Avoid folding or creasing the tape, as this can damage its strength. Store rolls flat to maintain their shape and stickiness.
Disposal Recommendations
Dispose of used tape carefully to avoid sticking to unwanted surfaces. Wrap small pieces in paper before throwing them away. Do not burn acrylic mounting tape, as it releases harmful fumes. Check local regulations for proper disposal methods of adhesive products. Keep disposal areas clean to prevent environmental harm.
Credit: www.specialistpaints.com
Frequently Asked Questions
What Surfaces Work Best With Acrylic Mounting Tape?
Acrylic mounting tape adheres best to smooth, clean, and dry surfaces like glass, metal, plastic, and painted walls. Avoid rough or porous surfaces for optimal bonding. Proper surface preparation ensures strong adhesion and long-lasting results.
How Do I Apply Acrylic Mounting Tape Correctly?
Clean the surface thoroughly before application. Cut the tape to the desired length, peel off the backing, and press firmly onto the surface. Apply even pressure for 30 seconds to ensure a strong bond and prevent air bubbles.
Can Acrylic Mounting Tape Be Removed Without Damage?
Yes, acrylic mounting tape can be removed carefully. Use heat like a hairdryer to soften the adhesive, then peel slowly. Clean any residue with rubbing alcohol to protect the surface from damage.
Is Acrylic Mounting Tape Waterproof And Weather-resistant?
Acrylic mounting tape is water-resistant and performs well outdoors. It withstands moisture, UV rays, and temperature changes, making it suitable for both indoor and outdoor mounting projects.
Conclusion
Acrylic mounting tape offers a strong and clean way to stick items. It works well on many surfaces, making projects easier. Always prepare surfaces by cleaning them before use. Press firmly to ensure a good bond and wait before handling.
This tape saves time and avoids messy glue. Try it for home, school, or office tasks. Simple steps lead to neat and lasting results. Give acrylic mounting tape a chance for your next project.