Is your pull chain light switch not working right? Maybe it won’t turn on, or the chain keeps slipping.
You might feel stuck or unsure how to fix it without calling an electrician. The good news is, you don’t have to be an expert to solve this problem. You’ll discover simple, step-by-step tips to get your pull chain light switch working smoothly again.
Keep reading, and by the end, you’ll save time, money, and frustration by fixing it yourself.
Credit: thebankerslamp.com
Tools Needed
Fixing a pull chain light switch needs a few basic tools. These tools help you work safely and easily. Having the right tools makes the repair faster and less stressful.
Screwdriver
A screwdriver is essential to open the switch cover. Most pull chain switches use flathead or Phillips screws. Use the correct type to avoid stripping the screws.
Voltage Tester
A voltage tester checks if the power is off. Safety first. Always test the wires before touching them. It prevents electric shocks during the repair.
Wire Strippers
Wire strippers remove insulation from electrical wires. This tool helps you prepare wires for a new connection. It ensures a clean and safe wire join.
Needle-nose Pliers
Needle-nose pliers help bend and hold wires. They are perfect for small spaces inside the switch box. This tool gives you better control over wires.
Electrical Tape
Electrical tape insulates wire connections. It protects wires from touching each other. Use it to wrap exposed wire ends securely.
Replacement Pull Chain Switch
Have a new pull chain switch ready. It must match the old one in size and type. This ensures the new switch fits perfectly and works well.
Safety First
Safety matters most when fixing a pull chain light switch. Always turn off the power before starting any repair work. Use proper tools and check the switch carefully to avoid accidents.
Turn Off The Power
Always cut off electricity before starting work on the switch. Find the right circuit breaker and switch it off. Use a tester to check no current flows. This prevents shocks and accidents.
Use Proper Tools
Select insulated tools designed for electrical work. Avoid using metal tools without insulation. Proper tools reduce the risk of electric shock and damage to parts.
Wear Safety Gear
Wear rubber-soled shoes to stay insulated. Use safety goggles to protect your eyes from dust. Gloves help avoid cuts and electric shocks.
Work In A Dry Area
Keep the work area dry and clean. Water and electricity are dangerous together. Make sure your hands are dry before handling wires.
Double Check Connections
Ensure wires are connected tightly and correctly. Loose wires can cause sparks or short circuits. Check twice to avoid future hazards.
Identify The Problem
Fixing a pull chain light switch starts with finding the exact problem. This step saves time and effort. The problem could be with the chain itself, the switch inside, or the wiring. Checking these parts carefully helps you decide the next steps.
Chain Issues
Sometimes the pull chain breaks or gets stuck. A broken chain means you cannot pull it to turn the light on or off. Dirt or rust can also stop the chain from moving smoothly. Check if the chain moves freely and is not damaged.
Switch Mechanism Faults
The switch inside may wear out over time. It can stop making the electrical connection needed to power the light. You may hear no click when pulling the chain. Test the switch by pulling the chain and listening for the click sound.
Wiring Problems
Loose or damaged wires cause the light to fail. Wires can disconnect from the switch or get frayed. Turn off the power before checking wires. Look for loose connections or signs of damage in the wiring.
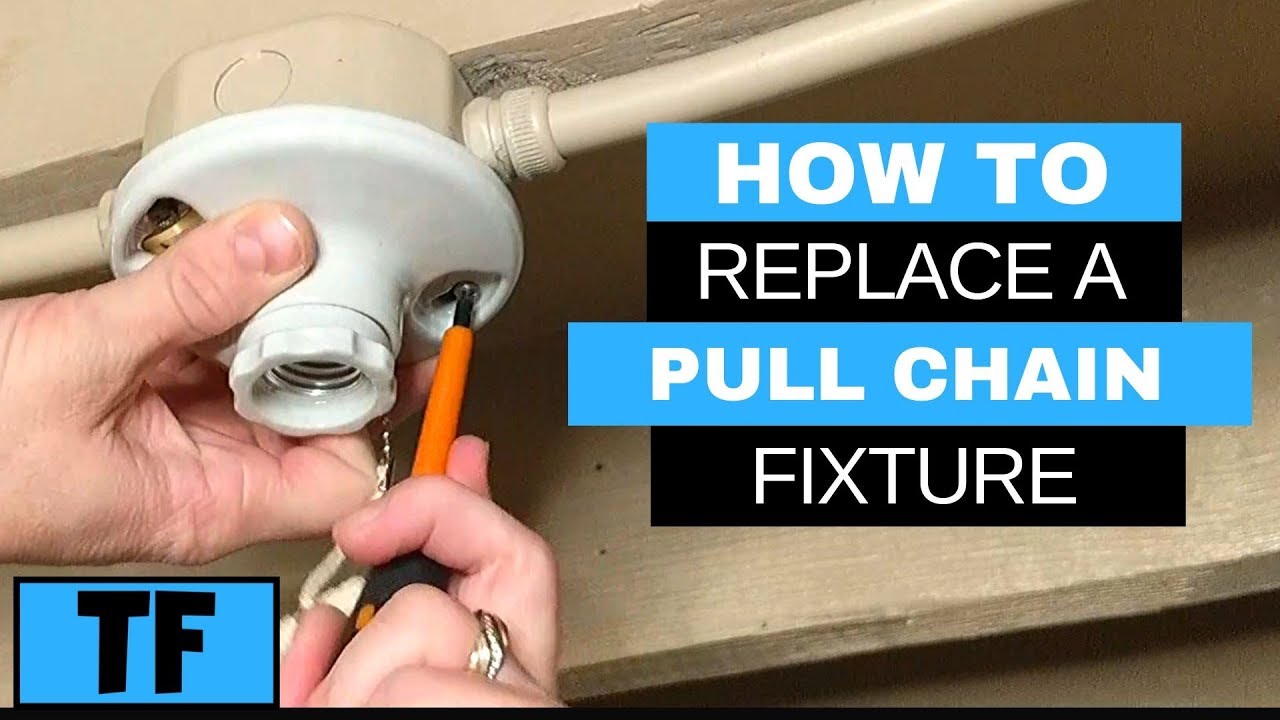
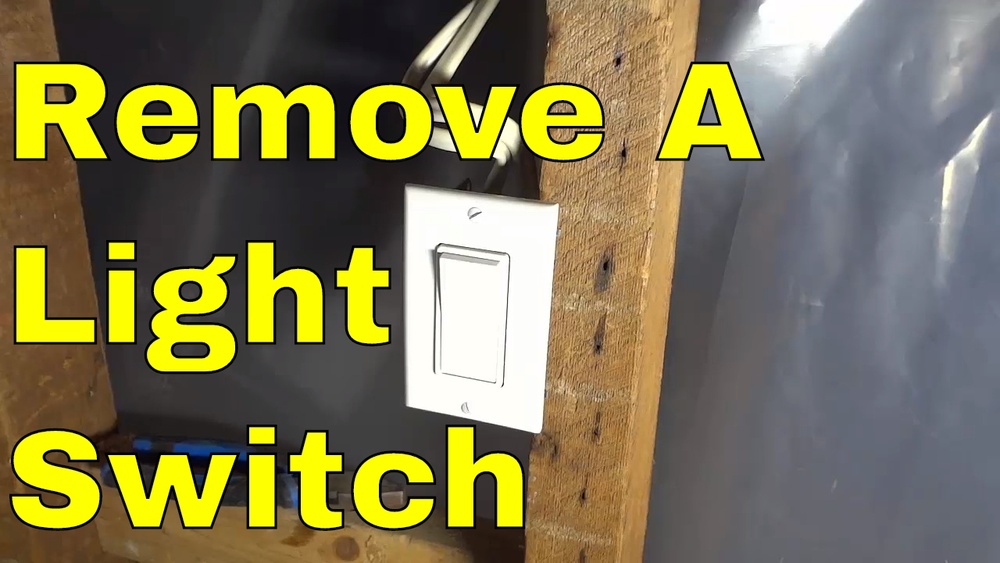
Credit: www.youtube.com
Turn Off Power
Turning off the power is the first step to fix a pull chain light switch safely. Without cutting the power, you risk electric shock. Always make safety your top priority before starting any repair work. This step ensures no electricity flows to the switch while you work on it.
Find the right circuit breaker that controls the light switch. Switch it off to stop the electric current. Double-check by trying the light pull chain to confirm the power is off. If the light does not turn on, it is safe to proceed.
Locate The Circuit Breaker
Go to your home’s electrical panel. Look for labels that show which breaker controls the light switch. If the breakers are not labeled, turn off the main breaker to cut power to the whole house.
Switch Off The Correct Breaker
Flip the breaker switch to the off position. This stops electricity from reaching the pull chain switch. Avoid guessing; always be sure the right breaker is off.
Test The Light Switch
Pull the chain on the light switch. If the light stays off, the power is off. If the light turns on, find the correct breaker and switch it off.
Remove The Switch Cover
Removing the switch cover is the first step to fix a pull chain light switch. It gives you access to the switch and wiring inside. You need to be careful and gentle to avoid damage.
Start by turning off the power to the light switch at the breaker. This keeps you safe from electric shock. Never skip this step.
Gather The Right Tools
Use a flathead or Phillips screwdriver. Check the screws on the switch cover to know which tool fits. Having the right tool makes the job easier.
Locate And Remove The Screws
Look for screws on the switch cover plate. They are usually at the top and bottom. Unscrew them slowly and keep them safe for later.
Carefully Pull Off The Cover
After removing screws, gently pull the cover away from the wall. If it feels stuck, wiggle it slightly. Avoid using force to prevent cracks.
Inspect The Switch And Wiring
With the cover off, check the switch and wires. Look for loose connections or damaged parts. This helps identify the problem before fixing.
Inspect And Clean Components
Inspecting and cleaning the pull chain light switch parts is important. Dirt and dust can block the switch from working well. A clean switch helps the light turn on and off smoothly. This step often fixes common switch problems without needing new parts.
Check For Debris
Start by looking at the switch carefully. Dust, dirt, and small debris can get inside. Use a soft brush or a dry cloth to remove these particles. Avoid using water or wet cloths as this can harm the switch. Make sure the area around the chain is clean too. Dirt here can stop the chain from moving freely.
Lubricate Moving Parts
Some parts inside the switch need light lubrication to work well. Use a small amount of silicone spray or a dry lubricant. Avoid oil-based lubricants because they attract dirt. Apply the lubricant gently to the moving parts. This helps the chain pull smoothly and reduces wear. Be careful not to use too much; a little goes a long way.
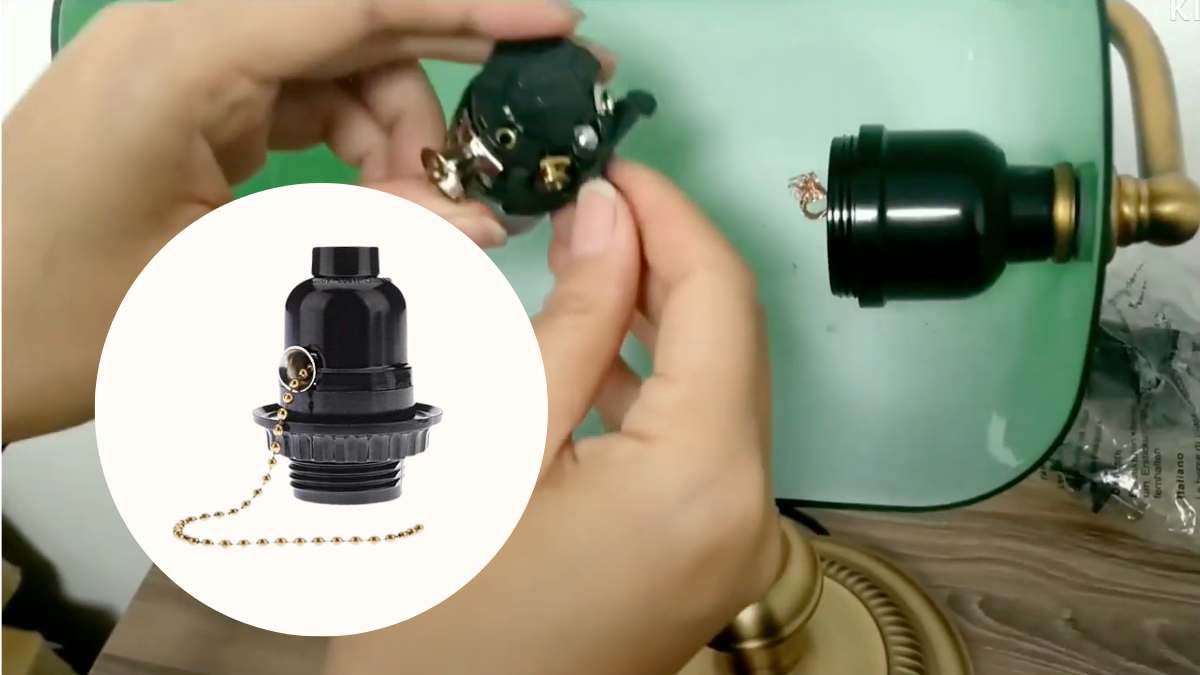
Replace The Pull Chain
Replacing the pull chain on a light switch is a simple fix. It restores the switch’s function and keeps your light working. The process involves choosing the right chain and attaching it properly. Follow these steps for a smooth repair.
Choosing The Right Chain
Select a pull chain that fits your switch size. Chains come in different lengths and styles. Pick one that matches the old chain’s thickness and length. A metal chain works best for durability. Avoid plastic chains as they can break easily.
Attaching The New Chain
Turn off the power to the light switch before starting. Remove the switch cover carefully. Hook the new pull chain onto the switch lever. Make sure the chain moves freely without getting stuck. Replace the cover and test the switch by pulling the chain. The light should turn on and off smoothly.
Fix Or Replace The Switch
Fixing or replacing a pull chain light switch can solve many common problems. Sometimes the switch just needs a small repair. Other times, replacing the whole switch is the best choice. Knowing how to do both helps keep your light working well. Below are simple steps to repair or replace the switch safely and easily.
Repairing Internal Mechanism
Start by turning off power to the switch at the circuit breaker. Remove the switch cover and pull chain carefully. Check inside for broken or loose parts. Small springs or connectors may need tightening or replacing. Use a screwdriver to fix loose screws. Clean any dirt or dust inside the switch. Test the switch by pulling the chain gently. If it works smoothly, reattach the cover and restore power.
Installing A New Switch
Turn off power at the circuit breaker before starting. Unscrew the old switch from the electrical box. Note how wires connect to the terminals. Disconnect wires and remove the switch. Attach wires to the new switch terminals in the same order. Secure the switch back into the box with screws. Put the cover plate back on. Turn power on and test the new switch by pulling the chain. It should turn the light on and off without issues.
Test The Switch
Testing the pull chain light switch is a key step in fixing it. This step helps you find out if the switch works or if it needs replacement. Testing is simple and does not need special tools.
You can test the switch while it is still connected or after removal. Safety is important, so turn off the power before touching any wires. Testing shows if the switch sends power correctly to the light fixture.
Gather Your Tools
Prepare a multimeter or a continuity tester. These tools check electric flow through the switch. You also need a screwdriver to remove the switch cover.
Turn Off The Power
Switch off the circuit breaker or remove the fuse. Double-check by trying to turn on the light. The light should stay off for your safety.
Use a screwdriver to take off the switch plate. Gently pull the switch out from the wall. Be careful not to touch any wires yet.
Test For Continuity
Set your multimeter to the continuity setting. Touch the probes to the switch terminals. Pull the chain to turn the switch on and off. The multimeter should beep or show a reading when on.
Analyze Your Results
If the multimeter shows no continuity, the switch is faulty. A good switch will show continuity only when on. Replace the switch if it fails this test.
Reassemble And Restore Power
After fixing the pull chain light switch, the next step is to put everything back together. Reassembling the switch carefully is important. This step ensures your light works properly and stays safe to use.
Take your time to follow each step. Avoid rushing to prevent damaging any parts. Once the switch is reassembled, you can restore power to the light.
Align The Switch Components
Start by placing the internal parts in their correct positions. Check that the spring and chain mechanism fit well. Make sure the contacts touch properly to allow electricity flow.
Secure The Switch Cover
Put the cover back on the switch body. Use screws to fix it tightly. A loose cover can cause the switch to malfunction or create a safety hazard.
Reconnect The Power Supply
Turn the circuit breaker or fuse back on. This restores electricity to the light fixture. Avoid touching wires while doing this to stay safe.
Test The Pull Chain Switch
Pull the chain to check if the light turns on and off. Try it several times to confirm smooth operation. If the light does not respond, recheck your work before trying again.
When To Call A Professional
Knowing when to call a professional is important for safety and proper repair. Some problems with a pull chain light switch need expert care. Trying to fix these issues alone can be risky.
Recognizing the signs that require professional help saves time and prevents damage. It also keeps you safe from electrical hazards. Below are common situations to watch for.
Electrical Shocks Or Sparks
Feeling a shock or seeing sparks means danger. Stop using the switch immediately. Call a licensed electrician to inspect and fix the issue safely.
Damaged Or Exposed Wiring
Wires that are frayed, cracked, or exposed need expert attention. Faulty wiring can cause fires. Only professionals have the right tools to repair wiring correctly.
Persistent Switch Malfunction
If the pull chain switch keeps failing after simple fixes, call a pro. Repeated problems could mean internal damage that needs special repair.
Switch Is Hot Or Smells Burning
A switch that feels hot or smells like burning must not be used. This signals overheating or short circuits. A professional electrician can safely diagnose and fix this.
Uncertainty About Electrical Work
Not sure how to fix the switch or uncomfortable with electrical tasks? Contact a professional. Experts ensure the repair is done right without risks.

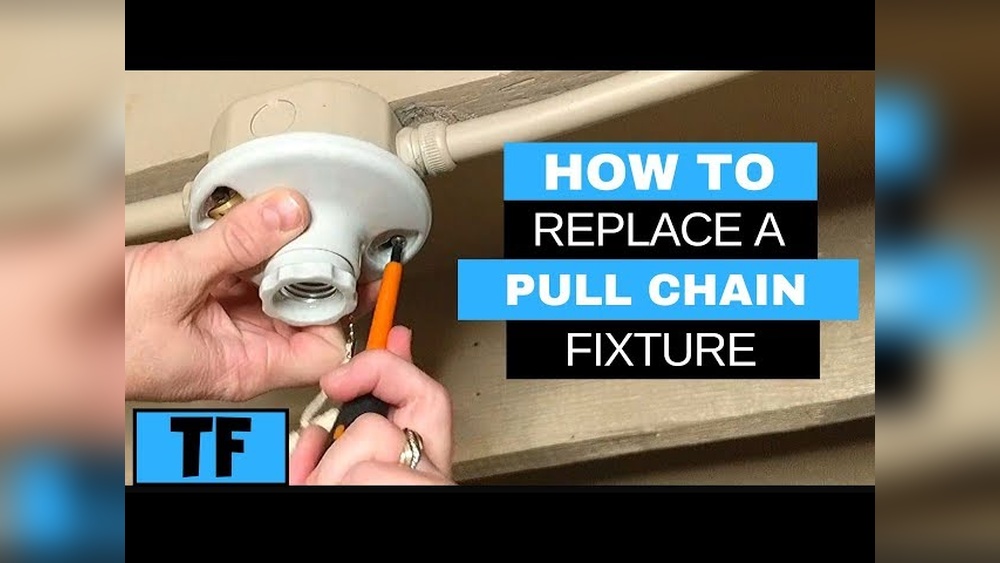
Credit: diy.stackexchange.com
Frequently Asked Questions
How Do I Troubleshoot A Pull Chain Light Switch?
First, turn off the power to the switch. Check if the chain is stuck or broken. Inspect wiring for loose connections. Replace the switch if it’s damaged or worn out. Always follow safety precautions during troubleshooting.
What Tools Are Needed To Fix A Pull Chain Switch?
You need a screwdriver, wire stripper, voltage tester, and replacement switch. A ladder may be necessary for ceiling fixtures. These tools help safely remove and install the switch. Always ensure power is off before starting.
Can I Repair A Broken Pull Chain Light Switch?
Yes, if the chain or internal mechanism is damaged, replacement is best. Minor issues like stuck chains can be fixed by cleaning or adjusting. For electrical faults, replacing the switch ensures safety and proper function.
How Do I Replace A Pull Chain Light Switch Safely?
Turn off the circuit breaker before starting. Remove the old switch carefully. Disconnect wires and connect them to the new switch as marked. Secure the switch, restore power, and test the function. Use a voltage tester to confirm no current before handling.
Conclusion
Fixing a pull chain light switch can save time and money. Start by turning off the power to stay safe. Check the chain and switch for damage. Replace parts if they look worn or broken. Use simple tools and follow the steps carefully.
A working pull chain switch makes your light easy to control. Small repairs keep your home running smoothly. Try fixing it yourself before calling a professional. It feels good to solve problems on your own. Keep your home bright and safe with this fix.