Are you tired of forgetting to turn off your lights or want to save on your electricity bill without lifting a finger? Setting a timer on your light switch could be the simple solution you need.
Imagine your lights turning on and off automatically, giving your home a lived-in feel even when you’re away. In this guide, you’ll discover easy steps to put your light switch on a timer, making your daily routine smarter and more efficient.
Keep reading—you’re just minutes away from making your home more convenient and energy-friendly.
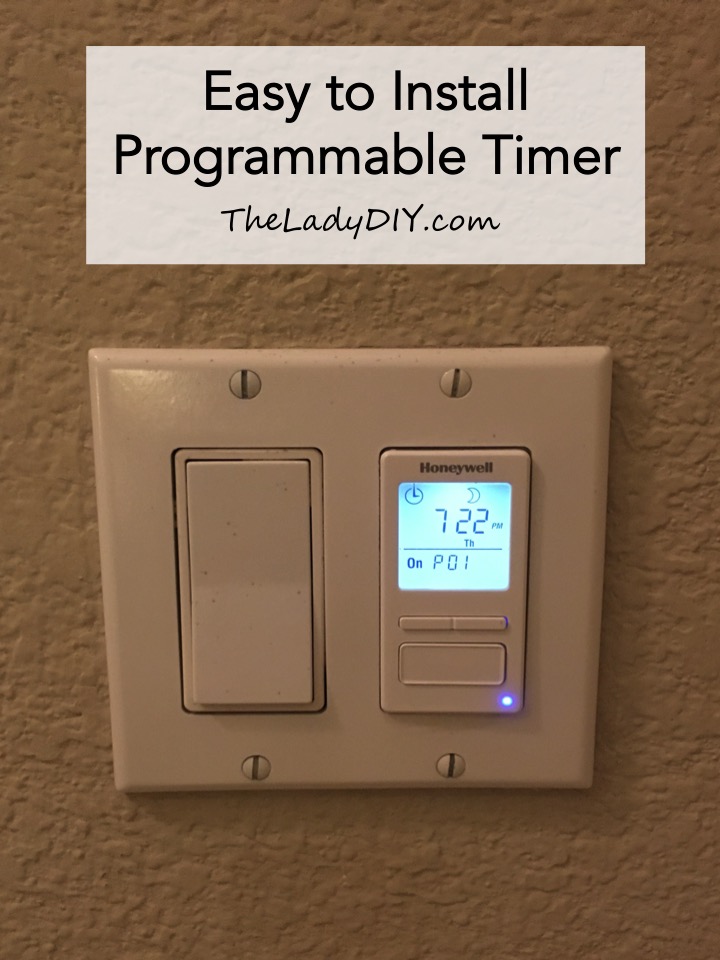
Credit: theladydiy.com
Choosing The Right Timer
Picking the right timer for your light switch makes all the difference. It ensures your lights turn on and off exactly when you want. This saves energy and adds convenience to your daily routine.
Different timers have different functions and styles. Choosing one that fits your needs and your switch type is key. Let’s explore how to find the perfect match.
Types Of Light Switch Timers
Mechanical timers use a dial to set on and off times. They are simple and usually cost less. Digital timers offer more precision and options. You can program multiple on/off settings for each day. Smart timers connect to Wi-Fi and work with apps. They allow control from anywhere using your phone.
Compatibility With Your Switch
Not all timers fit every type of switch. Some work only with toggle switches, others with rocker switches. Check if your switch is single-pole or three-way before buying. Also, confirm the timer supports your home’s voltage and wiring. Wrong compatibility can cause the timer not to work or damage the system.
Features To Consider
Look for easy programming options. Some timers have large displays and simple buttons. Battery backup keeps settings during power outages. Automatic daylight saving time adjustment is helpful too. Consider timers with manual override, so you can switch lights on or off anytime. Make sure the timer matches your lifestyle and needs.
Gathering Required Tools
Gathering the right tools is the first step to putting a light switch on a timer. Having everything ready makes the job smoother and safer. You avoid delays and frustration by preparing ahead.
Essential Tools List
Start with a screwdriver set. Both flathead and Phillips screwdrivers are needed. A voltage tester is important to check if wires carry electricity. Wire strippers help remove the insulation from wires. Needle-nose pliers make bending and holding wires easier. Electrical tape is useful for covering wire connections. Finally, a drill might be needed to fix the timer box to the wall.
Safety Equipment
Safety gear protects you from electric shocks and injuries. Wear insulated gloves to avoid shocks. Use safety goggles to protect your eyes from dust and debris. Turn off the main power switch before starting any work. Have a flashlight ready for better visibility in dark areas. Use a sturdy ladder if the switch is high on the wall. Keep a first aid kit nearby for emergencies.
Preparing For Installation
Preparing to install a light switch timer needs careful steps. Safety is the top priority before any electrical work. This section guides you through the initial tasks.
Understanding how to turn off power safely and remove the existing switch helps avoid accidents. Follow each step slowly and clearly to prepare for a smooth installation.
Turning Off Power Safely
Start by locating your home’s main electrical panel. Switch off the breaker that controls the light switch you will work on. Use a voltage tester to confirm no power flows to the switch. Never skip this safety check. Electricity can cause severe injury or worse.
Removing The Existing Switch
Remove the faceplate covering the switch using a screwdriver. Unscrew the switch from the electrical box carefully. Pull the switch out gently to see the wires behind it. Note the wire positions or take a photo for reference. Disconnect the wires by loosening the terminal screws. Keep all screws and parts safe for reassembly.
Wiring The Timer Switch
Wiring the timer switch is a key step in automating your light control. It involves connecting the timer to your home’s electrical system safely and correctly. This guide breaks down the process into clear parts. Follow each step carefully to avoid mistakes and ensure your timer works perfectly.
Identifying Wires
Turn off the power at the breaker. Remove the old switch cover. Look inside the switch box. You will see several wires. Usually, these include a black (hot) wire, a white (neutral) wire, and a green or bare (ground) wire. Sometimes, a red wire may be present for a three-way switch. Use a voltage tester to confirm no electricity flows in the wires. Label each wire for easy connection.
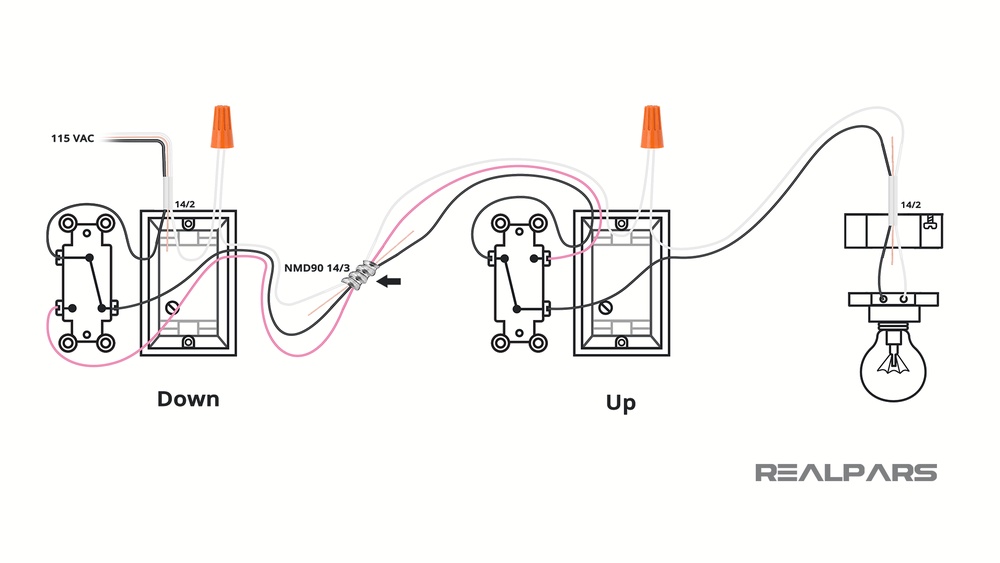
Connecting Timer Wires
Match the timer wires to the house wires. Connect the black wire from the timer to the black hot wire. Attach the white timer wire to the white neutral wire. Connect the green or bare wire to the ground wire. Use wire nuts to secure each connection tightly. Avoid loose connections, which cause problems. Follow the timer’s instructions for any additional wires. Double-check all connections before moving on.
Securing The Switch
Carefully push the wires back into the box. Align the timer switch with the screw holes. Use a screwdriver to fasten the switch to the electrical box. Do not overtighten the screws. Attach the switch plate cover. Turn the power back on at the breaker. Test the timer switch by setting it and watching the light turn on or off. Secure installation ensures safety and proper function.
Setting Up The Timer
Setting up the timer for your light switch makes your home smarter and more energy-efficient. It controls when the lights turn on and off without manual effort. This setup helps save electricity and keeps your home safer by simulating occupancy. Follow these steps to get your timer ready.
Programming Basic Schedules
Start by plugging in the timer and setting the current time. Use the manual or button guide to adjust the hours and minutes. Next, choose the days you want the timer to work. Many timers let you select weekdays, weekends, or every day.
Set the time for the light to turn on. Press the program button and enter the start time. Then, set the off time by repeating the process. Make sure to save your settings before moving on. Test the timer by switching to the “auto” mode.
Adjusting Advanced Settings
Some timers offer extra features like random on/off or multiple programs. Random mode turns lights on and off at varied times to mimic presence. Use this for added home security during vacations.
Advanced settings also include setting several on/off cycles per day. This is useful for lights used at different times. Adjust the timer’s sensitivity if it has a light sensor. This prevents lights from turning on during daylight.
Check the timer’s manual for specific instructions. Experiment with different schedules to find what fits your lifestyle best.

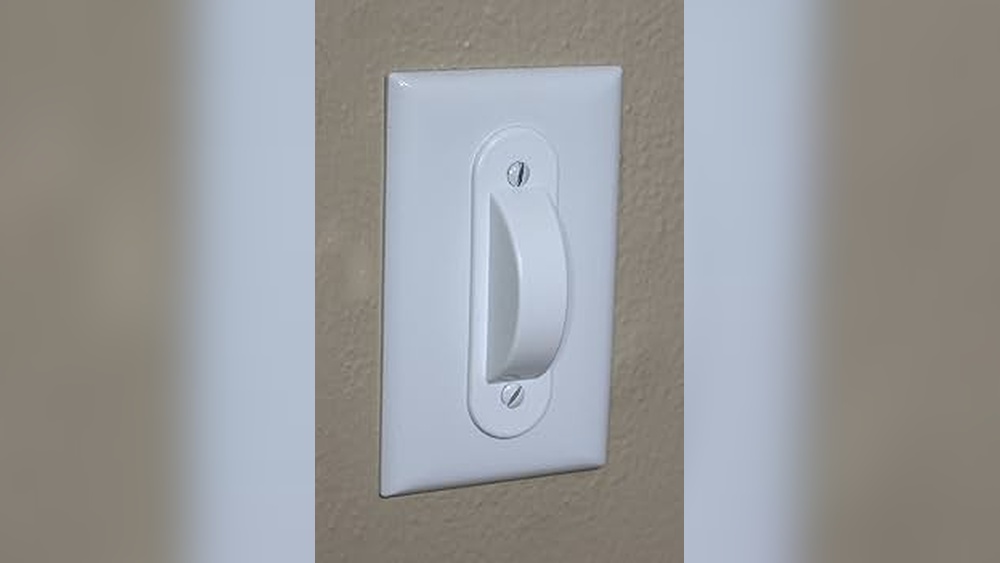
Credit: www.ifixit.com
Testing And Troubleshooting
Testing and troubleshooting are key steps after installing a light switch timer. They ensure the timer works correctly and the lights operate as planned. This process helps spot problems early. Fixing these issues keeps your timer reliable and safe.
Verifying Timer Operation
Start by setting the timer to turn the light on and off at specific times. Watch the light to see if it follows the schedule. Check the timer display for errors or unusual signs. Listen for clicking sounds, which show the timer is working. Try manual override to test control without the timer. Confirm the power supply to the timer is steady and uninterrupted.
Common Issues And Fixes
The light does not turn on or off as scheduled. Check if the timer is set to the correct time and AM/PM. Reset the timer and program it again if needed. Loose wiring can cause failure; tighten connections carefully. A dead battery inside the timer may stop it; replace it if possible. If the timer clicks but the light stays off, the bulb or fixture may have a problem. Consult a professional electrician if problems continue.
Enhancing Smart Control
Enhancing smart control allows you to manage your light switch timer with ease. It offers more comfort and saves energy. You can schedule lights to turn on or off automatically. Smart control helps you adjust settings without manual work.
This section explains how to connect your timer switch with smart home systems. It also covers using voice commands for quick control. These methods make your lighting system smarter and more user-friendly.
Integrating With Smart Home Systems
Many light switch timers support smart home integration. You can connect them to hubs like Alexa, Google Home, or Apple HomeKit. This lets you control lights from one app.
Integration allows you to set routines and schedules easily. Lights can turn on when you arrive home or off when you leave. This adds convenience and improves home security.
To integrate, follow the timer’s app instructions. Usually, it involves linking accounts and scanning QR codes. Once connected, your timer becomes part of your smart home network.
Using Voice Commands
Voice commands simplify light control further. You can turn lights on or off using simple phrases. Commands like “Turn on the living room light” work well with timers.
This feature works with smart assistants like Alexa or Google Assistant. It removes the need to touch switches or open apps. Voice control is perfect for busy moments or when your hands are full.
Set up voice commands by linking your timer to the assistant. Then, enable the skill or action for the timer device. Speak clearly to ensure the assistant understands your request.

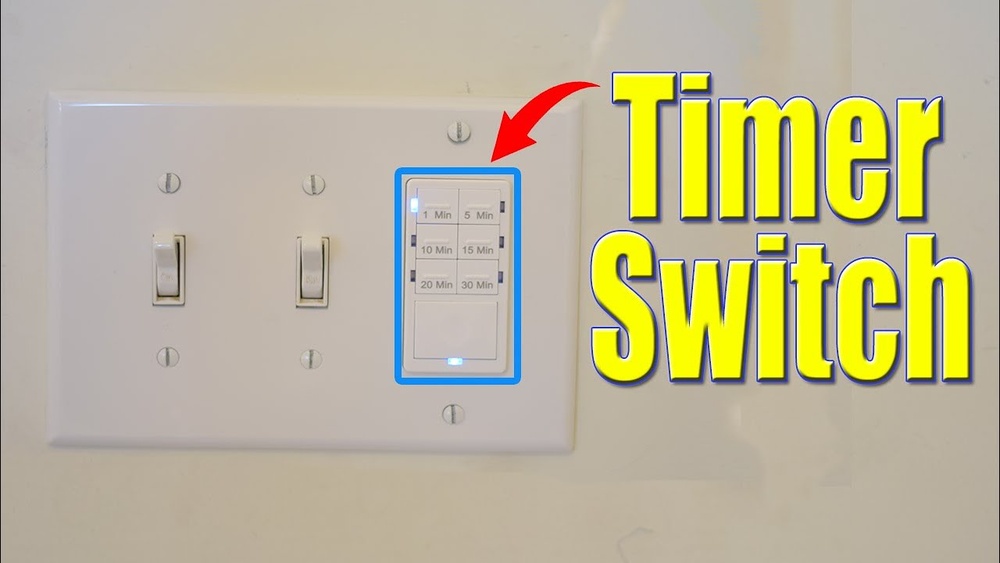
Credit: www.youtube.com
Frequently Asked Questions
How Do I Install A Timer On A Light Switch?
Turn off the power at the breaker. Remove the switch cover. Connect the timer wires to the switch wires using wire nuts. Secure the timer to the wall box and attach the cover plate. Turn the power back on and program the timer.
Can I Use Any Timer Switch For My Light?
No, choose a timer compatible with your light type and wiring. Check the voltage, load rating, and switch type. Some timers work only with incandescent lights, while others support LEDs or CFLs. Always read the product specifications before purchasing.
What Tools Are Needed To Put A Light Switch On A Timer?
You need a screwdriver, wire stripper, voltage tester, and wire nuts. A drill may be required for mounting. Always use insulated tools for safety. Having these tools helps ensure a smooth and safe installation process.
Is It Safe To Install A Light Switch Timer Myself?
Yes, if you follow safety precautions and have basic electrical knowledge. Always turn off power at the breaker before starting. Use a voltage tester to confirm no current. If unsure, consult a licensed electrician to avoid hazards.
Conclusion
Setting a timer on your light switch saves energy and adds convenience. It helps control lights without needing to remember switching them off. This small change can reduce your electricity bill. Plus, it adds safety by turning lights on when you are not home.
The process is simple and does not require advanced skills. Try it today and enjoy a smarter home lighting system. Easy, useful, and efficient—just what every home needs.