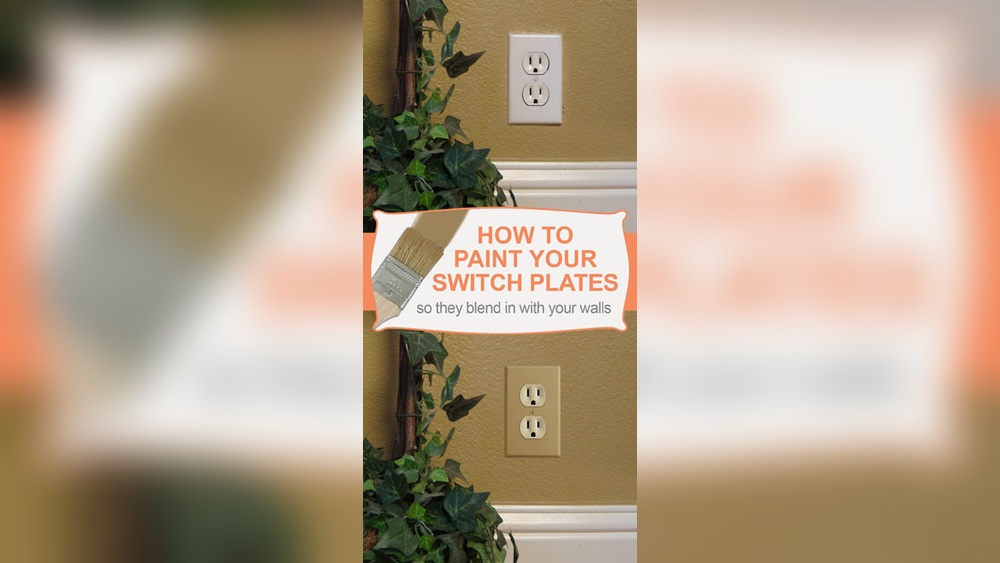
Are your light switch covers looking dull or outdated? You don’t have to replace them to give your room a fresh new look.
Painting your light switch covers is a simple and affordable way to add style and personality to any space. Imagine turning those plain covers into eye-catching pieces that match your décor perfectly. In this guide, you’ll discover easy steps and insider tips to transform your switch covers like a pro.
Ready to make a small change that makes a big impact? Let’s get started!
Choosing The Right Materials
Choosing the right materials is key to painting light switch covers well. The right supplies help the paint last longer and look smooth. Using poor materials can cause peeling or uneven color. Spend time on this step for the best results.
Selecting Paint Types
Use paint made for plastic surfaces. Acrylic or spray paint works best for switch covers. These paints stick well and dry fast. Avoid oil-based paints because they take longer to dry and may crack. Choose light colors for a fresh look or bold shades for contrast.
Picking Brushes And Tools
Choose small, soft brushes for smooth strokes. Foam brushes are great for even coverage. Avoid large brushes that leave streaks. Use painter’s tape to protect edges. Have a clean cloth nearby to wipe mistakes quickly.
Preparing The Switch Covers
Clean the covers with soap and water. Remove all dirt and oils for better paint grip. Lightly sand the surface with fine sandpaper. This creates a rough texture for the paint to hold. Wipe off dust with a damp cloth before painting.
Credit: www.aconcordcarpenter.com
Prepping The Switch Covers
Prepping light switch covers is the first step for a smooth paint job. This step helps paint stick better and last longer. You need to clean, sand, remove old paint, and prime the covers. Each task makes the surface ready for fresh paint.
Cleaning And Sanding
Start by cleaning the covers with soap and water. This removes dirt and oils that block paint. Dry the covers fully before sanding.
Use fine sandpaper to roughen the surface lightly. Sanding helps the paint grip the cover well. Wipe off dust with a damp cloth after sanding.
Removing Old Paint
Check for peeling or chipping paint on the covers. Scrape off loose paint with a plastic scraper or sandpaper. Avoid scratching the cover deeply.
Removing old paint ensures a smooth surface. It prevents the new paint from bubbling or peeling later.
Priming The Surface
Apply a thin coat of primer to the switch covers. Primer seals the surface and improves paint adhesion. Use a primer suitable for plastic or metal covers.
Let the primer dry completely before painting. This step creates a strong base for your paint.
Painting Techniques
Painting light switch covers can change a room’s look quickly. Using the right painting techniques helps you get smooth and beautiful results. This section shares simple ways to paint light switch covers with style and care.
Applying Base Coats
Start with a clean, dry switch cover. Use a primer to help paint stick better. Apply a thin, even base coat using a small brush or spray paint. Let it dry completely before adding more layers. Two coats often give the best coverage and smooth finish.
Adding Patterns And Designs
After the base coat dries, add your patterns or designs. Use fine brushes for small details or dots. Paint stripes, shapes, or simple motifs to make covers unique. Work slowly and let each part dry before moving on. This avoids smudges and keeps designs sharp.
Using Stencils And Tape
Stencils and painter’s tape help create clean lines and shapes. Place tape or stencil on the dry base coat. Paint over it carefully, then remove while paint is still wet. This method gives precise, professional-looking patterns. Use different colors for more fun and style.
Drying And Finishing
Drying and finishing are key steps in painting light switch covers. They protect your work and keep the paint looking good for a long time. Taking time to dry and seal the covers helps avoid smudges and chips.
Finishing right also makes the covers easy to clean. It gives a smooth, shiny surface. These steps ensure your painted covers last and look fresh.
Proper Drying Times
Let the paint dry fully before handling. Most paints need at least one hour to dry to touch. For best results, wait 24 hours to dry completely. Rushing can cause smudges or peeling. Dry in a dust-free, well-ventilated area. Avoid stacking or touching the covers during drying.
Sealing With Clear Coats
Apply a clear coat to protect the paint. Use a spray or brush-on sealer made for plastic or wood. Clear coats add shine and durability. Apply thin, even layers and let each layer dry. Two to three coats work best for lasting protection. This step helps resist scratches and moisture.
Reattaching The Covers Safely
Make sure the covers are completely dry before reattaching. Use a screwdriver to secure them gently. Avoid overtightening screws to prevent cracks. Check the switch works smoothly after reinstallation. Clean your hands to keep the covers free of fingerprints. Take time to ensure the covers fit well and look neat.
Tips For Long-lasting Results
Painting light switch covers can brighten any room. To keep the paint looking fresh longer, follow some simple tips. Proper care and technique help your covers stay vibrant and chip-free. This section shares key advice for lasting results.
Avoiding Common Mistakes
Start with clean, dry covers. Dirt or oil stops paint from sticking well. Use light sanding to create a rough surface. This helps the paint hold better. Choose the right paint type, such as spray paint made for plastic. Apply thin, even coats. Thick layers can drip or peel. Let each coat dry fully before adding the next. Skip painting the switch mechanism itself. Cover edges carefully to avoid paint build-up. Remove any painter’s tape soon after the last coat dries.
Maintaining Painted Covers
Clean covers gently with a soft cloth. Avoid harsh cleaners or scrubbing pads. Touch up small chips quickly to prevent peeling. Use a clear sealer spray to protect the paint. Keep covers dry and avoid excess rubbing. Replace covers if they crack or warp. Regular checks prevent damage from spreading. Handle covers with care during cleaning or room updates.
Creative Customization Ideas
Try stencils or painter’s tape for neat designs. Use colors that match your room’s style. Add patterns like stripes or polka dots for fun. Mix matte and glossy finishes for texture. Personalize covers with initials or small drawings. Experiment with metallic or chalkboard paint effects. Let your creativity make unique switch covers that enhance your decor.
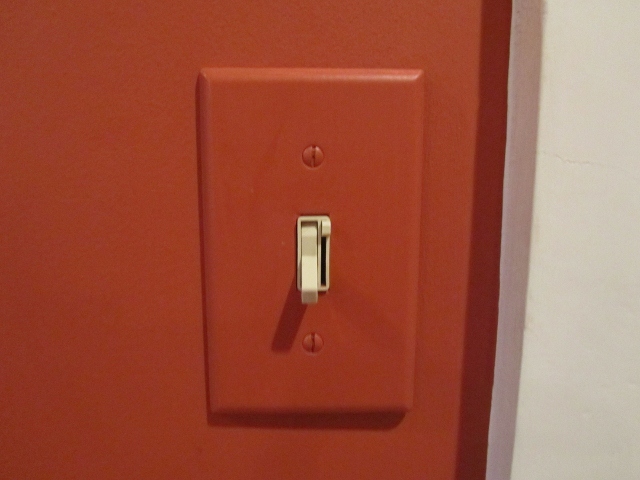
Credit: www.reddit.com
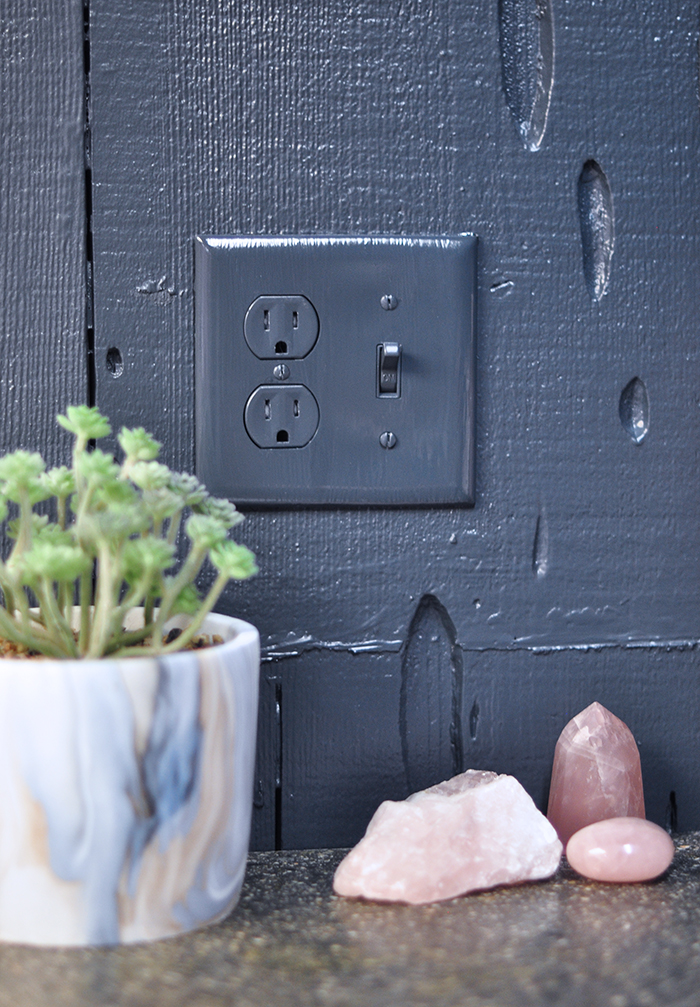
Credit: lovemaegan.com
Frequently Asked Questions
How Do I Prepare Light Switch Covers For Painting?
Clean the covers with soap and water. Remove dirt and grease. Sand lightly to create a smooth surface. Dry completely before painting.
What Type Of Paint Works Best For Switch Covers?
Use spray paint or acrylic paint made for plastic. These paints adhere well and resist chipping. Choose a durable, glossy finish for easy cleaning.
Can I Paint Light Switch Covers Without Removing Them?
It is safer to remove covers before painting. Removing prevents paint from getting on the wall. It also allows even coverage and a neater finish.
How Long Should I Wait Before Reinstalling Painted Covers?
Allow paint to dry for at least 24 hours. This ensures the paint fully cures and won’t peel. Handle covers carefully during installation to avoid damage.
Conclusion
Painting light switch covers is a simple way to refresh a room. Choose the right paint and prepare the covers well. Take your time and paint with care. Let the paint dry fully before putting covers back. Small changes like this can brighten your space.
Try it yourself for a quick, affordable update. Enjoy the new look and feel of your room.