Are you tired of your old cabinet hardware but worried about the hassle of moving it? Changing cabinet handles and knobs can instantly refresh your space, but the process might seem tricky if you don’t know where to start.
What if you could update your cabinets quickly, without drilling new holes or damaging your doors? In this guide, you’ll discover simple, step-by-step tips to move your cabinet hardware like a pro. Keep reading to transform your kitchen or bathroom with ease—and enjoy the satisfaction of a job well done.

Credit: www.amazon.com
Tools And Materials Needed
Moving cabinet hardware is a simple task with the right tools and materials. Preparing everything beforehand saves time and effort. It also helps avoid damage to your cabinets. This section covers what you need to get started.
Essential Tools
A screwdriver is the most important tool for this job. Choose one that fits your hardware screws well. A drill can speed up the process, especially for new holes. A tape measure helps you place hardware evenly. Use a pencil to mark new positions on the cabinet. A level ensures handles or knobs line up straight. You may also need wood filler to cover old holes. Sandpaper smooths the filled spots before painting or staining.
Choosing New Hardware
Select hardware that matches your cabinet style and finish. Measure the screw length to fit your cabinet doors. Pick handles or knobs that feel comfortable to use. Consider the size and shape so they fit your hand well. Look for durable materials like metal or solid plastic. Matching your new hardware with existing decor keeps a cohesive look. Keep in mind your budget and the overall cabinet design.
Preparing The Cabinets
Preparing the cabinets is the first step to move cabinet hardware smoothly. It ensures the new hardware fits well and looks great. Taking time to prepare helps avoid damage and makes the whole process easier.
Removing Old Hardware
Start by removing the old handles and knobs carefully. Use a screwdriver to unscrew each piece. Keep the screws in a safe place if you plan to reuse them. Gently pull off the hardware to avoid scratching the cabinet surface. Take your time and work slowly to prevent any damage.
Cleaning The Surface
After removing the hardware, clean the cabinet surface well. Use a mild soap and warm water to remove dirt and grease. A soft cloth works best to avoid scratching the surface. Dry the area completely before installing new hardware. Clean surfaces help new screws hold tight and make the cabinet look fresh.
Measuring And Marking
Measuring and marking are the first steps in moving cabinet hardware. These steps help ensure the new hardware fits perfectly. Taking your time here prevents mistakes later. Accurate measurements make the process easier and faster.
Finding The Perfect Placement
Start by deciding where the new hardware should go. Measure the height from the bottom or top edge of the cabinet door. Use a ruler or tape measure for this. Mark this spot lightly with a pencil. Check the distance from the edge to keep the hardware centered. Consistency in placement keeps cabinets looking neat. Use the old hardware hole as a guide if possible.
Marking Drill Holes Accurately
Next, mark the exact spots for drilling. Use a small pencil mark to show where each hole will go. Double-check measurements to avoid errors. A level can help keep marks straight and even. Measure twice, mark once. Use a nail or small awl to make a tiny indent. This prevents the drill bit from slipping. Clear, precise marks lead to clean, easy drilling.
Drilling New Holes
Drilling new holes is a key step when moving cabinet hardware. It ensures the new handles or knobs fit perfectly. Careful drilling keeps your cabinets looking neat and professional. This section guides you on how to drill safely and effectively.
Choosing The Right Drill Bit
Pick a drill bit that matches the hardware screws. Usually, a 3/16-inch bit works for most cabinet knobs and pulls. Use a wood bit for wooden cabinets. The correct bit size prevents cracking and splits. Avoid too large or too small bits for clean holes.
Preventing Damage
Mark the new hole spots with a pencil before drilling. Use painter’s tape over the mark to stop wood from chipping. Drill slowly and steady to keep control. Place a scrap wood piece behind the drilling area for support. Clean dust to avoid scratches on the cabinet surface.
Installing New Hardware
Installing new cabinet hardware can refresh the look of your kitchen or bathroom. It is a simple task that anyone can do with a little care. New handles and knobs add style and improve functionality. Follow these steps for a smooth installation.
Attaching Handles And Knobs
Start by aligning the handle or knob with the hole in the cabinet door. Hold it steady and insert the screw from the inside. Turn the screw slowly to avoid stripping it. Use a screwdriver to tighten the screw firmly. Check that the handle or knob sits straight and does not wobble.
Ensuring Secure Fit
Double-check the tightness after attaching each piece. Loose hardware can cause damage or fall off later. Avoid overtightening, which can crack the cabinet surface. If the screw is too long, trim it carefully or use shorter screws. Test the handle or knob by pulling gently to confirm it stays secure.
Fixing Old Holes
Fixing old holes is a key step when moving cabinet hardware. You want your cabinets to look neat and smooth. Old holes can make the surface uneven and catch the eye. Filling and covering these holes helps keep your cabinets looking fresh and new.
Taking time to fix the holes properly prevents future problems. It also makes your hardware move look clean and professional. Let’s break down the best ways to fix those old holes.
Filling And Sanding
Start by choosing a wood filler that matches your cabinet material. Apply the filler into the holes using a putty knife. Press it in firmly to fill the entire hole. Let the filler dry fully, usually for a few hours.
After drying, use fine sandpaper to smooth the surface. Sand gently until the filled area is flush with the surrounding wood. This step removes bumps and rough edges. Clean the dust off with a dry cloth before moving to the next step.
Matching Paint Or Finish
Next, match the cabinet’s paint or finish. Use a small brush to apply paint or stain over the filled area. Try to blend the color evenly with the rest of the cabinet. Multiple thin coats work better than one thick coat.
Allow each coat to dry completely before adding another. This process hides the repair and keeps the cabinet looking natural. The finish should look smooth and consistent to the eye.
Tips For A Professional Look
Moving cabinet hardware can change the look of your kitchen or bathroom. A professional look makes a big difference. Small details matter. Follow simple tips to keep your cabinets neat and stylish.
Focus on careful placement and protecting the cabinet surface. These steps help avoid damage and keep your hardware looking great.
Consistent Alignment
Keep handles and knobs in a straight line. Use a ruler or measuring tape to check spacing. Mark spots lightly with a pencil before drilling. Consistent alignment creates a clean, balanced appearance. It also makes opening doors easier.
Maintaining Cabinet Integrity
Avoid making too many holes in the cabinet. Use existing holes if possible. Fill old holes with wood filler and sand smooth. This prevents damage and keeps cabinets strong. Handle hardware carefully to avoid scratches or dents. Protect the cabinet surface during installation.
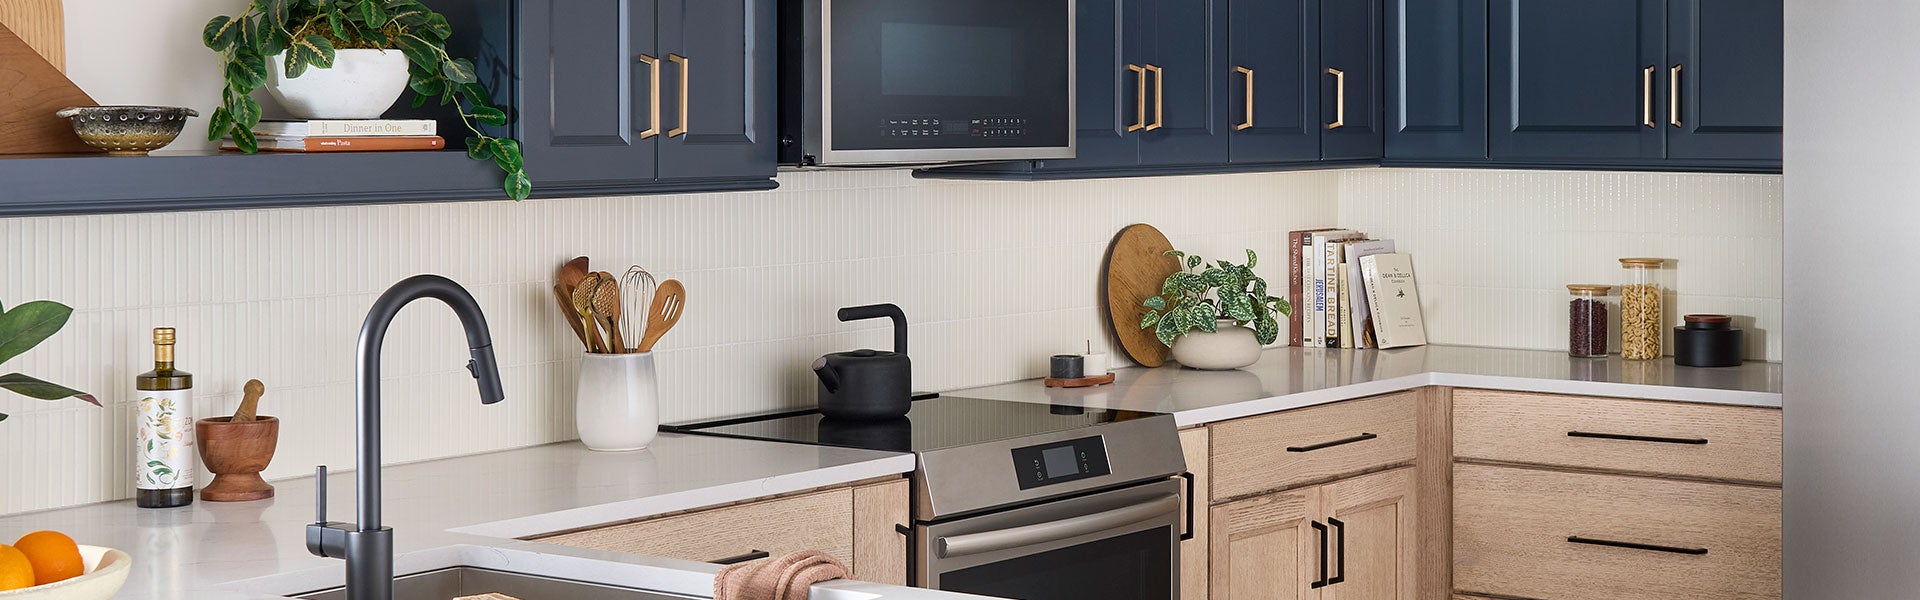
Credit: www.hardwareresources.com
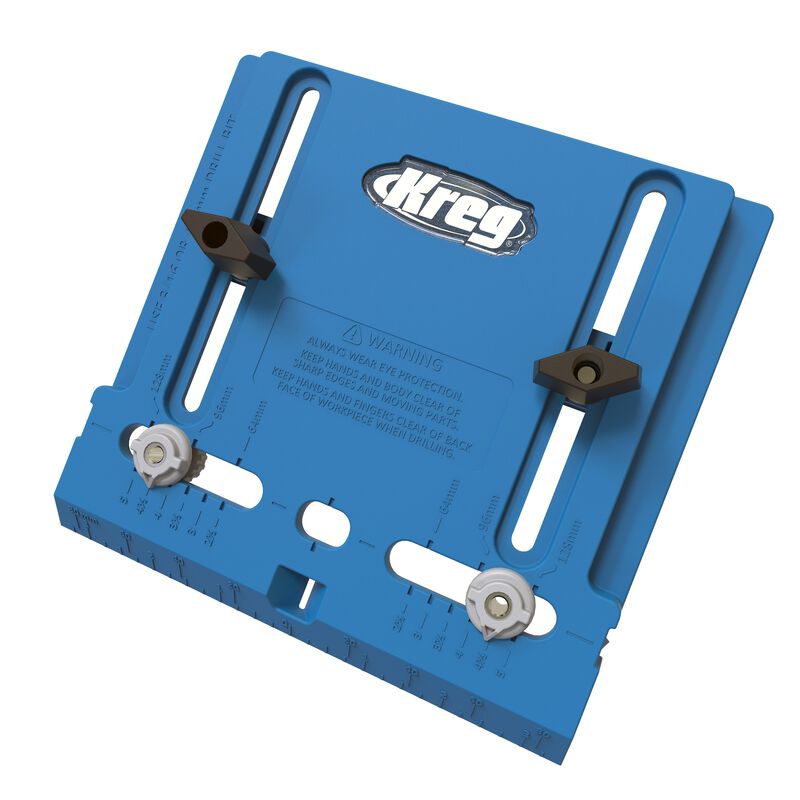
Credit: www.kregtool.com
Frequently Asked Questions
How Do I Remove Cabinet Hardware Safely?
To remove cabinet hardware safely, use a screwdriver that fits the screws. Unscrew gently to avoid damaging the wood. Keep screws and hardware organized for reuse or replacement later. Avoid forcing hardware off to prevent cabinet damage.
Can I Reuse Old Cabinet Hardware After Moving?
Yes, you can reuse old cabinet hardware if it’s in good condition. Clean it thoroughly before reinstalling. Check if the screw holes still align with the hardware. If holes don’t match, consider filling them or drilling new ones carefully.
What Tools Are Needed To Move Cabinet Hardware?
Essential tools include a screwdriver, drill, measuring tape, and pencil. You may also need wood filler and sandpaper for hole adjustments. Having the right tools ensures smooth removal and reinstallation of cabinet hardware without damage.
How To Align New Hardware When Moving Cabinets?
Measure the existing hardware placement accurately using a tape measure. Mark new screw holes with a pencil before drilling. Use a level to ensure hardware is straight. Proper alignment improves both functionality and appearance of cabinets.
Conclusion
Moving cabinet hardware can refresh your space with little effort. Measure carefully before drilling new holes to avoid mistakes. Use proper tools to remove old hardware safely. Align new pieces correctly for a neat look. Take your time to ensure each step is done right.
Small changes can make a big difference in your room. Try this simple update and enjoy your improved cabinets.

