If you’ve ever tried to take apart a piece of furniture, a car panel, or even some electronics, you’ve probably come face-to-face with plastic fasteners. These little clips hold things tightly together, but removing them can be tricky and frustrating.
You might worry about breaking them or damaging the surface around them. What if you could remove plastic fasteners quickly, safely, and without any damage? In this guide, you’ll discover simple, effective methods that anyone can use. Keep reading, and you’ll learn the secrets to making this task easier than ever before.
Types Of Plastic Fasteners
Plastic fasteners hold parts together in many products and vehicles. They come in various shapes and designs. Each type serves a specific purpose. Knowing the types helps you remove them safely and easily.
Push Rivets
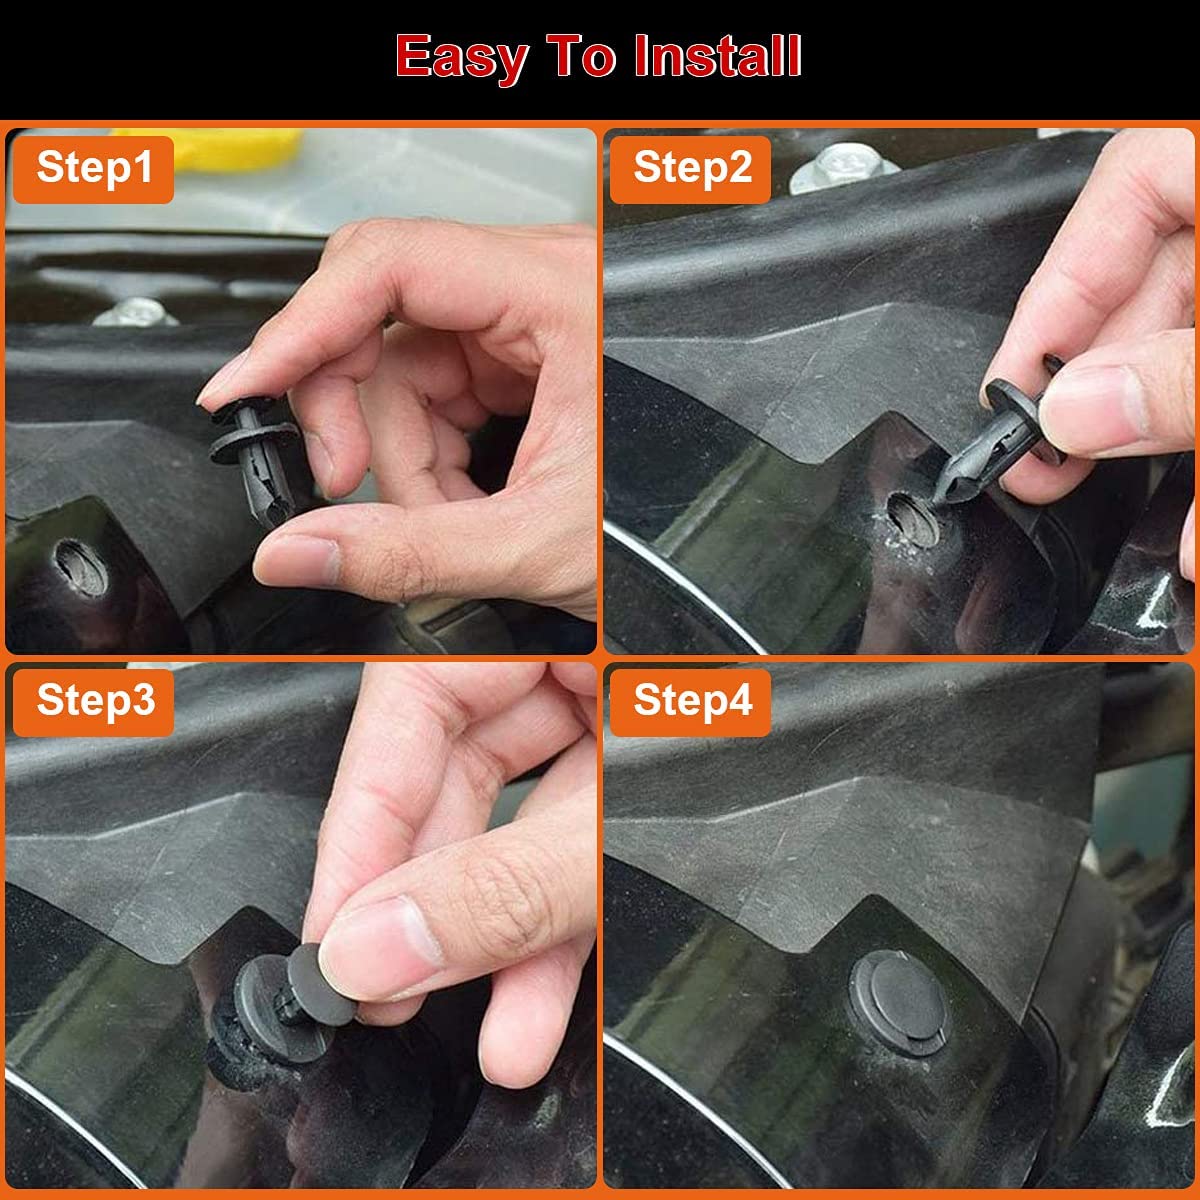
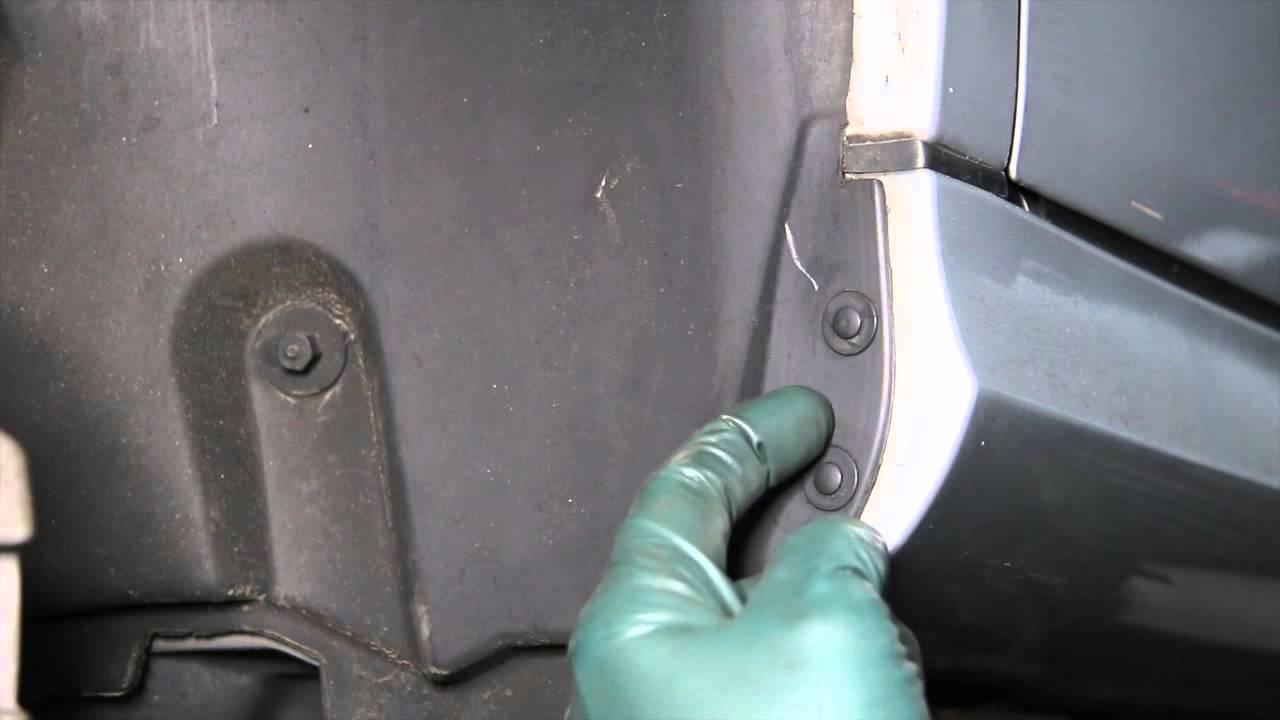
Push rivets are simple and common plastic fasteners. They have a pin in the center. Pressing the pin expands the legs to hold firmly. To remove, pull the pin out first. Then, pull the rivet body free.
Snap Clips
Snap clips lock by snapping into place. They grip edges or holes tightly. To remove, press or squeeze the clip sides. This releases the grip and lets you pull it out.
Plastic Screws
Plastic screws look like metal screws but are lighter. They need a screwdriver to turn them. Turn counterclockwise to loosen and remove. Avoid forcing to prevent breaking the screw.
Trim Clips
Trim clips attach interior panels and trims. They have flexible legs that snap into holes. Use a trim tool or flat tool to pry gently. Pull the clip out without bending or breaking it.
Credit: www.autoevolution.com
Tools You’ll Need
Removing plastic fasteners can be tricky without the right tools. Using proper tools helps protect your surfaces and makes the job easier. Gather these simple tools to handle most plastic fasteners safely and quickly.
Flathead Screwdriver
A flathead screwdriver is a basic tool needed to pry out plastic fasteners. Its flat, thin tip slides under the fastener head. Use gentle pressure to lift the fastener without breaking it.
Needle-nose Pliers
Needle-nose pliers grip small or hard-to-reach fasteners firmly. They work well for twisting or pulling fasteners out. Their slim shape allows access in tight spaces.
Trim Removal Tools
Trim removal tools are designed specifically for plastic fasteners. They have wide, flat ends that spread the force evenly. These tools reduce the risk of scratches or dents on trim surfaces.
Heat Gun Or Hair Dryer
Applying heat softens plastic fasteners and adhesive around them. A heat gun or hair dryer works well for this. Warm the fastener for a few seconds before removal to avoid damage.
Safety Tips Before Starting
Removing plastic fasteners can be tricky. It requires care and attention to avoid injury and damage. Following safety tips ensures a smooth and safe process. Preparing properly helps prevent accidents and keeps your workspace organized.
Wear Protective Gloves
Plastic fasteners can have sharp edges or break unexpectedly. Wearing gloves protects your hands from cuts and scrapes. Use gloves that fit well and allow good grip. This simple step reduces the risk of injury significantly.
Work In A Well-lit Area
Good lighting helps you see the fasteners clearly. It reduces mistakes and avoids unnecessary force. Bright light also helps spot any damage or hidden parts. Choose a spot with natural light or use a strong lamp.
Avoid Excessive Force
Applying too much force can break fasteners or tools. It may cause the plastic to snap and fly off. Use steady and gentle pressure instead. If a fastener feels stuck, try a different tool or method.
Removing Push Rivets
Push rivets are common plastic fasteners used in cars and electronics. They hold parts together tightly. Removing them carefully helps avoid damage to surfaces and parts. The process involves two main steps: lifting the center pin and pulling out the body of the rivet. Follow these easy steps to remove push rivets safely.
Pry Up The Center Pin
Start by locating the small center pin of the push rivet. Use a flathead screwdriver or a trim removal tool. Gently insert the tool under the pin’s edge. Slowly lift the pin upwards. The pin will pop out slightly. This step loosens the rivet and prepares it for removal.
Pull Out The Rivet Body
After the center pin is raised, grip the rivet body firmly. Use your fingers or pliers for a better hold. Pull the rivet straight out from its hole. It should come out with little force. Avoid twisting or bending the rivet to prevent damage. Now the fastener is removed, and the parts can separate easily.
Detaching Snap Clips
Snap clips hold plastic parts tightly together. Removing them can seem tricky. These clips snap into place with small tabs that lock the parts. Detaching snap clips needs care to avoid breaking the clip or the surrounding material.
Using the right tools and method makes the process smooth. Follow clear steps to safely release snap clips without damage.
Locate The Clip Tabs
Find the small tabs that hold the snap clip. These tabs lock the clip in place. Look closely at the clip edges for tiny bumps or hooks. The tabs are often on the clip sides or underneath. Knowing their position helps to release the clip correctly.
Use Trim Tools To Release
Use plastic trim tools to avoid scratching surfaces. Slide the tool gently under the clip tab. Apply light pressure to lift the tab. Work slowly around the clip to loosen it evenly. Do not force the clip, or it might break. Patience helps remove snap clips without damage.
Extracting Plastic Screws
Extracting plastic screws requires care and the right tools. These screws are fragile and can break easily. Using the correct method prevents damage to your project or device.
Plastic screws often have soft threads. Turning them too hard may strip or snap them. Patience and gentle handling help remove them smoothly.
Select The Right Screwdriver
Choose a screwdriver that fits the plastic screw head perfectly. A loose or tight fit can cause slipping or damage. Use a small Phillips or flathead screwdriver depending on the screw type.
Match the screwdriver size to the screw size. This provides better grip and control. Avoid using worn or large drivers that do not fit well.
Turn Counterclockwise Gently
Turn the screwdriver slowly in the counterclockwise direction to loosen the screw. Do not apply too much force. Stop if you feel resistance and try again carefully.
Keep steady pressure and avoid quick or jerky movements. This prevents breaking the plastic fastener. If the screw is stuck, try slight back and forth turns before fully removing it.
Freeing Trim Clips
Freeing trim clips can be tricky without the right approach. These plastic fasteners hold panels tightly in place. Removing them carefully prevents damage to both the clips and the trim. Patience and gentle techniques work best. Follow simple steps to remove trim clips smoothly and safely.
Apply Heat To Soften
Heat makes plastic clips more flexible. Use a hairdryer or heat gun on low heat. Warm the clip for about 30 seconds. Avoid overheating to prevent melting the plastic. The heat softens the clip, making it easier to remove.
Gently Pry With Tools
Use a plastic trim removal tool or flathead screwdriver. Insert the tool carefully under the clip’s edge. Pry slowly to lift the clip without breaking it. Work around the clip evenly to loosen it. Take your time to avoid damaging the trim or clip.
Common Mistakes To Avoid
Removing plastic fasteners can be tricky without the right approach. Many people make simple mistakes that damage the fastener or the surface. Avoid these common errors to save time and effort. Proper care helps keep everything intact and working well.
Forcing Fasteners
Forcing fasteners can break them or the material around. Plastic fasteners are delicate and need gentle handling. Use slow, steady pressure instead of pushing hard. Patience prevents damage and makes removal easier.
Using Incorrect Tools
Wrong tools can damage fasteners or scratch surfaces. Use tools designed for plastic fasteners, like trim removal tools. Avoid sharp objects like knives or screwdrivers. The right tools make the process safe and smooth.
Ignoring Fastener Damage
Damaged fasteners may not hold properly after removal. Check each fastener for cracks or breaks before reuse. Replace any damaged fastener to keep parts secure. Ignoring damage causes loose fittings and future problems.
Tips For Reusing Plastic Fasteners
Reusing plastic fasteners saves money and reduces waste. Proper care helps them last longer and work well. Follow these simple tips to keep your fasteners in good shape for the next use.
Inspect For Damage
Check each fastener carefully before reuse. Look for cracks, bends, or broken parts. Damaged fasteners may not hold securely. Discard any fasteners that show signs of wear. Using only strong fasteners ensures safety and reliability.
Clean Before Reinstallation
Remove dirt and grease from the fasteners. Use a soft brush or cloth to clean them gently. Avoid harsh chemicals that can weaken plastic. Clean fasteners fit better and hold parts firmly. Proper cleaning extends the life of your fasteners.
Credit: www.youtube.com

Credit: www.pointsunknown.com
Frequently Asked Questions
How Do You Safely Remove Plastic Fasteners?
To safely remove plastic fasteners, use a flat tool like a trim removal tool. Gently pry under the fastener head and pull it out without breaking the clip or damaging the surface.
What Tools Are Best For Removing Plastic Fasteners?
The best tools for removing plastic fasteners include trim removal tools, flathead screwdrivers, and needle-nose pliers. These tools help avoid damage and make removal easier and cleaner.
Can Plastic Fasteners Be Reused After Removal?
Plastic fasteners can sometimes be reused if removed carefully without damage. Inspect the fastener for cracks or wear before reusing it to ensure it holds securely.
Why Are Plastic Fasteners Difficult To Remove?
Plastic fasteners are hard to remove because they snap into place tightly. Their design prevents loosening and requires careful prying to avoid breaking or damaging surrounding materials.
Conclusion
Removing plastic fasteners can be simple with the right tools. Take your time and work carefully to avoid damage. Using a flat tool helps to pry them out gently. Remember to keep the fasteners for reuse if possible. Practice makes the process easier and faster.
Stay patient and follow these steps for best results. This way, your project will look neat and stay secure.