Ready to give your kitchen or bathroom a quick and stylish upgrade? Changing your cabinet hardware is one of the easiest and most impactful ways to refresh your space.
Whether you want sleek modern pulls or classic knobs, installing new cabinet hardware yourself can save you time and money — and it’s simpler than you might think. In this guide, you’ll discover step-by-step how to remove old hardware, measure for perfect placement, and attach new handles or knobs with confidence.
By the end, your cabinets will look brand new, reflecting your style and making your daily routine more enjoyable. Let’s dive in and transform your cabinets without any hassle!
Credit: www.homedepot.com
Tools And Materials
Installing new cabinet hardware requires the right tools and materials. Having these ready makes the process easier and faster. It helps to avoid mistakes and damage to cabinets. This section covers the essential tools, choosing the right hardware, and preparing your workspace.
Essential Tools
Start with a screwdriver that fits your screws well. A power drill speeds up the job. Use drill bits that match screw size to avoid splitting wood. A tape measure or ruler helps with accurate placement. A pencil is needed for marking drill points. A level ensures handles and knobs align straight. Consider a hardware installation template for perfect spacing. Keep a small container for screws to avoid losing them.
Choosing Hardware
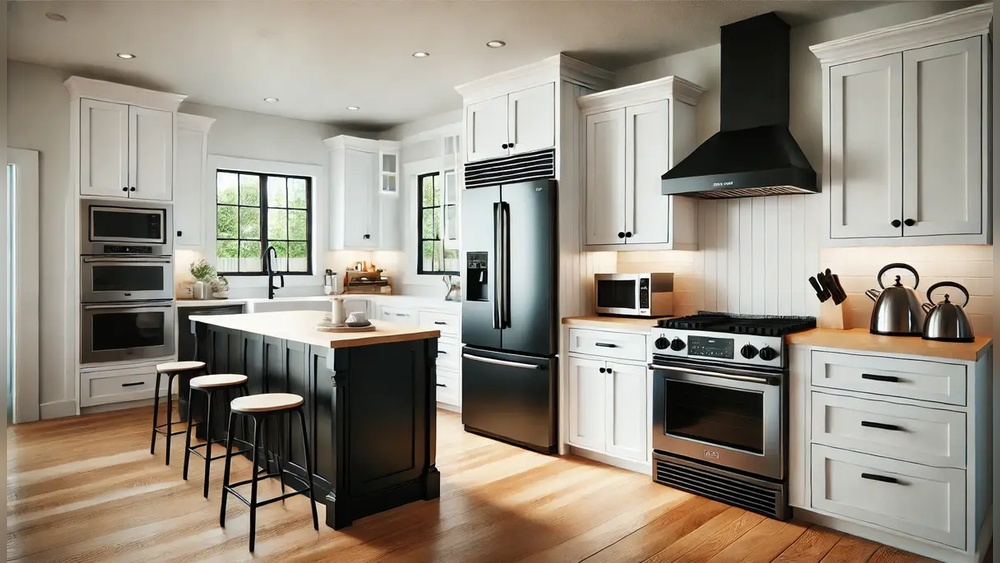
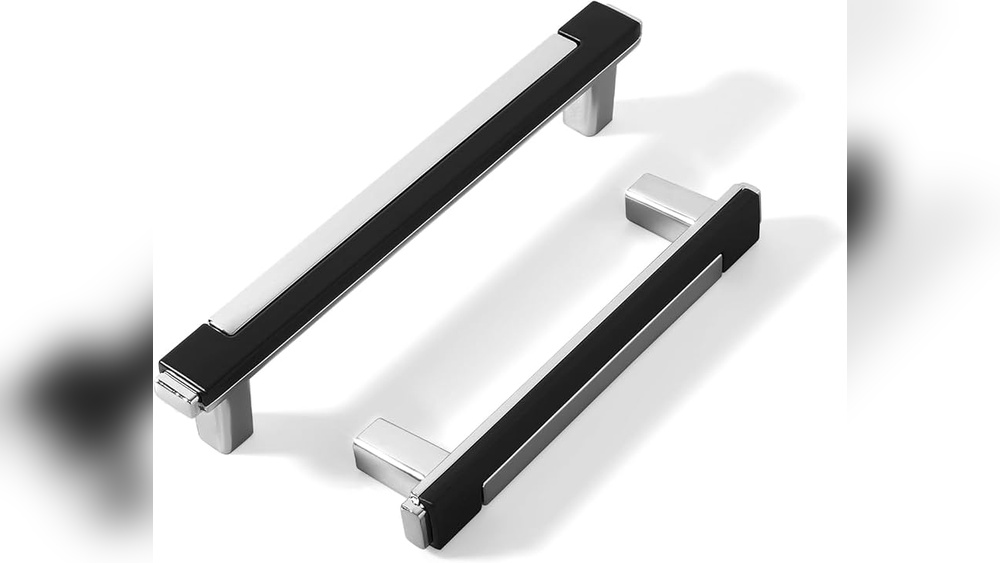
Pick hardware that matches your cabinet style and finish. Handles, knobs, and pulls come in many shapes and sizes. Measure existing holes to check compatibility with new hardware. Choose sturdy materials like metal for durability. Select a finish that complements your kitchen or bathroom decor. Decide between modern, classic, or rustic designs. Make sure the hardware is comfortable to grip and use.
Preparing The Workspace
Clear the area around your cabinets to work freely. Lay down a soft cloth or towel to protect cabinet surfaces. Gather all tools and hardware within easy reach. Turn off nearby appliances to avoid accidents. Good lighting is important to see markings and screws clearly. Keep a trash bin nearby for old hardware and debris. Take your time to avoid rushing and making errors.
Removing Old Hardware
Removing old cabinet hardware is the first step in upgrading your cabinets. It clears the way for new handles and knobs. This process is simple but requires care to avoid damage. Proper removal helps keep your cabinet doors and drawers in good shape.
Unscrewing Handles And Knobs
Use a screwdriver that fits the screws on your cabinet hardware. Turn the screws counterclockwise to loosen them. Hold the handle or knob steady as you unscrew. Remove the hardware gently to avoid scratching the surface. Place screws and hardware in a container to keep them safe.
Filling Old Holes
Old holes can make the new hardware look uneven. Fill these holes with wood filler or putty. Use a small putty knife to press the filler into the holes. Smooth the surface and let it dry completely. Sand the area lightly for a smooth finish before painting or staining.
Measuring And Marking
Measuring and marking are the first key steps in installing new cabinet hardware. Precise measurements help avoid mistakes and ensure hardware fits perfectly. Careful marking makes drilling easier and more accurate. These tasks set the foundation for a smooth installation process.
Using Templates
Templates guide where to place holes for handles or knobs. They keep spacing even across all cabinets. Most hardware kits include a paper or plastic template. Align it with the cabinet edge or center. Tape the template in place to prevent slipping. Mark the holes through the template with a pencil. This method saves time and improves accuracy.
Measuring With Tape
A measuring tape helps find exact hole positions without a template. Measure from the cabinet edge to the desired hole location. Check height and width carefully on each door or drawer. Use the same measurements for all matching pieces. Double-check numbers before marking holes. Consistent measurements create a balanced and neat look.
Marking Drill Spots
Mark drill spots with a sharp pencil or fine-tip marker. Make small dots at the center of each hole location. Avoid large marks that can cause confusion. Use a level to ensure marks are straight across cabinets. Double-check alignment before drilling. Clear and precise marks prevent mistakes and keep hardware installation clean.
Drilling Holes
Drilling holes is a key step in installing new cabinet hardware. Accuracy and care ensure the hardware fits well and lasts long. This process requires the right tools and technique. Follow simple steps to drill precise holes without damaging your cabinets.
Selecting Drill Bits
Choose drill bits that match your hardware screws. A 3/16-inch bit works for most cabinet knobs and pulls. Use a brad point bit for clean, straight holes in wood. Avoid bits that are too large or too small. Proper bit size prevents loose or tight fittings.
Drilling Technique
Mark the hole spot with a pencil or tape. Use a level to keep marks straight. Drill slowly to keep control and avoid mistakes. Hold the drill steady and perpendicular to the surface. Stop drilling once the bit passes through the wood.
Preventing Wood Splitting
Place painter’s tape over the drill spot to protect the wood. Drill a small pilot hole before the final hole. This reduces pressure and prevents cracks. Drill from both sides if the wood is thick. This method keeps the cabinet surface neat and smooth.
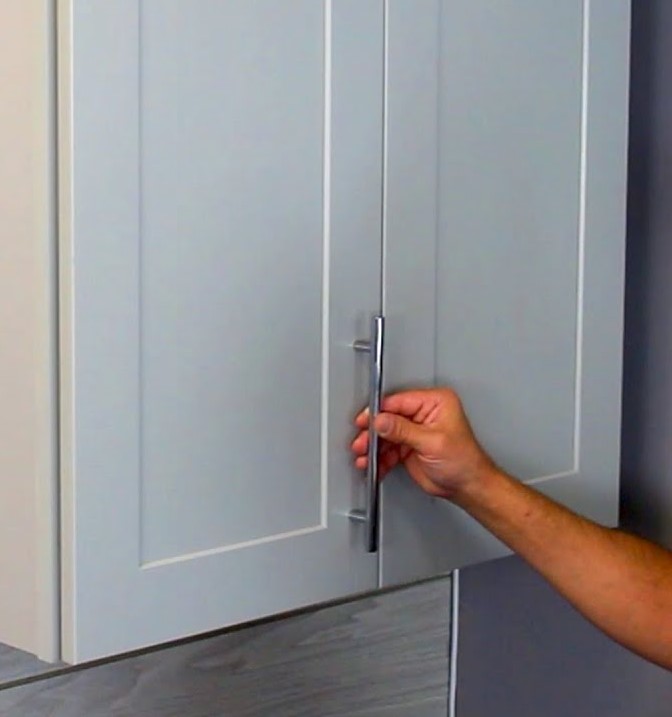
Attaching New Hardware
Attaching new cabinet hardware is the next step after preparing your cabinet doors. This process involves placing screws, securing handles or knobs, and ensuring everything is tight without causing damage. Proper attachment guarantees your hardware works well and looks great.
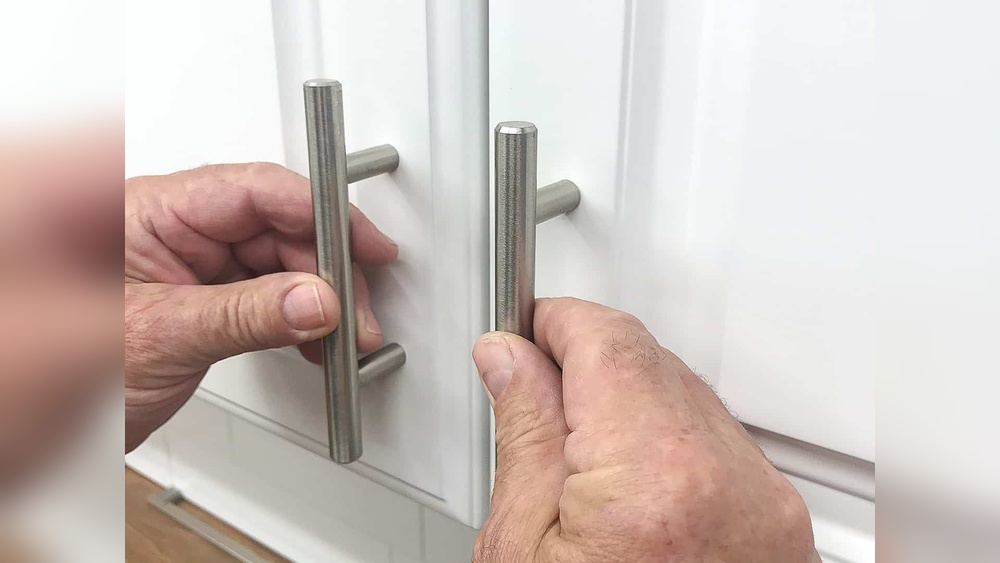
Inserting Screws
Start by aligning the hardware holes with the cabinet door holes. Insert the screws through the back of the cabinet door. Push the screws until they come out on the front side. Make sure the screws fit well and are straight. This helps the hardware stay stable and secure.
Securing Handles And Knobs
Place the handle or knob onto the screws from the front side. Hold the hardware firmly in place. Use a screwdriver to turn the screws slowly. Tighten the screws until the handle or knob feels solid. Check that the hardware does not wiggle or move.
Avoiding Over-tightening
Stop tightening as soon as the hardware feels secure. Over-tightening can cause the wood to crack or the hardware to bend. Tight screws protect the cabinet and keep the hardware lasting longer. Use gentle pressure to prevent damage and keep everything neat.

Credit: www.homedepot.com
Tips For Consistency
Consistency is key when installing new cabinet hardware. It makes your kitchen or bathroom look neat and professional. Small mistakes can make the whole project look uneven or sloppy. Follow these simple tips for consistent results every time.
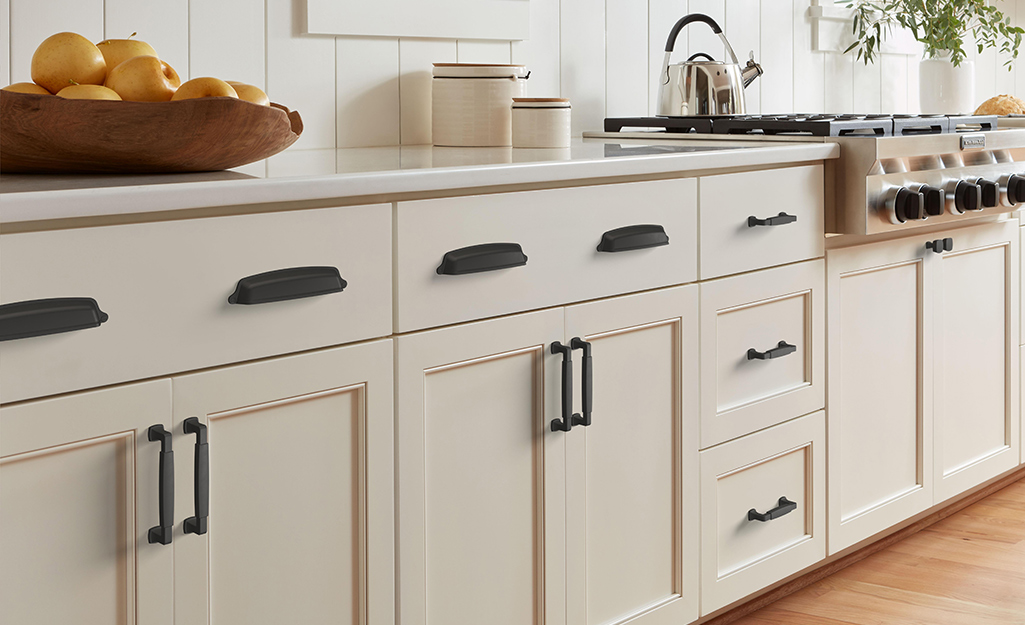
Aligning Hardware
Start by aligning all hardware pieces in the same position. Use a ruler or measuring tape to measure the distance from the edge. Mark each spot lightly with a pencil. Check that each handle or knob sits straight before drilling holes.
Using Painter’s Tape
Place painter’s tape on the cabinet surface before marking holes. It prevents scratches and helps the pencil marks stay clear. You can also use the tape to create a guide line for alignment. Remove the tape after installation to keep the surface clean.
Checking Symmetry
Symmetry improves the look of your cabinets. Measure the distance between hardware on doors and drawers. Confirm that handles on opposite doors are at the same height. Adjust marks as needed to ensure balanced placement across all cabinets.
Finishing Touches
Finishing touches bring your cabinet hardware installation to life. This stage ensures your cabinets look polished and work smoothly. Taking time here prevents future issues and keeps your kitchen neat. Follow these simple steps to perfect your project.
Cleaning The Surface
Remove dust and fingerprints from cabinet doors and hardware. Use a soft cloth with mild soap and water. Avoid harsh chemicals that can damage the finish. Dry the surface completely to prevent water spots. Clean cabinets enhance the new hardware’s appearance and shine.
Testing Functionality
Open and close each cabinet door and drawer. Check that knobs and pulls fit comfortably in your hand. Ensure screws are tight but not over-tightened. Hardware should not wiggle or feel loose. Smooth operation means your installation is done right.
Maintaining Hardware
Wipe hardware regularly to keep it free from grease and grime. Use gentle cleaners and a soft cloth for best results. Tighten screws periodically to avoid loosening over time. Good maintenance extends the life of your cabinet hardware. It also keeps your kitchen looking fresh and tidy.
Credit: www.woodworkerexpress.com
Frequently Asked Questions
Is It Easy To Replace Cabinet Hardware?
Yes, replacing cabinet hardware is easy. Remove old hardware, mark new hole locations, drill holes, and attach new handles with screws.
What Is The 1 3 Rule For Cabinet Hardware?
The 1-3 rule for cabinet hardware means placing handles 1 inch from the drawer edge and 3 inches apart for balanced spacing. This guides consistent, visually appealing hardware installation on cabinets and drawers.
How Do I Install Cabinet Hardware?
Remove old hardware and mark new hole locations using a template or measuring tape. Drill holes carefully. Insert screws from the back, attach handles or knobs, and tighten screws firmly without over-tightening to avoid damage. Check alignment and adjust if needed for a secure fit.
How To Install Cabinet Connectors?
Align cabinet connectors at the cabinet edges. Remove clamps and insert connectors into pre-drilled holes. Tighten screws securely. Repeat for all cabinets, using multiple connectors per cabinet for stability.
Conclusion
Installing new cabinet hardware can refresh any room quickly. Measure carefully to ensure holes align perfectly. Use the right tools for clean, smooth drilling. Tighten screws just enough to hold hardware firmly. Take your time and work step-by-step for best results.
Small upgrades like these improve both function and style. Enjoy the new look and feel of your cabinets. Simple changes can make a big difference in your space.